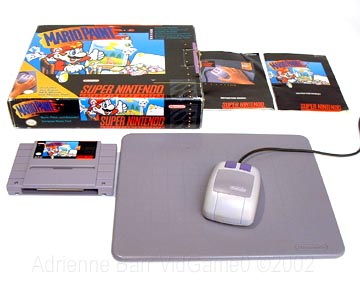
Tools Used:
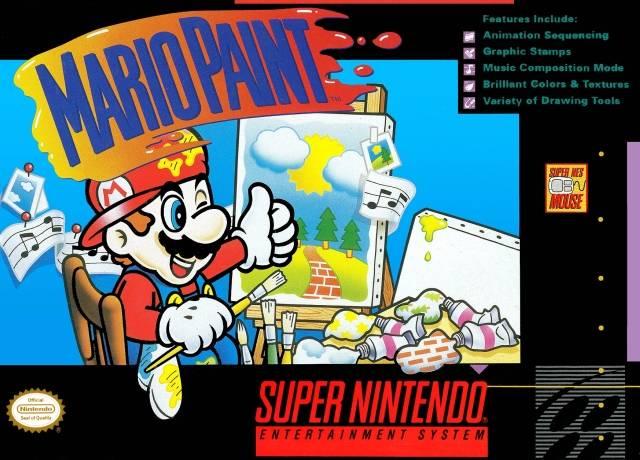
- Mario Paint
- VCR
- Portable Stereo System
Recently THQ announced an upcoming peripheral for the Nintendo Wii called uDraw which employs a tablet and pen in order to paint on the screen. This brought back fond memories of my time making movies using Mario Paint back in 1993 on the SNES. I had used various art programs and even some basic animation programs previously but since I didn’t own a computer at the time, this was an easy entry into the world of graphic editing and animation. Initially I started out doing a number of simple projects but slowly I was able to take advantage of the potential of Mario Paint to do more complicated projects. The most ambitious project I undertook was to animate a complete 30 minute cartoon called the Neroes.
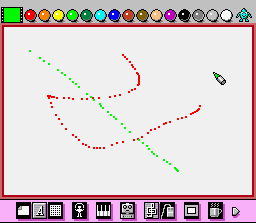
The first hurdle to overcome was training myself to actually draw with a mouse. This took the most time and a lot of practice but the more short cartoons I created the better I got. The key technique I developed was creating a fine pixel wide paint brush. Most of the paint brushes in Mario Paint were pretty thick, probably 2-5 pixels wide. The solution I came up with was to use Mario Paint’s stamp feature. Mario Paint allowed you to create a 16×16 pixel stamp. It was an easy way to create duplicate (albeit small) objects such as trees, grass, a car, etc. The stamp I created was a single black pixel at the center of the stamp with all of the other pixels transparent. By dragging this stamp on the screen with the mouse, I essentially had a very small paint brush. Similarly I could use the stamp editor to create fine details like a nose or a wrinkle on a face since the stamp editor was essentially a zoomed in pixel-by-pixel editor.
Only 25% of the screen in Mario Paint can be animated at any one time. This could mean dragging a static image around the screen or a sequence of four frames of differing actions. For more animated frames the screen would be divided into eighths for a maximum of eight frames of action. Therefore the more frames of action you needed the smaller area of screen overall you could animate. The alternative was to completely redraw the entire screen to animate objects, however this would not be practical for a movie of a considerable length. Noting these limitations I also had to rely on animation tricks used in cheap anime. I didn’t really know at the time that these tricks were used in TV anime (e.g. Pokemon, Dragonball, Sailor Moon) until later when they were described to me at a lecture at Disney Institute with Brian Mitchell. This includes only the mouth moves when characters are talking rather than the jaw as well. Characters may sometimes talk with their back to the screen or obscuring their mouth. Only one or two characters move onscreen at any one time. Everything else in the scene is static.
Laying It All Out
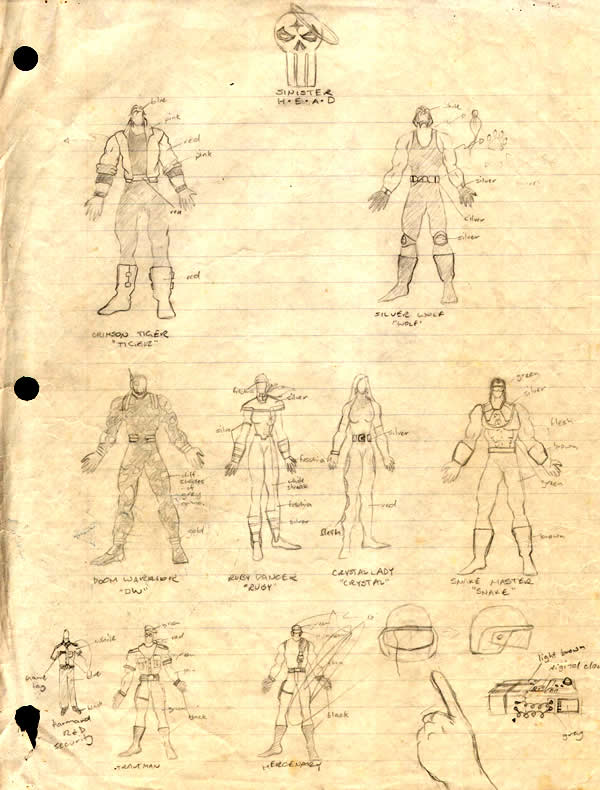
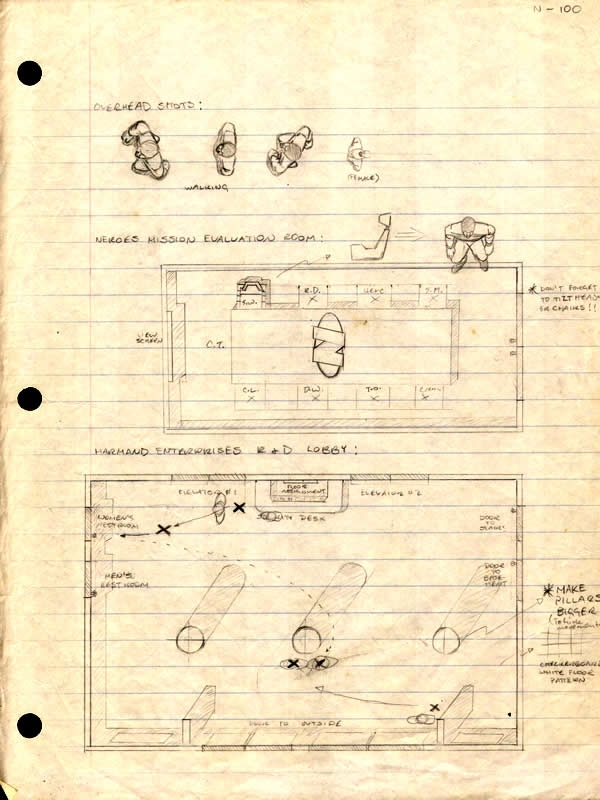
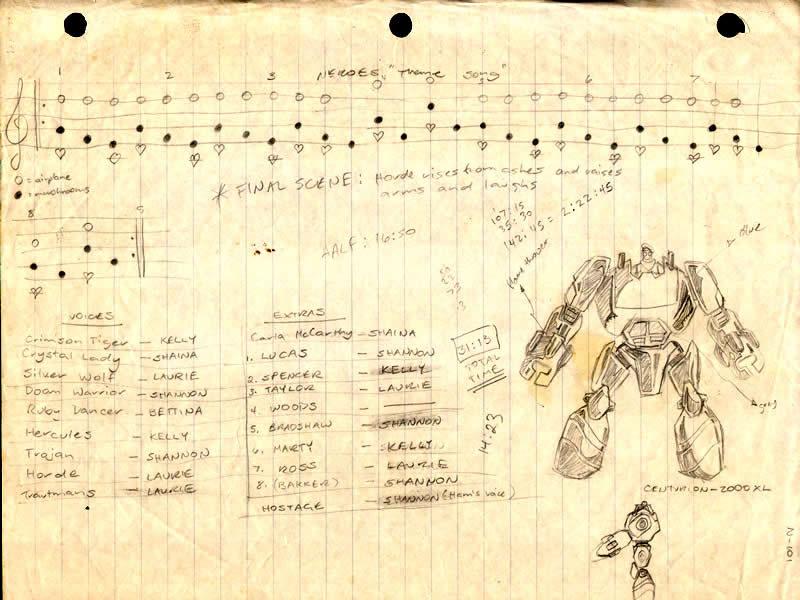
The first steps were to develop a story, come up with the character & set designs and create a storyboard. The Neroes itself has a rich mythology going way back to when my cousins, brother and I were kids. We would cobble together various toys from different genres to form a super hero team. We used characters from Blackstar, BraveStarr, He-Man, Six Million Dollar Man, Barbie, DC Comics, Spiral Zone, Chuck Norris Kung-Fu Commandos, Rambo and strangely enough an action figure from Kenner’s 1974 Boy Scout line (Scout Bob to be precise). Later when I was in highschool I began to draw a comic based on these characters we had invented and already had a few stories outlined. The story we came up with was basically a sequel to some of the stories we had already done. There are some references to the previous stories during Horde’s monologue.
Although many of the characters already had an established design, I had to consider that I had to actually draw out each character quite a few times. As a result various costumes were simplified and standardized for easy repetition. I wanted to draw the characters in a common American cartoon style of the time with at least one level of shadow applied to the characters (in line with the Ironman/Force Works and WildC.A.T.S. cartoons of the time). Sets and locations were mapped out including rooms, buildings and objects.
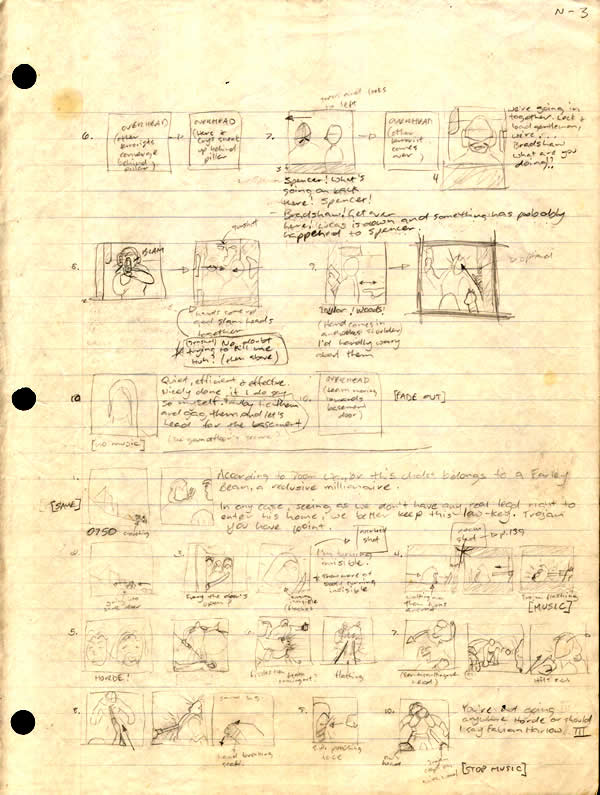
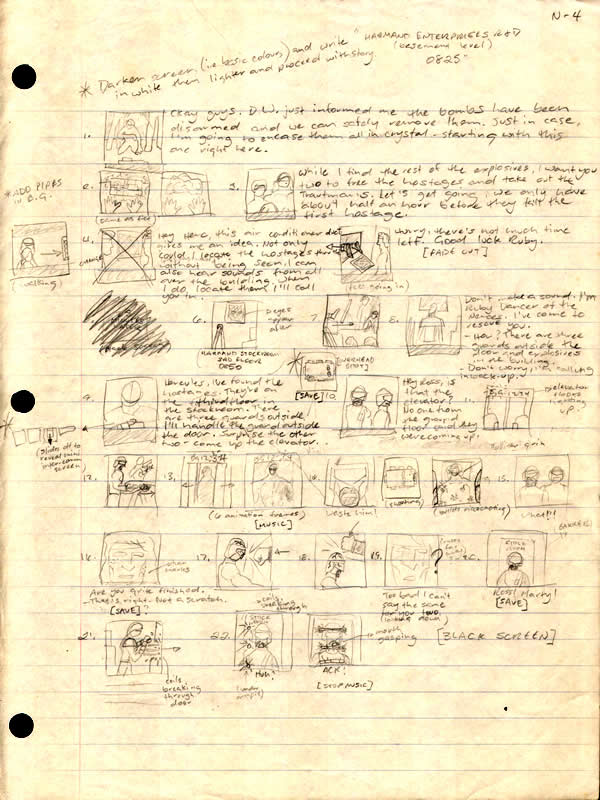
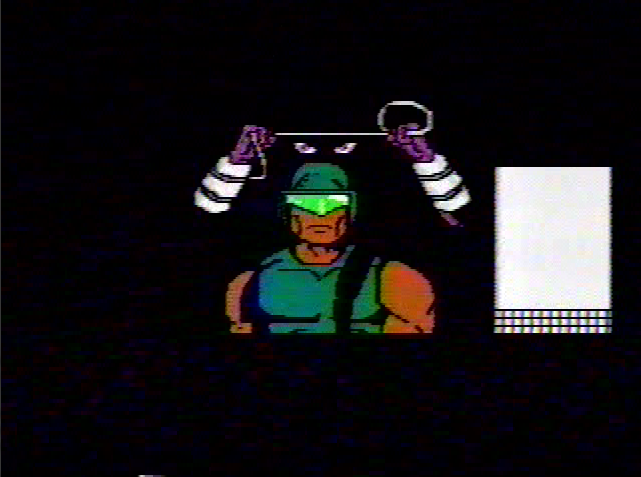
The next step was to create a storyboard of the complete story which would assist me in setting up scenes and camera shots. I got pretty creative in some parts such as the in-the-dark strangulation scene and what I termed the up-the-nose shot of Crimson Tiger near the end. In addition I employed an overhead visual shot technique – usually at the beginning or end of a scene – to establish the placement of the characters in a scene. This art style and visualization was taken directly from the NES game Mission Impossible which employed this top-down view for its gameplay. Other techniques I employed were the camera pan and the camera zoom (developed by my cousin in his own Mario Paint movies).
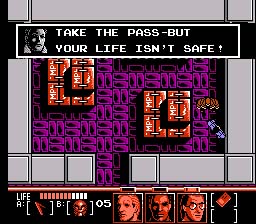
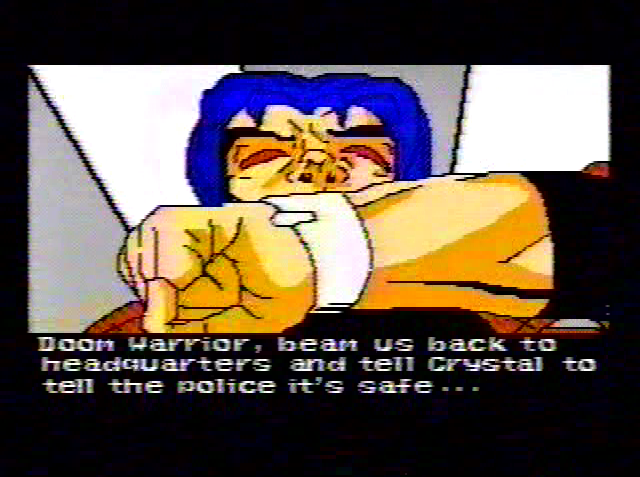
Music, dialogue and sound effects also made up the storyboarding process. The music program in Mario Paint was very basic but my brother and I were able to coax quite a bit out of its limited octave and a half range (no flats or sharps allowed). For one of the main fight scenes and the end credits I decided to attempt to splice in pre-recorded music. This was particularly tricky since most Mario Paint music is pretty repetitive and easy to sync when recording the live scene to tape. Pre-recorded music was a bit tricky since a certain section of the song was tied to a specific animation or camera shot and had to be carefully strung together with the next shot. The only other method of doing this would have been to re-record the scene using two VCRs to seamlessly record the music over the completed scene. Unfortunately I didn’t own two VCRs at the time. Because of the latter I also couldn’t do audio dialogue, at least not initially. To fill the gap in the meantime I decided on printing the text closed captioning style at the bottom of the screen. This in itself was a monumental task since text couldn’t be typed onscreen via keyboard, each individual letter of every single word had to be meticulously placed onscreen much like an old-fashioned letterpress typesetter. Likewise sound effects were also printed Batman style onscreen.
Now the Hard Work Begins
Most of the movie was put together during the summer of ’93, the Christmas break of ’93 and the summer of ’94 amounting to about 100 hours of work. The process of recording the movie was to first draw the scene in Mario Paint. Next any animations were added. Finally the scene was played in Mario Paint while being recorded on VCR. These steps were repeated for each scene. The movie had to be drawn sequentially from start to finish since each scene was being recorded back to back on the VHS tape. A single 5-10 second scene could take as long as 30 minutes to complete. Of course reusing backgrounds and models did help. Mario Paint allowed you to save quite a few custom stamps (which were used for small details – eyes nose, face, hand) and also allowed you to save one or more backgrounds. The pre-recorded music was added by attaching a portable stereo system to the VCR and playing the music at the same time as the Mario Paint scene. These scenes typically took longer to record since the music had to be started, then the Mario Paint scene and then the record button on the VCR had to be pushed. I had to do quite a few retakes in order to get the timing correct. Also because the movie was being recorded on VHS tape constant overwriting during retakes would tend to degrade the physical tape. In addition there was the bleed through effect of overwritten scenes, particularly bad if a fade to black scene was overwritten on top of a scene with a lot of red in it.
The Voiceovers That Never Happened
Although I originally settled on doing the text of the cartoon as closed captioning at the bottom of the screen, the intent was always to record live voiceovers. The credits even have the names of the friends and family members who were assigned specific roles. The biggest obstacle that came with doing the voiceovers was logistics. The chosen people were either overseas in college or other scheduling conflicts came up in addition to the fact we needed at least two VCRs to merge the first recording with audio onto a new recording. We did come close with one attempt but technical difficulties with one of the VCRs scuttled the attempt and the recording session ended up as a pizza party. Since then we sort of gave up on the idea.
The Special Edition
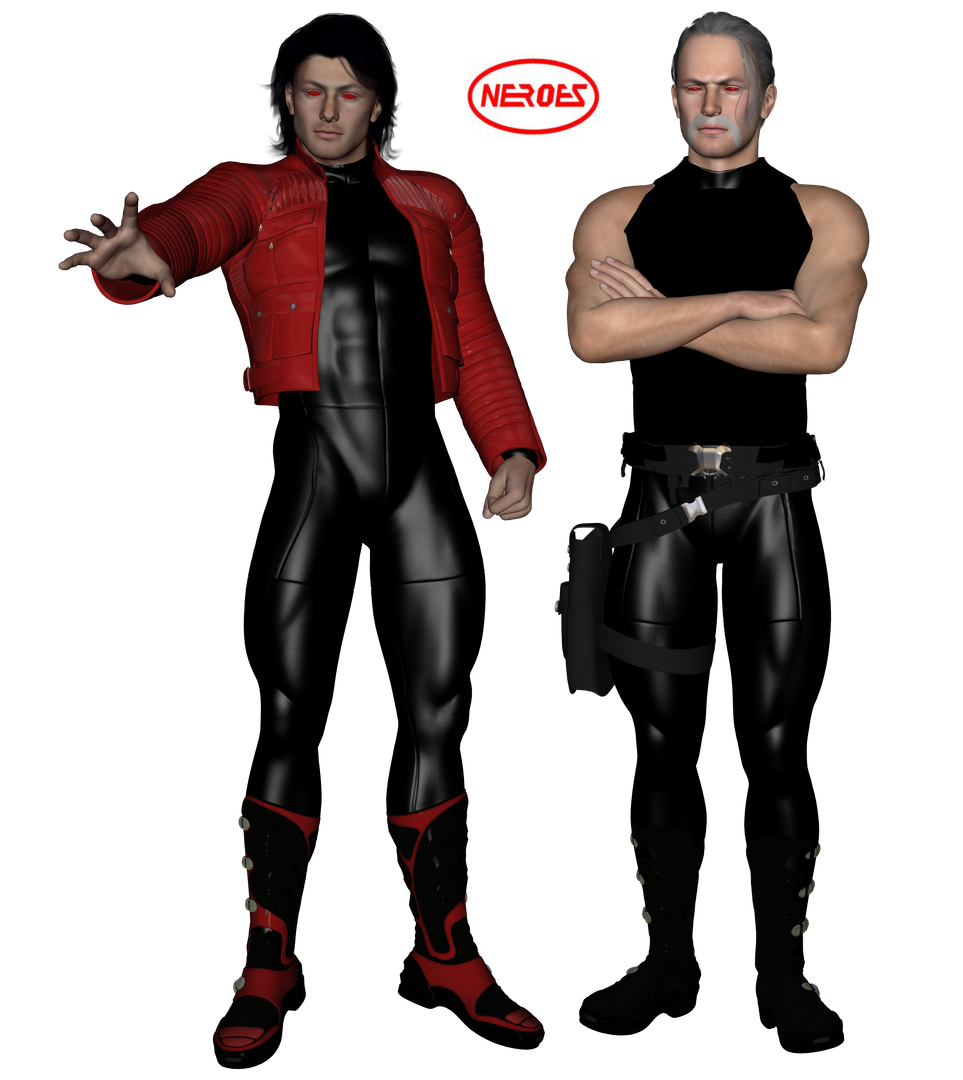
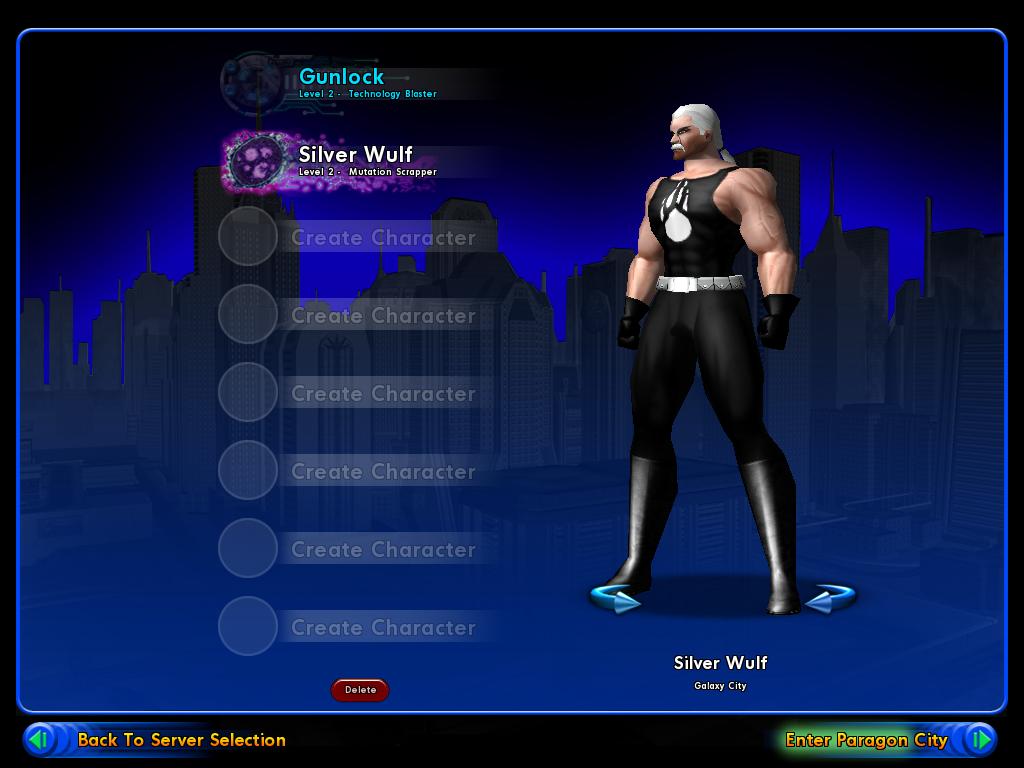
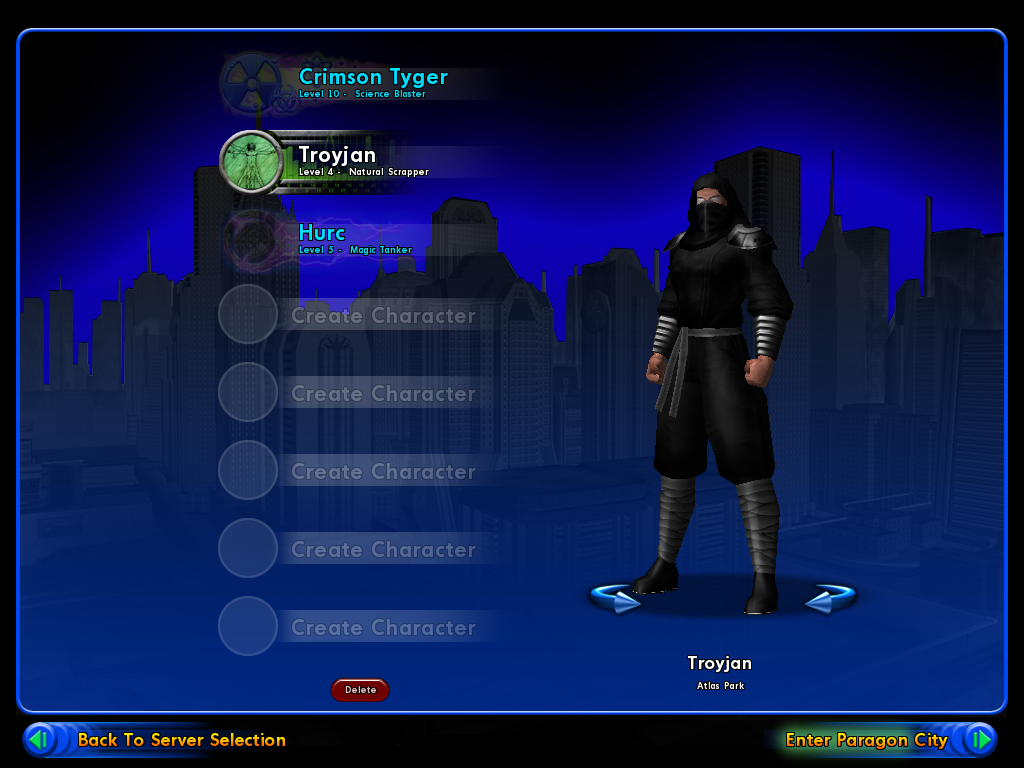
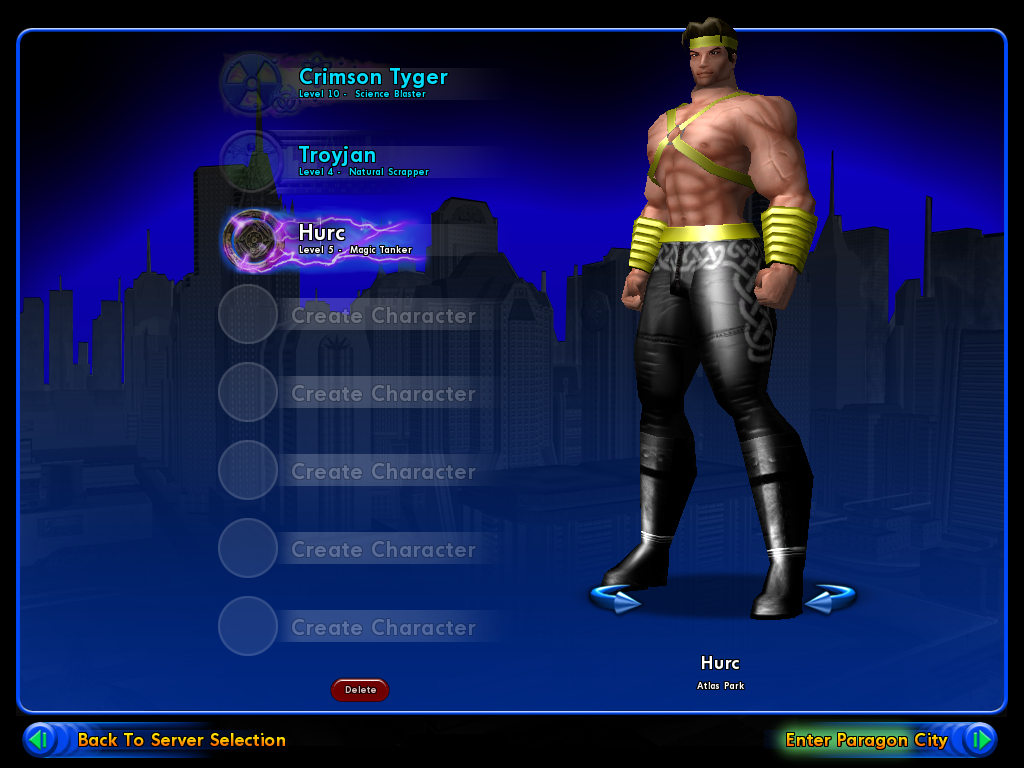
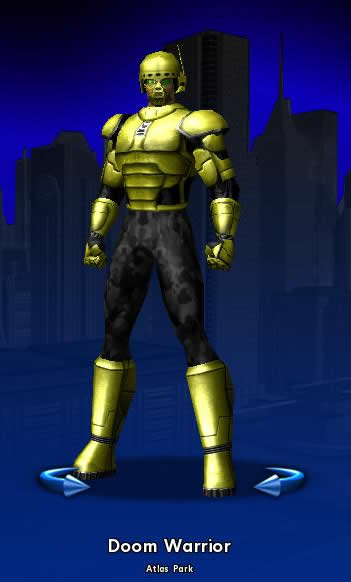
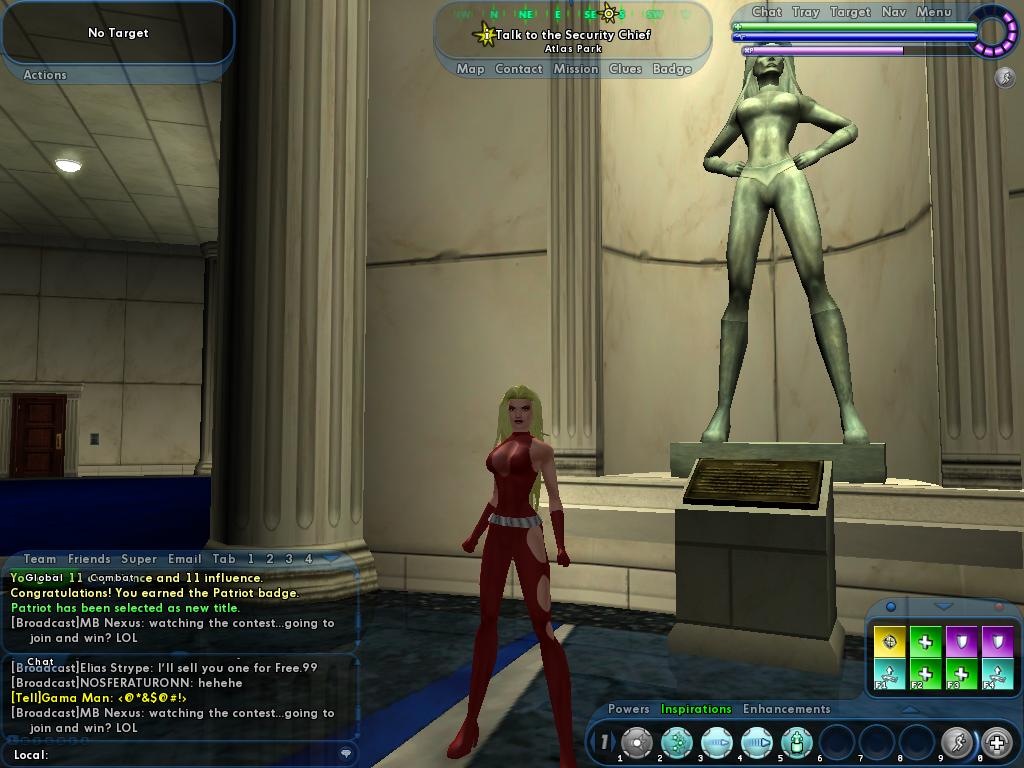
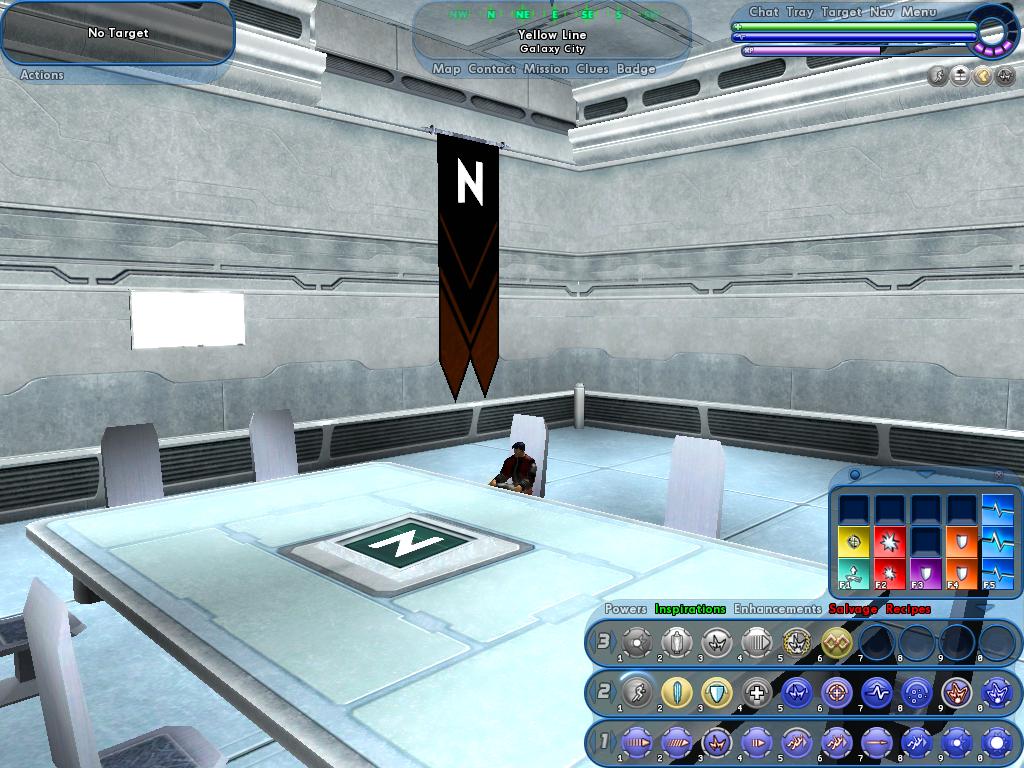
As for any future updates to the Neroes franchise, there is the possibility of a computer animated version using the free 3D software Blender (that could be awhile though). I may also complete the Neroes website that I have been working on for the last four years. If you were active in City of Heroes (Inifinity server) between 2005-2010 you would have seen the Neroes as an active superhero team under the names Crimson Tyger, Silver Wulf, Khrystaal, Doom Warrior, Troyjan and Hurc (note the alternative spellings we had to use).
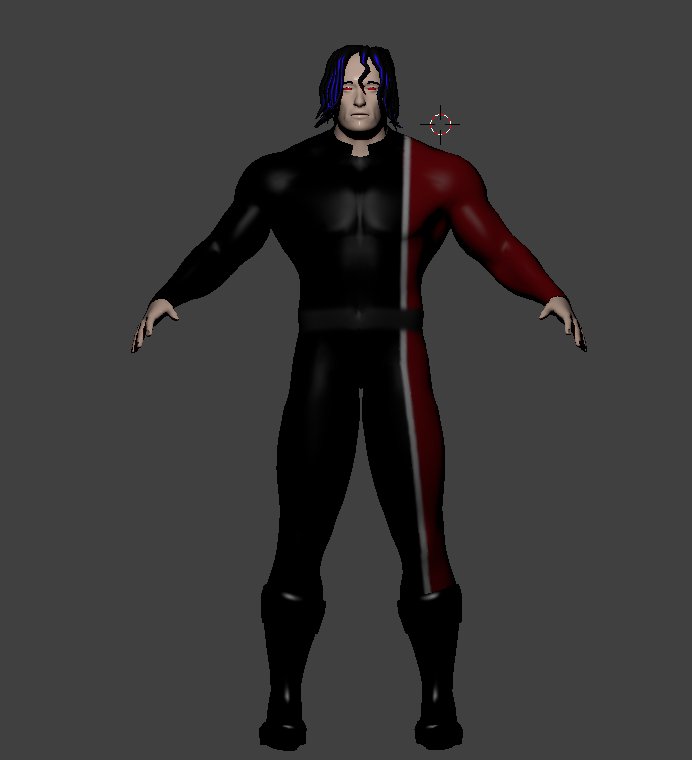
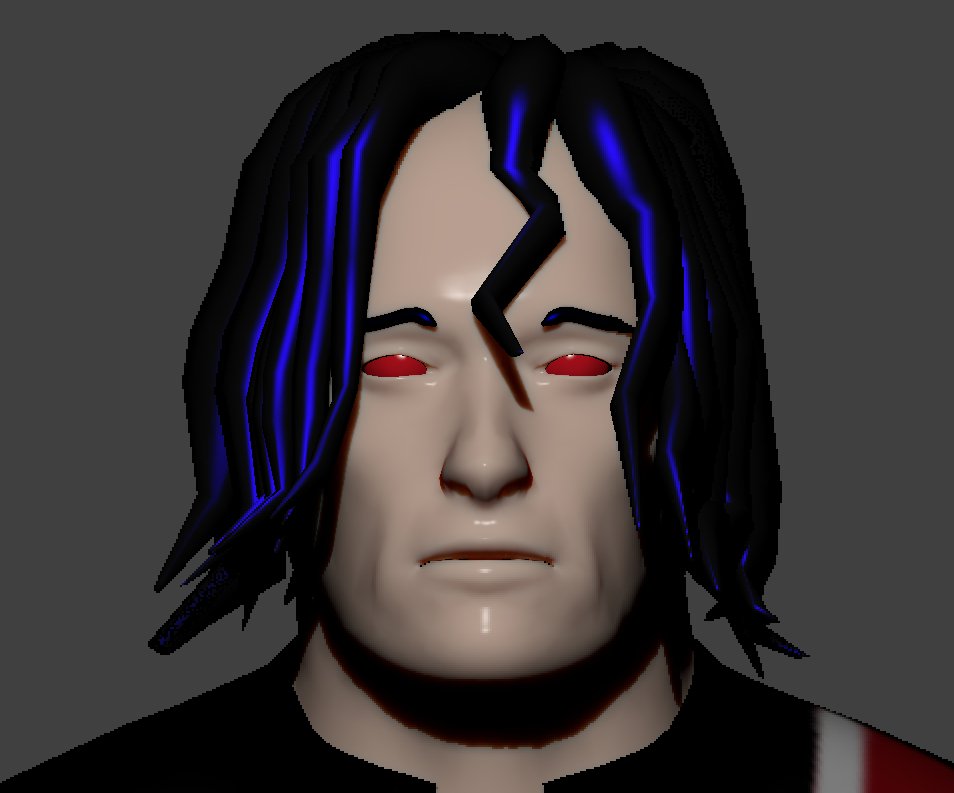
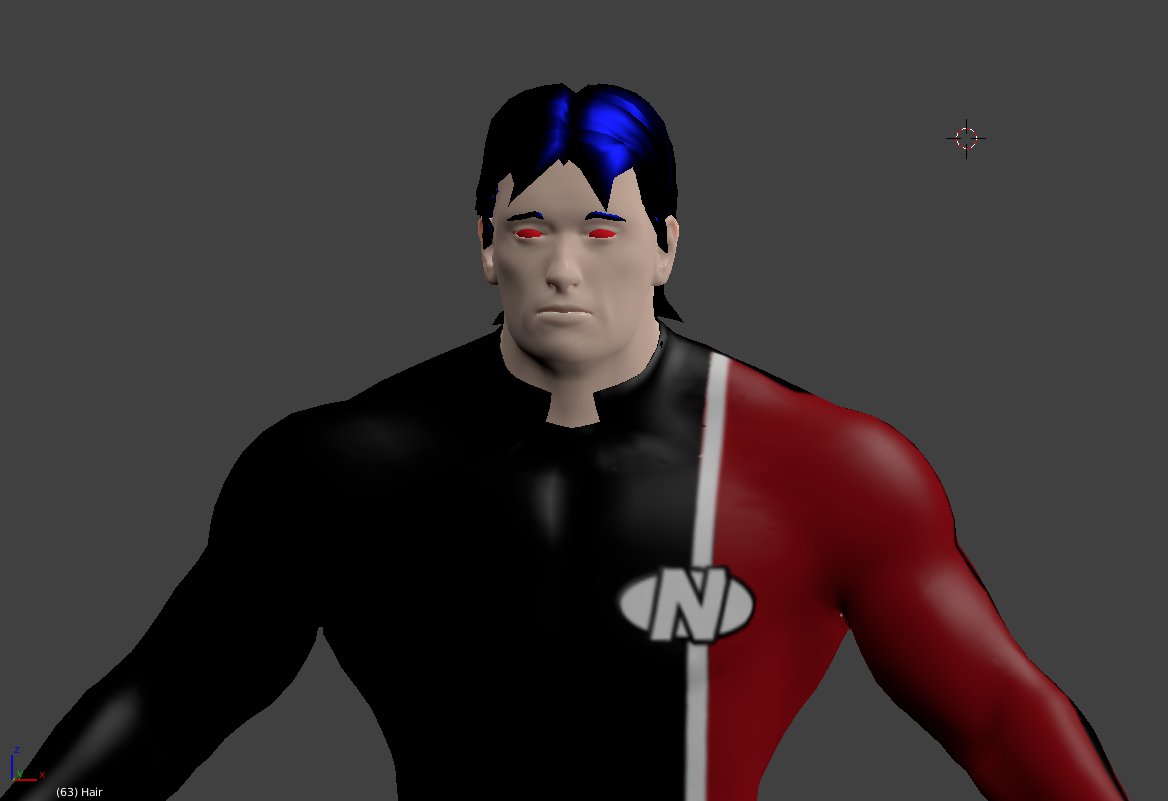
UPDATE:2016-09-11
In 2015 my brother began modeling the Neroes characters in 3D using the software Blender. The following year he found a more robust and realistic 3D software package and redid the character models in Daz Studio. He eventually redid the original proof of concept Neroes Commercial I did prior to doing the full cartoon episode above. Next steps include using the 3D models to create 3D printed miniatures of Crimson Tiger and Silver Wolf.