I am a very novice photographer – purely a point-and-click user. In preparation for my trip to Antarctica I sought the advice of one of the many semi-professional photographers I work with. At the time I was using a Canon Powershot SD600 6MP point-and-click camera which I found despite its limitations has many of the same settings of more expensive DSLRs. Most people simply use the automatic settings without delving too deeply into the more advanced settings. I was made aware of some of these features and manual adjustments and was able to use this tiny camera to great effect in Antarctica. At the end of 2013 I decided to upgrade to one of the Mirrorless Interchangeable Lens Cameras (MILC) in preparation for my trip to the Amazon. The camera I finally settled on was the newly released Nikon 1 J3 which came with a 10-30mm and 30-110mm lens. For not much more than the point-and-click cameras I usually purchased this was an excellent deal for someone not looking to go full DSLR. In addition to the camera I also purchased two 32GB SD memory cards, two additional off brand batteries and the Kata MarvelX-40 DL Camera Pouch that perfectly fits all components of the camera. 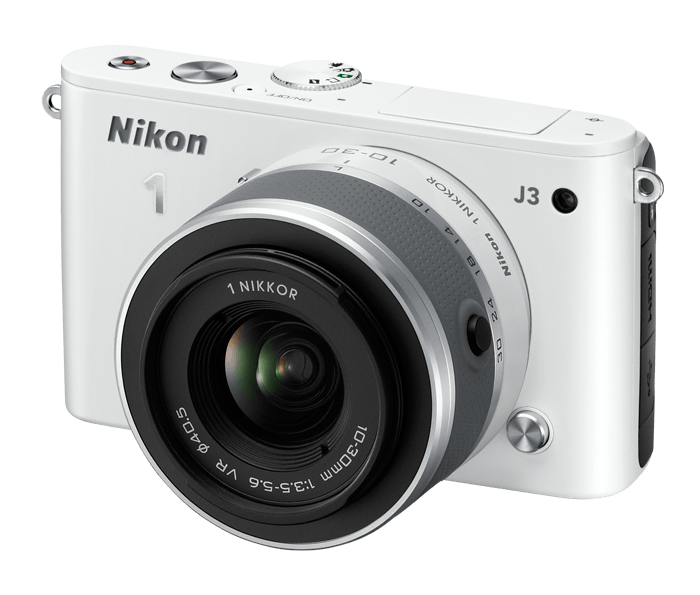
Breakdown
The J3 is really, really small for an interchangeable lens camera. In comparison, the body is about the same size as my old Canon Powershot S300 point-and-click camera. The lenses are also smaller than their comparable DX counterparts due to the smaller sensor on the Nikon 1 series cameras as well as their ability to compact further into their housing. This means a nice compact camera for traveling with and still maintaining many of the advantages of a larger DSLR. There is no viewfinder on these types of cameras so all framing of shots is done by looking at the 3.25″ LCD screen on the back. The LCD screen is touted as having virtually no lag. Unlocking the lens automatically turns the camera on and locking the lens automatically turns it off as well (or you can do it the long way and press the on/off button and then unlock the lens). The main buttons on top other than power are the shutter button as well as a dedicated video record button. There is a hidden flash on top that retracts into the housing. It will automatically pop-up depending on the camera settings or can be deployed by pressing a button on the left side. There is the typical dial allowing you to change between the five different modes:
- Auto – The camera chooses the best settings to use.
- Creative – A number of different selections including fully manual.
- Best Motion Caption – A mode which essentially takes a looping slow motion video of a scene and allows you to choose the exact moment of the camera shot you want.
- Motion Snapshot – A creative mode that turns a shot into what amounts to a short video that you can add pre-recorded music to.
- Advanced Movie – This mode makes additional video features available such as taking slow motion video.
Other than Auto and Creative, the other modes seem pretty gimmicky and I haven’t found a specific reason to use them. As a result I’ll focus on the Auto and Creative modes where most of the custom settings are located.
In any of the shooting modes you can use the dial on the face of the camera to change the following settings:
- Shooting Mode – select whether you want to shoot a single shot when you press the shutter button or continuously take photos at 5, 15, 30 or 60 frames per second. You can also set a timer of 2, 5 or 10 seconds to set the delay for when the camera will take the photo after pressing the shutter button.
- Flash Mode – choose amongst a variety of flash modes from auto, red-eye reduction, slow sync or disable it completely
- Exposure Compensation – adjust the exposure depending on what settings you are currently using (i.e. compensate for an under-exposed or over-exposed shot)
Auto mode
The Auto mode shouldn’t be entirely discounted. The full auto mode is pretty smart and will analyze a scene and adjust accordingly. Aside from the typical Face Priority present on most digital cameras, auto mode will also perform Automatic Scene Selection and determine if a scene is a portrait (of humans), a night portrait, a close-up shot, a landscape shot, or a night landscape shot.
Auto mode also has a feature called Live Image Control. This adds a bit of customization to auto mode in that you can adjust the following features in real-time. You will see the effects of the adjustment in real-time in the viewfinder as you tweak these settings.
- Active D-Lighting – increase or decrease the amount of detail you want to see in shadows
- Background Softening – adjust whether the background will be in focus or out of focus (Aperture size adjustment)
- Motion Control – adjust whether you want to capture moving objects frozen in motion or blurred (Shutter speed adjustment)
- Brightness Control – adjust whether you wish the scene to be darker or brighter
So in effect the Live Image Control allows a novice user a dumbed down version of their manual counterpart settings without getting into photography jargon of aperture or shutter speed values. The down side of using Live Image Control is that you can’t use the continuous shooting feature or the flash.
Creative mode
The Creative mode is essentially your access to the more manual settings of the camera while still allowing the camera to automatically set some of the settings. There are 11 different options to choose from.
- Programmed Auto – you adjust the shutter speed and aperture together for the optimal exposure (typically this means a large aperture with a fast shutter speed or a small aperture with a slow shutter speed)
- Shutter-Priority Auto – adjust the shutter speed to capture moving objects frozen in motion or blurred. You can select from 30 seconds to 1/16000 second.
- Aperture-Priority Auto – adjust the aperture size to determine whether the background will be in focus or out of focus. The shutter speed is automatically set by the camera.
- Manual – you can adjust the shutter speed and aperture separately and set them to whatever you choose
- Backlighting – this is essentially the HDR (High Dynamic Range) setting to preserve details in shadow by taking two photos in quick succession and combining the darker and lighter exposed photos together
- Night Landscape – an HDR mode specifically for night landscape scenes
- Night Portrait – an HDR mode specifically for night portrait shots
- Easy Panorama – allows you to take a panoramic shot
- Soft – take photos with a soft filter effect
- Miniature Effect – take a photo where the top and bottom is blurred to produce a sort of zoomed in effect
- Selective Color – take a photo where only a single color appears and the rest of the photo is in black and white
There are some other settings that can be adjusted by going into the Menu (press the Menu button) and Image Processing sub-menu. Here you can further adjust the following:
- White Balance – adjust for different lighting situations. Set to Auto, Incandescent, Fluorescent, Direct sunlight, Flash, Cloudy, Shade, Underwater, Preset manual.
- ISO Sensitivity – adjust the light sensitivity. Set to Auto 160-6400, Auto 160-3200, Auto 160-800, 160, 200, 400, 800, 1600, 3200, 6400.
- Picture Control – Choose how photos are processed. Set to Standard, Neutral, Vivid, Monochrome, Portrait, Landscape.
- High ISO noise reduction – turn on or off
Field test
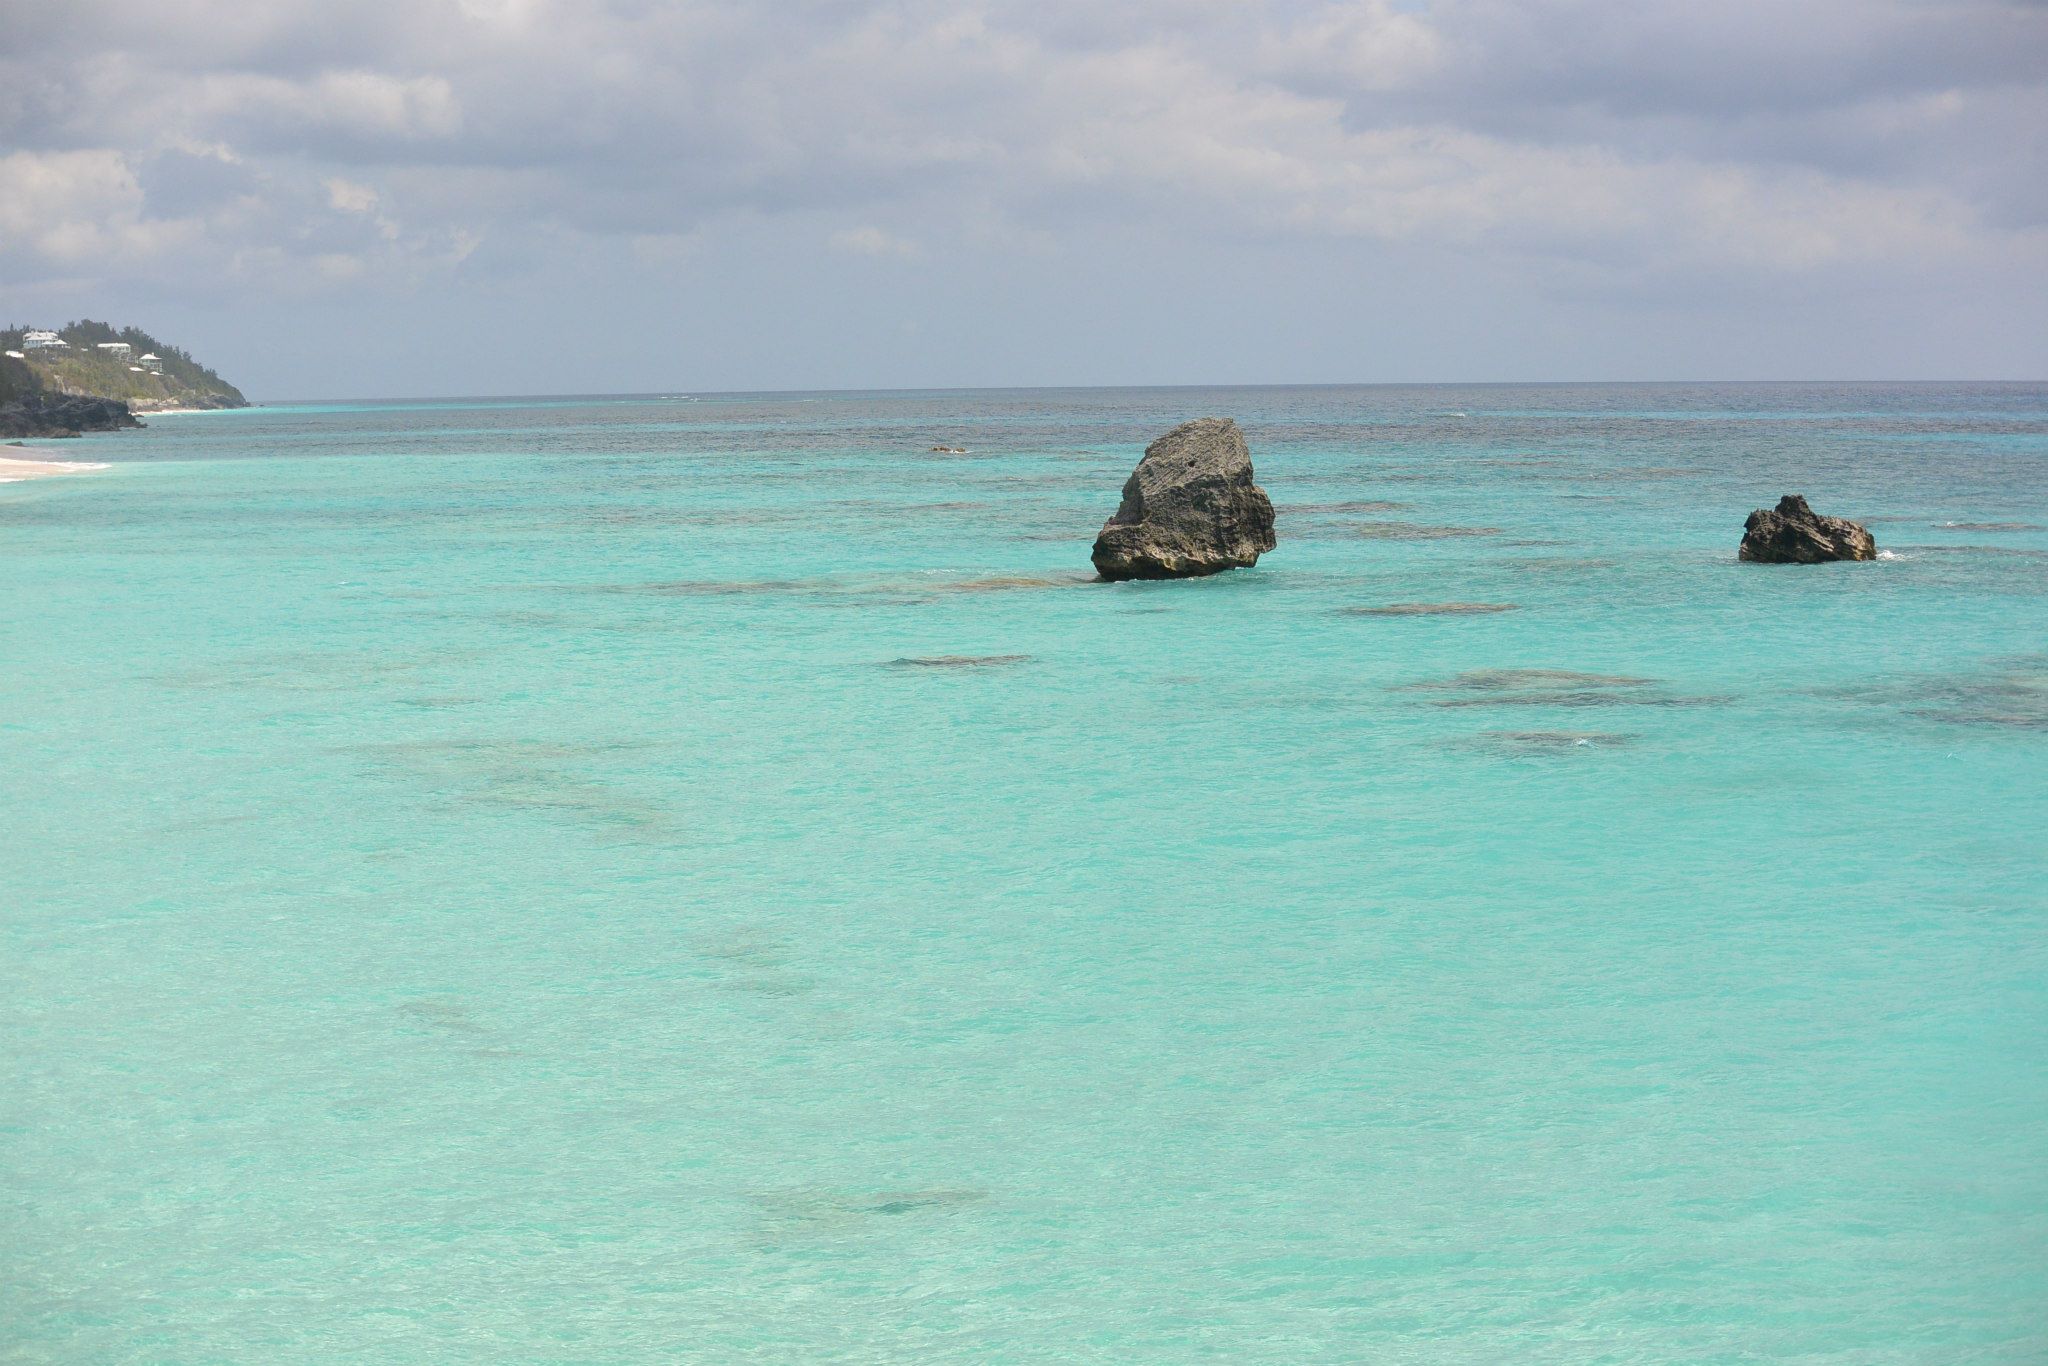
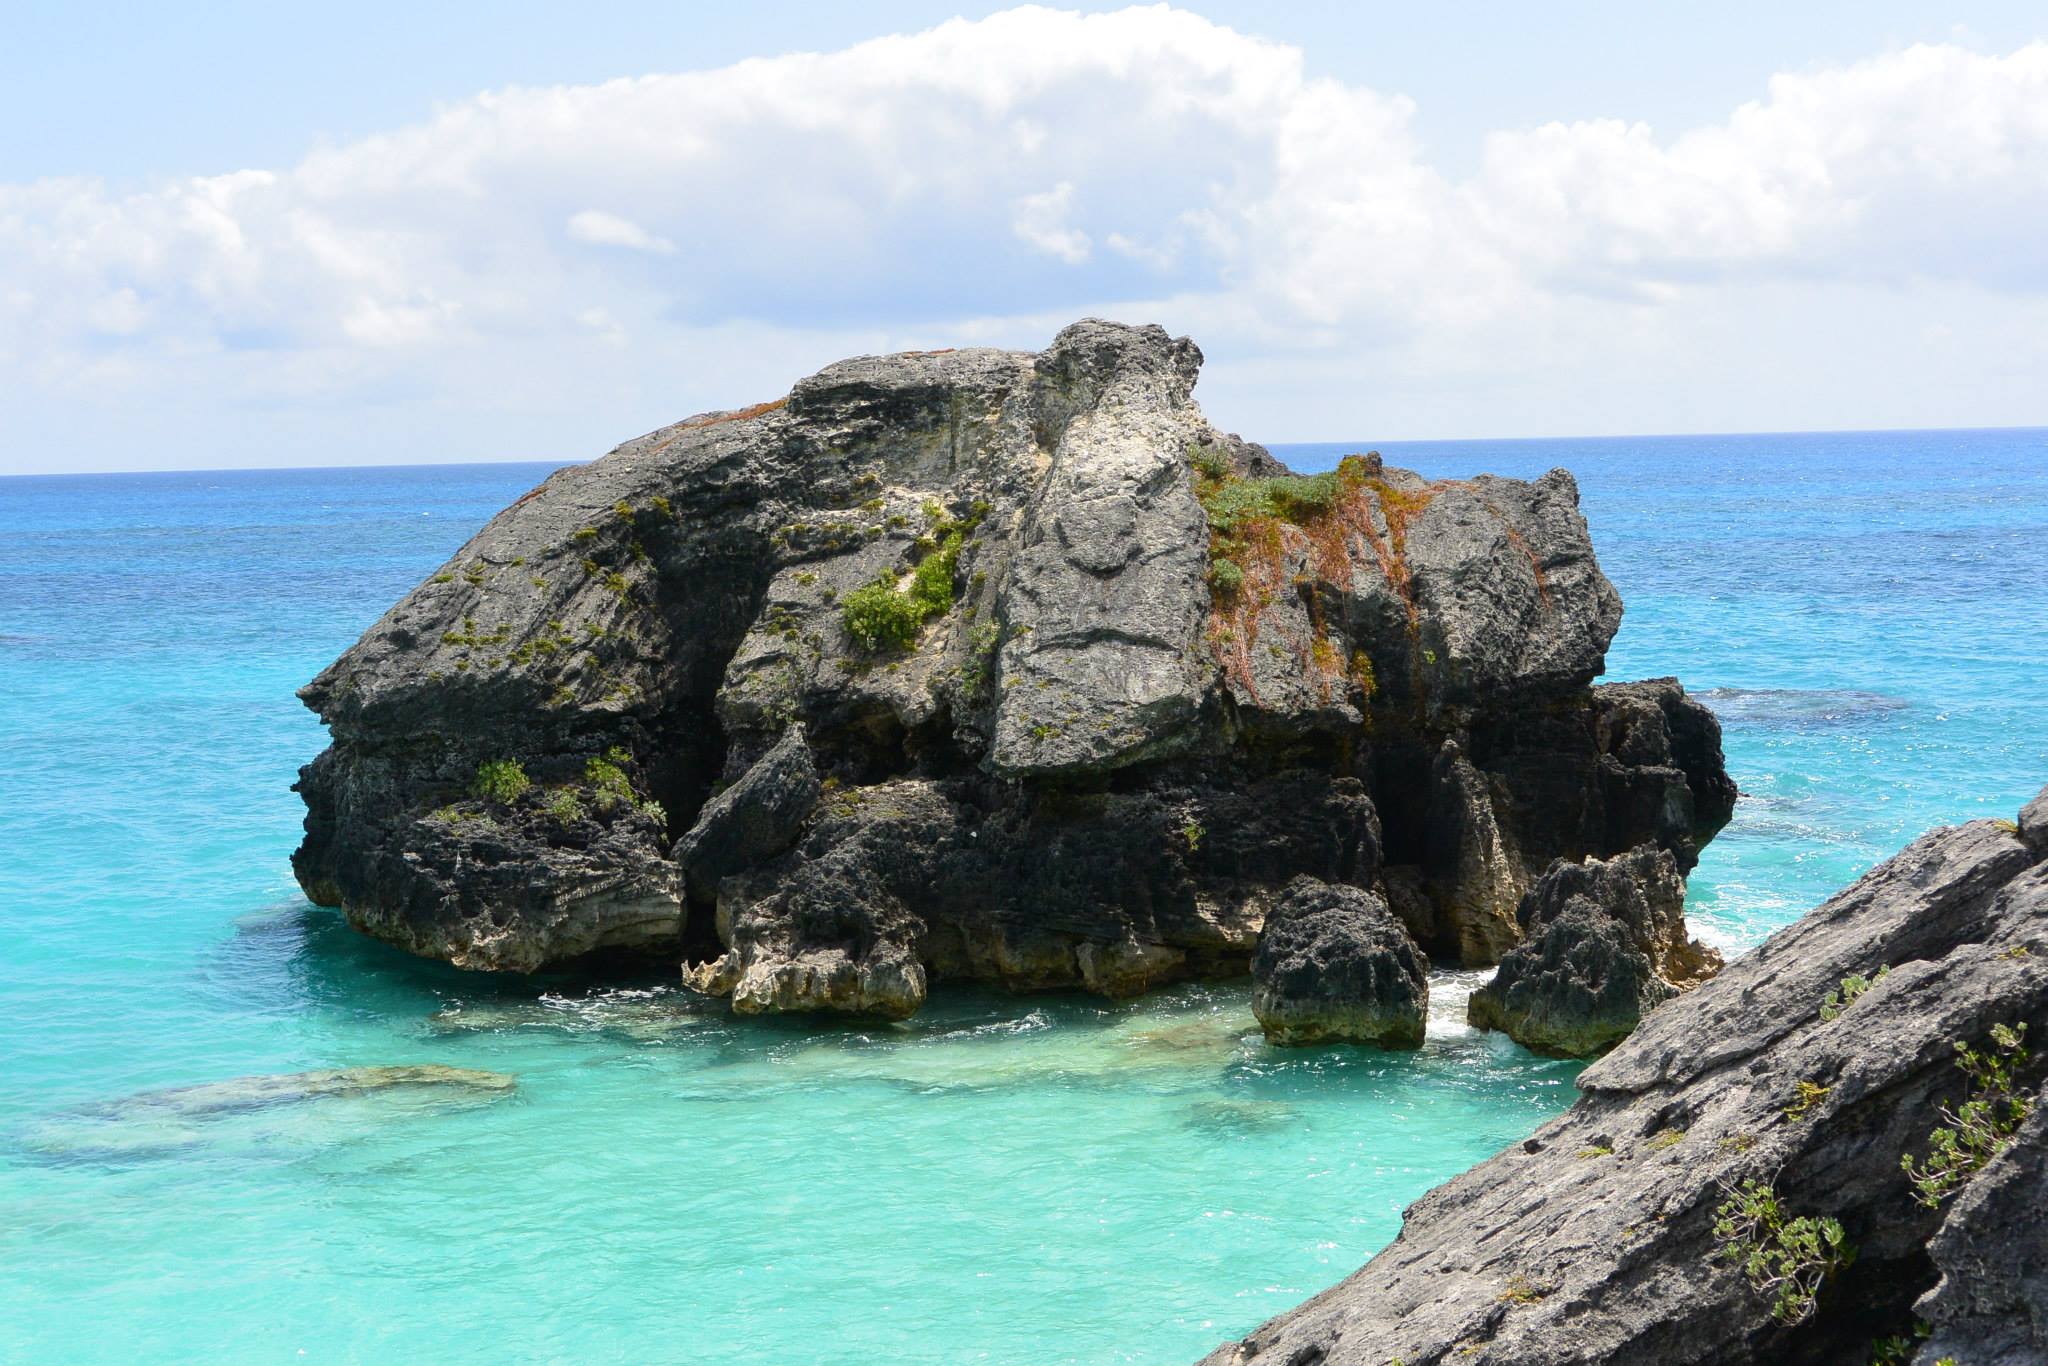
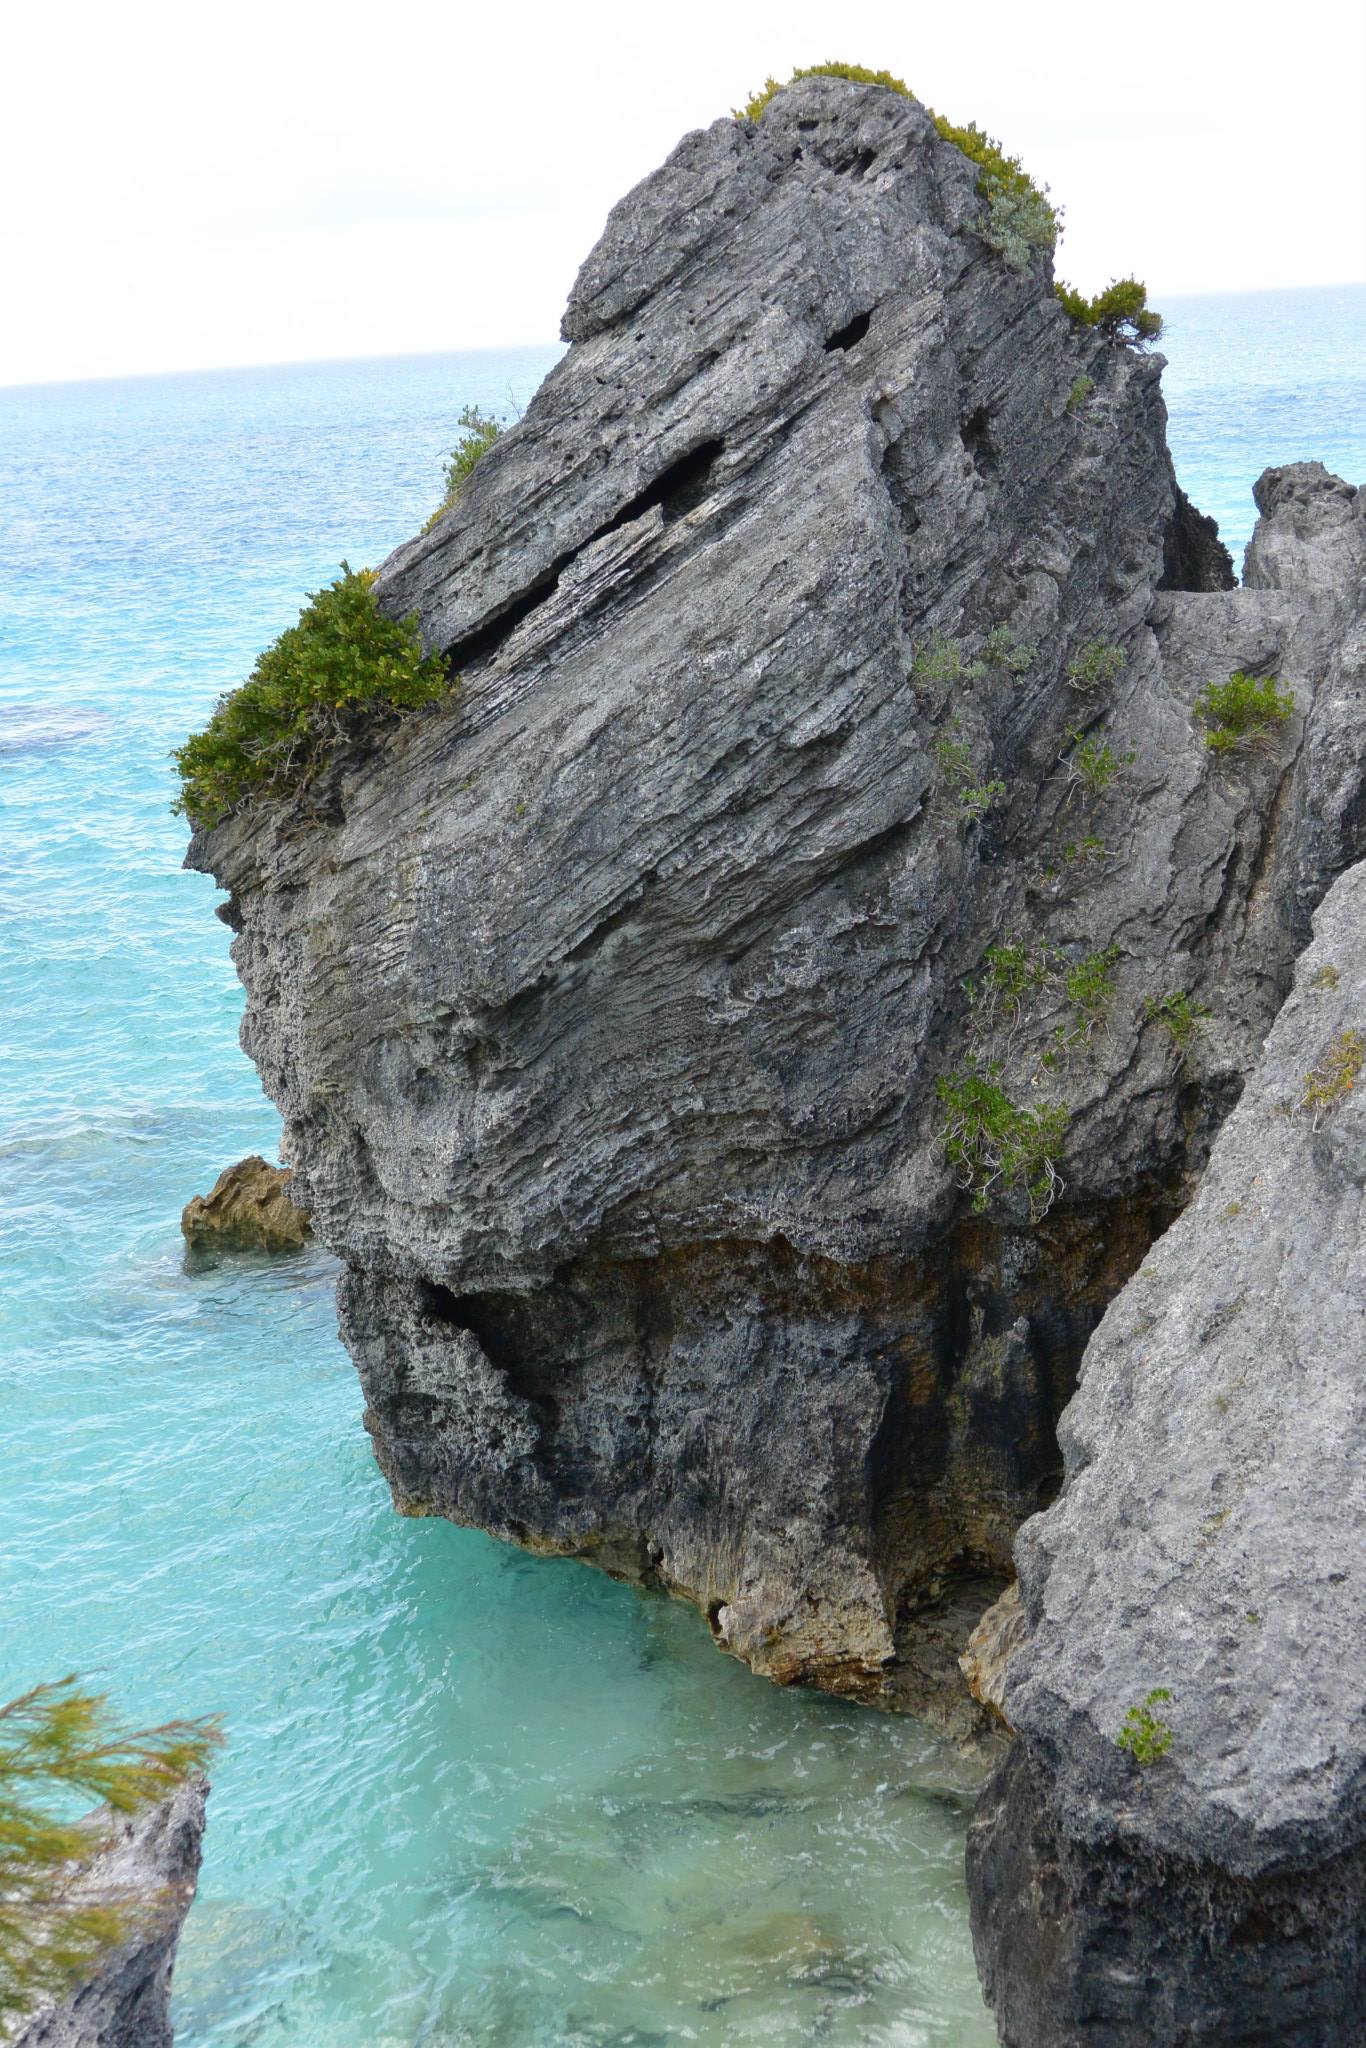
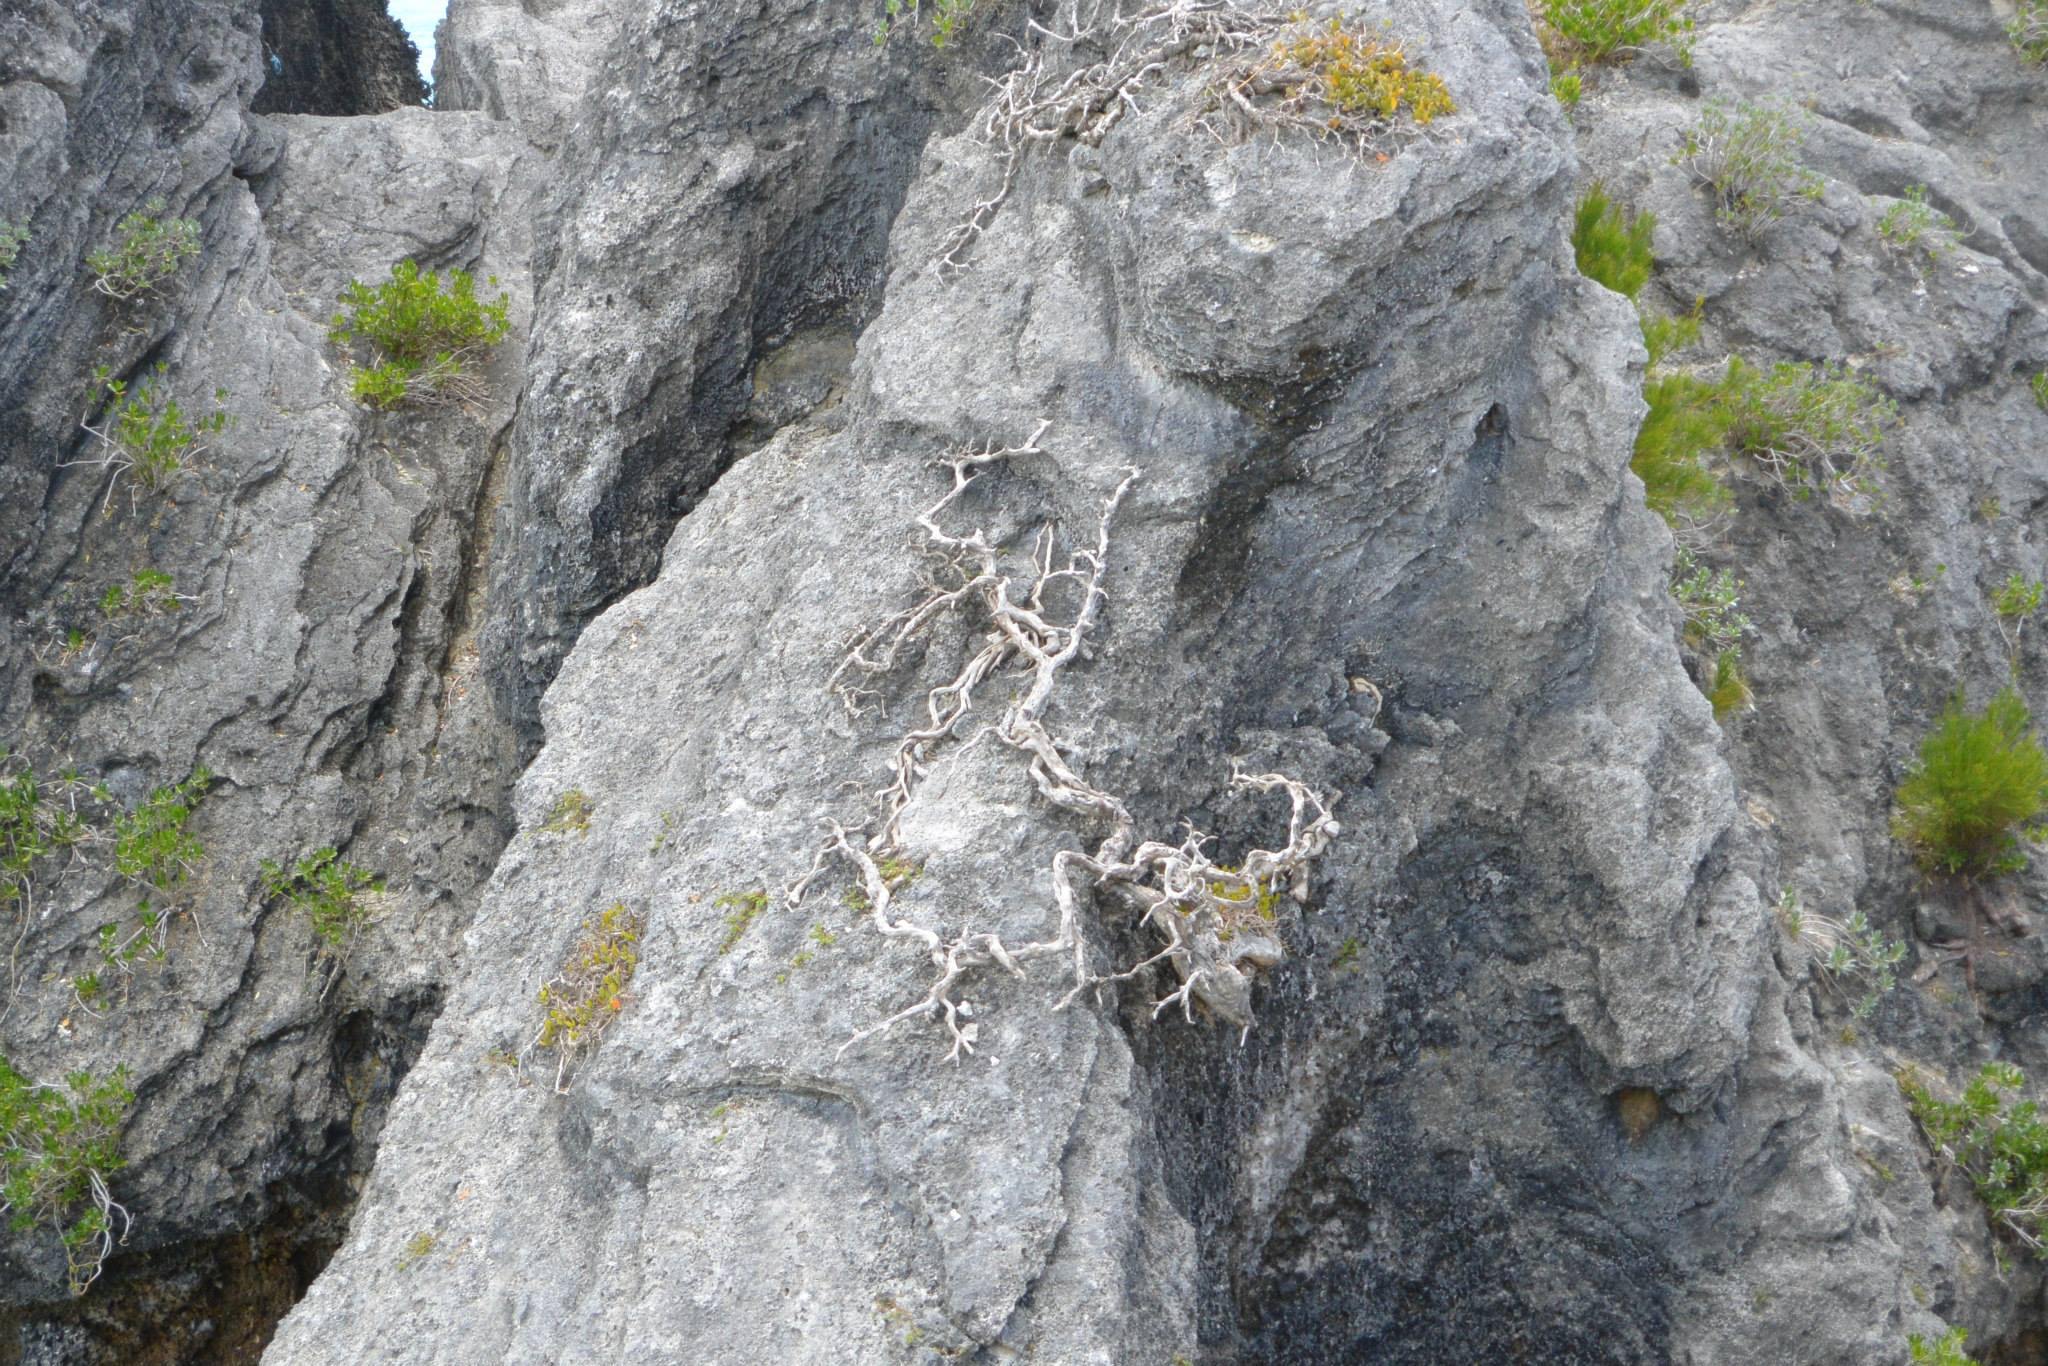
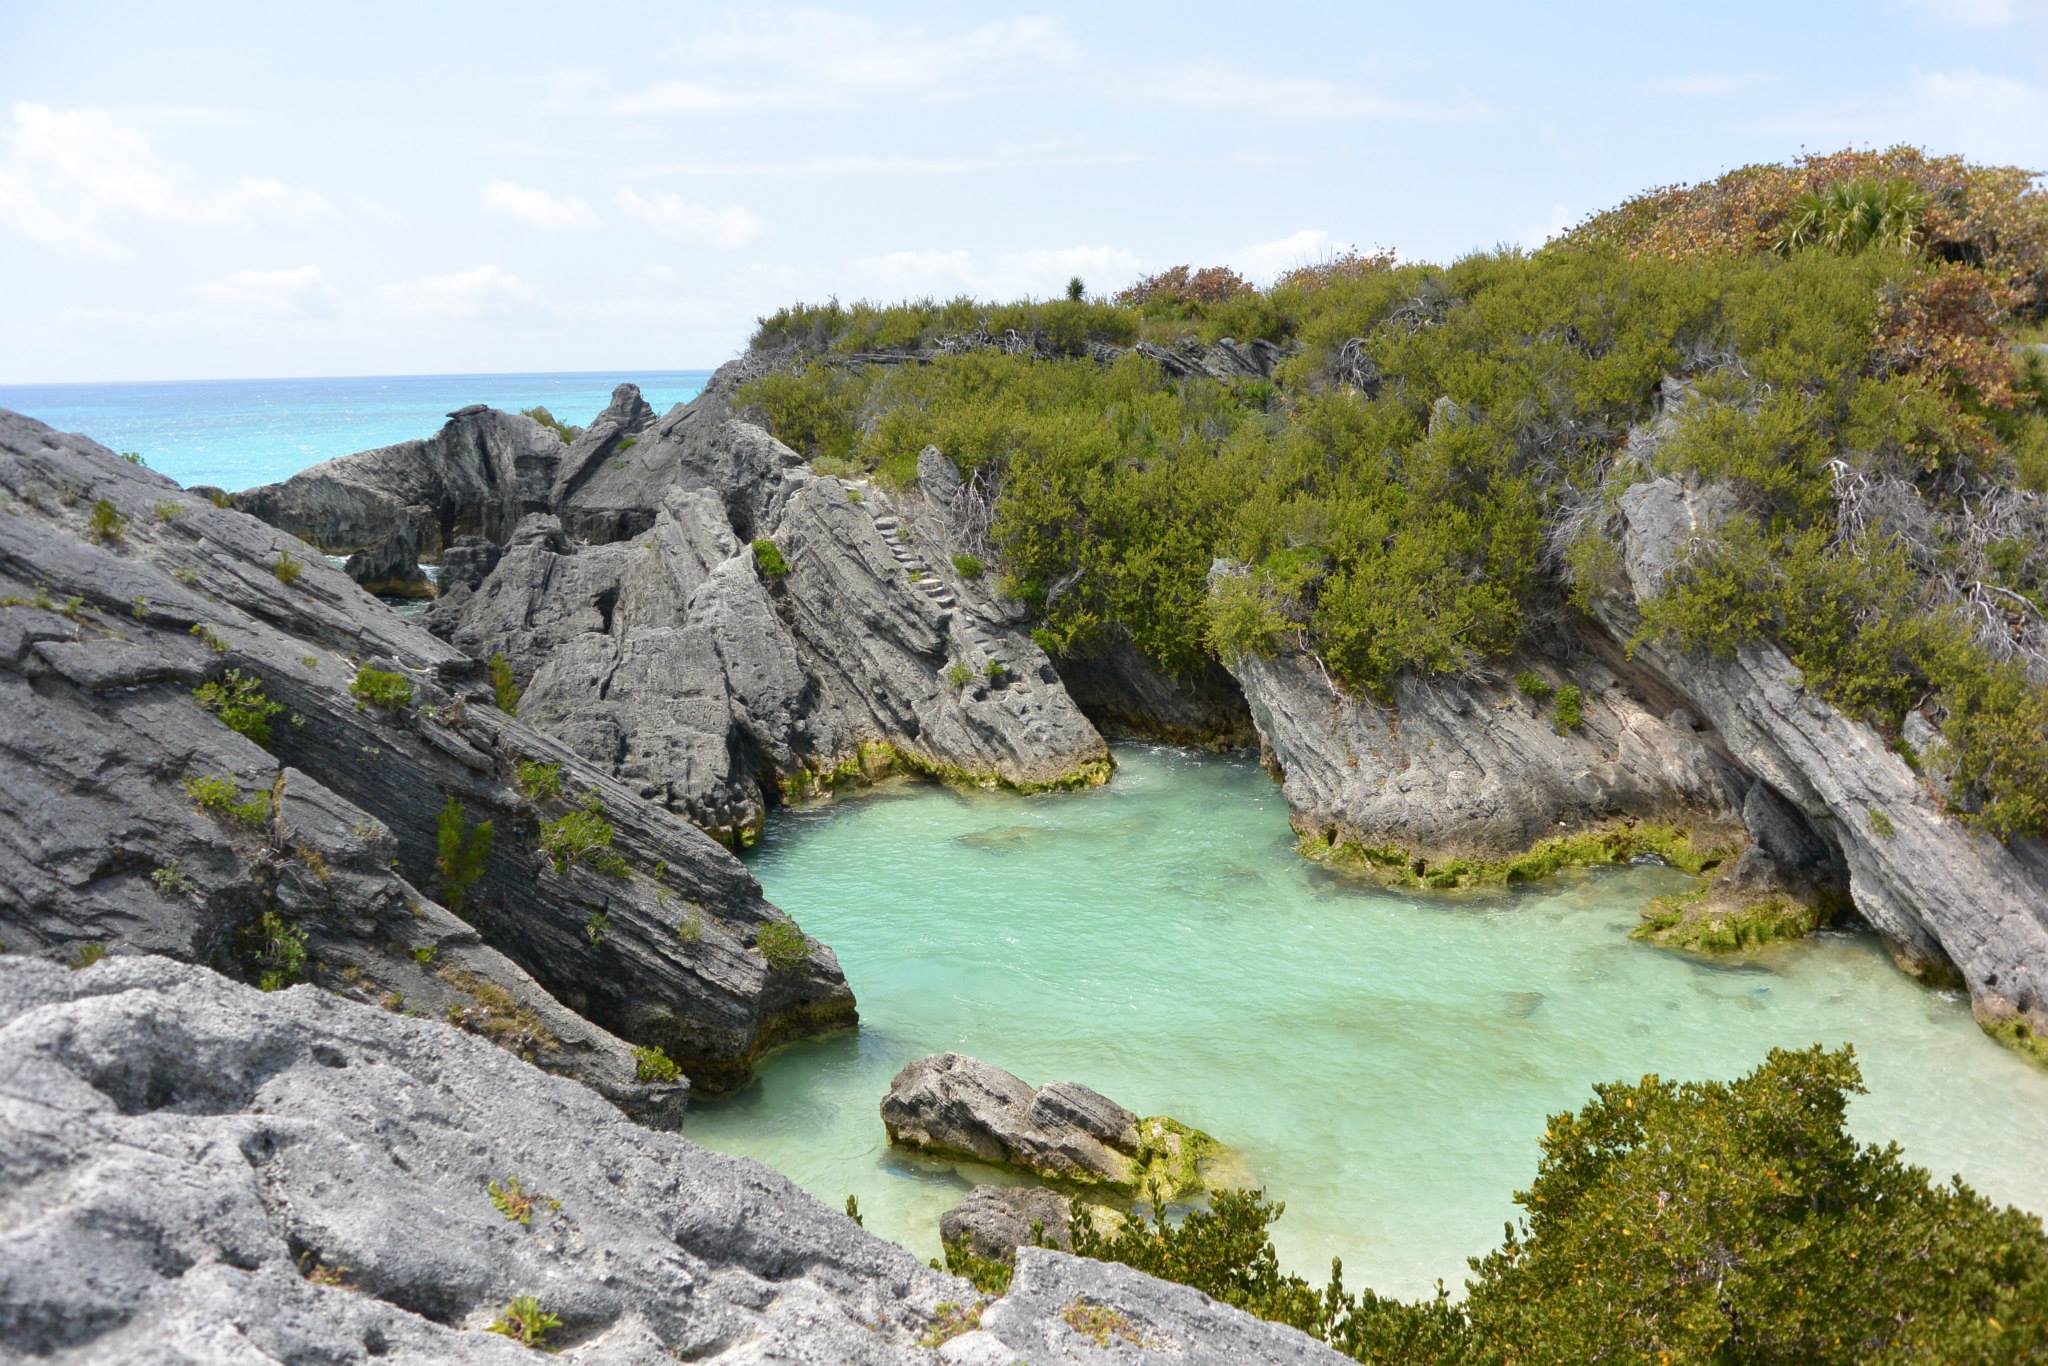
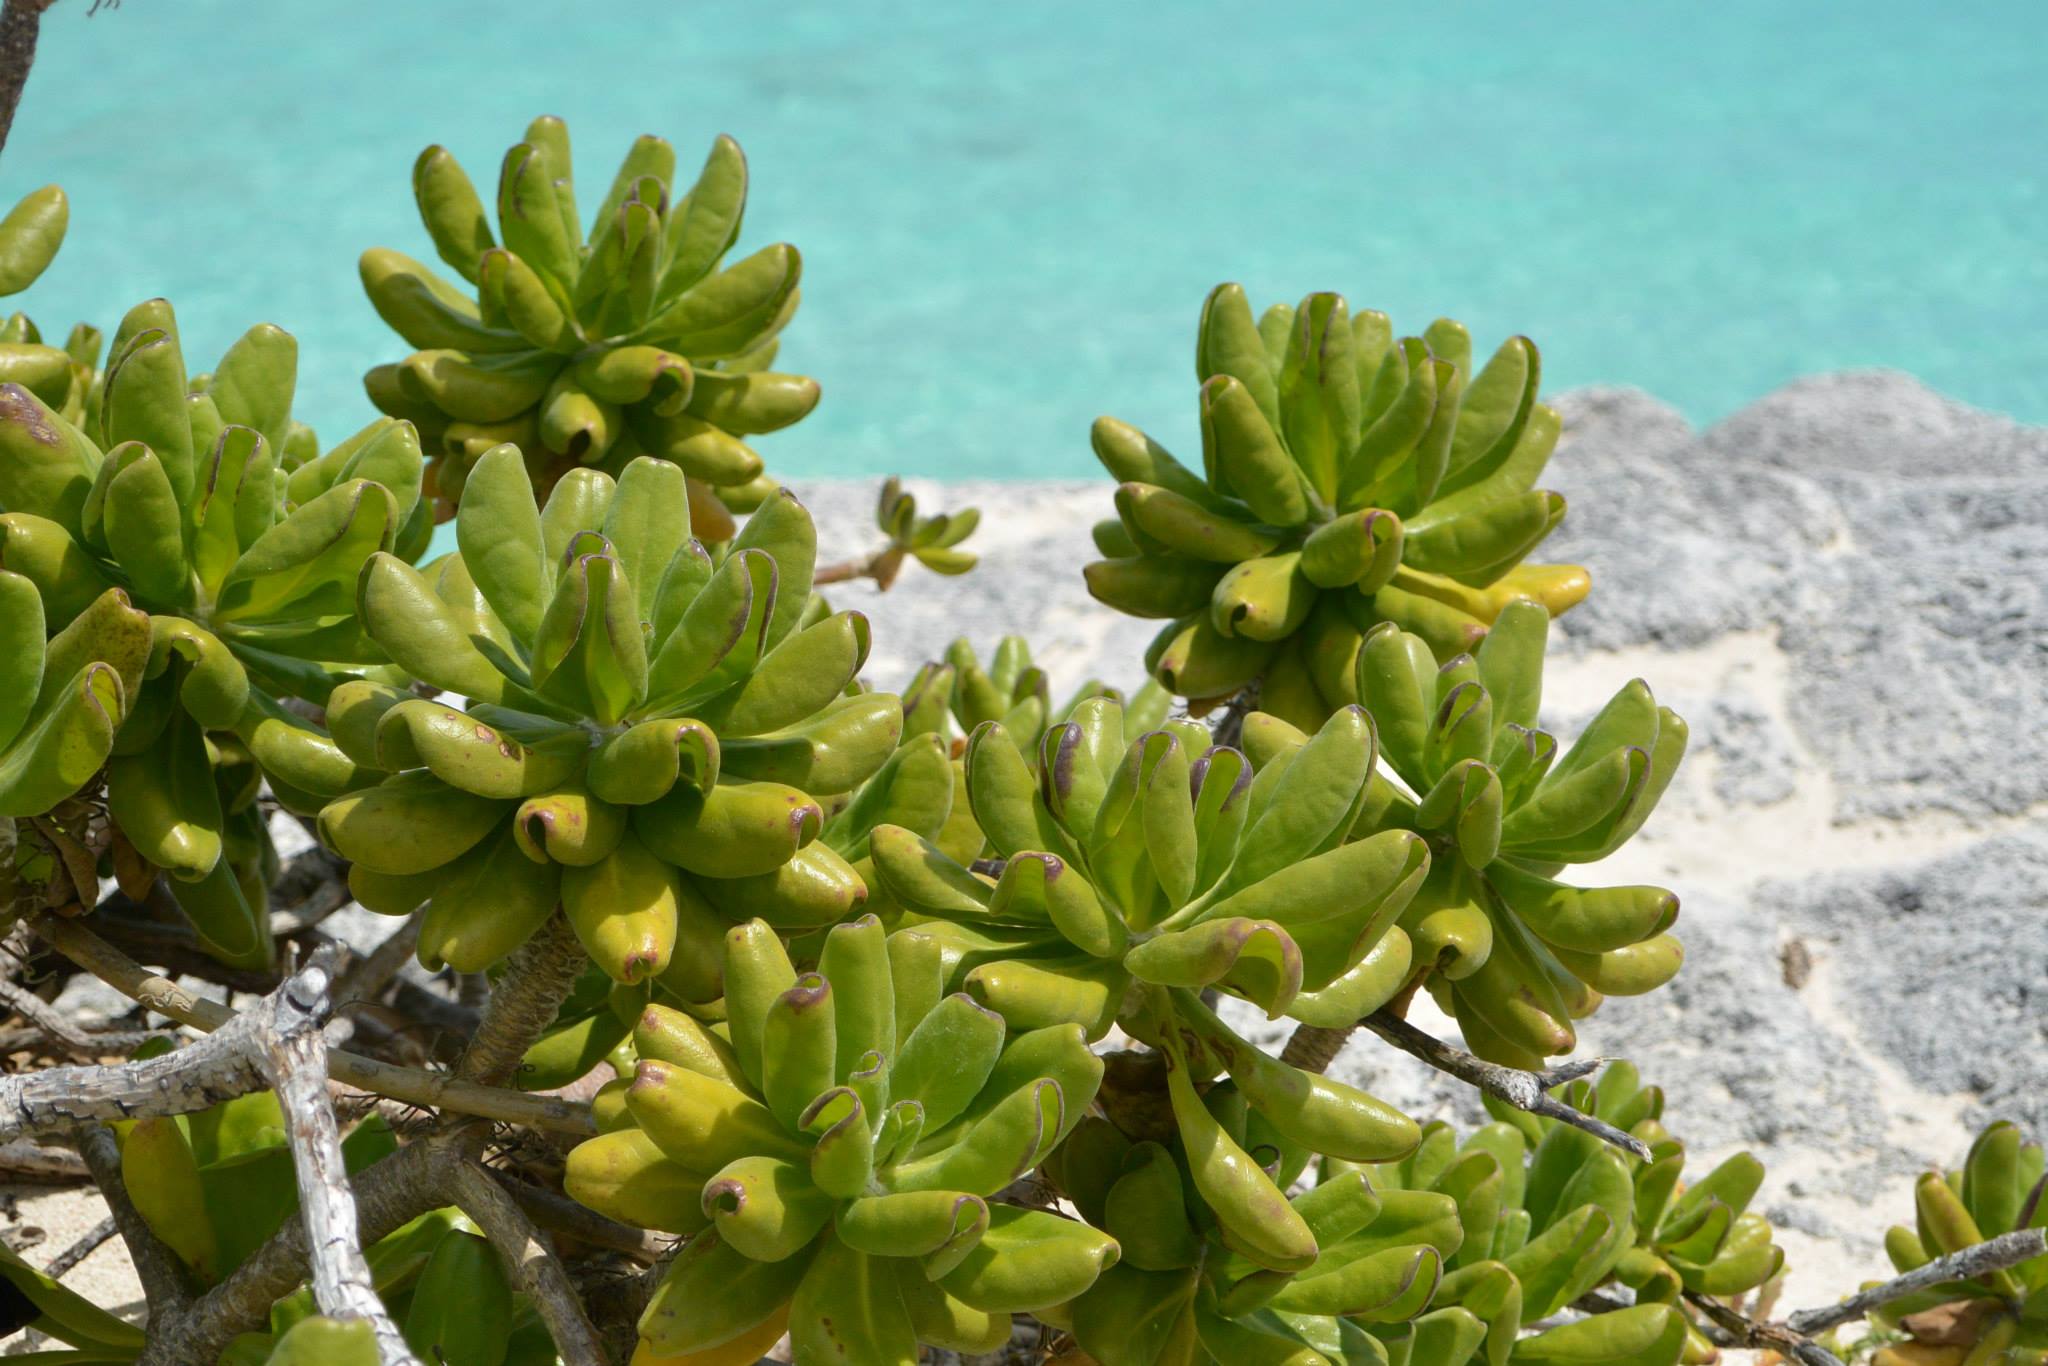
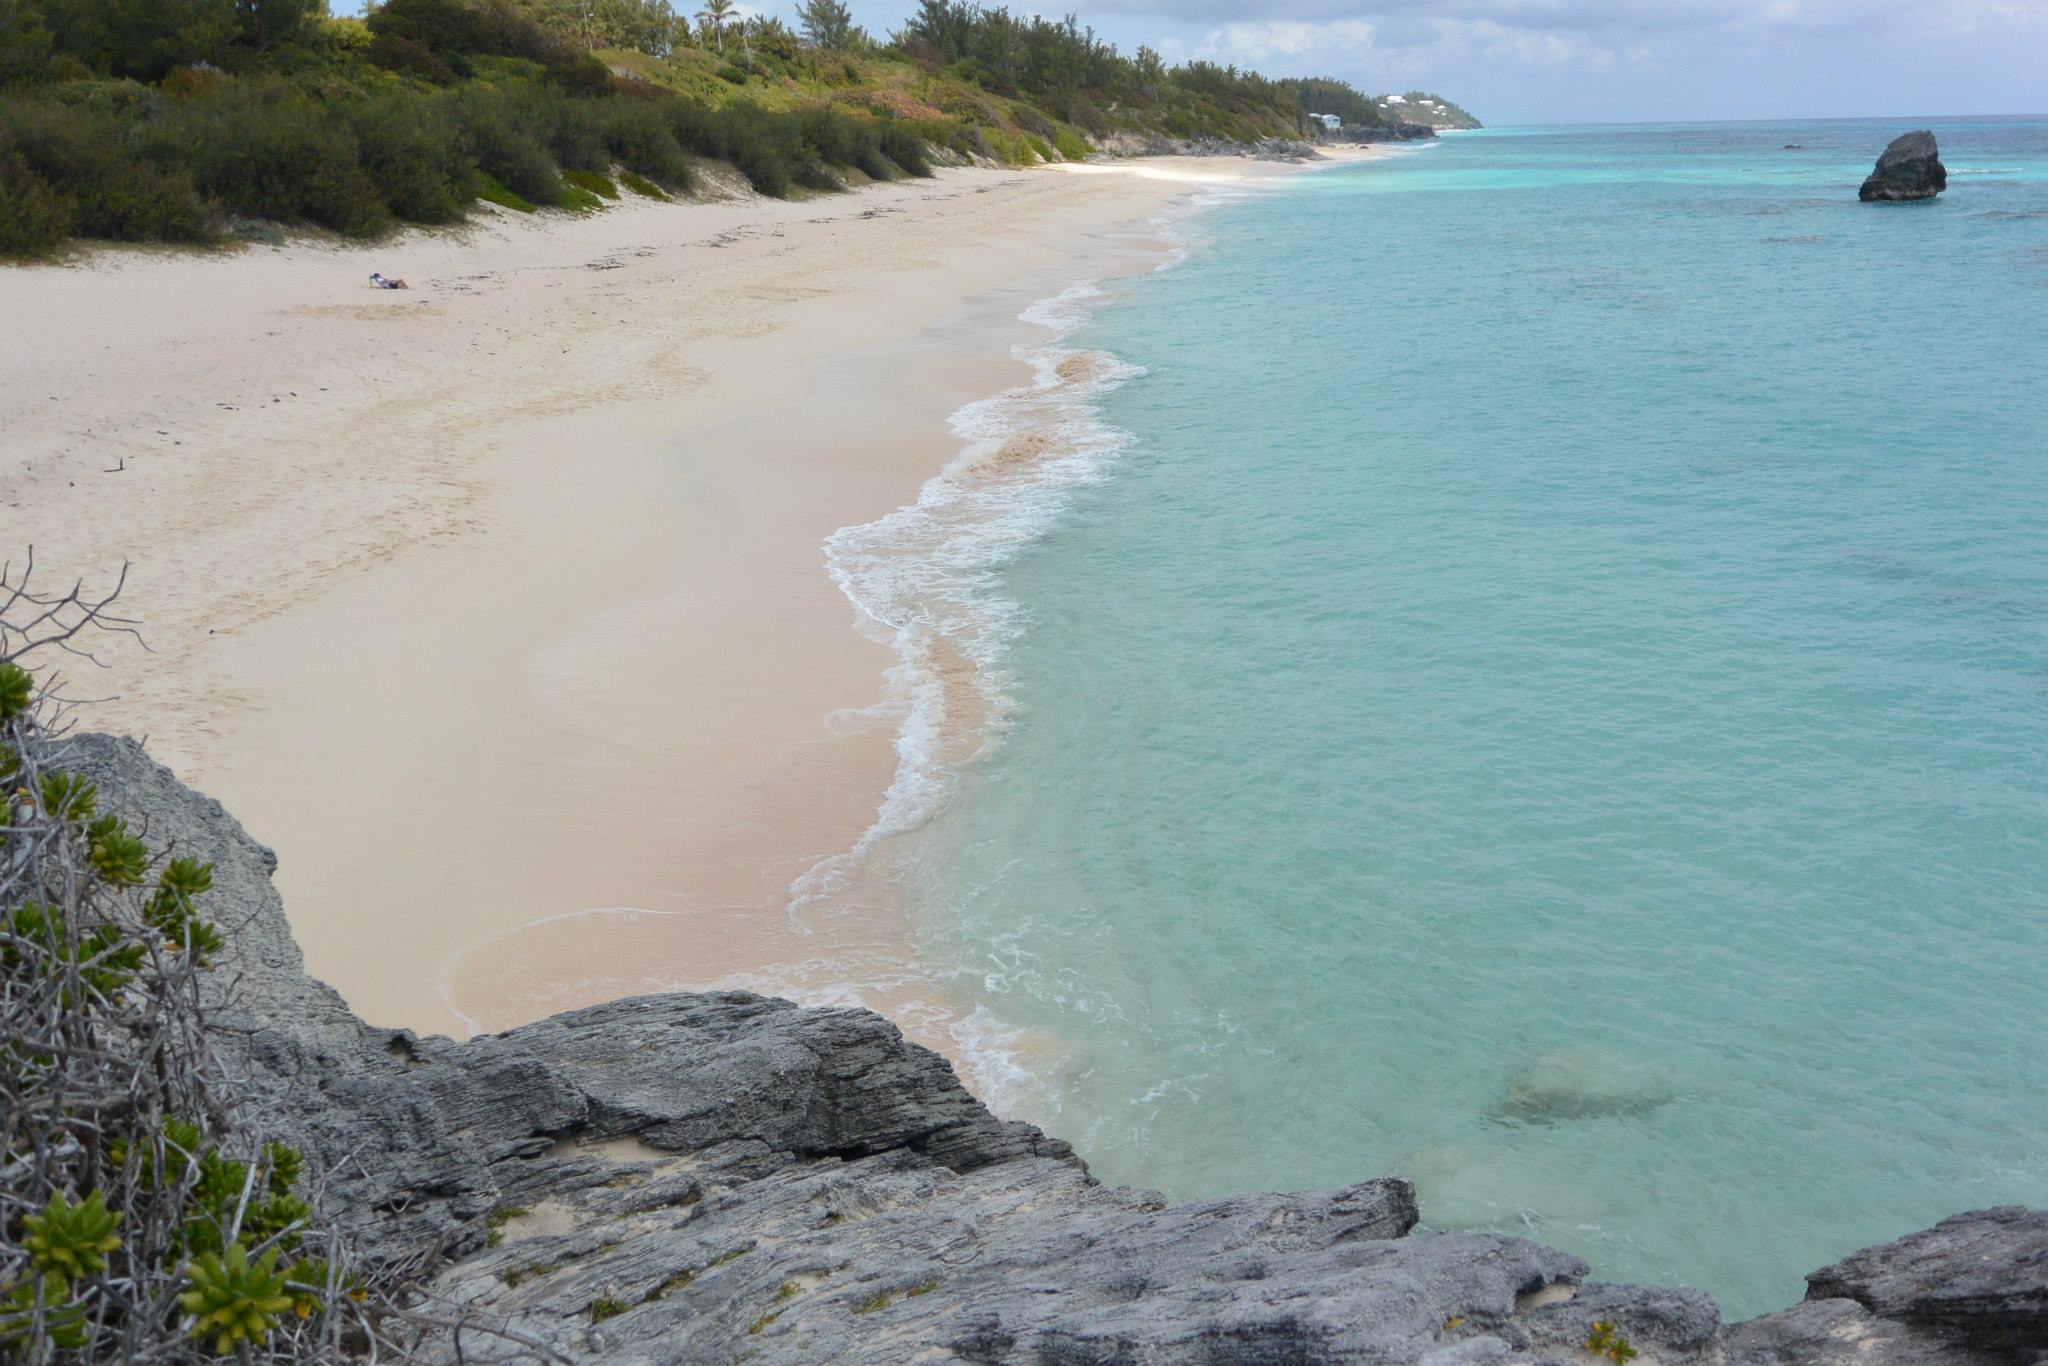
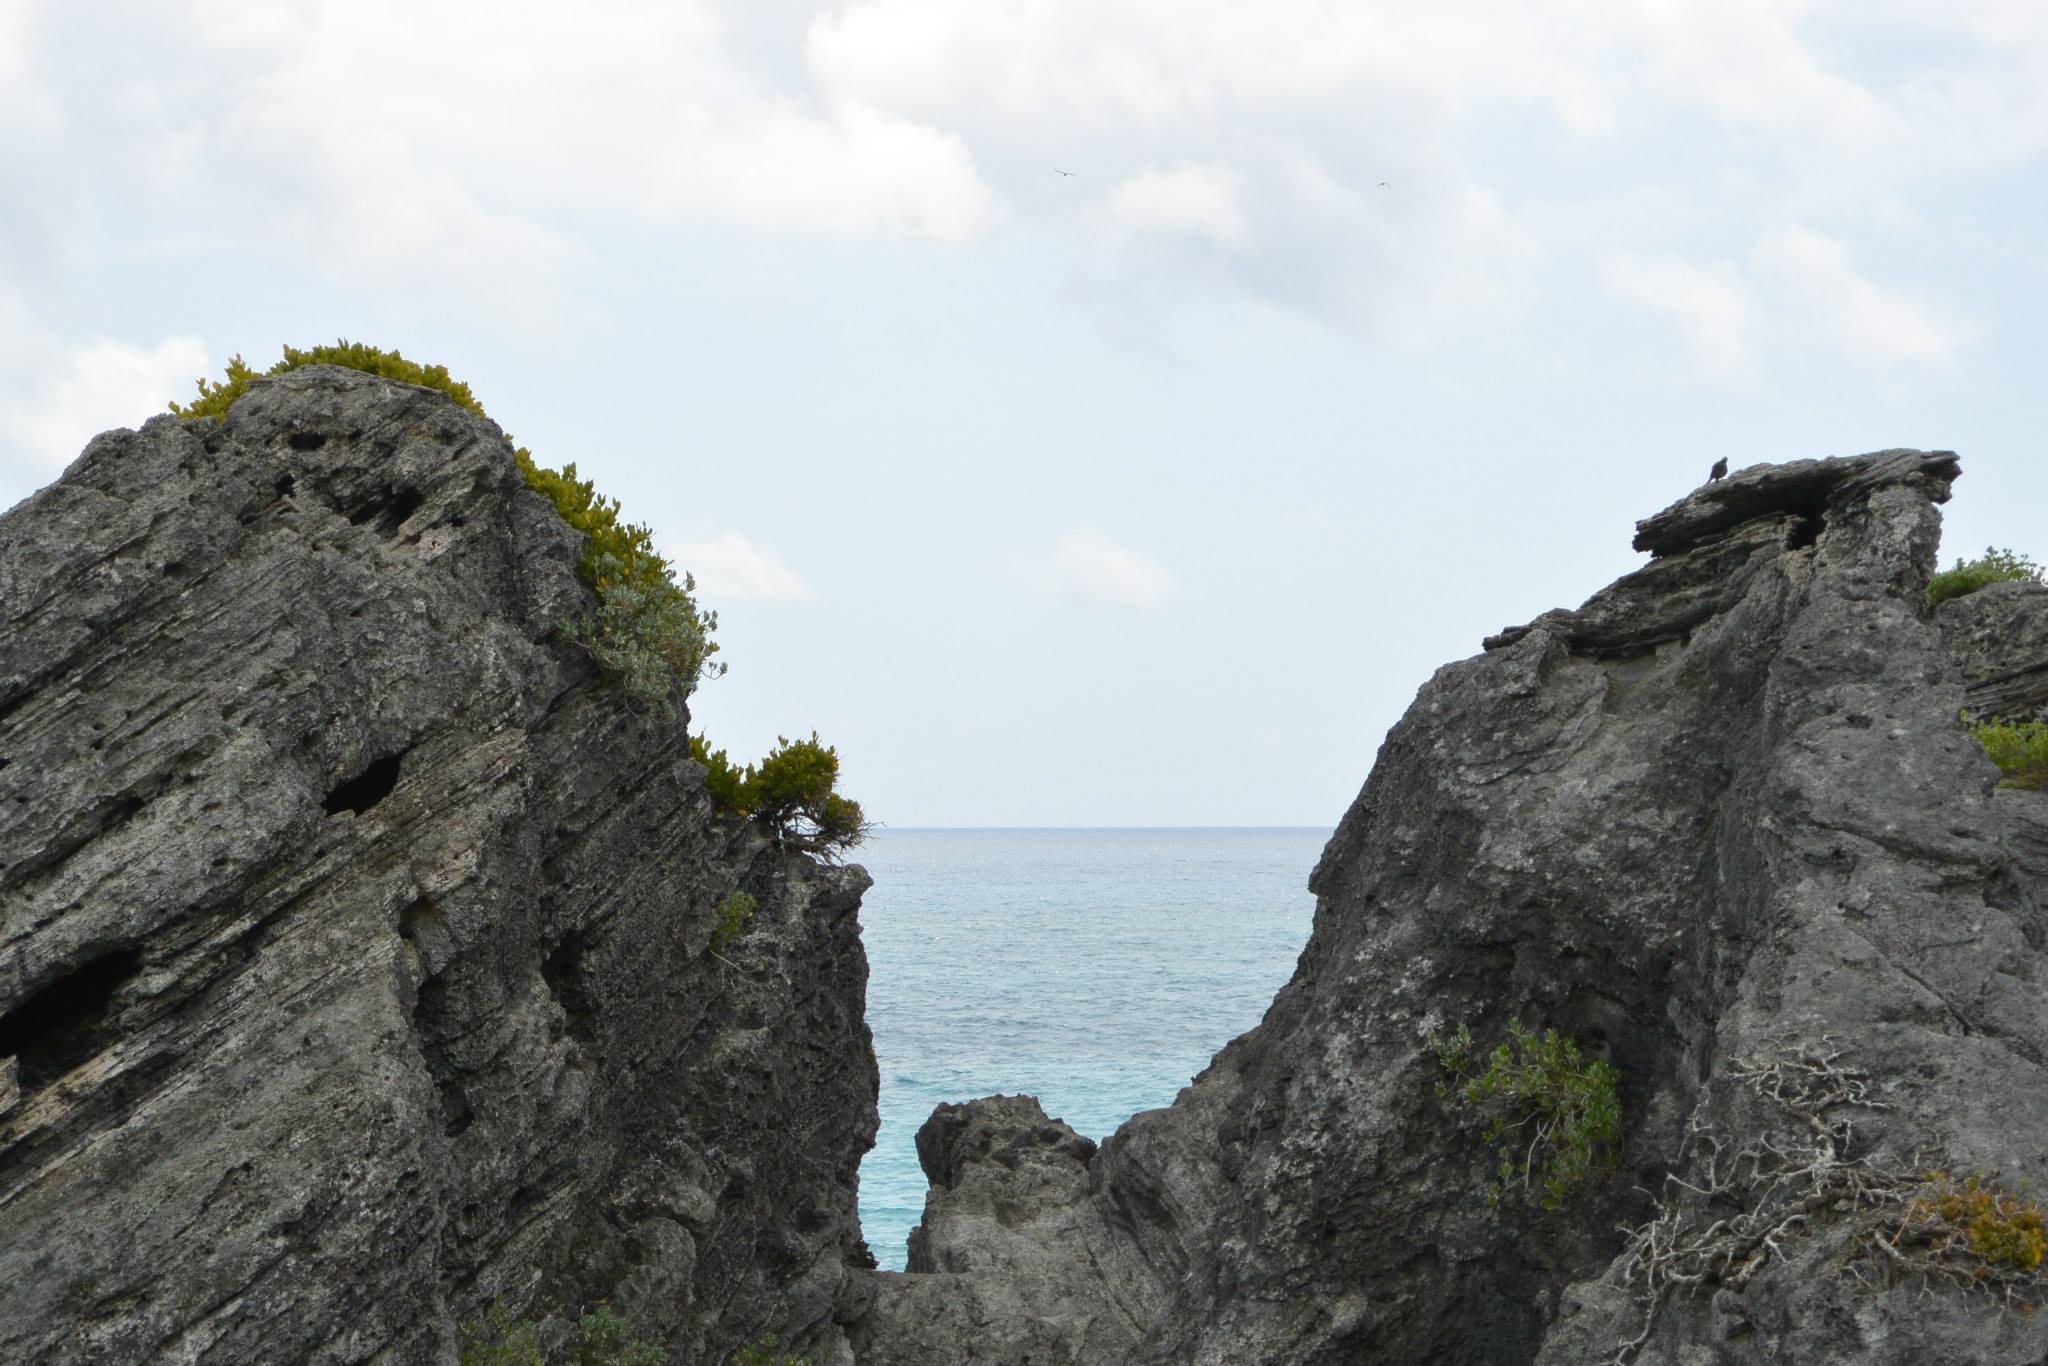
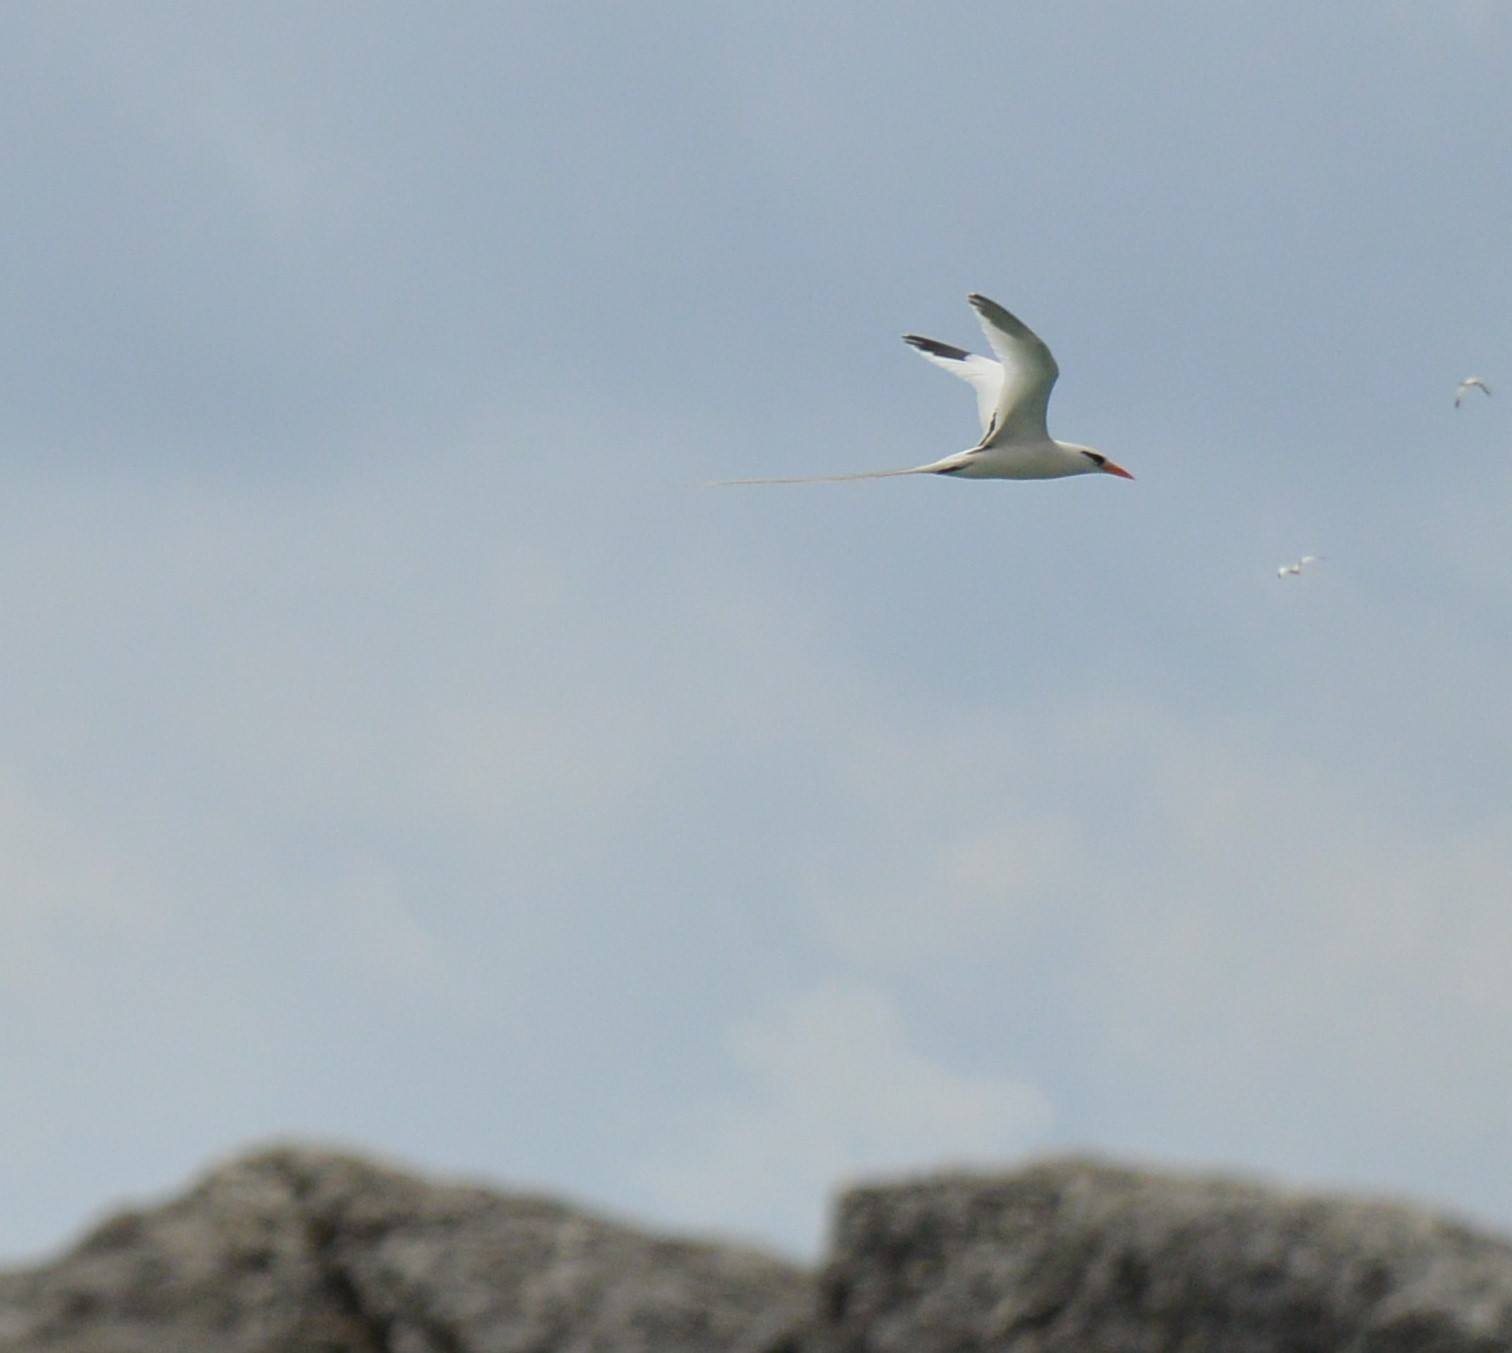
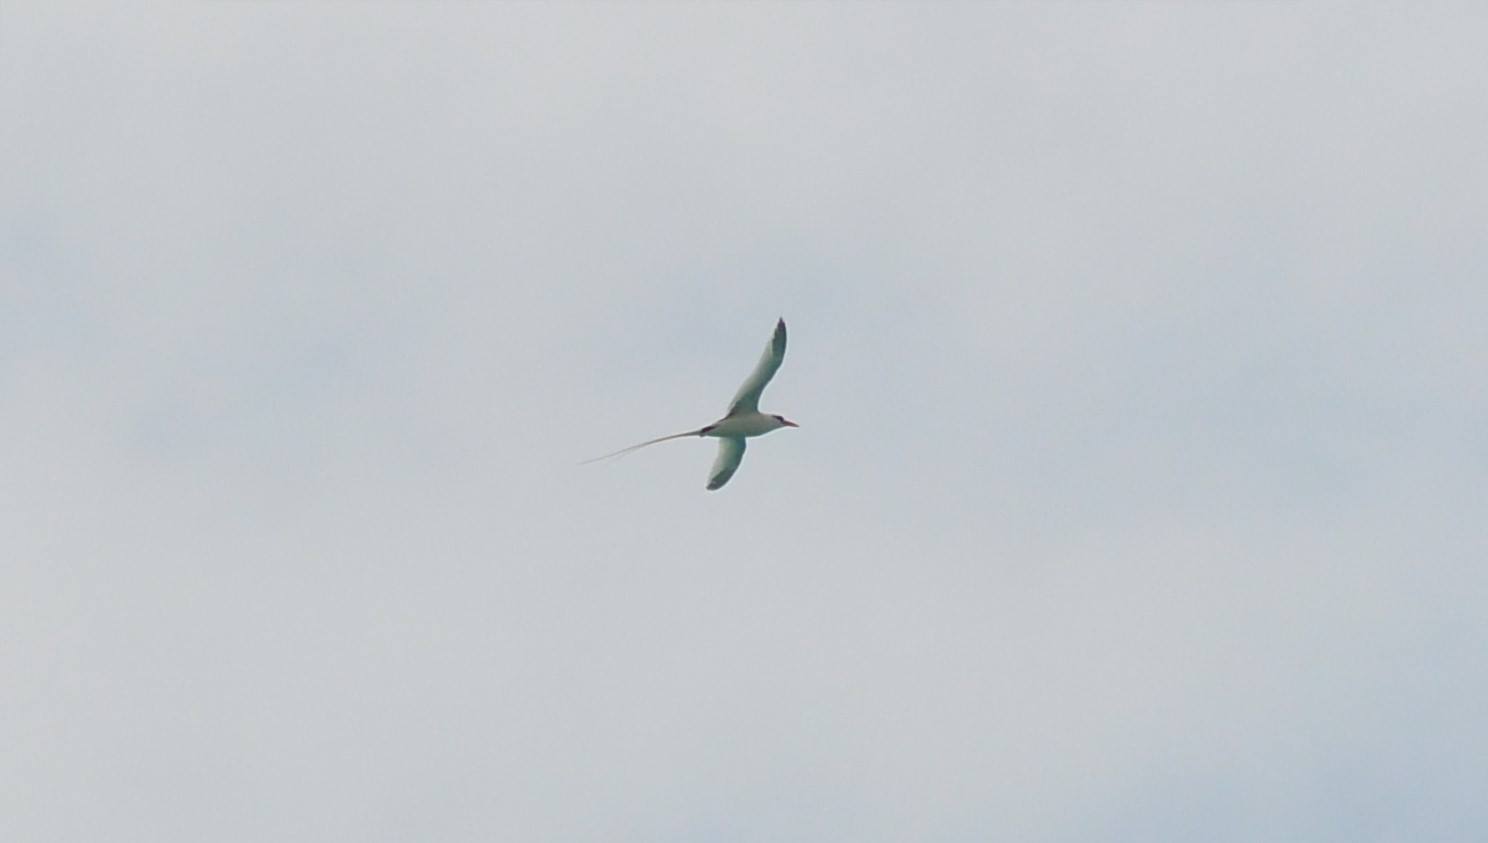
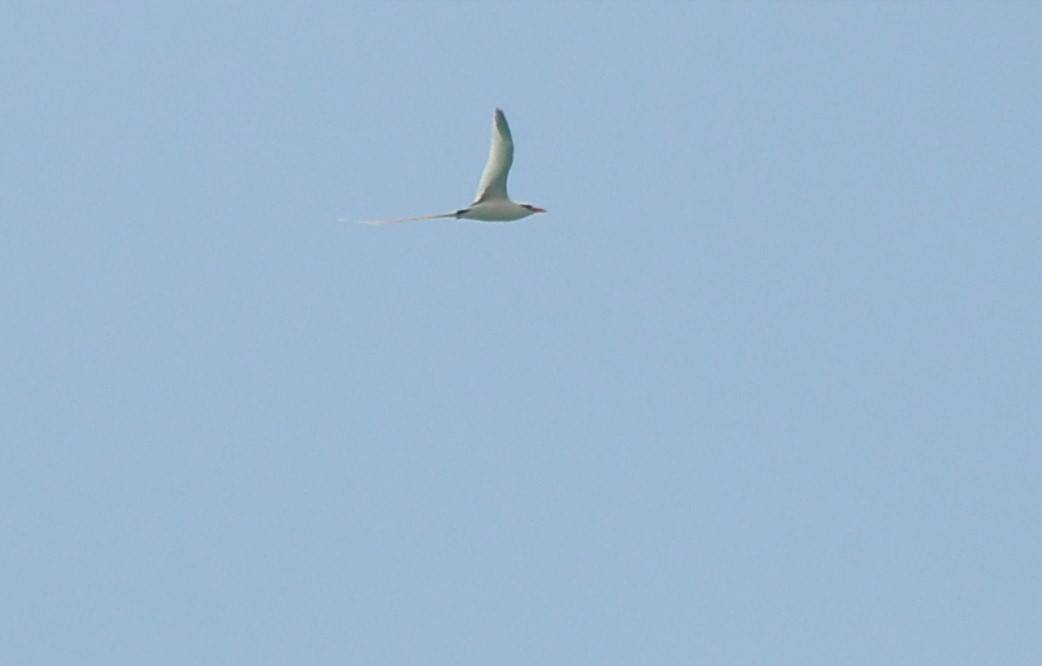
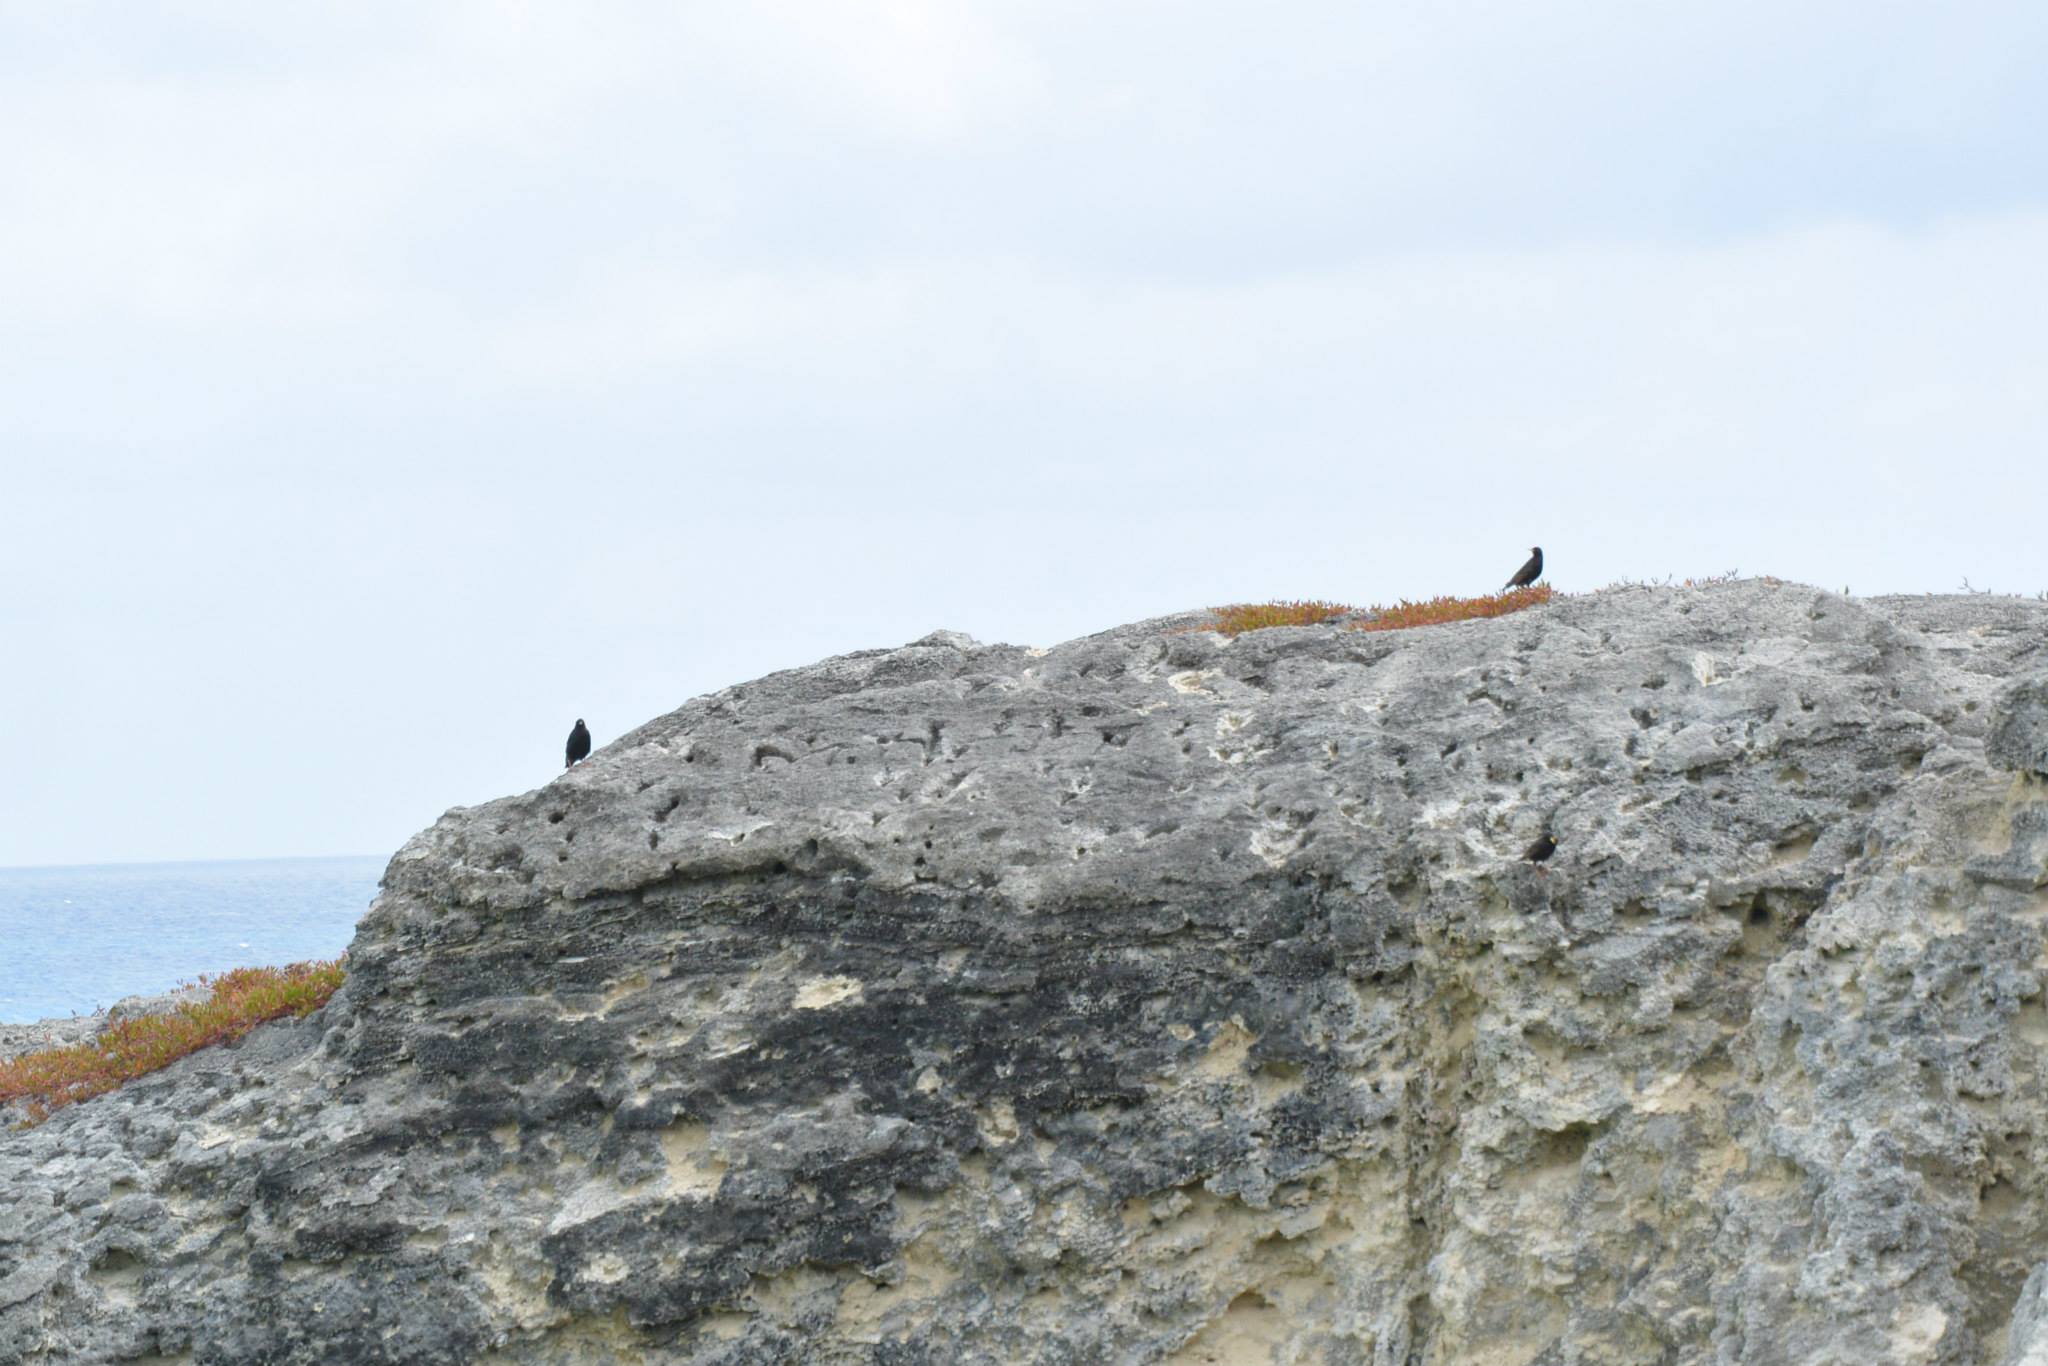
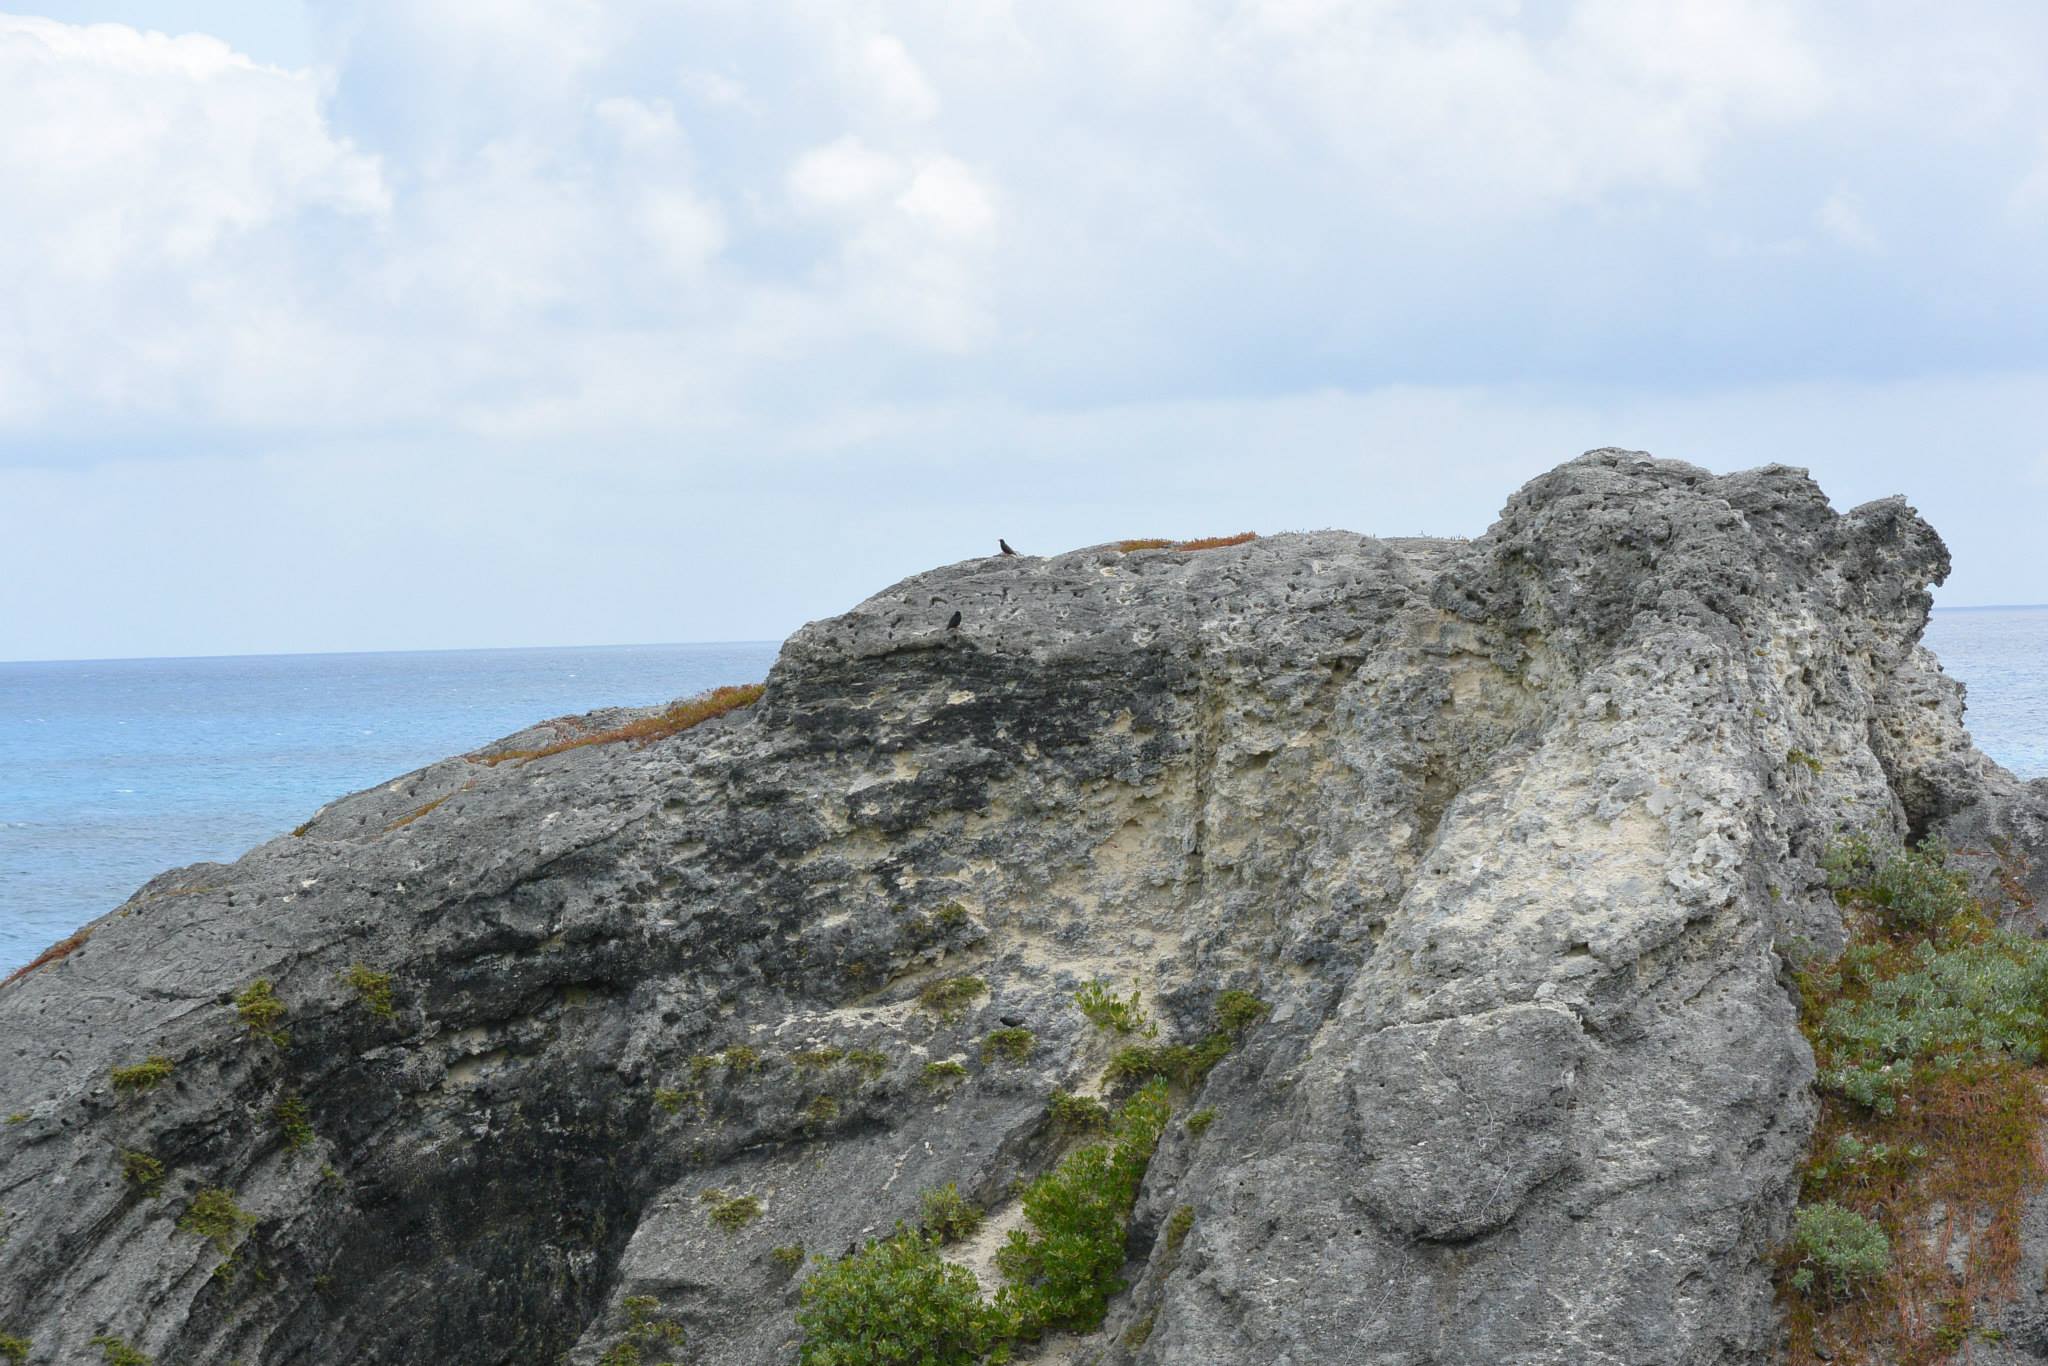
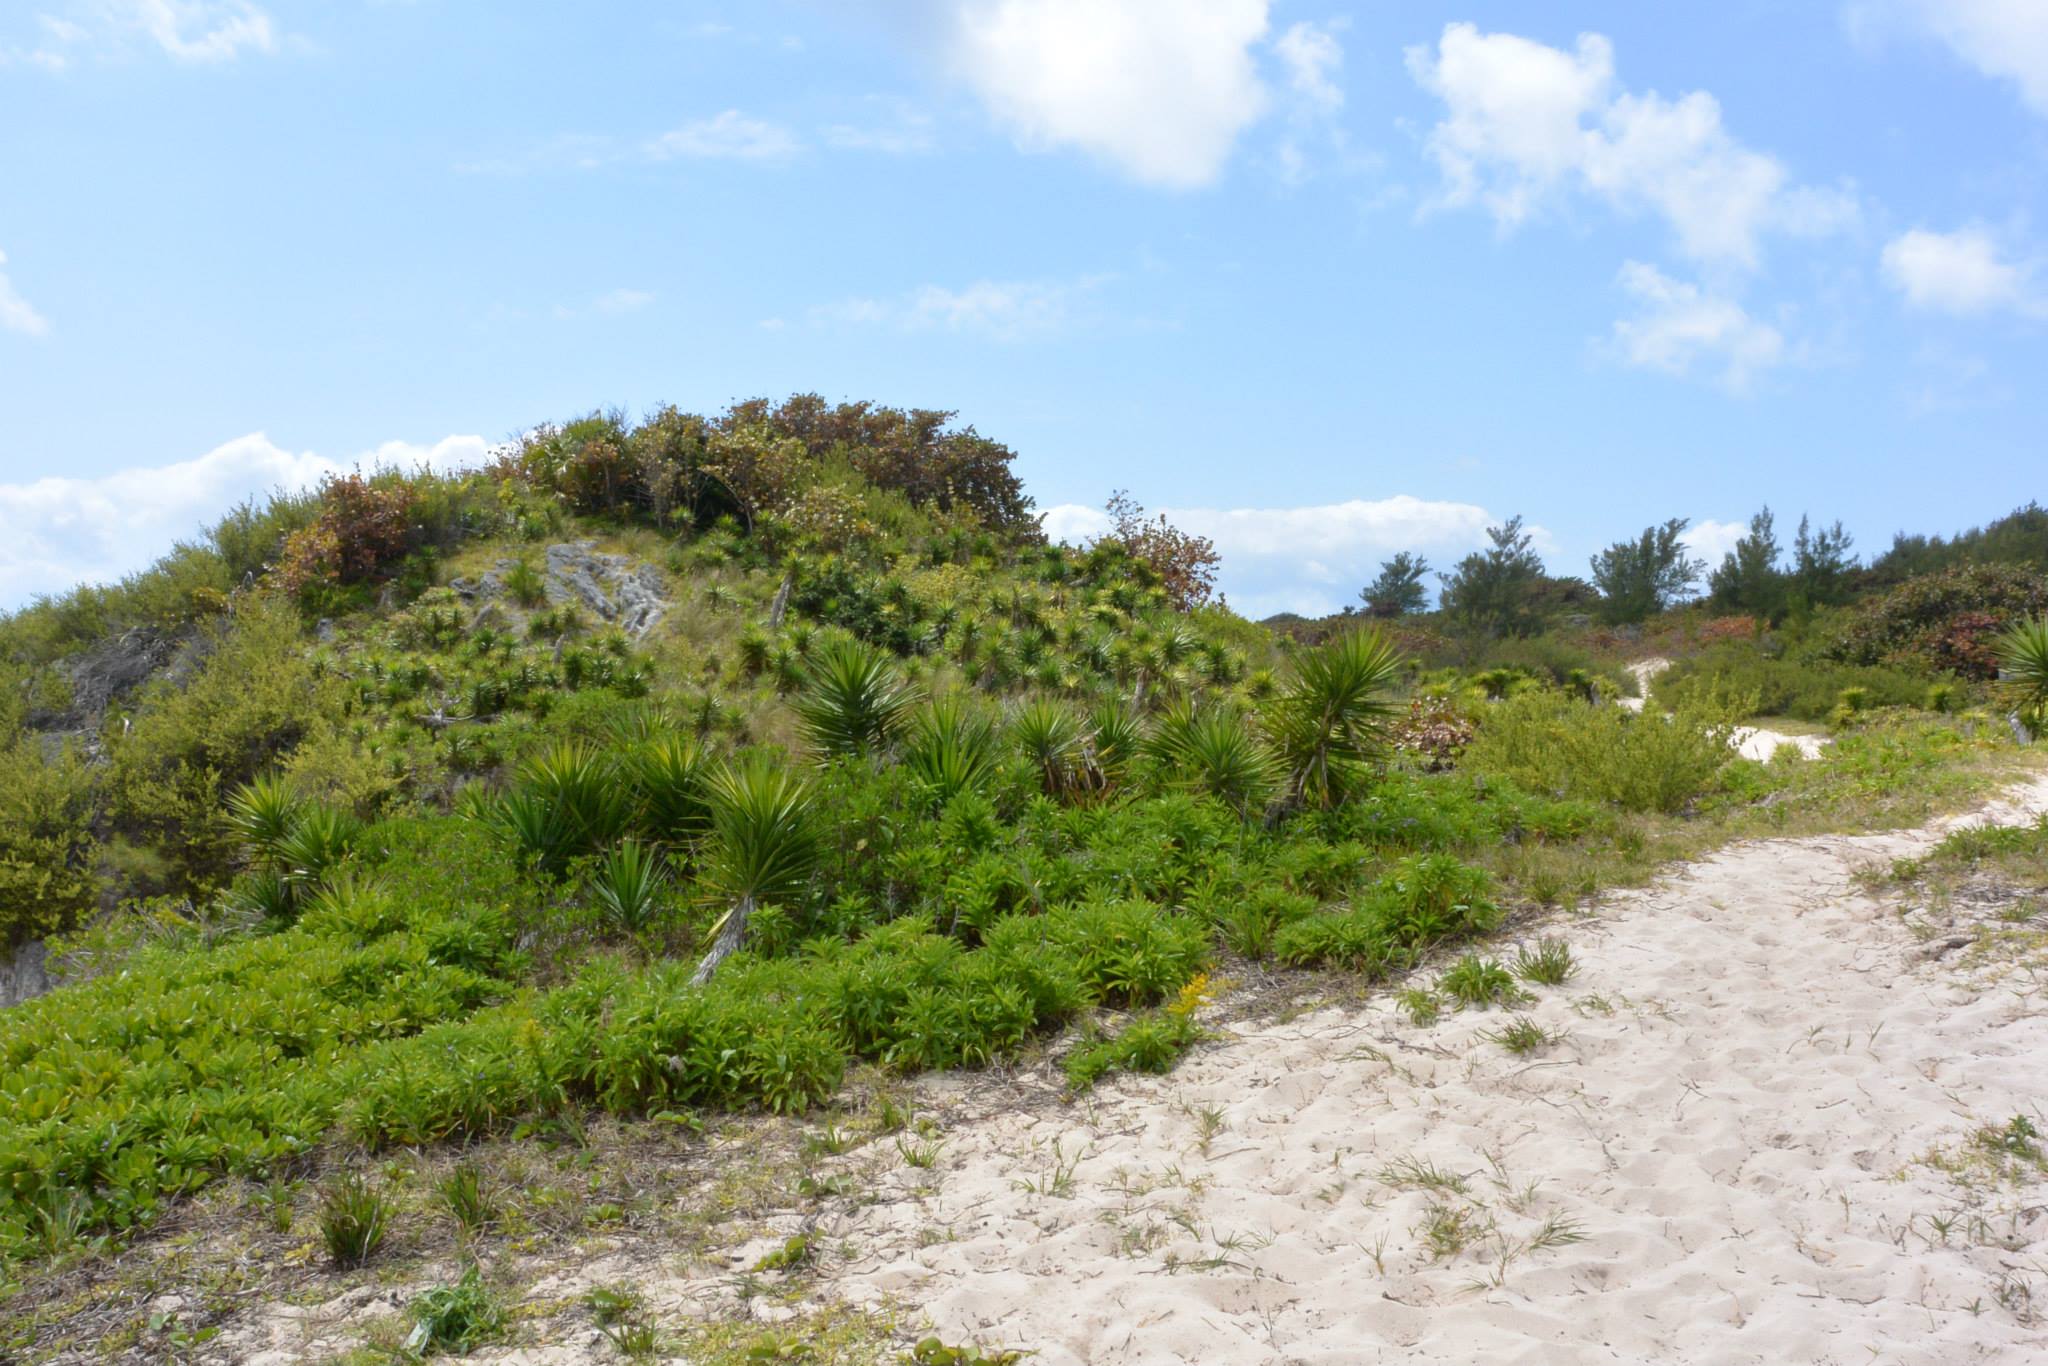
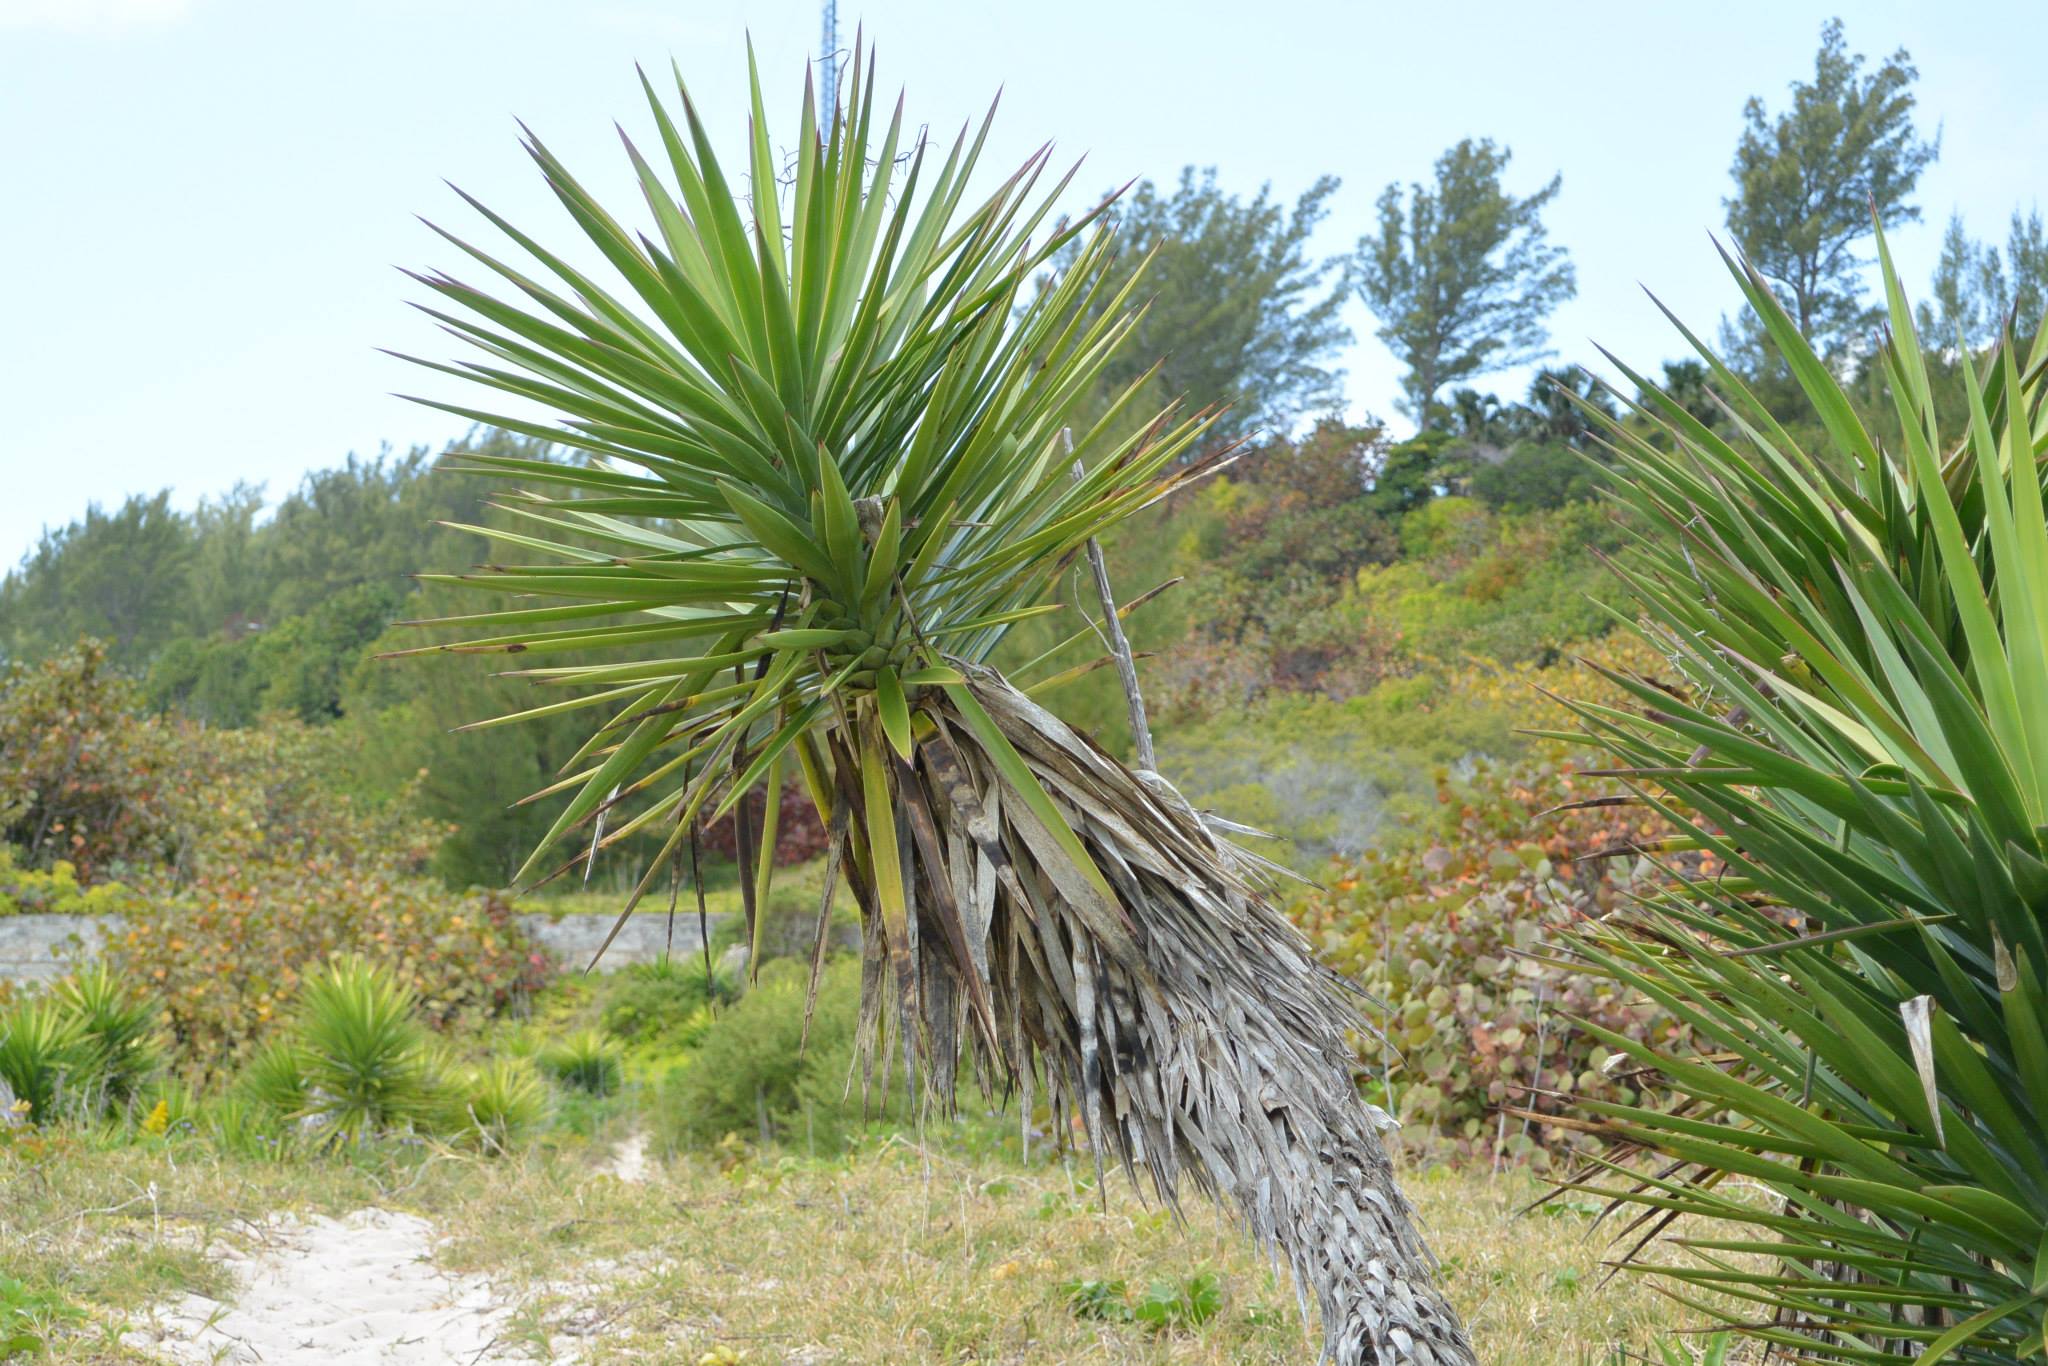
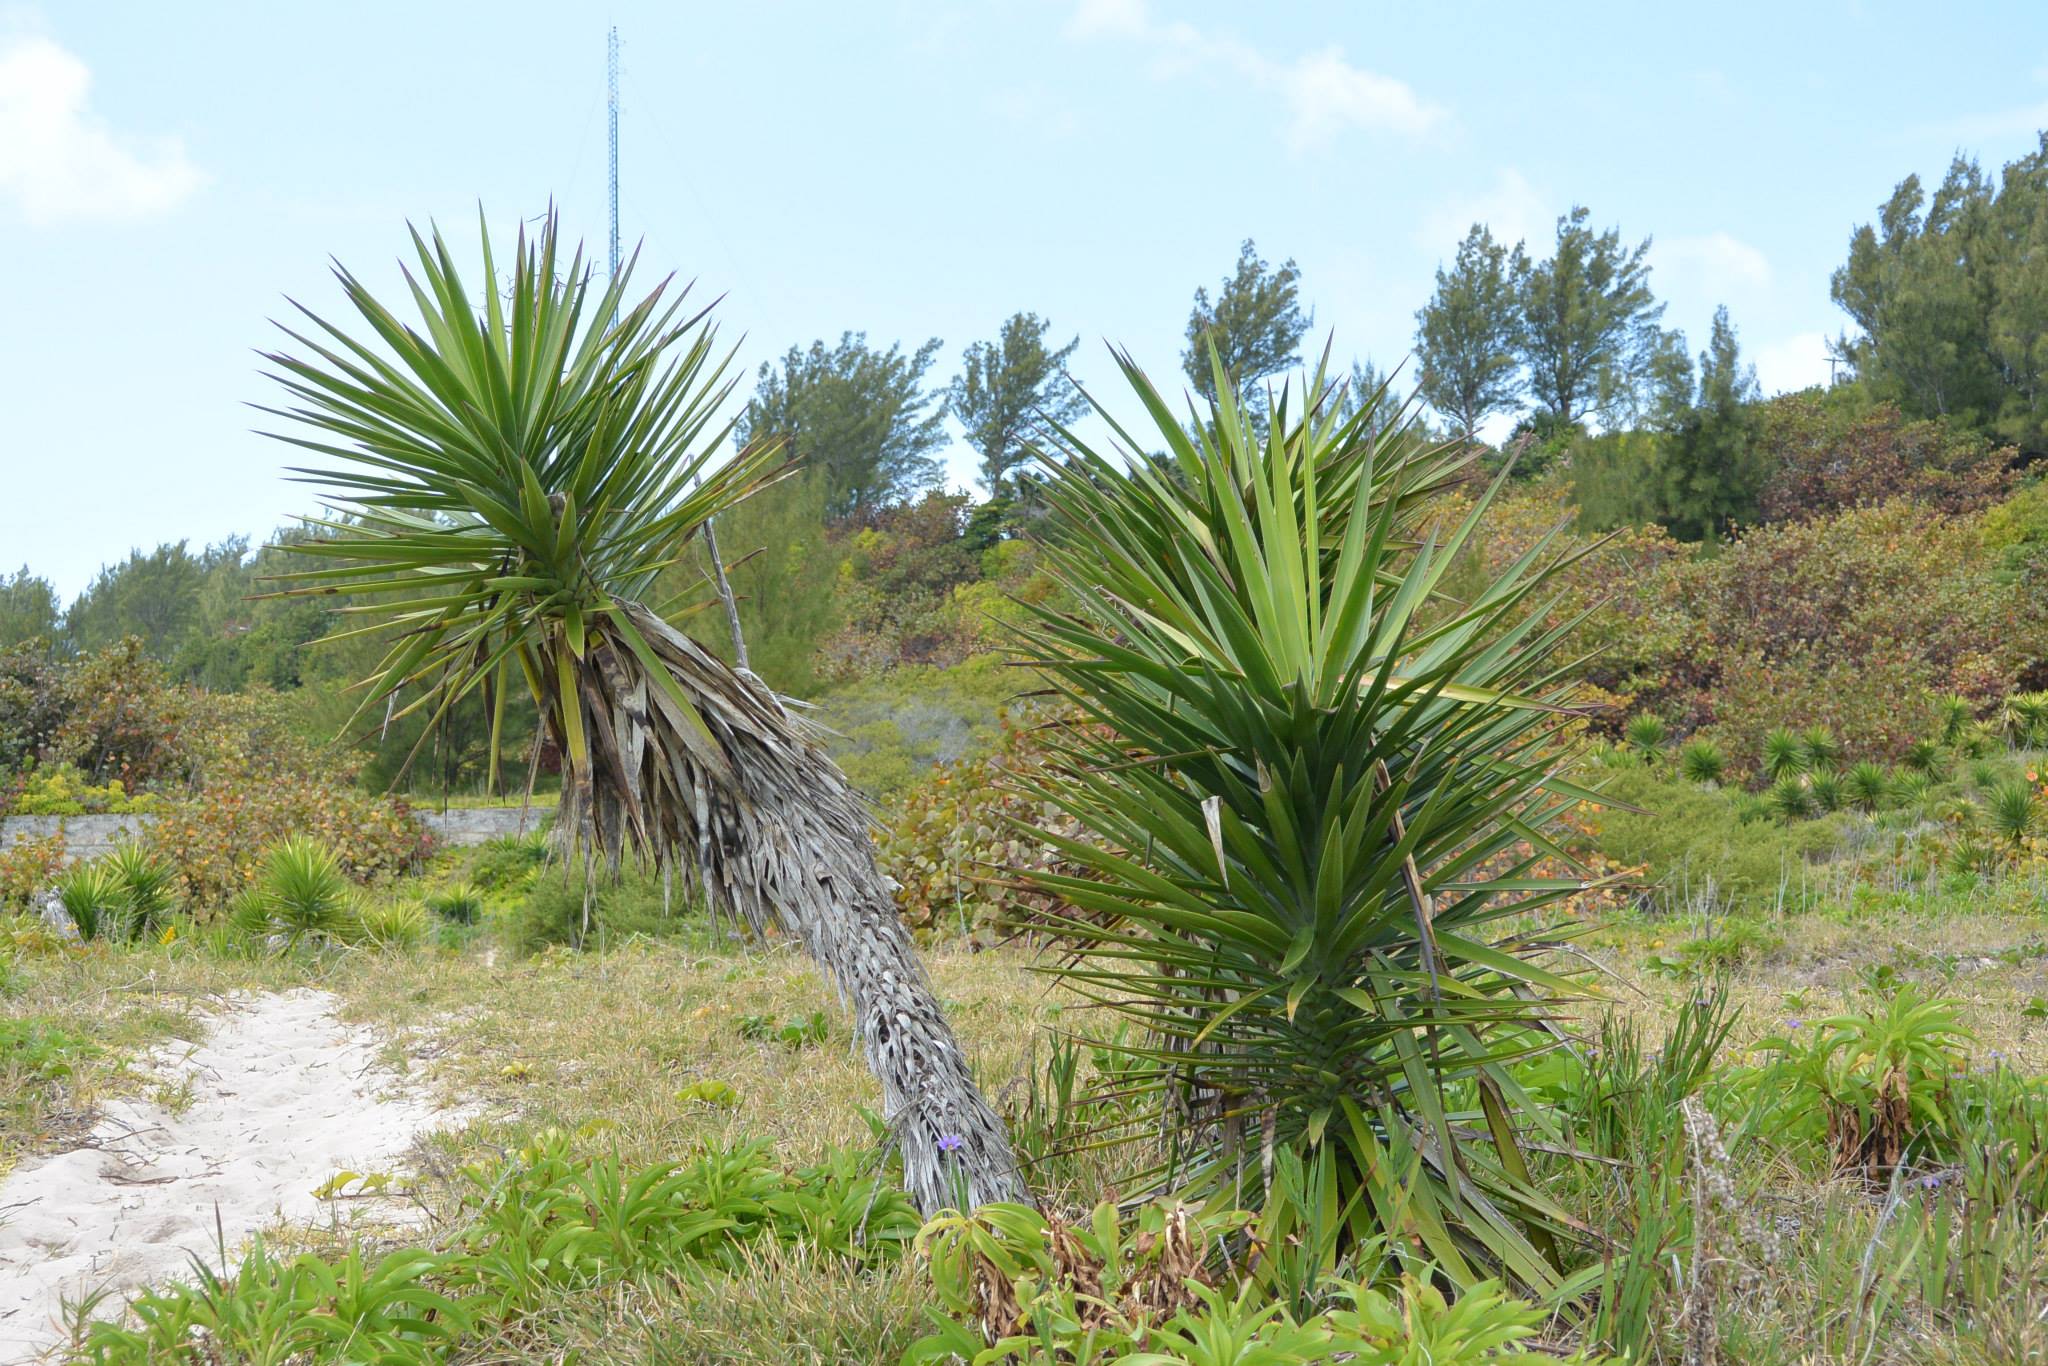
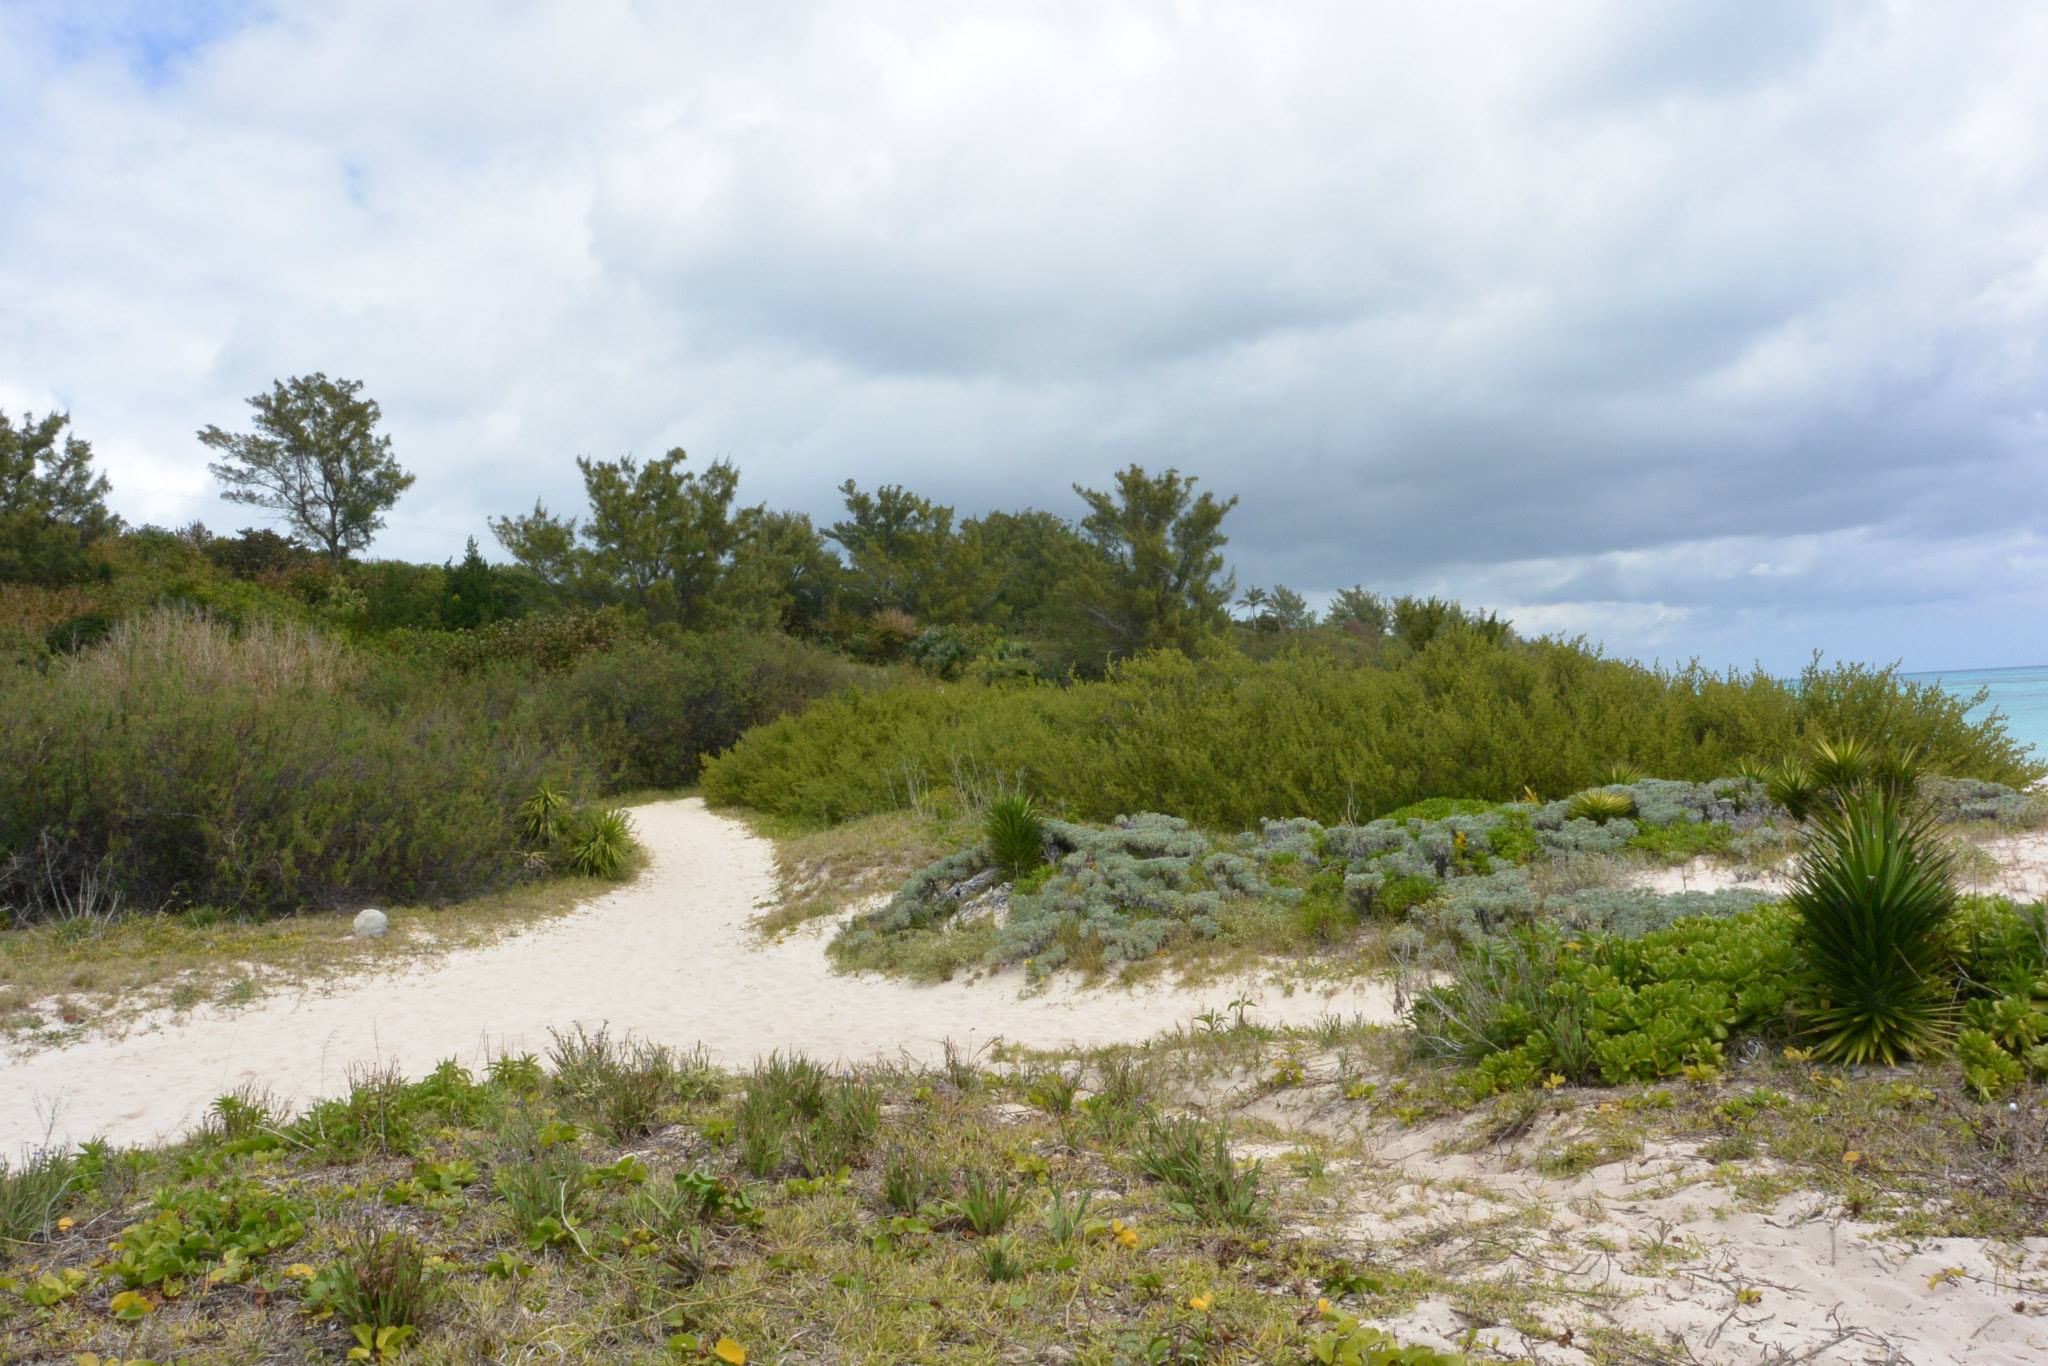
In preparation for my Amazon trip I decided to perform a field test at the beach (specifically Warwick Long Bay) which is not far from my house. It is a good spot for photographing flora and fauna (birds) which would make up most of my photos in the Amazon. All of the photos except for the shots of the birds in flight were taken using the various settings in the Creative mode. I wanted to get a feel for when and how to use the more manual settings. The shots of the longtail birds in flight were taken using the 30-110mm lens in auto mode at 5fps in order to capture the best shot. They were pretty far away so accurately viewing them on the LCD screen was pretty much impossible. I just pointed the camera in the general direction of the flock and waited for the auto-focus to kick in before holding down the shutter for a second or two. As a result the final photos have been cropped. *NOTE: These are not the full resolution photos and have been reduced to less than half the original size to make them easier to view on the web.
Verdict
I like the camera’s dumbed down menus in auto mode which allow a novice to know the effect of a setting without having to know whether a large or small aperture or high or low ISO is good or bad. For those pros you can still go full on manual and adjust each setting as you please. The camera’s main advantage is its extremely fast auto-focus which is available even at 15fps. Using multiple shutter for fast moving objects (like birds) mean you can still catch the perfect shot of them in focus. The camera is also extremely good at taking low light photos even without the flash up to a maximum ISO 6400 (of course with the added noise).
Update: Peru
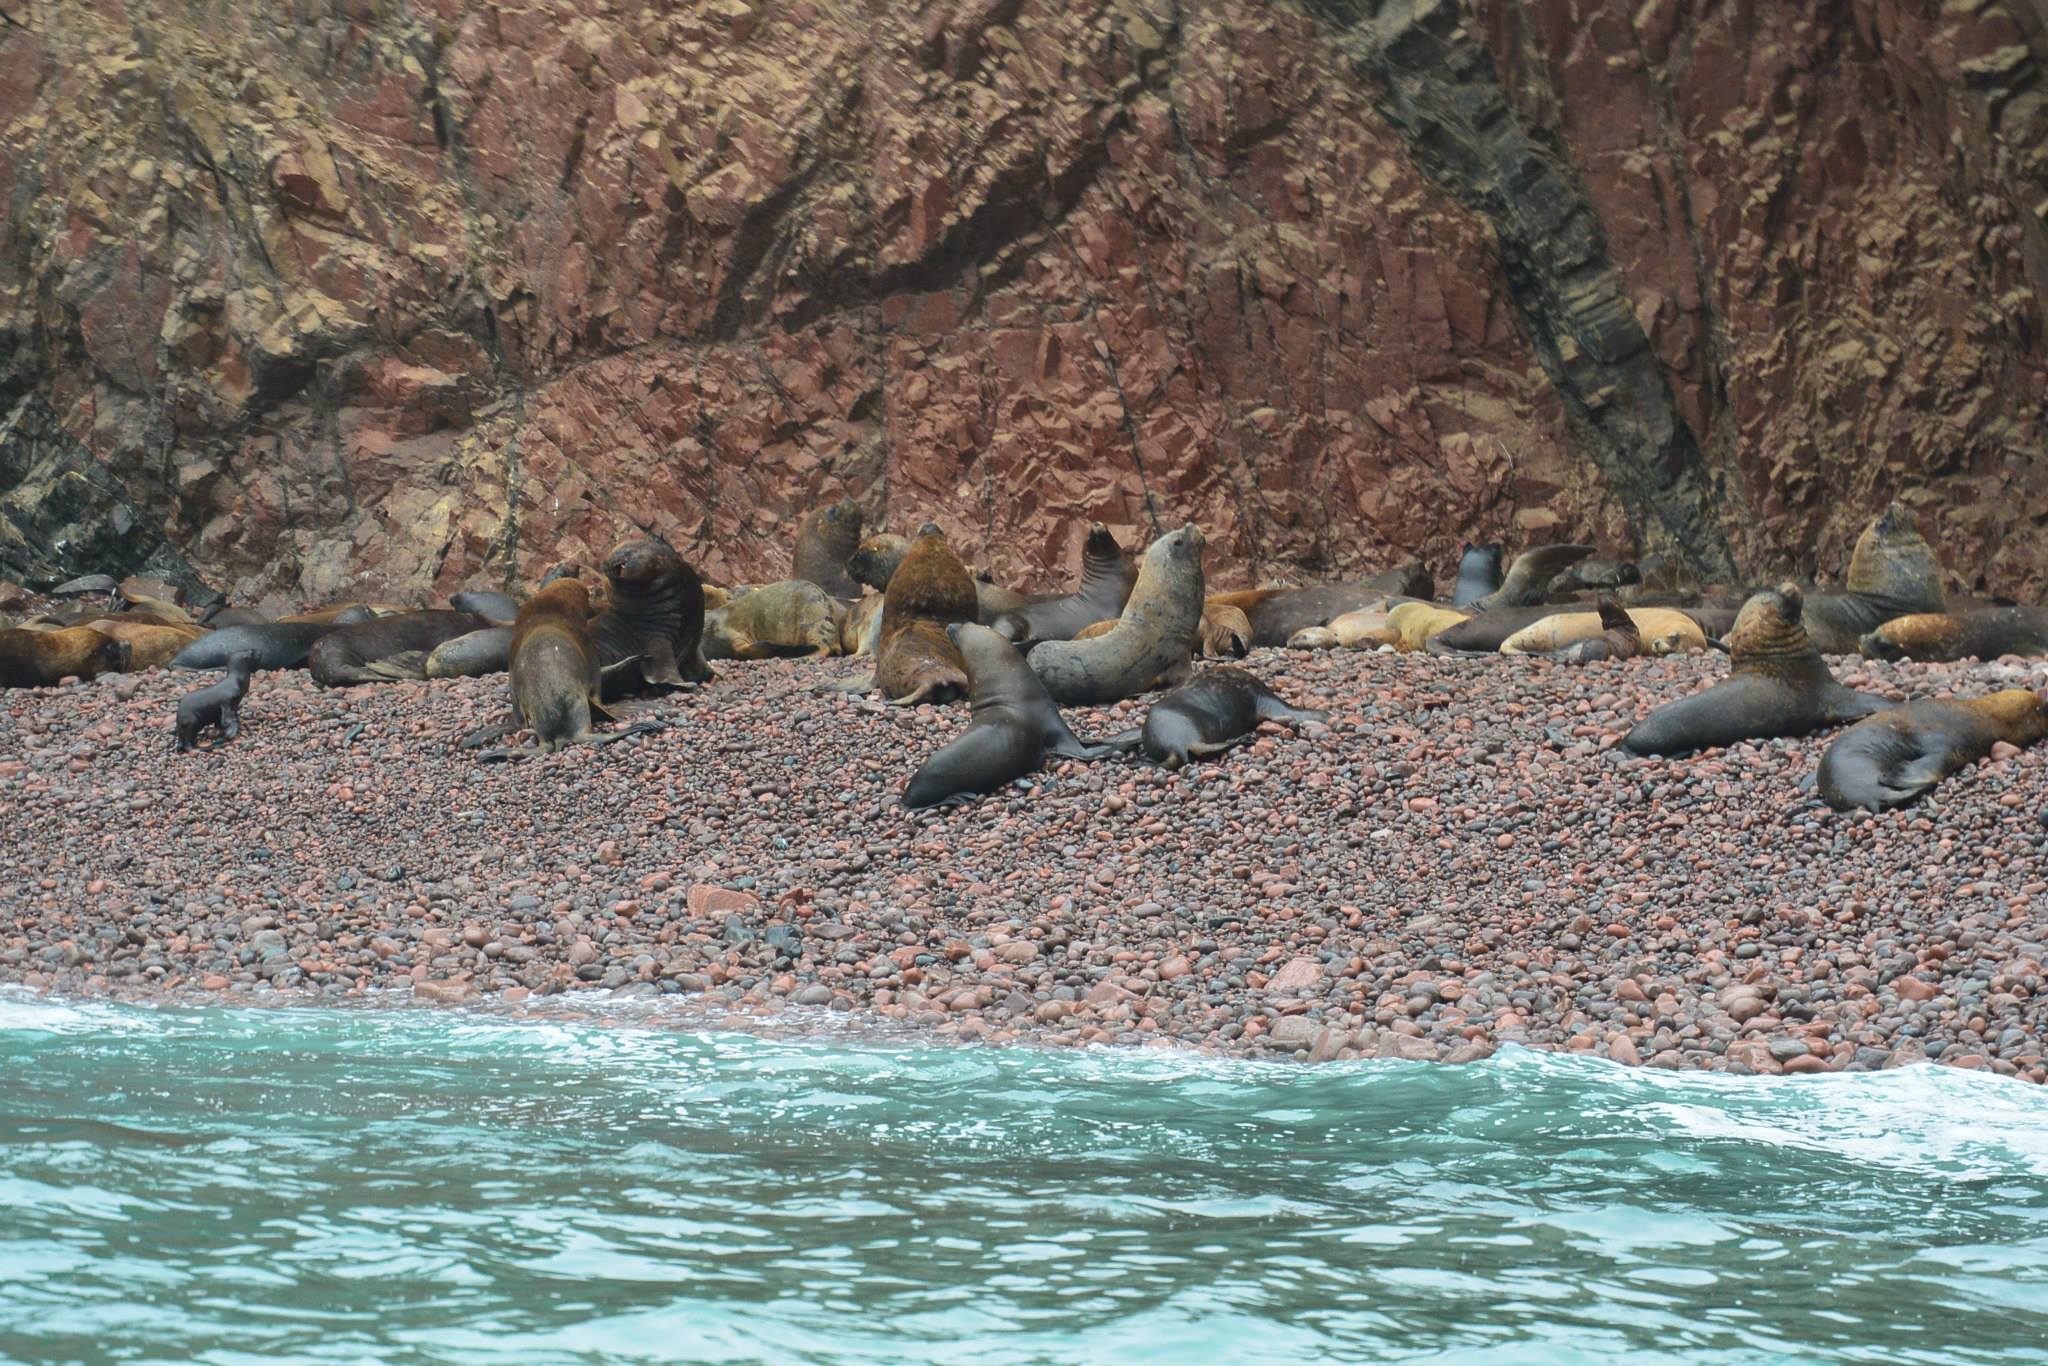
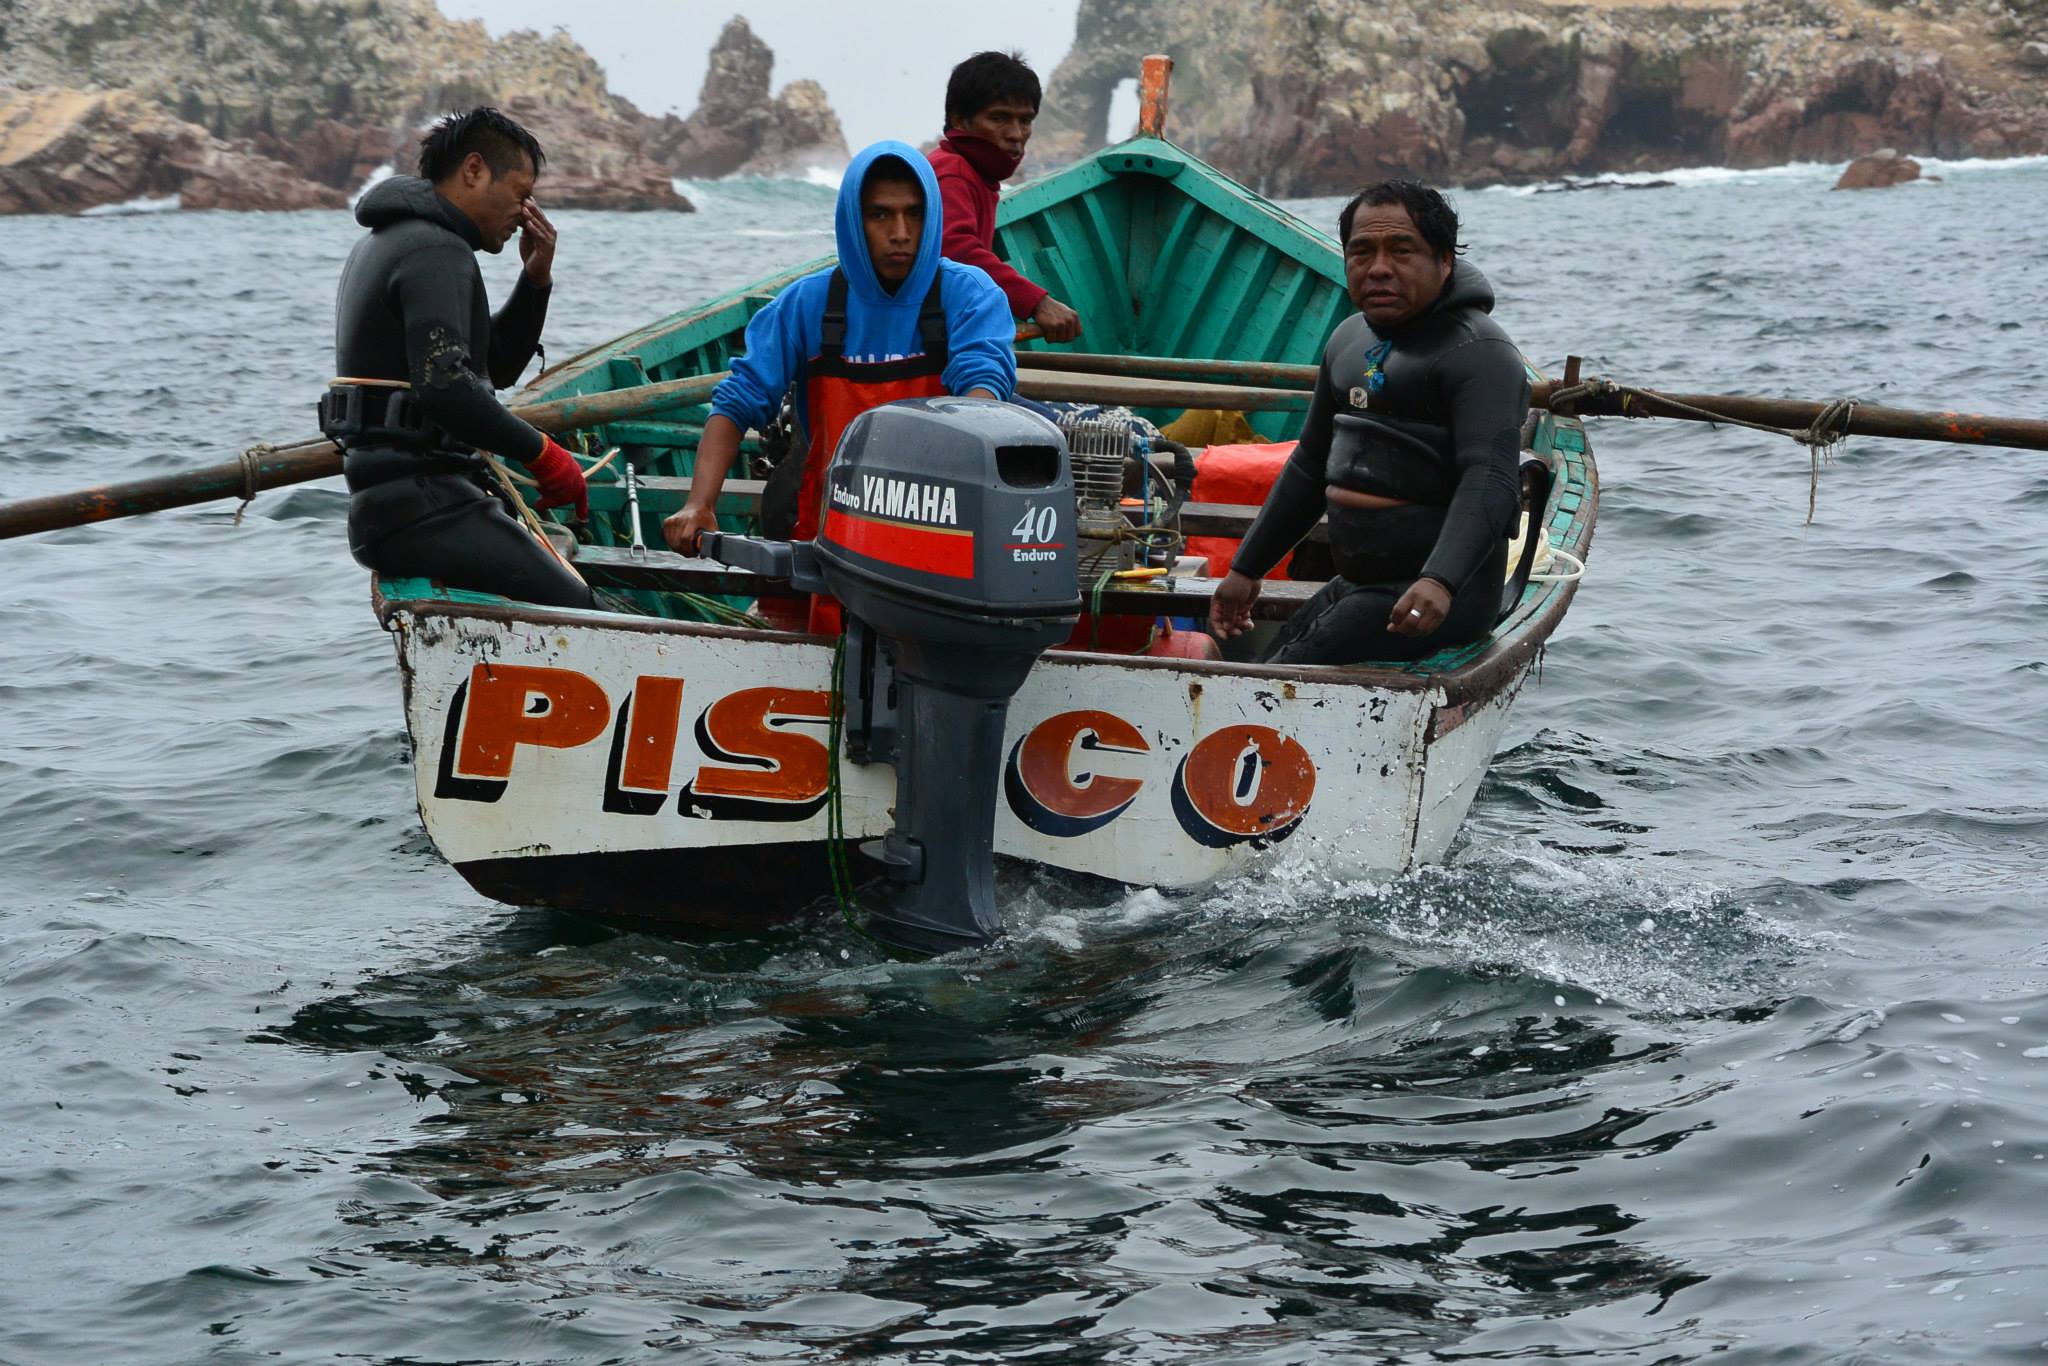
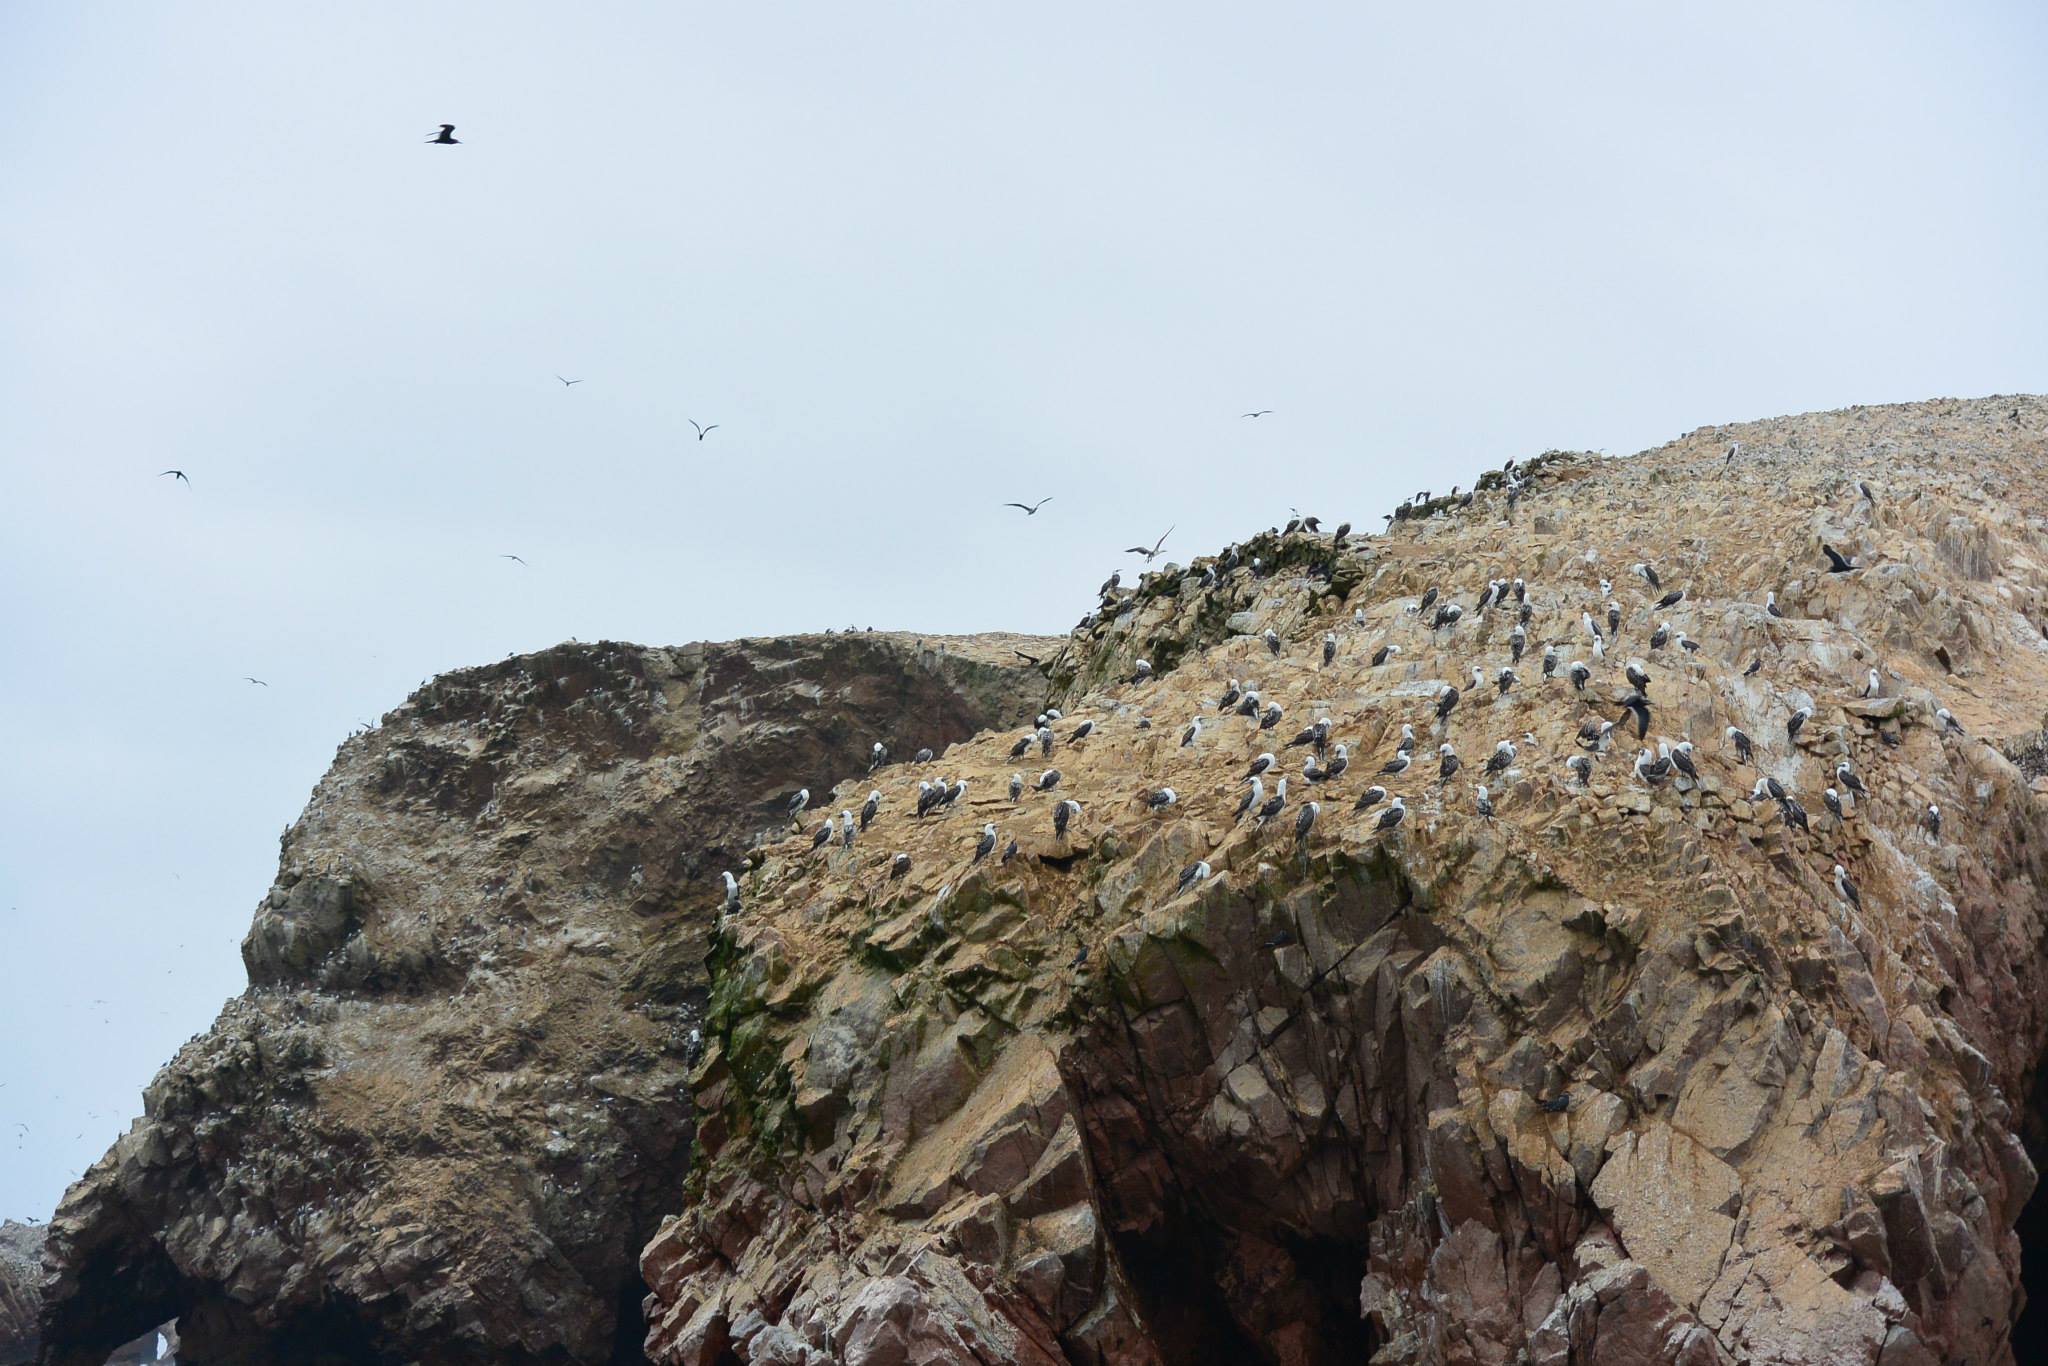
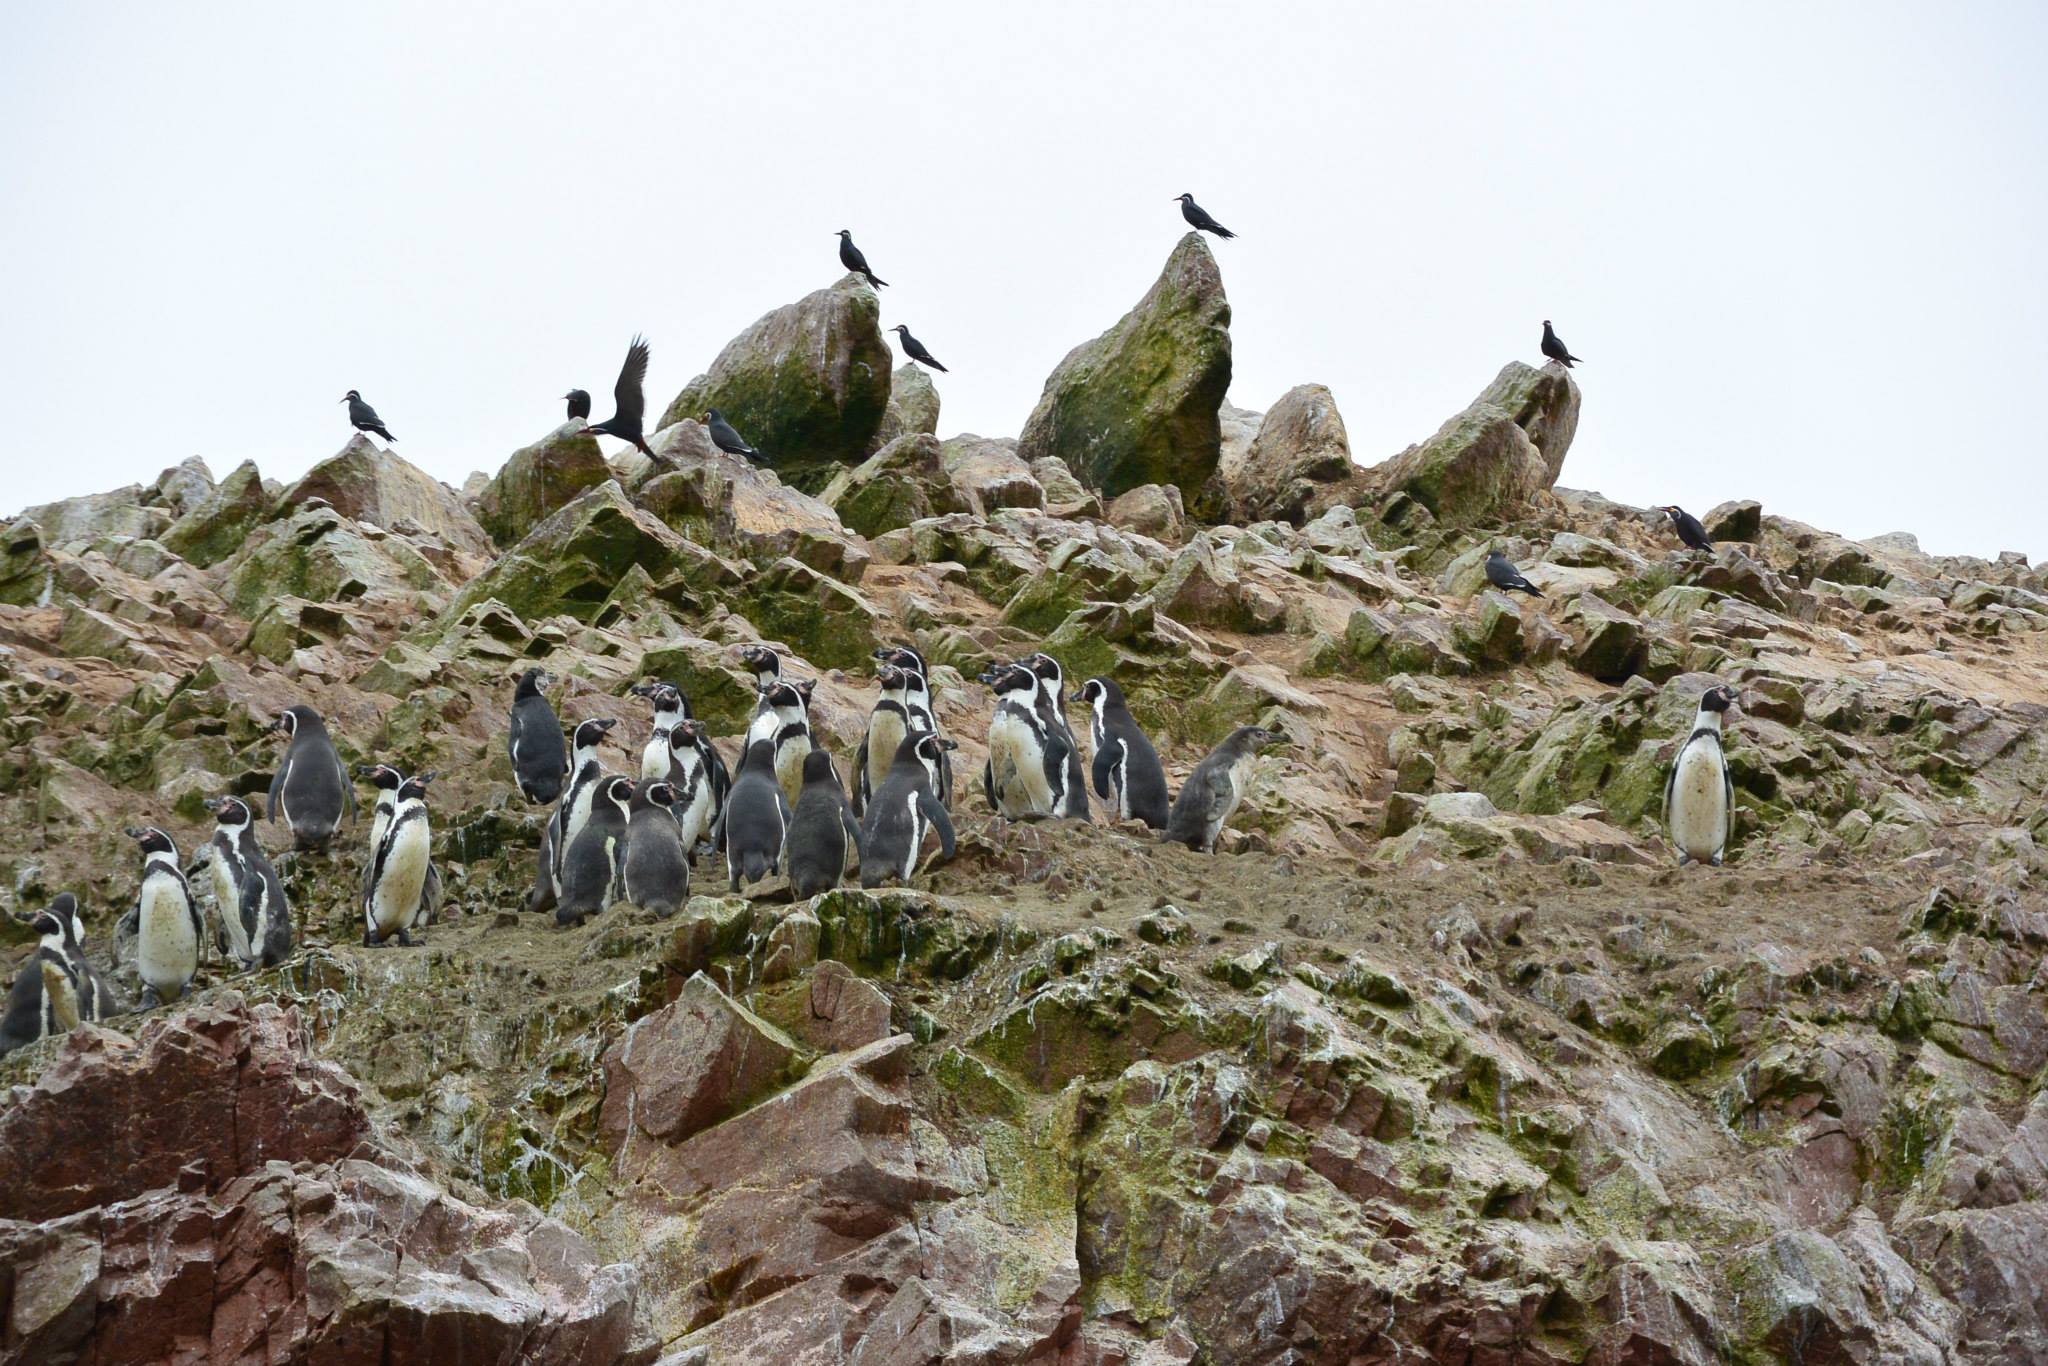
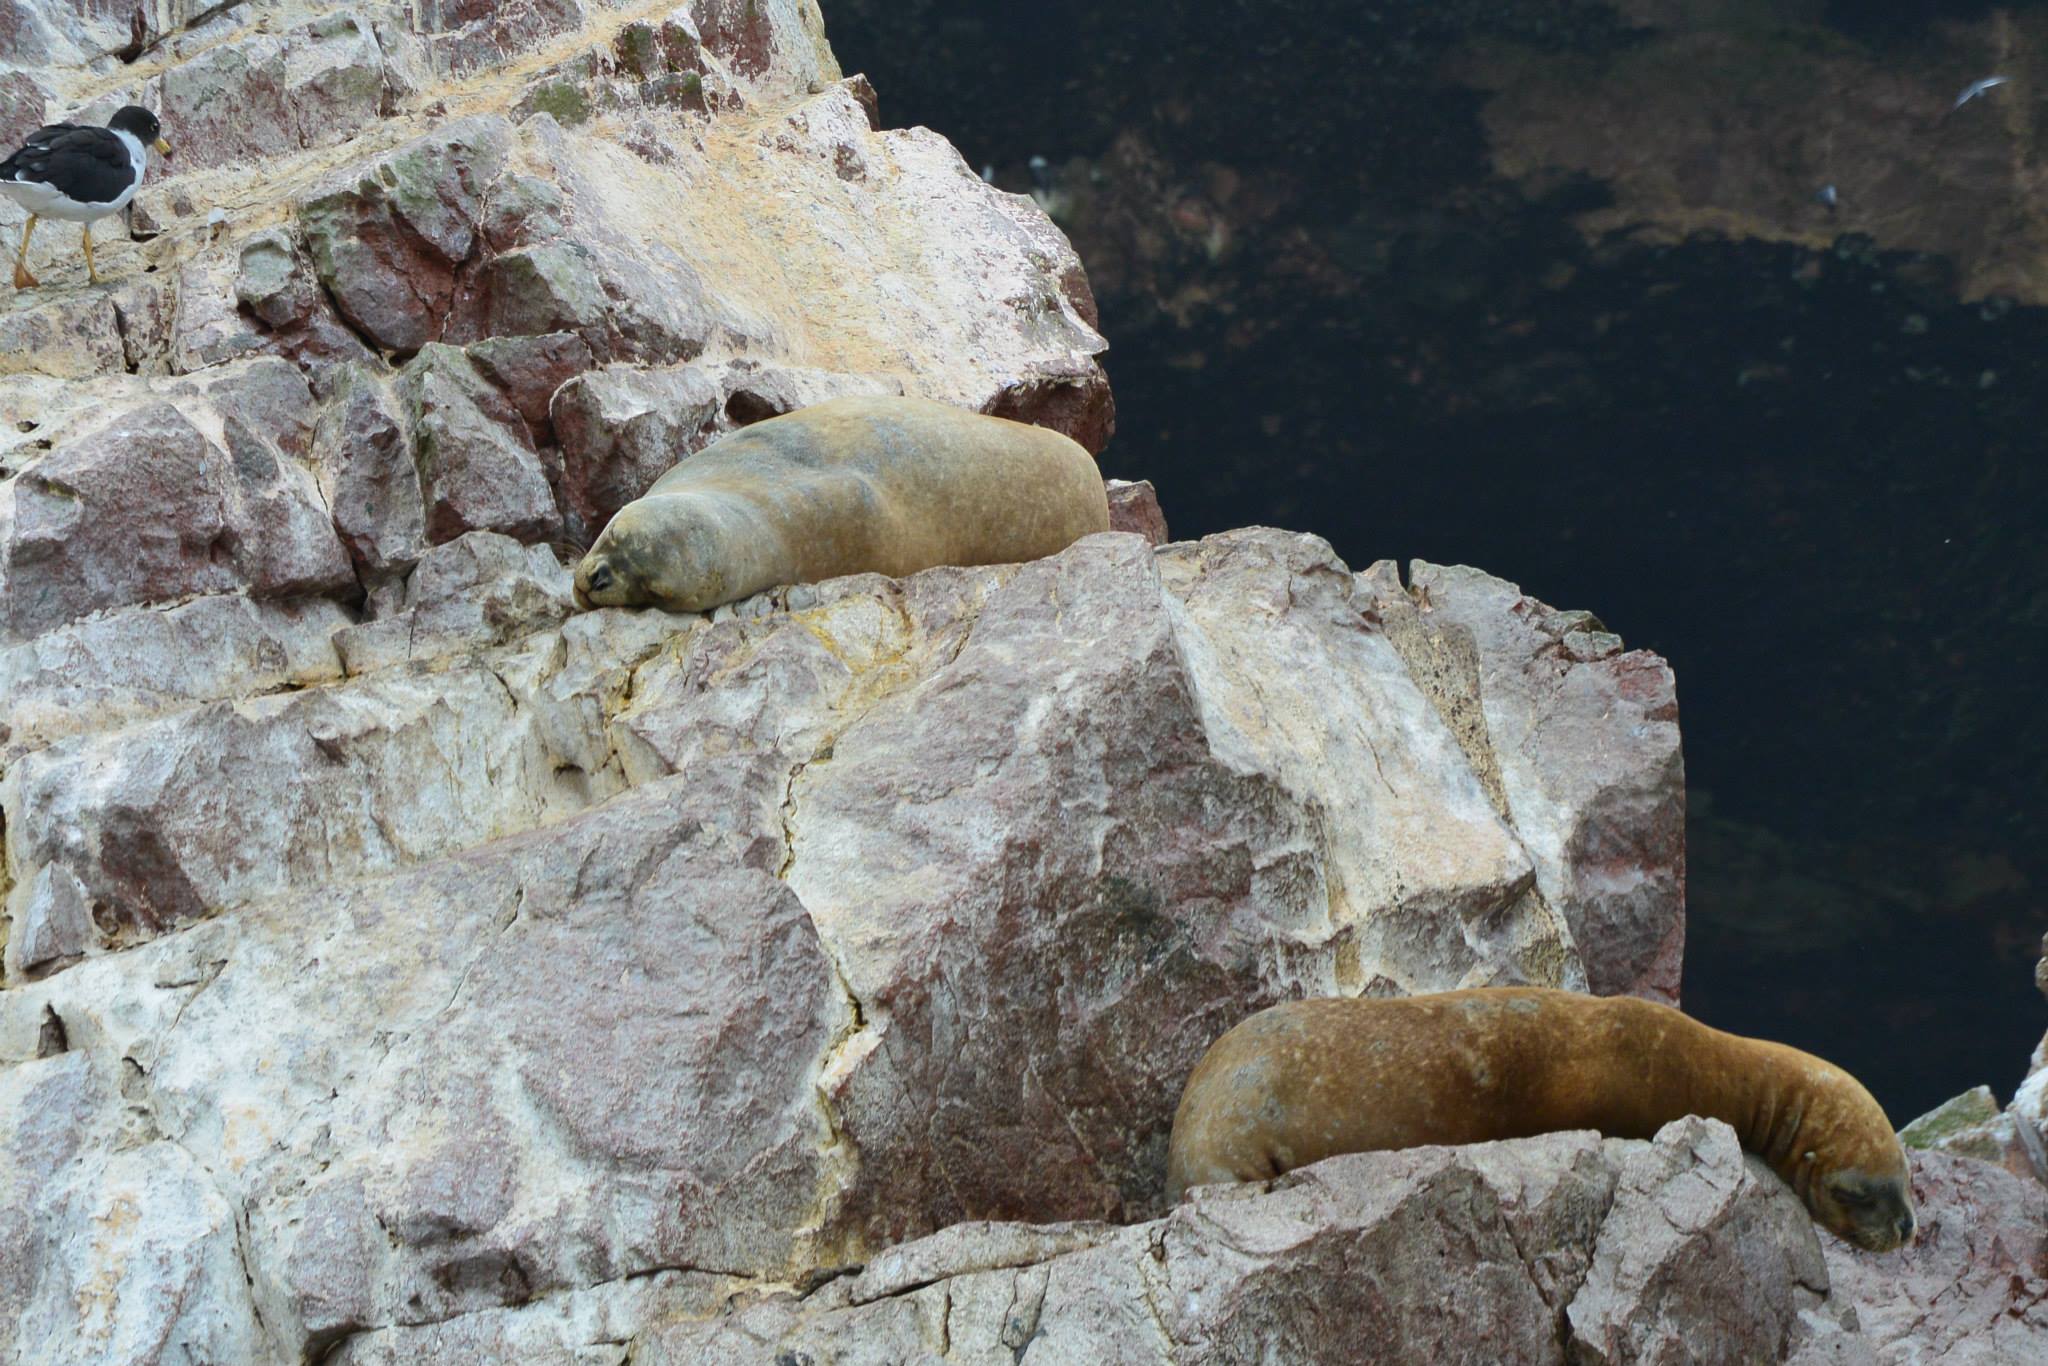
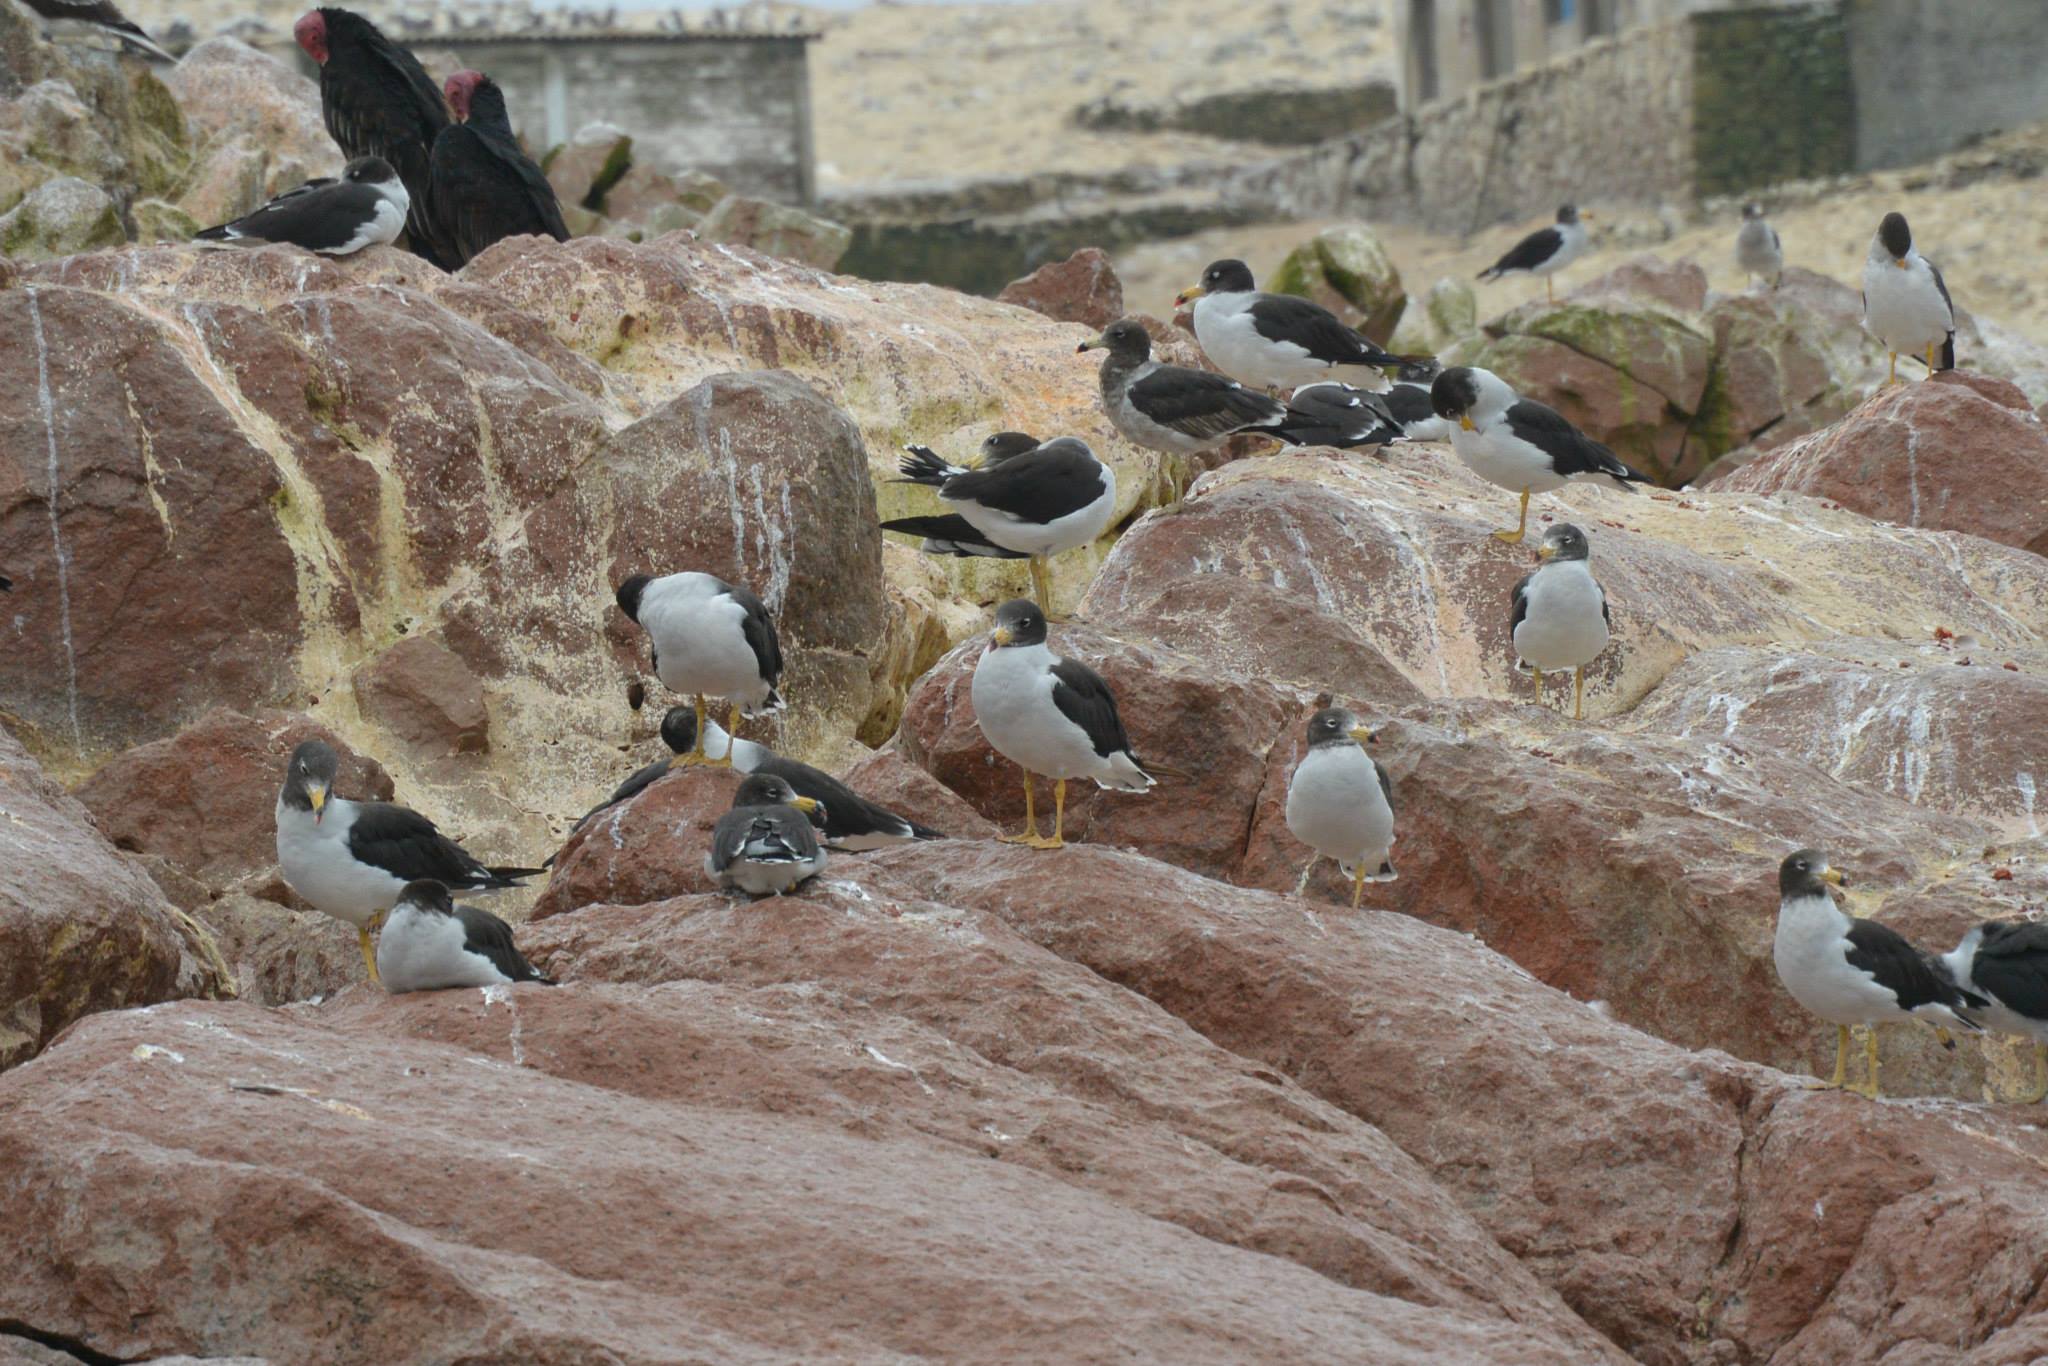
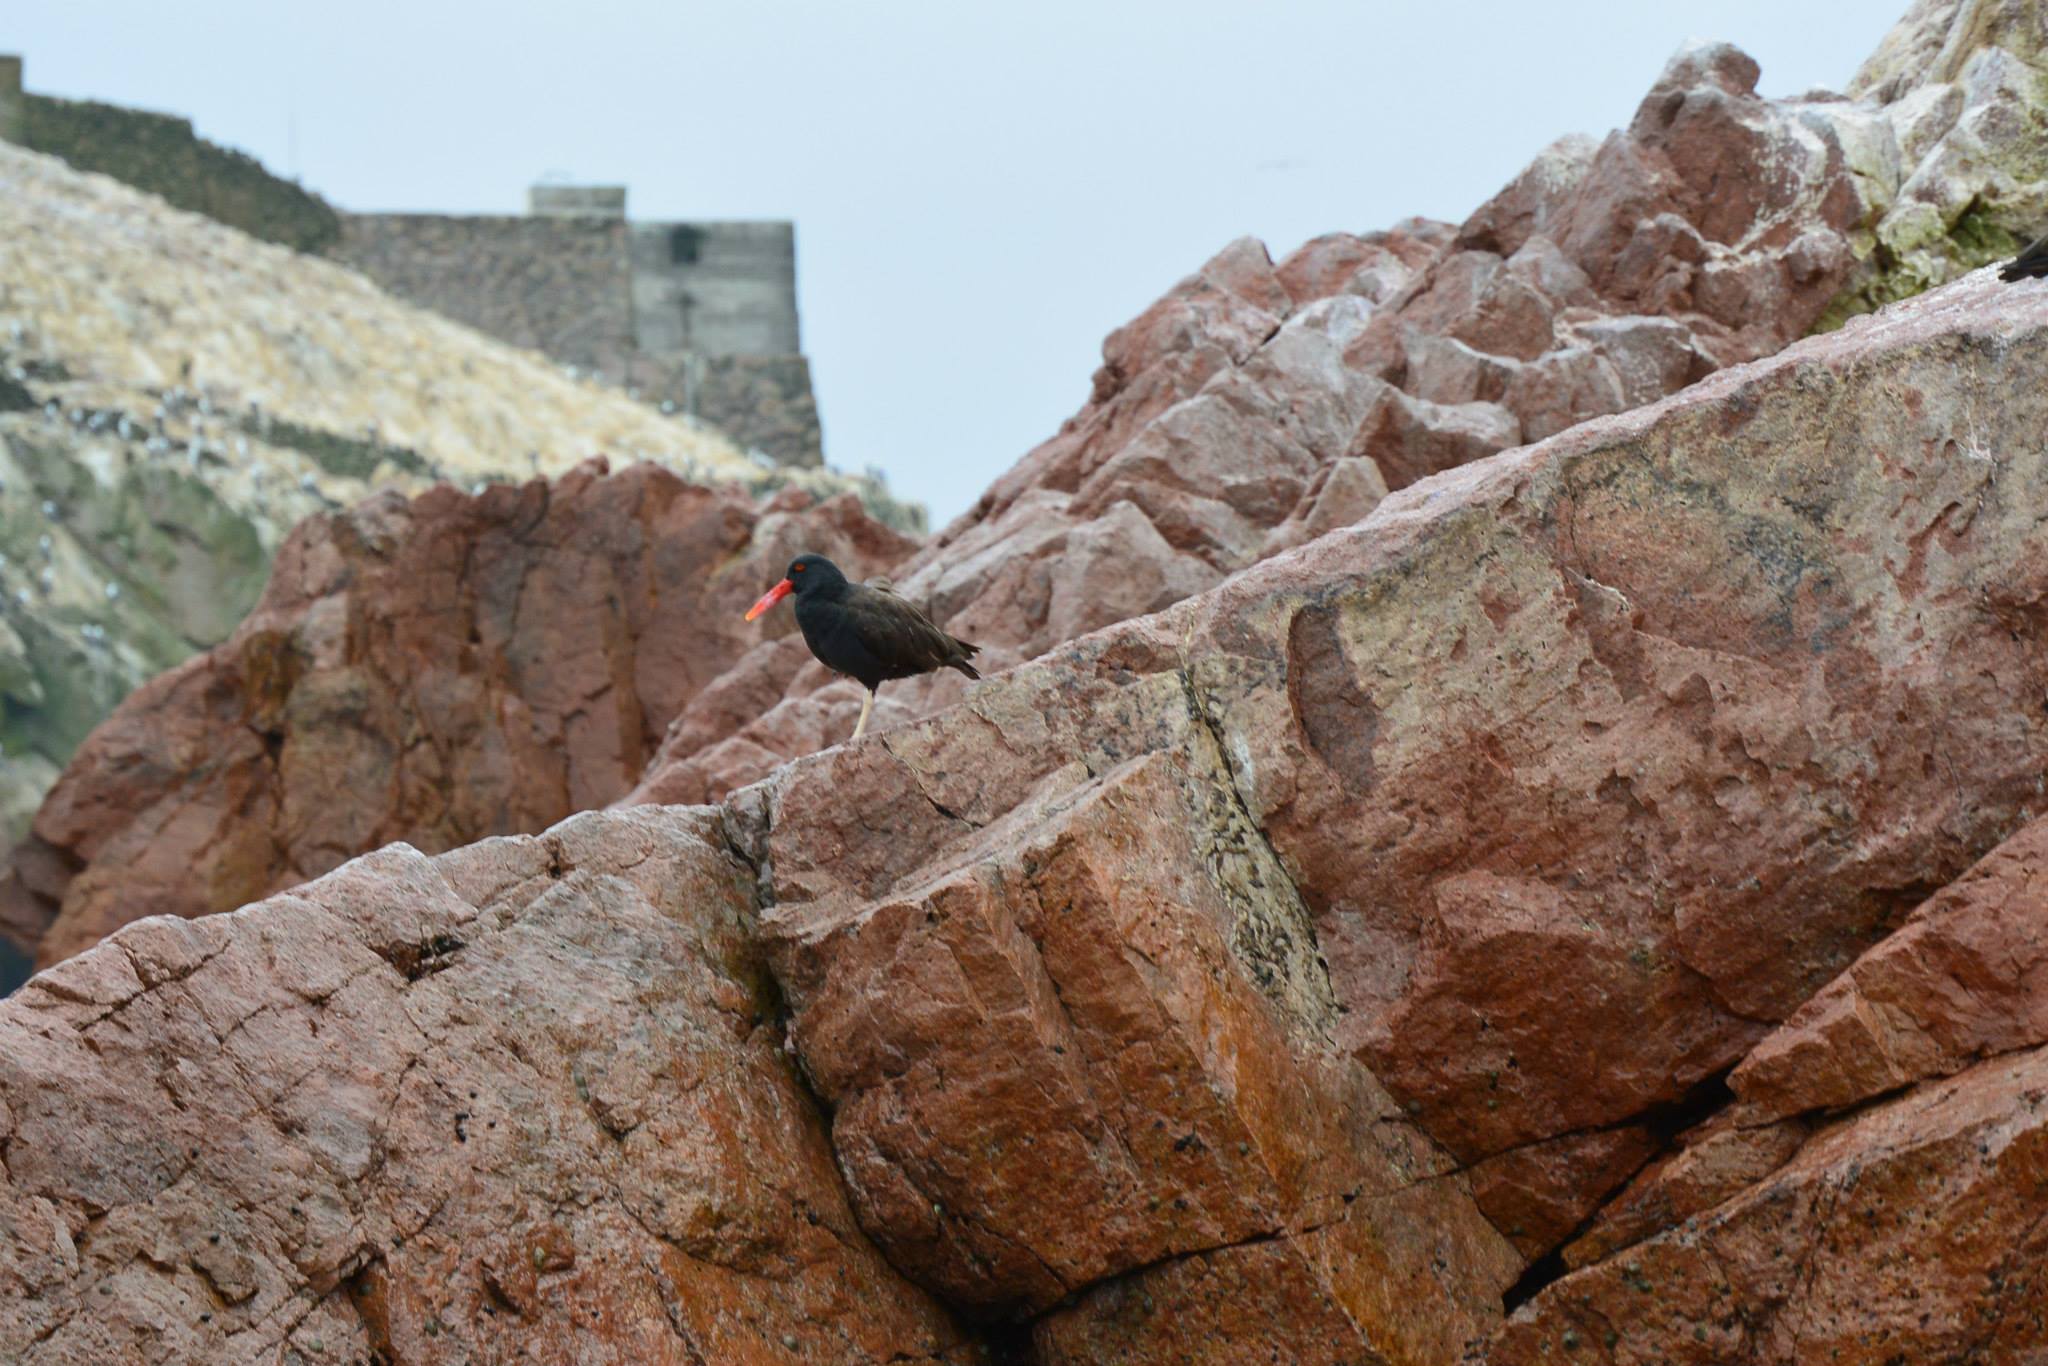
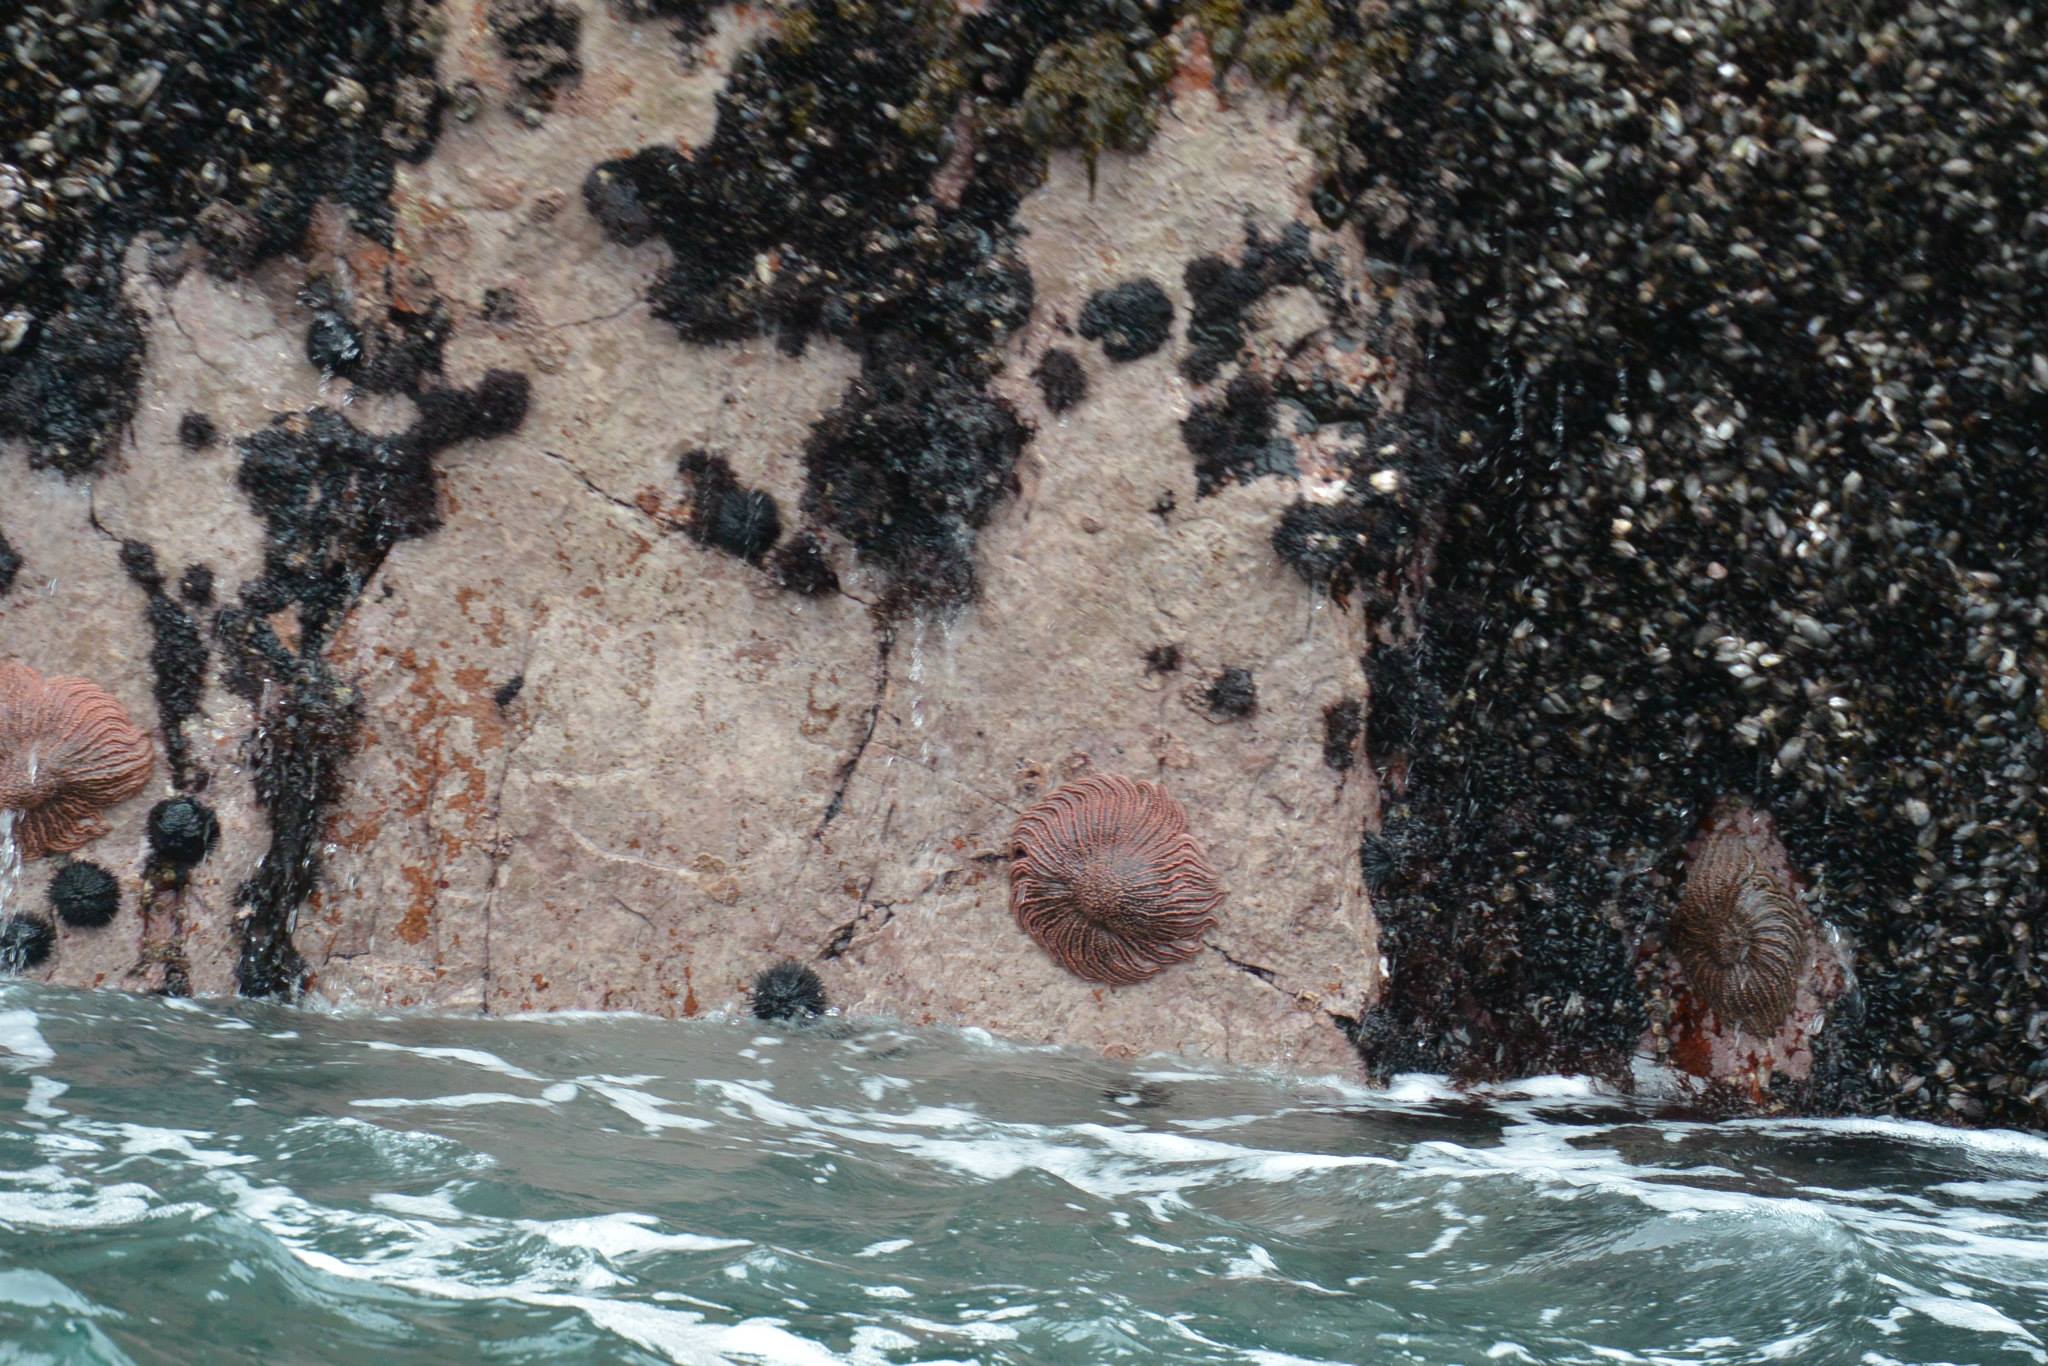
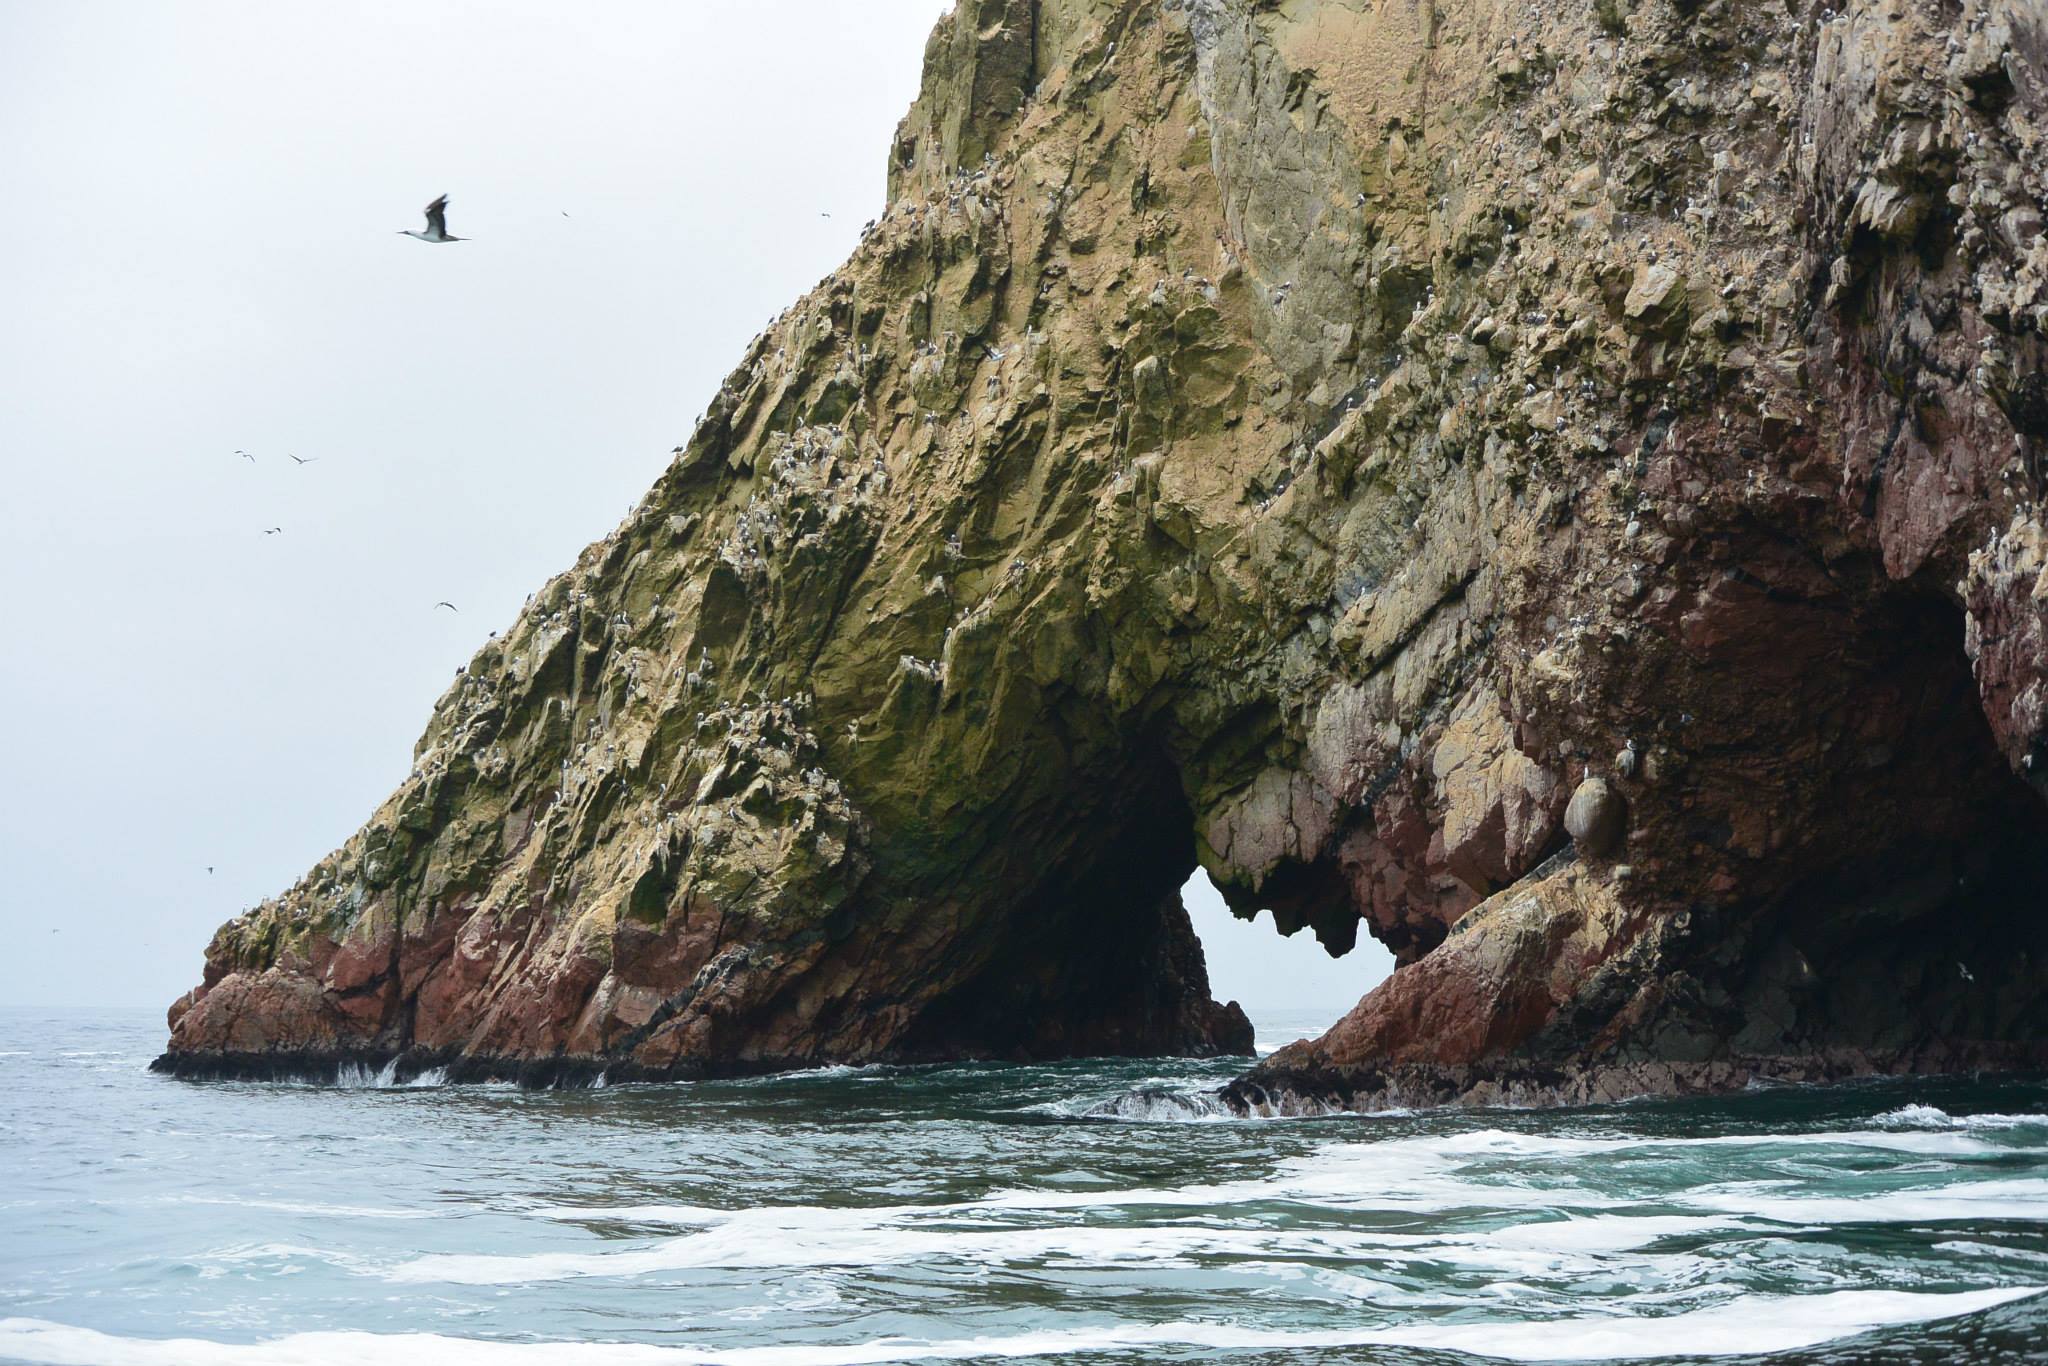
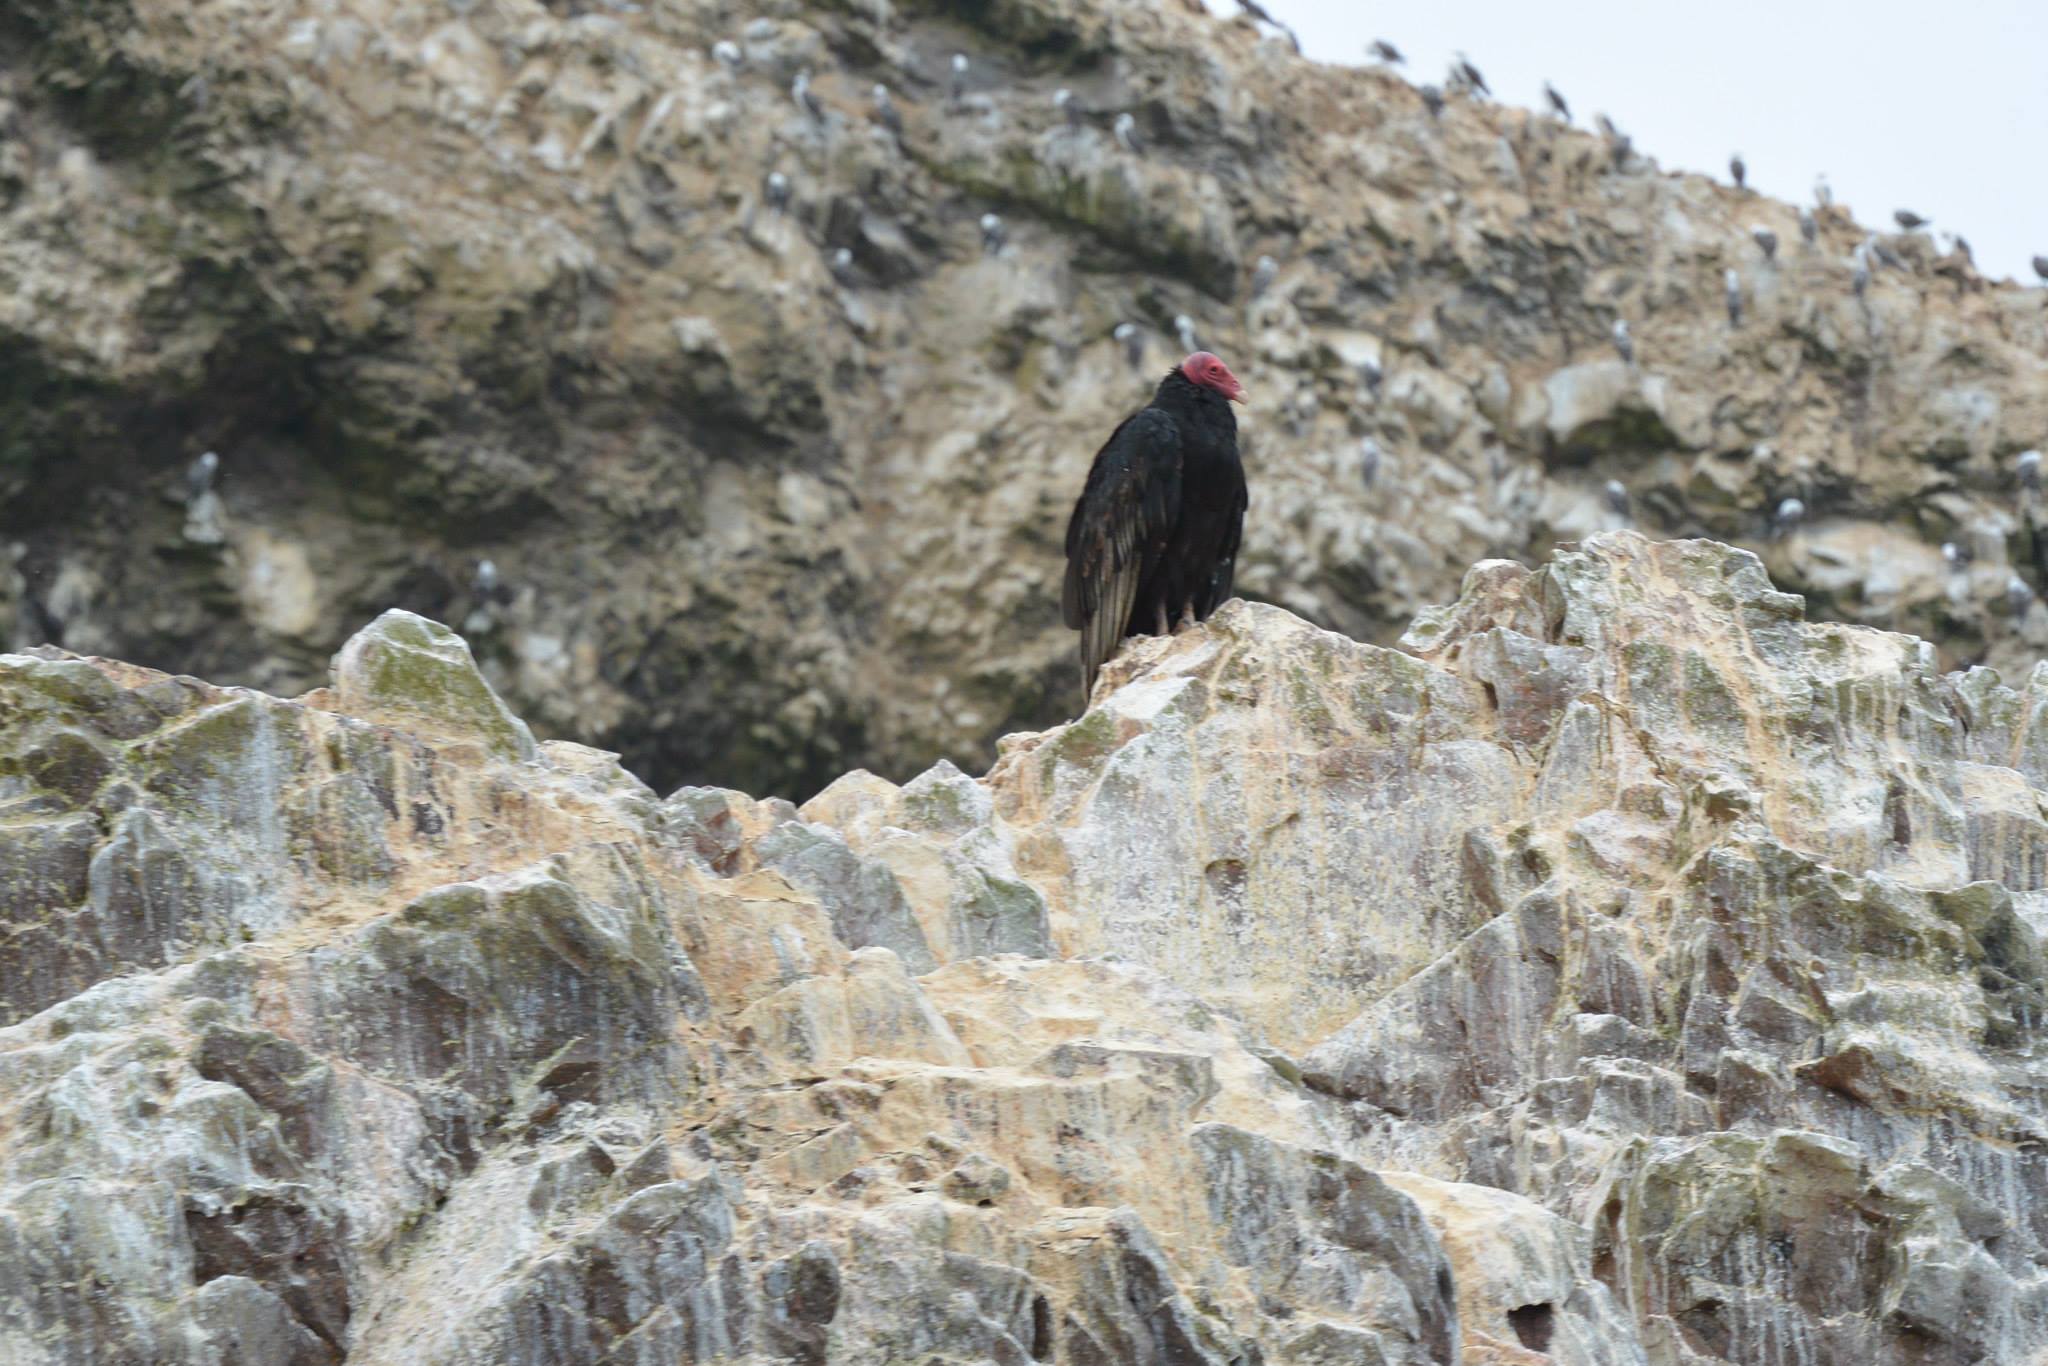
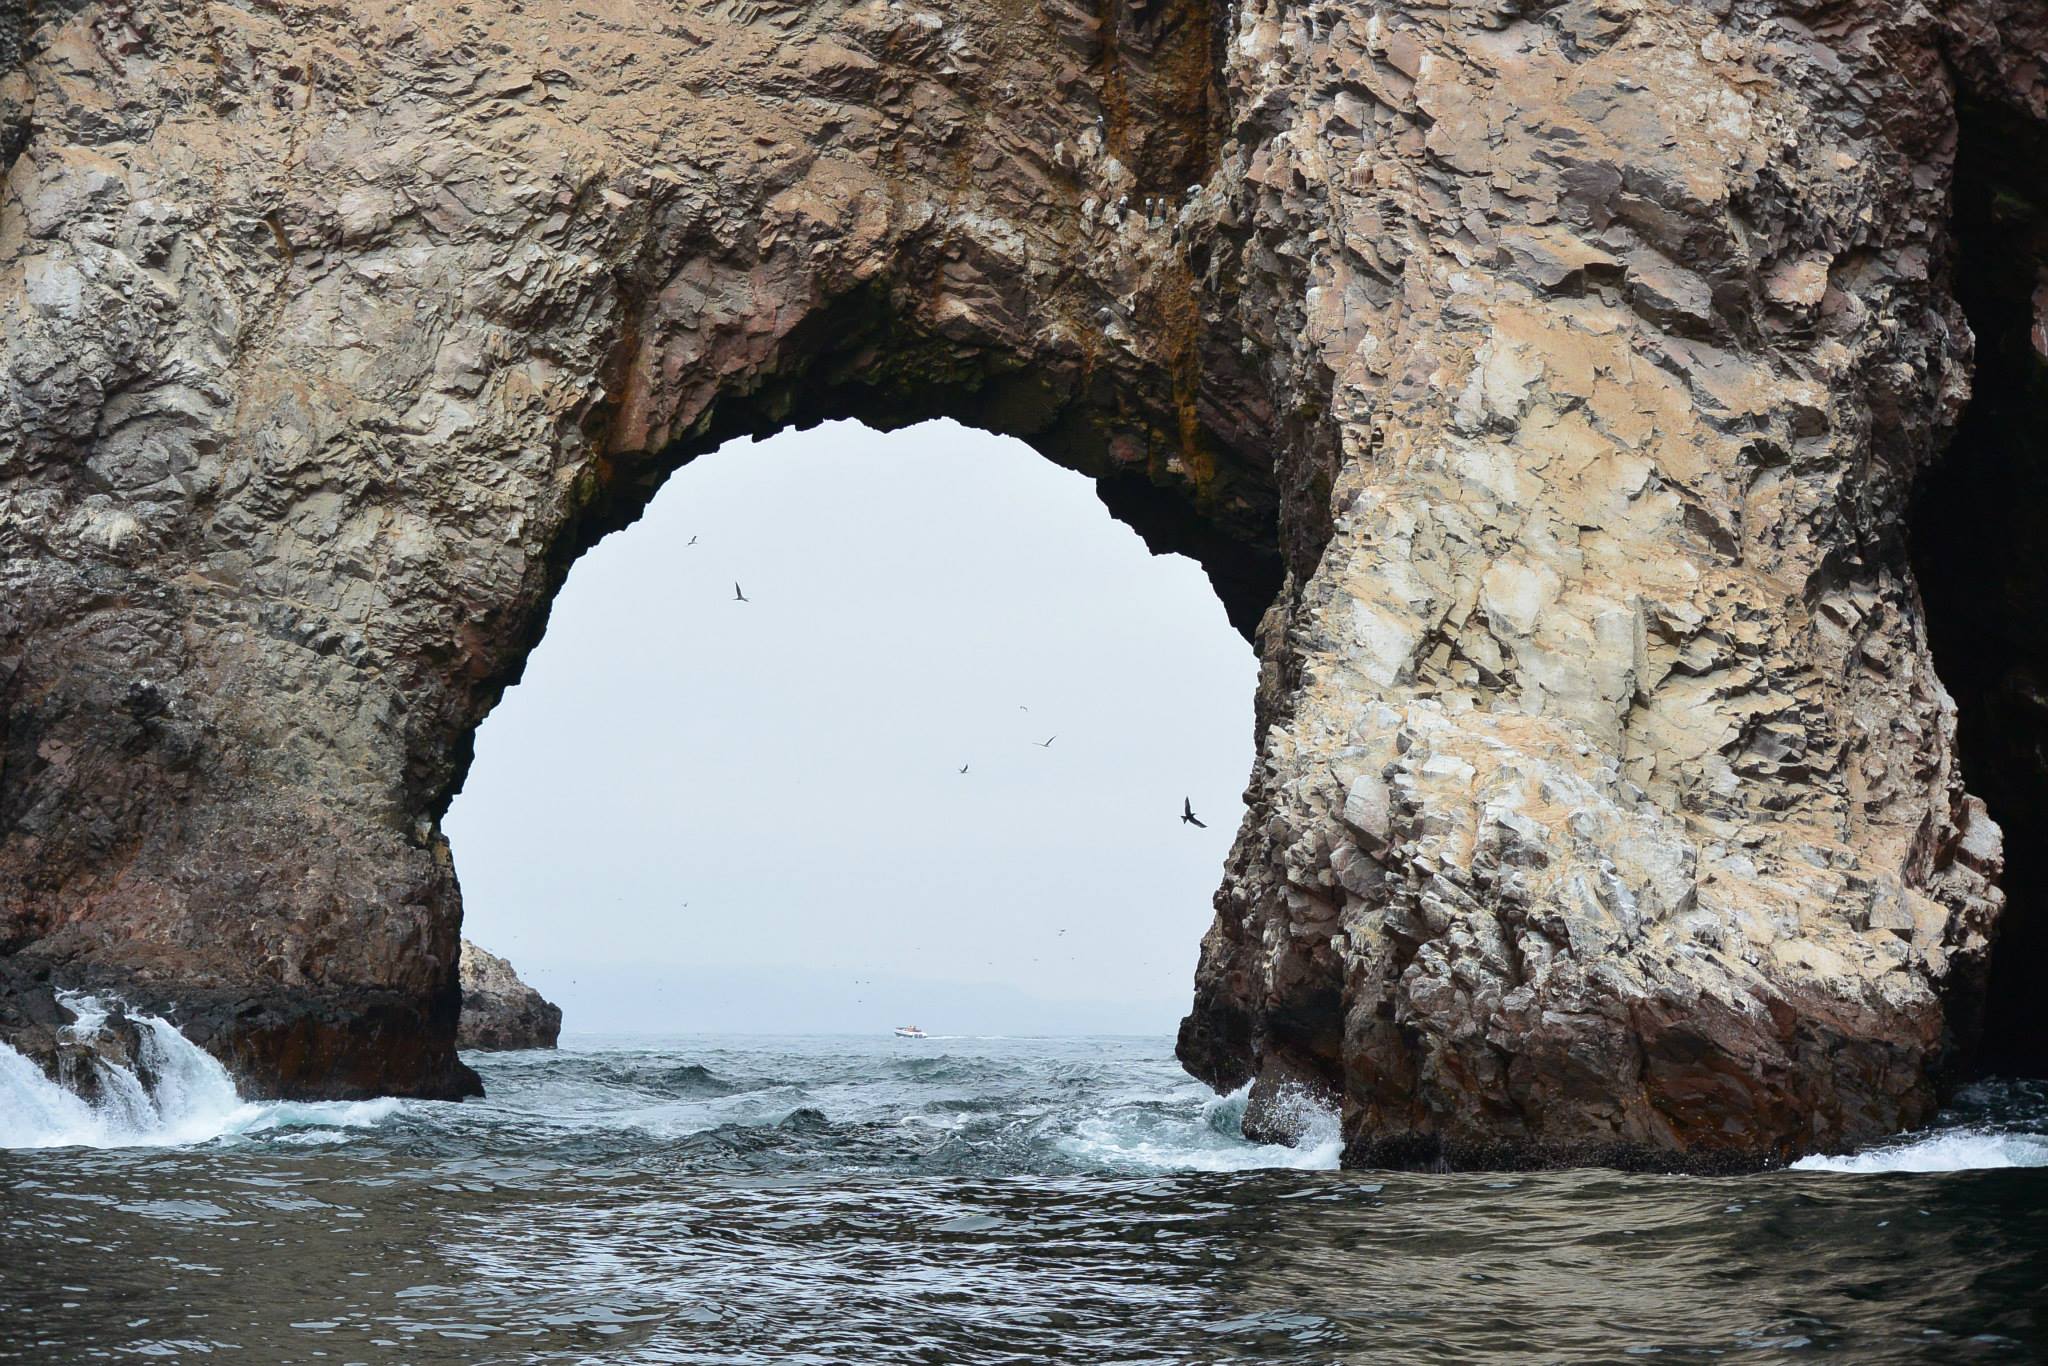
Of course using the camera in real world conditions is the key test of usability. My first stop in Peru was the Nazca lines and I was able to take video of the ancient desert glyphs while flying over them in a small plane. The ability to take photos while the video ran was also a plus meaning I could do two things at once. Next I headed off the coast of Paracas to the Ballestas Islands where I basically threw out everything I had practiced about setting the right aperture and shutter speed for a shot. The Ballestas Islands are known as the mini-Galapagos and are a set of islands teeming with wildlife, predominantly of the bird-kind. The islands are also pretty much in open water and my tour of the islands was completely from an open-topped jet boat in rough seas. My initial attempts to manually adjust settings was completely fruitless as the constantly bobbing boat meant getting that perfect macro shot of a crab on the rocks was impossible as focus constantly shifted from the unstable platform. Within a couple of minutes I set the camera to the full auto mode and let the camera do its thing. This was better. Then I decided to use the lessons I learned with the multi-shutter and set the camera to 5fps for excellent, in focus shots and enough shots for me to select the one that was perfectly framed. It felt like a cheat to be using the camera like a point-and-click but I couldn’t argue with the results.


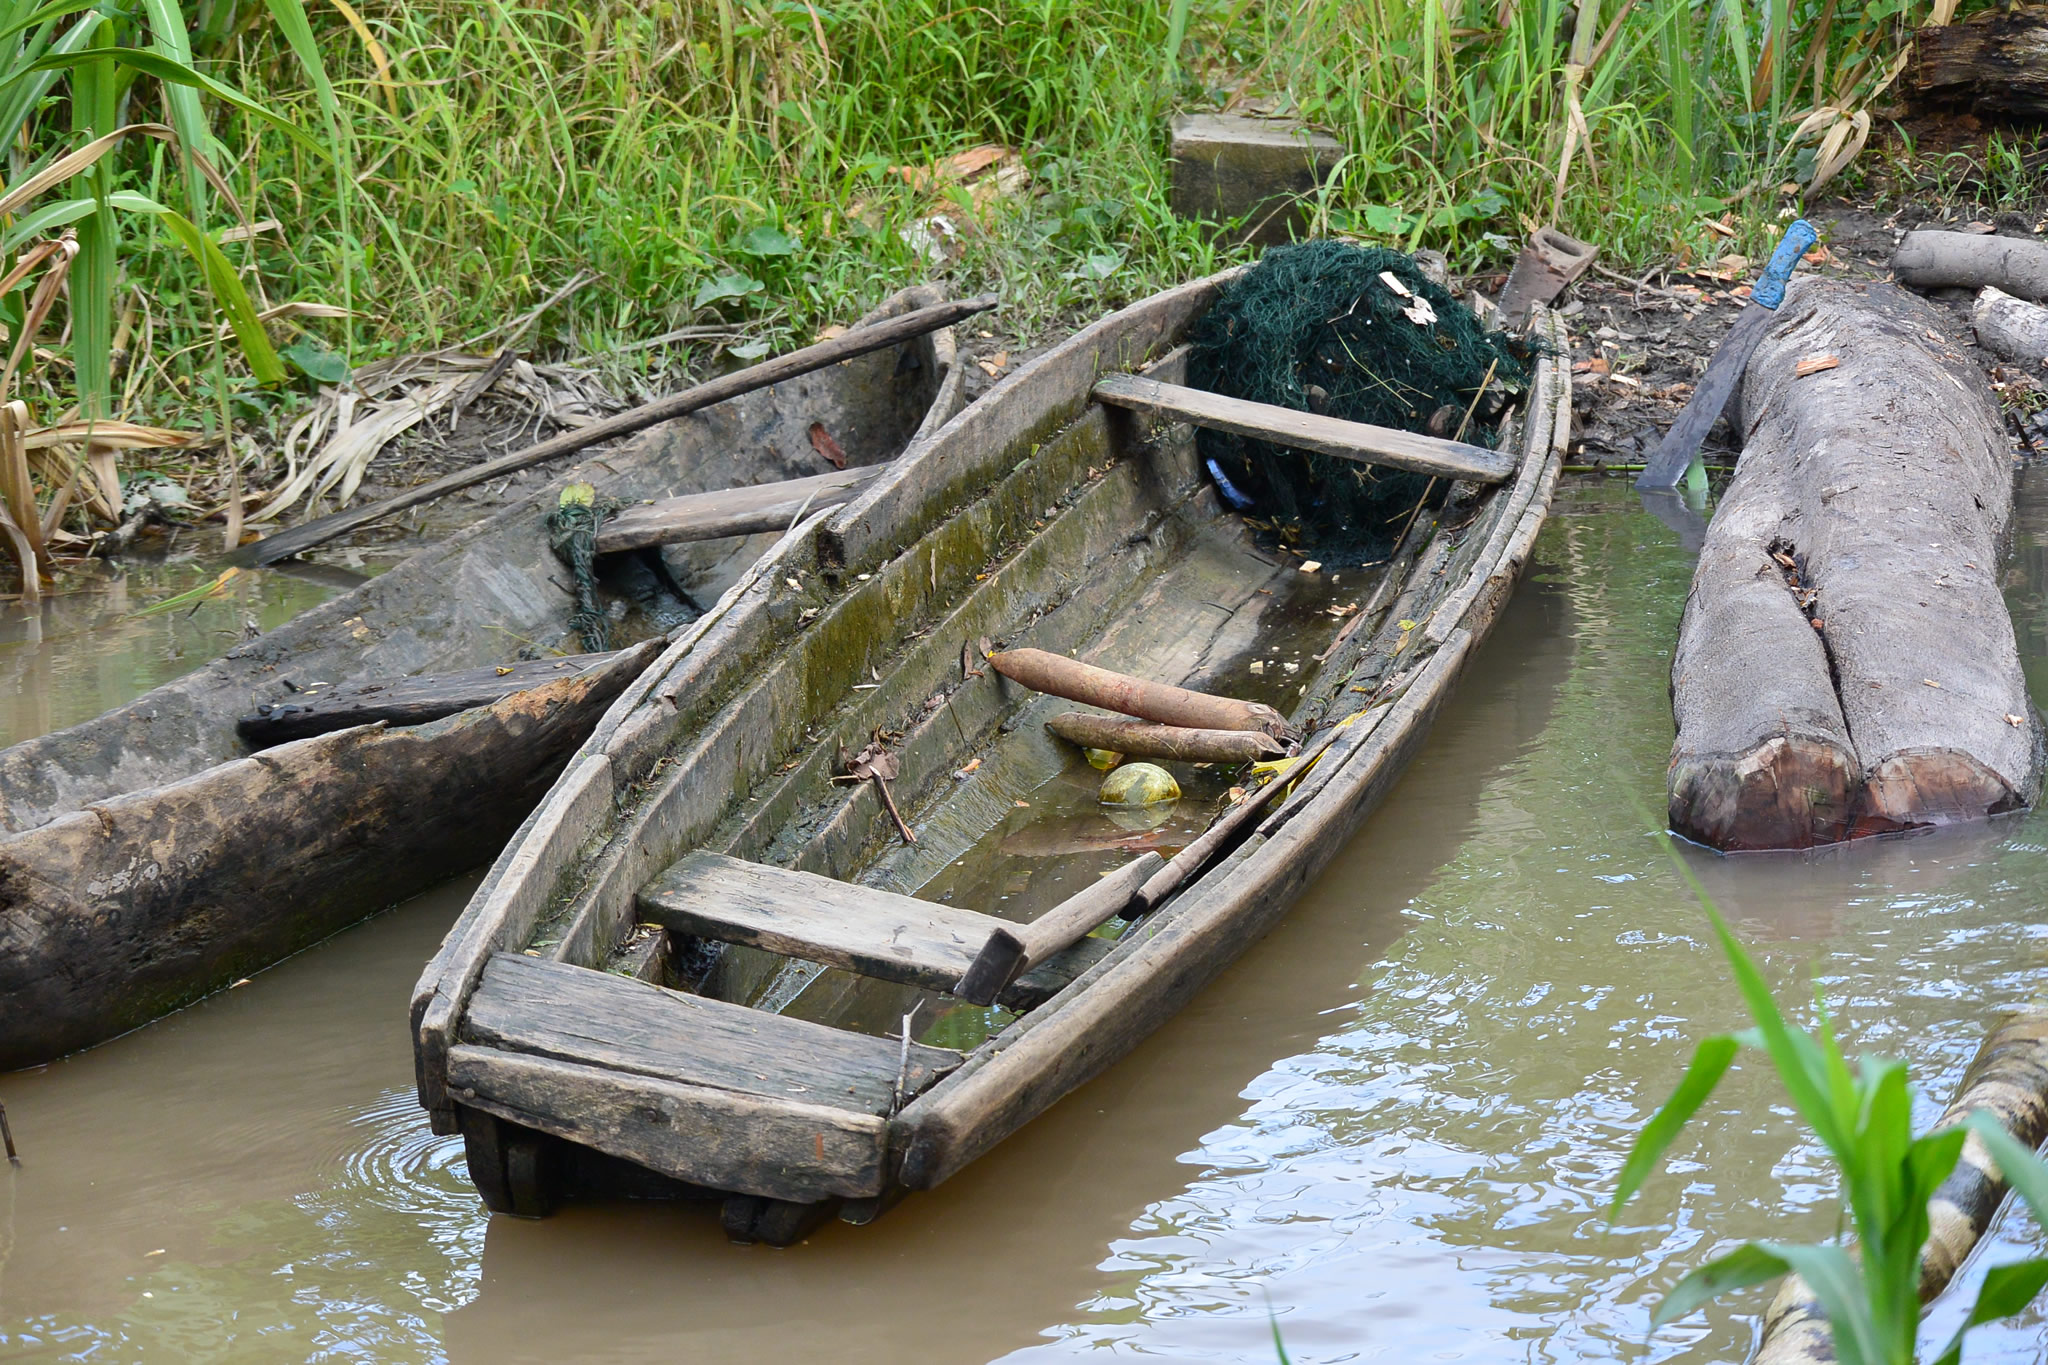
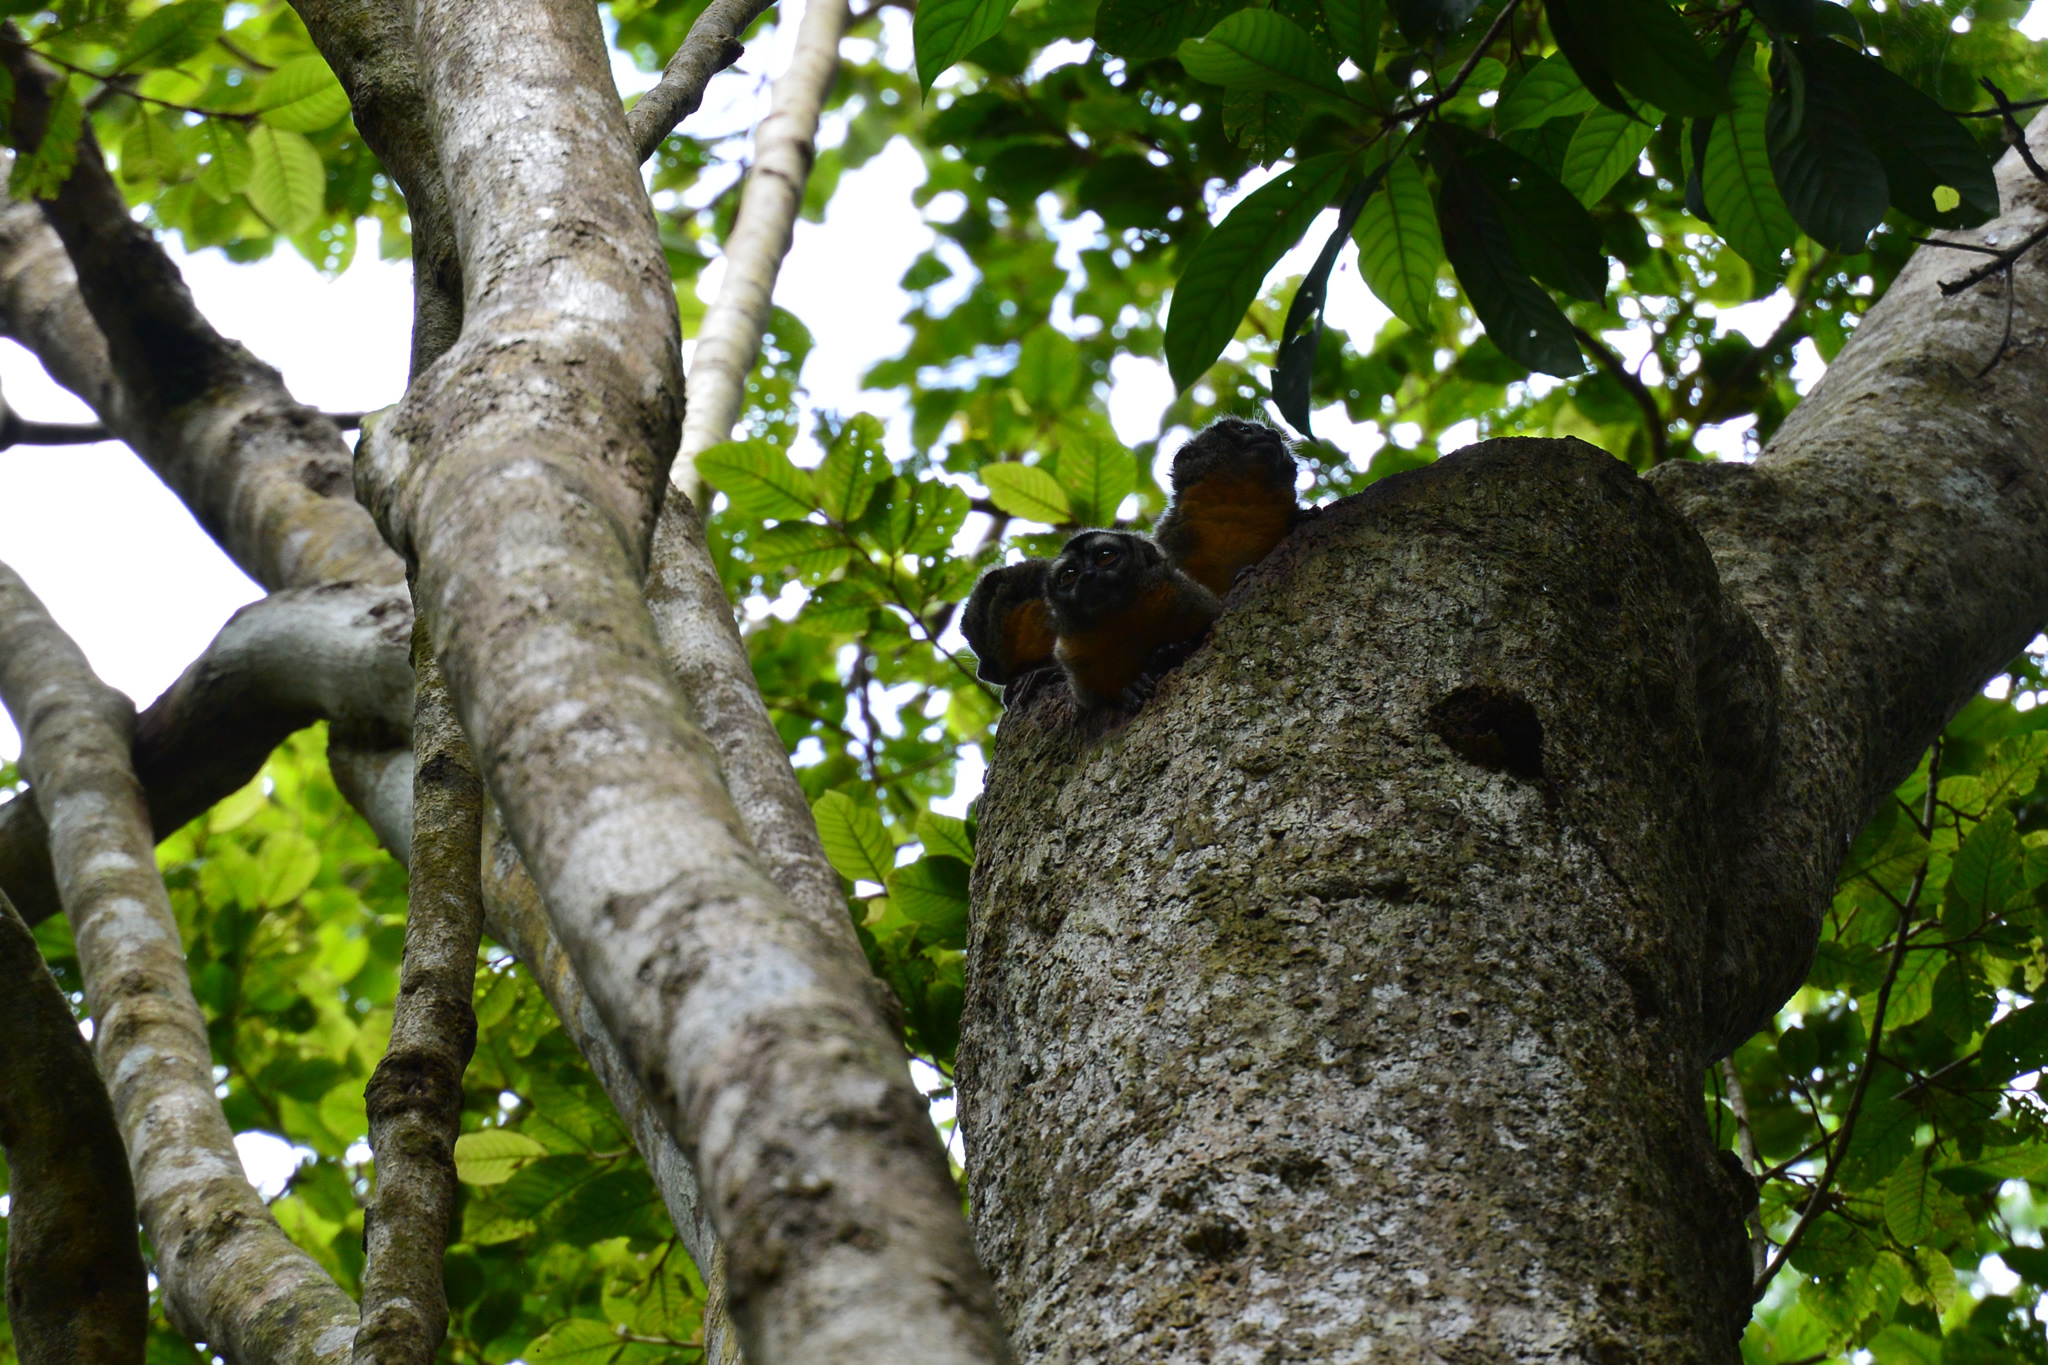
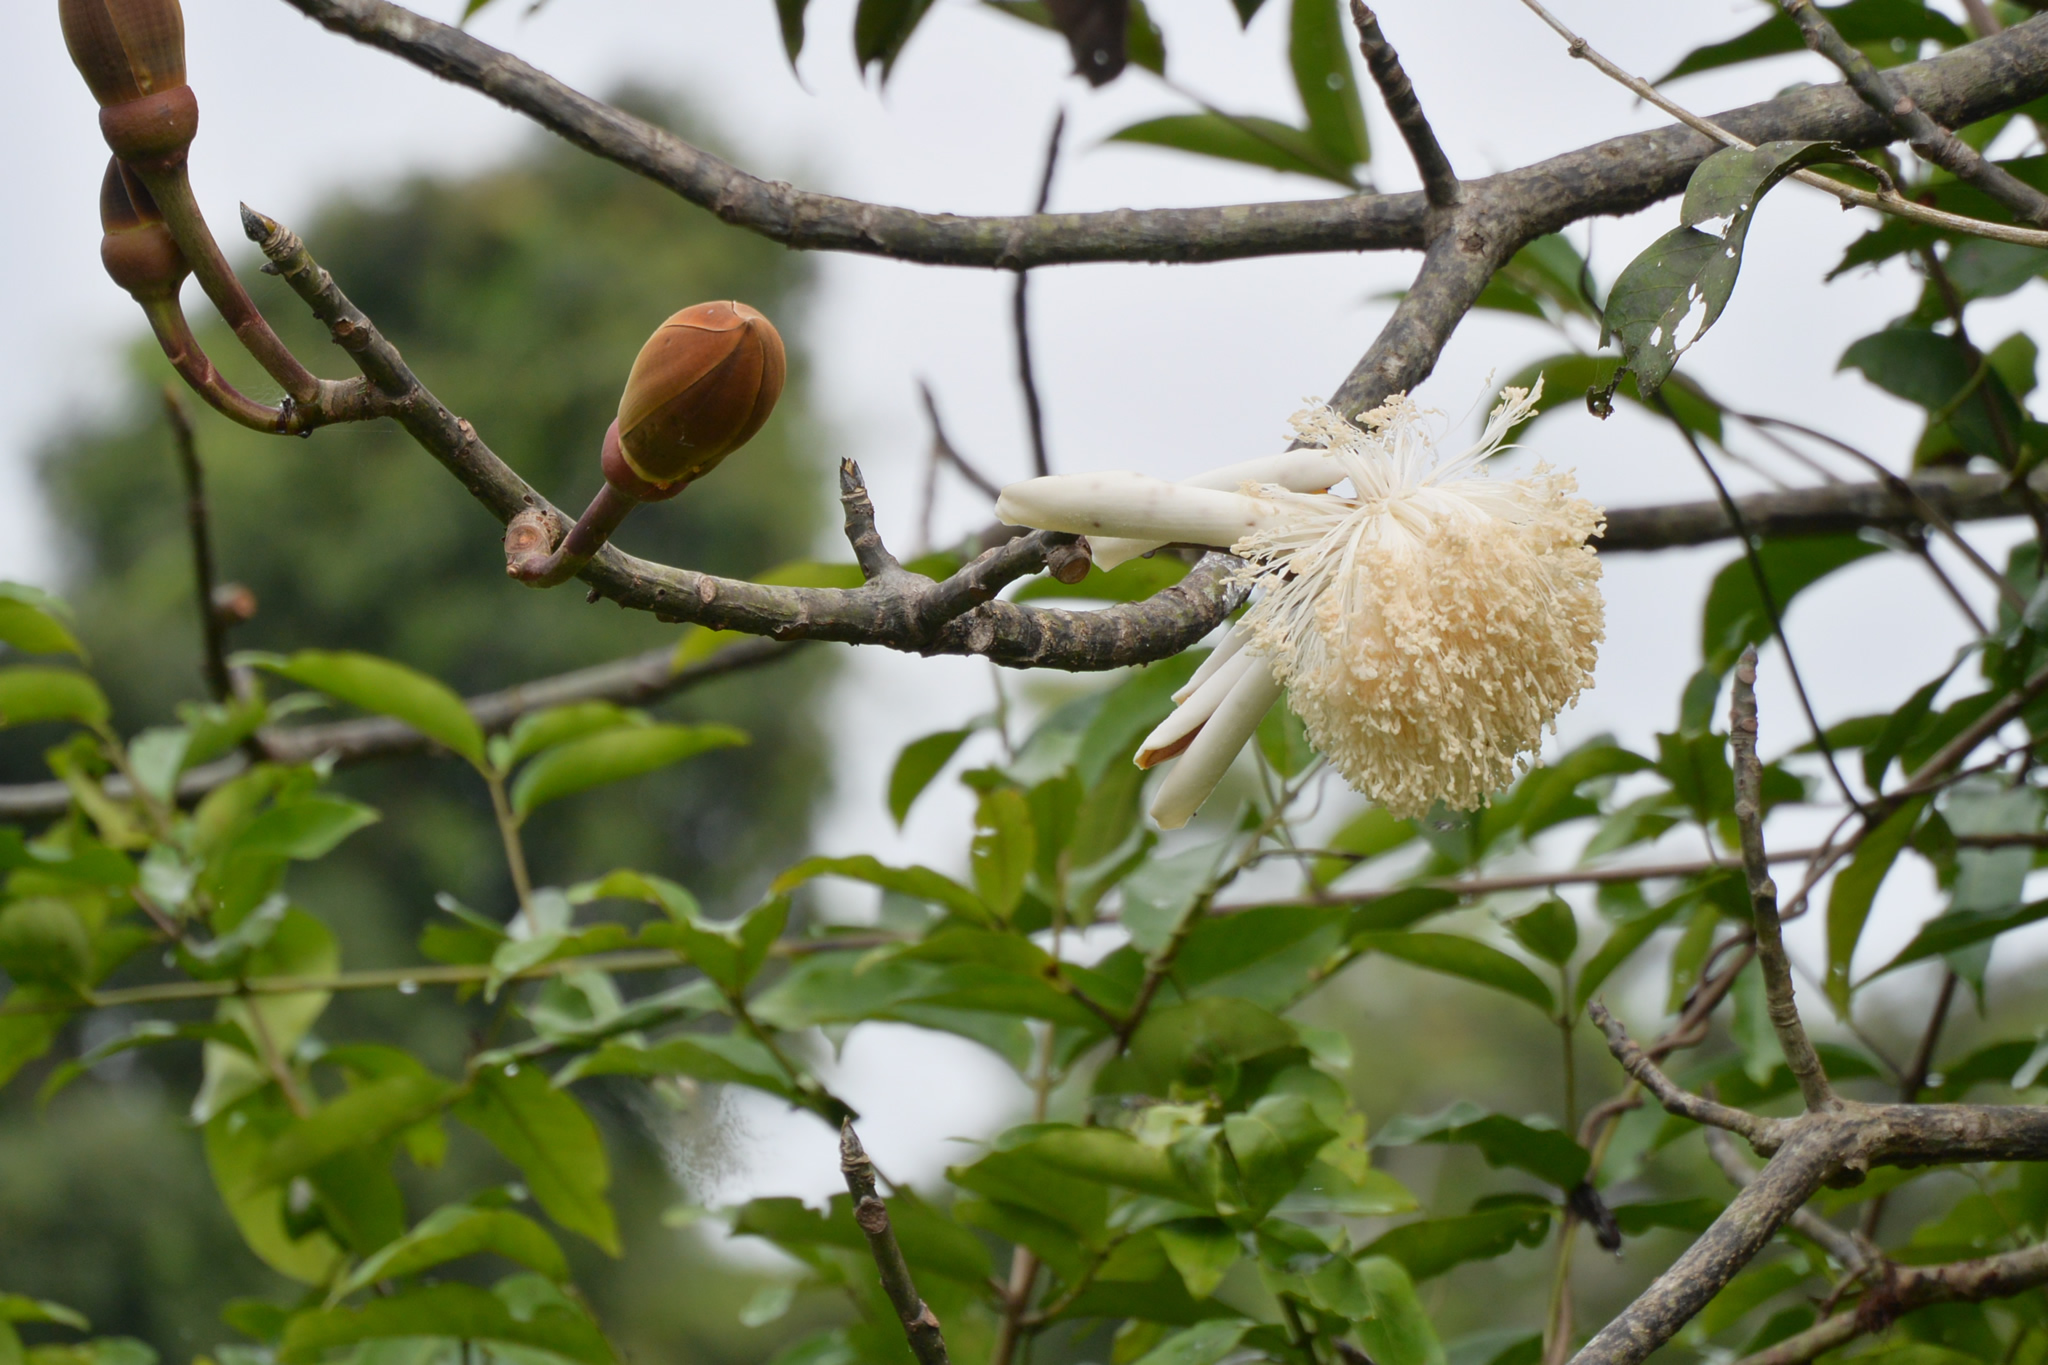
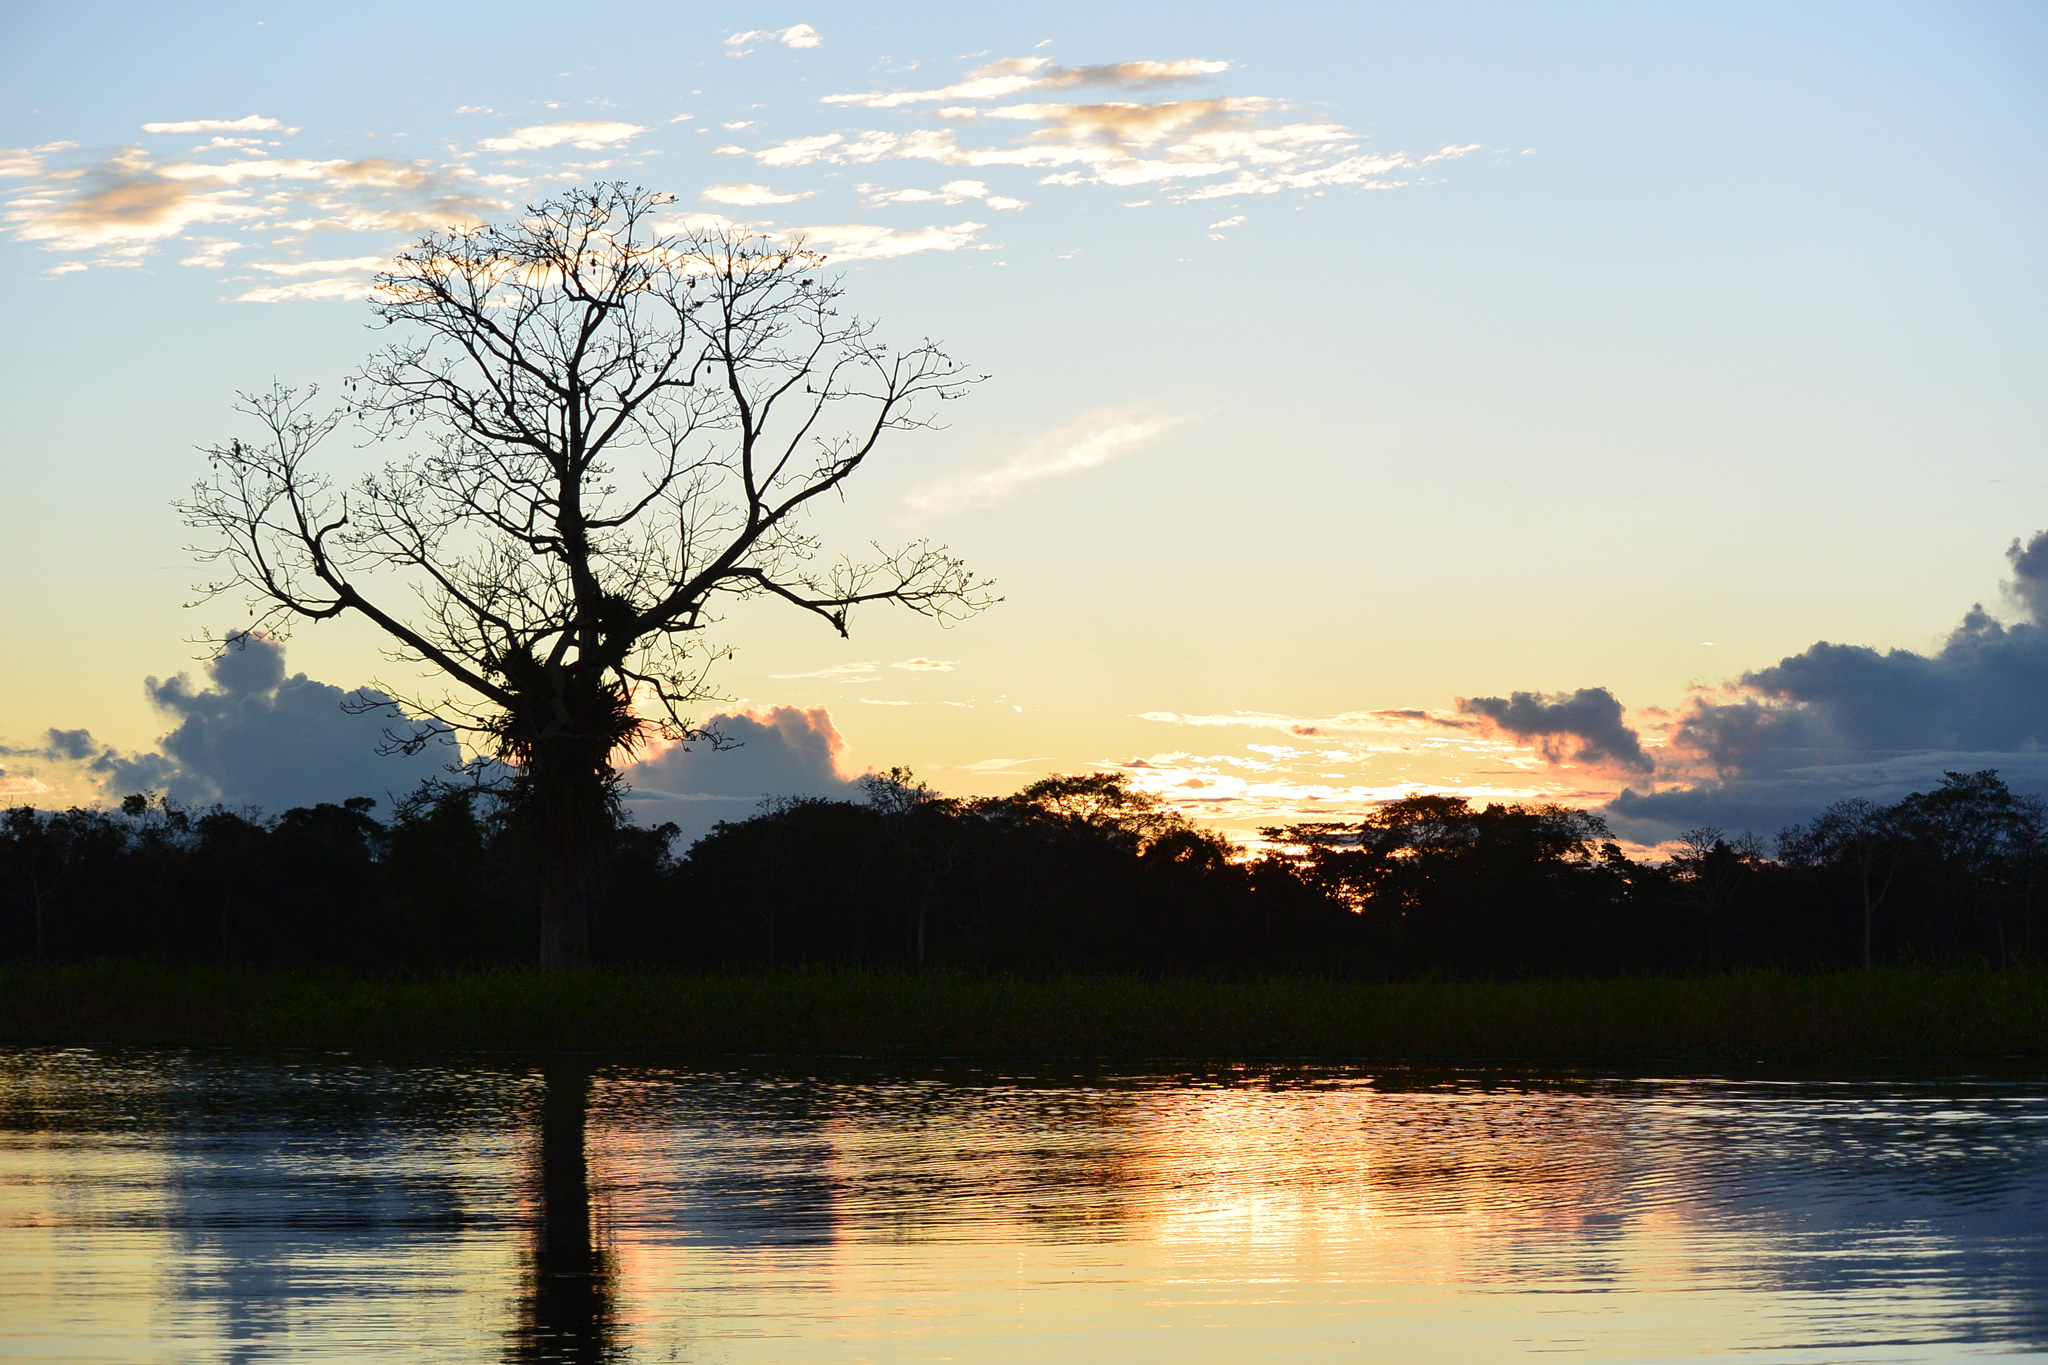
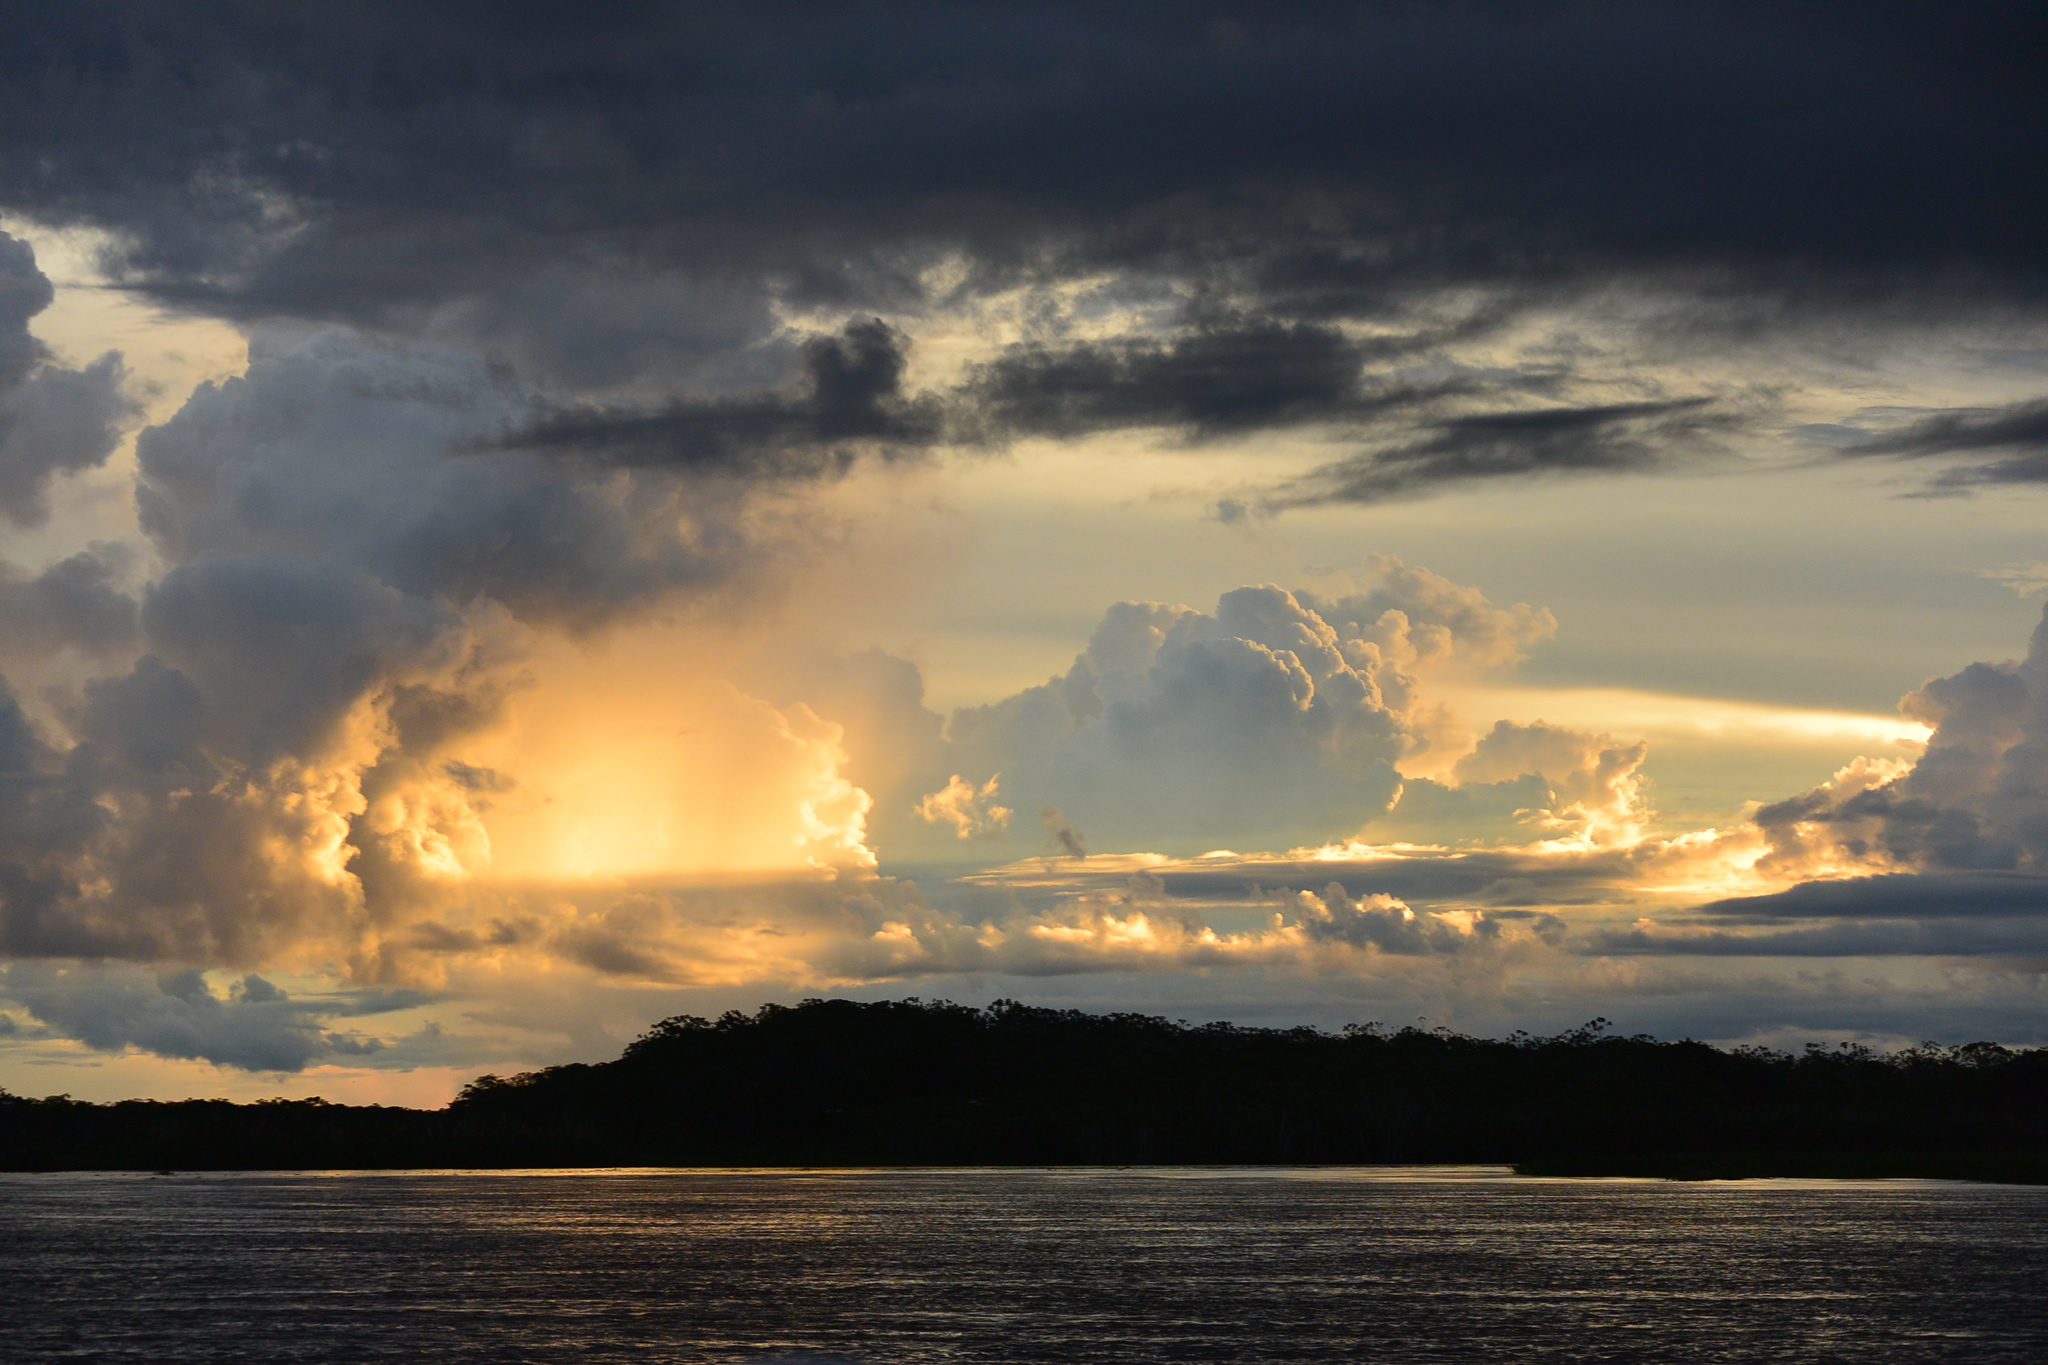
After the desert I moved next to the Peruvian Amazon. There are no seasons in the Amazon, only a hydrological cycle – one when it is very rainy and the water levels in the river are extremely high and one when it is less rainy and the water levels in the river are much lower. I was there during the end of the rainy season meaning more areas of the Amazon were navigable by boat but conversely there was very little land to walk on. So like the Ballestas most of my pictures had to be taken from the unstable platform of a skiff. Although less rough than open water the skiff still wasn’t the best platform for taking a steady shot. As a result I used the same settings as the Ballestas – full auto and 5fps.
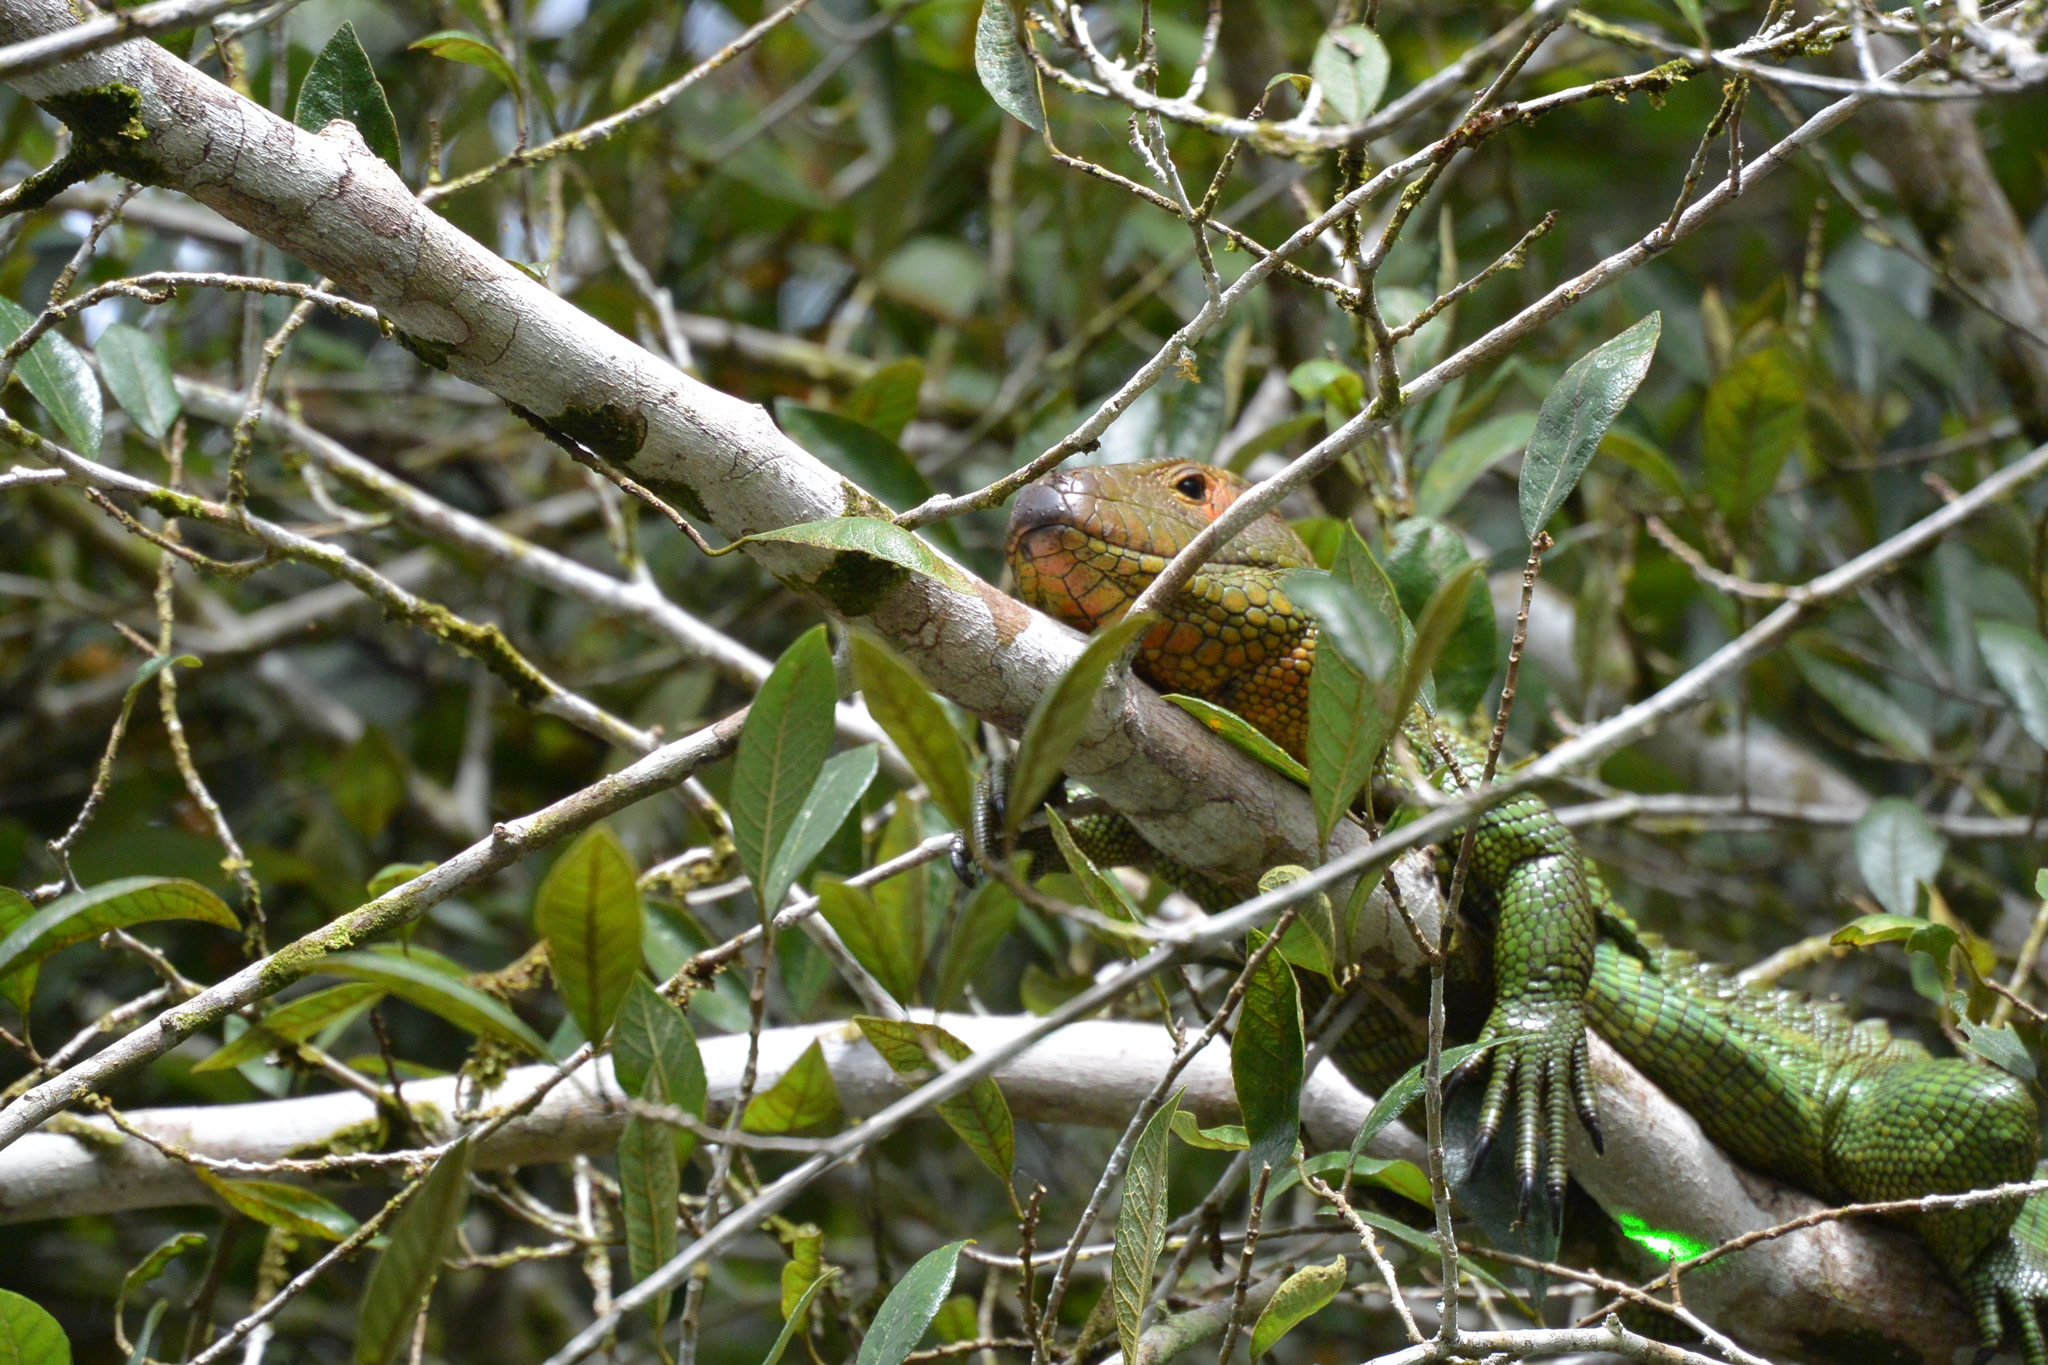
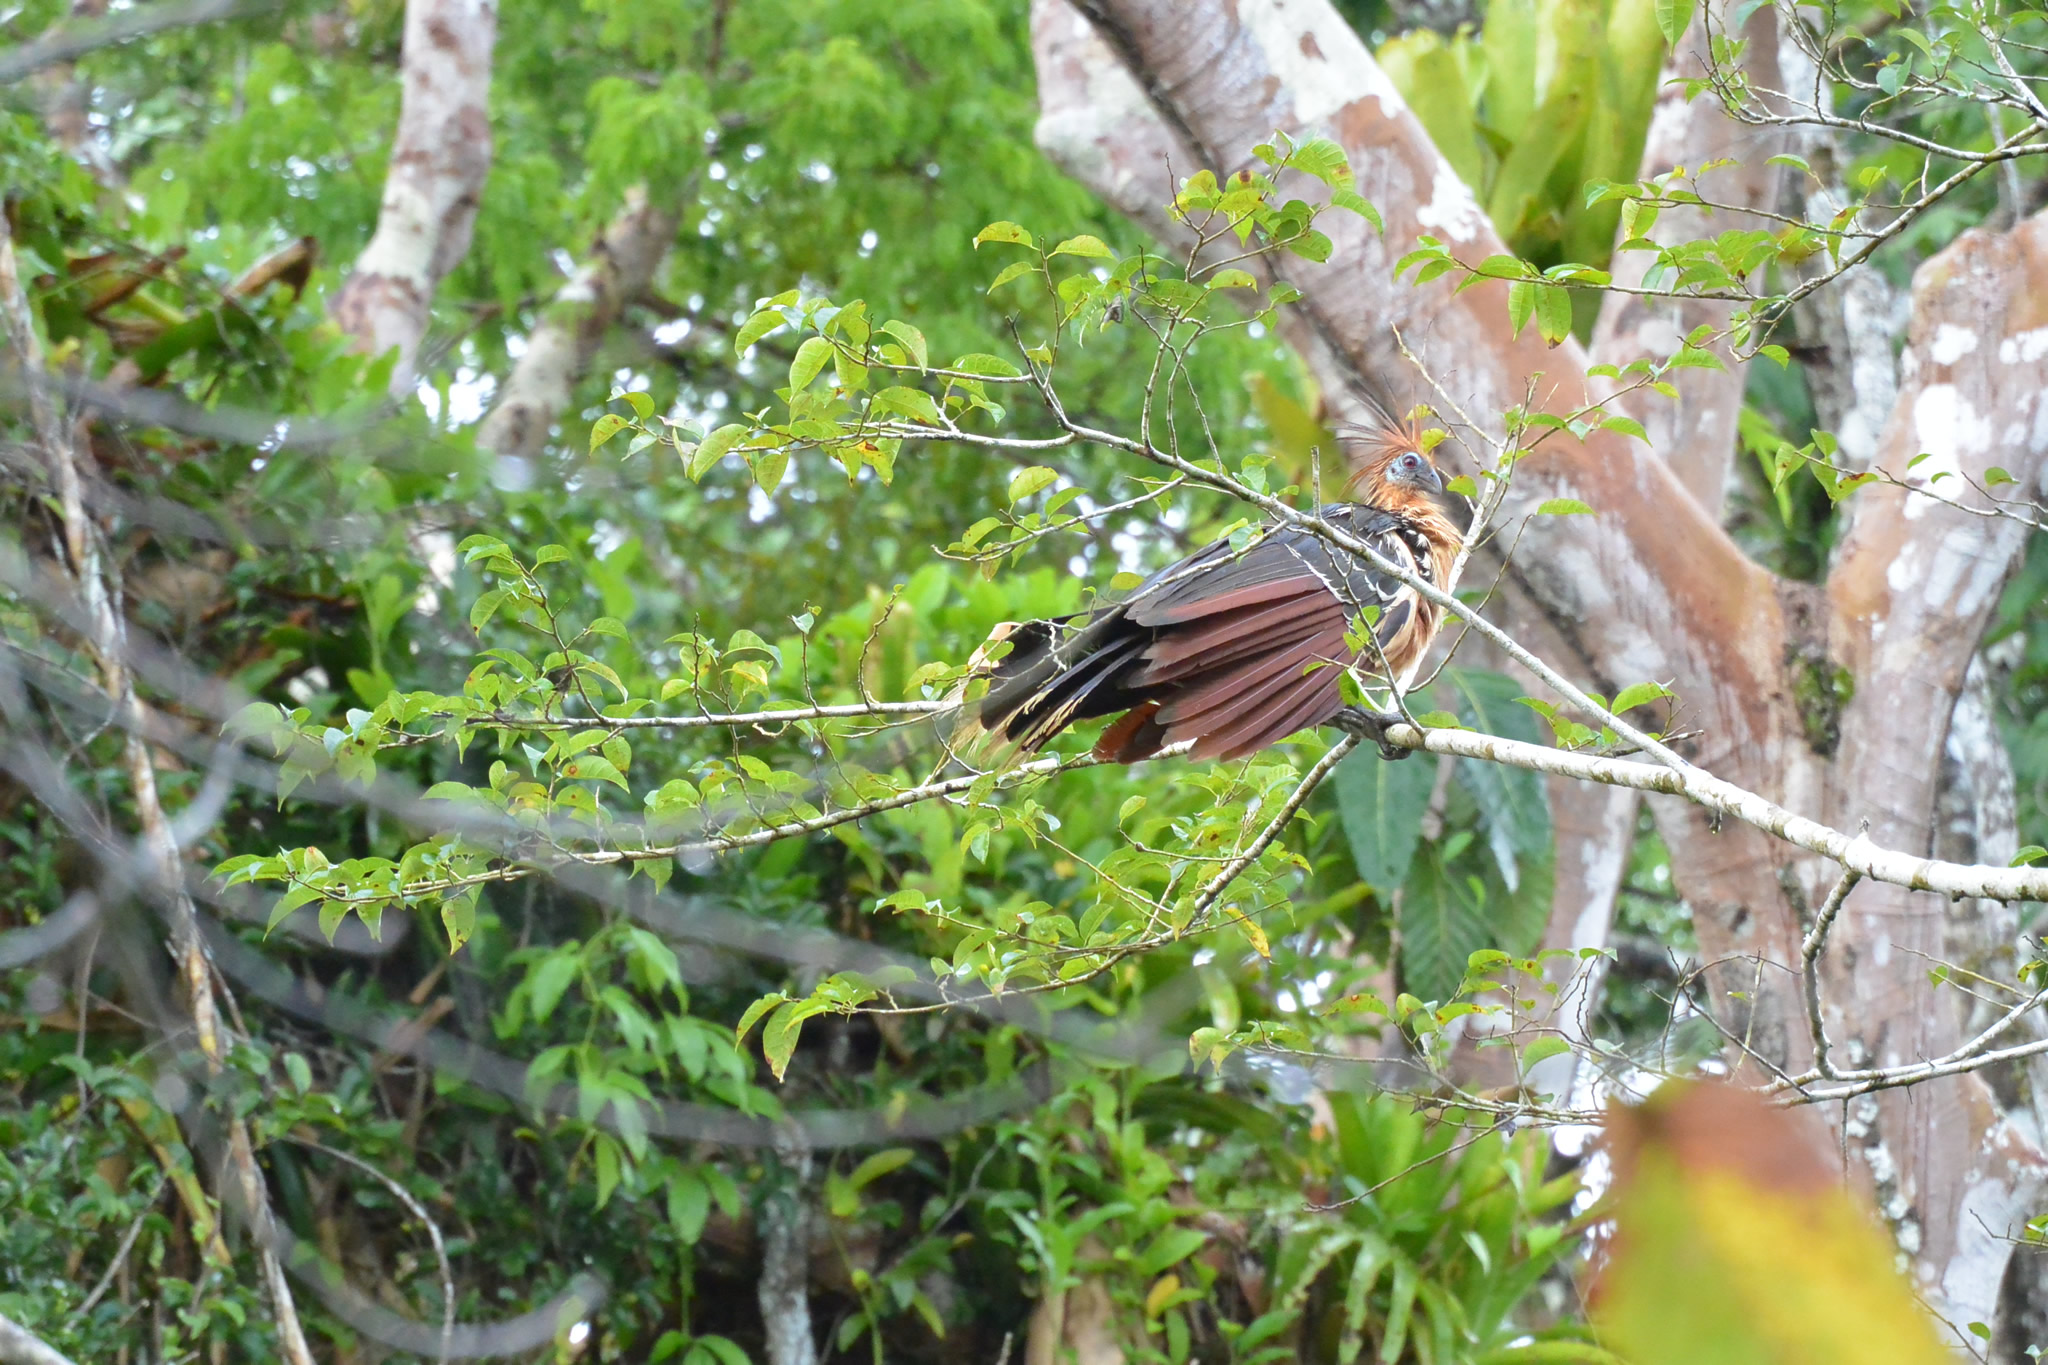
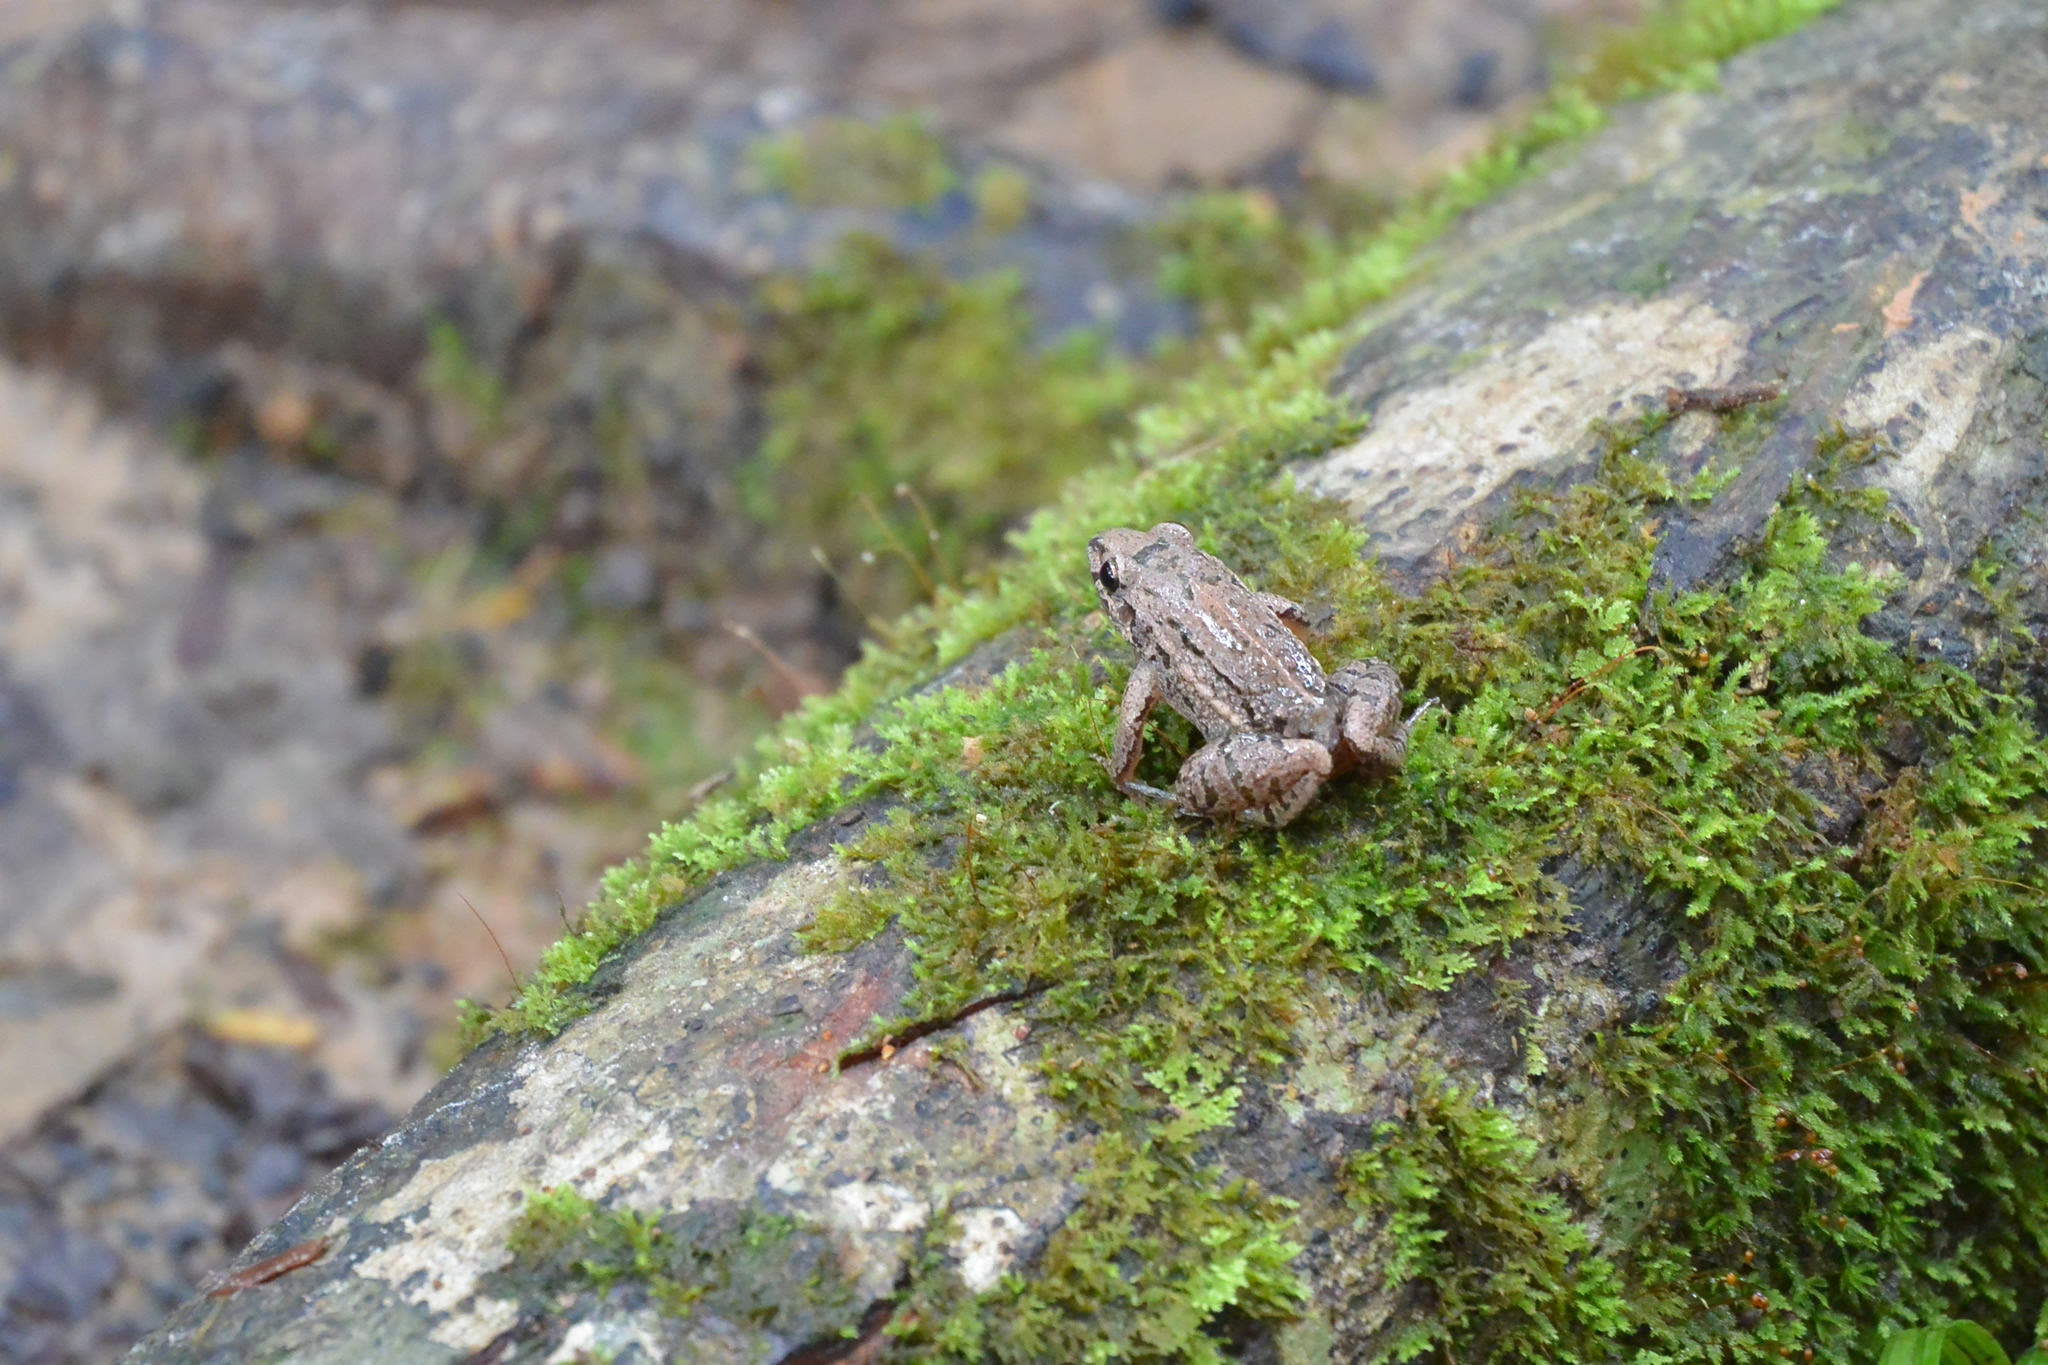
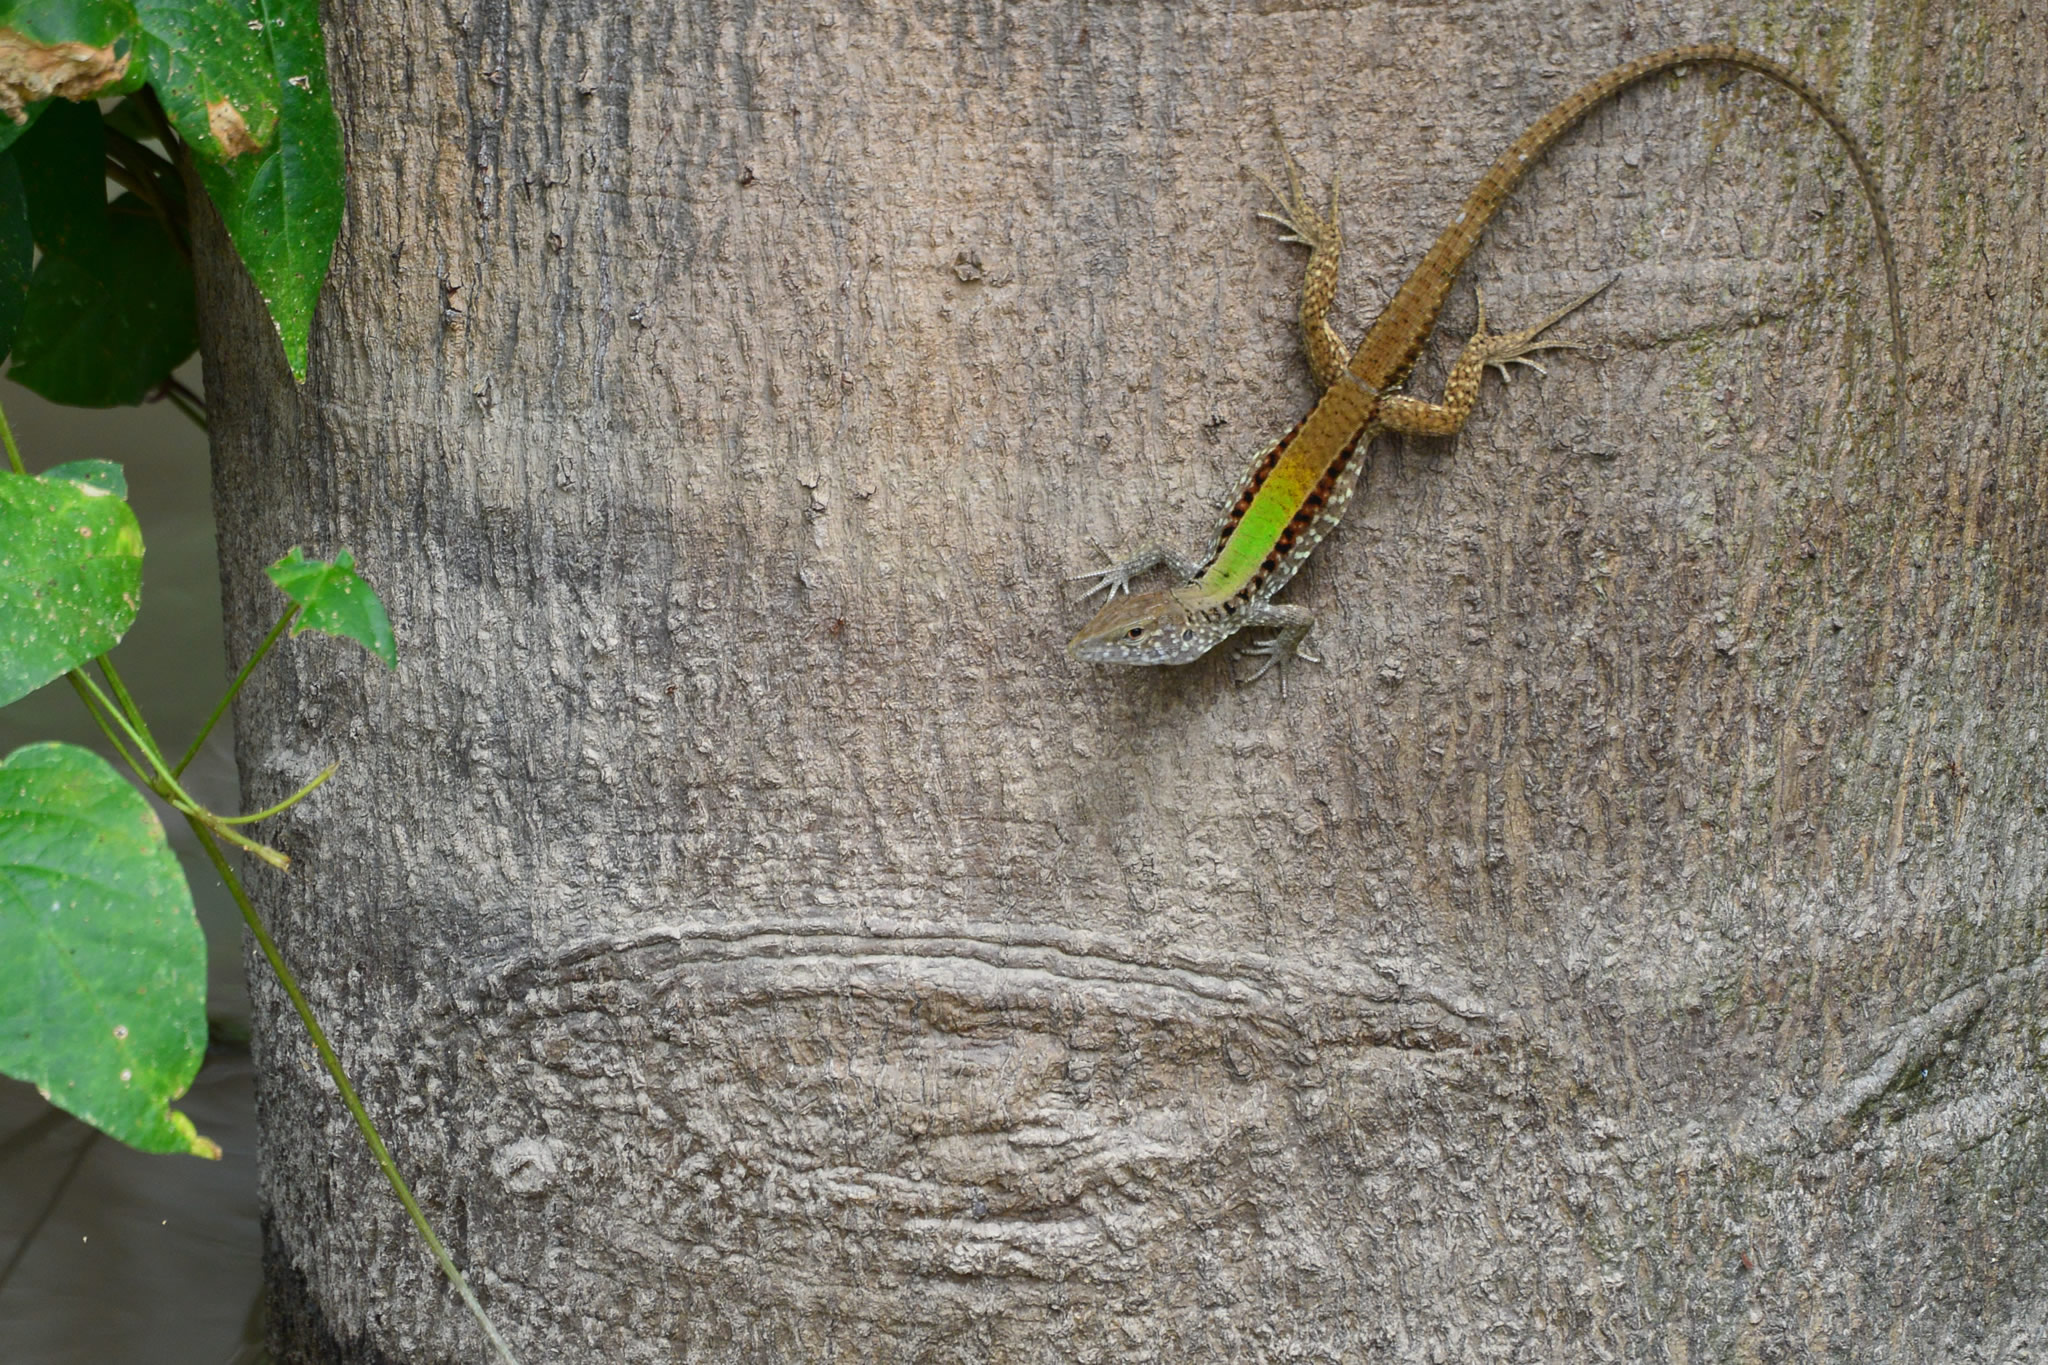
Another issue was most of the animals to photograph such as birds, monkeys, lizards and sloths live high in the trees. This meant pointing your camera at objects often near the tree tops while backlit by the sky. I hadn’t trained for this but it didn’t matter since I would have still been shooting full auto anyway. I tried HDR but again the unstable platform of the skiff produced mixed results. In the end I decided that I could always make adjustments through post-editing the photos in Photoshop.
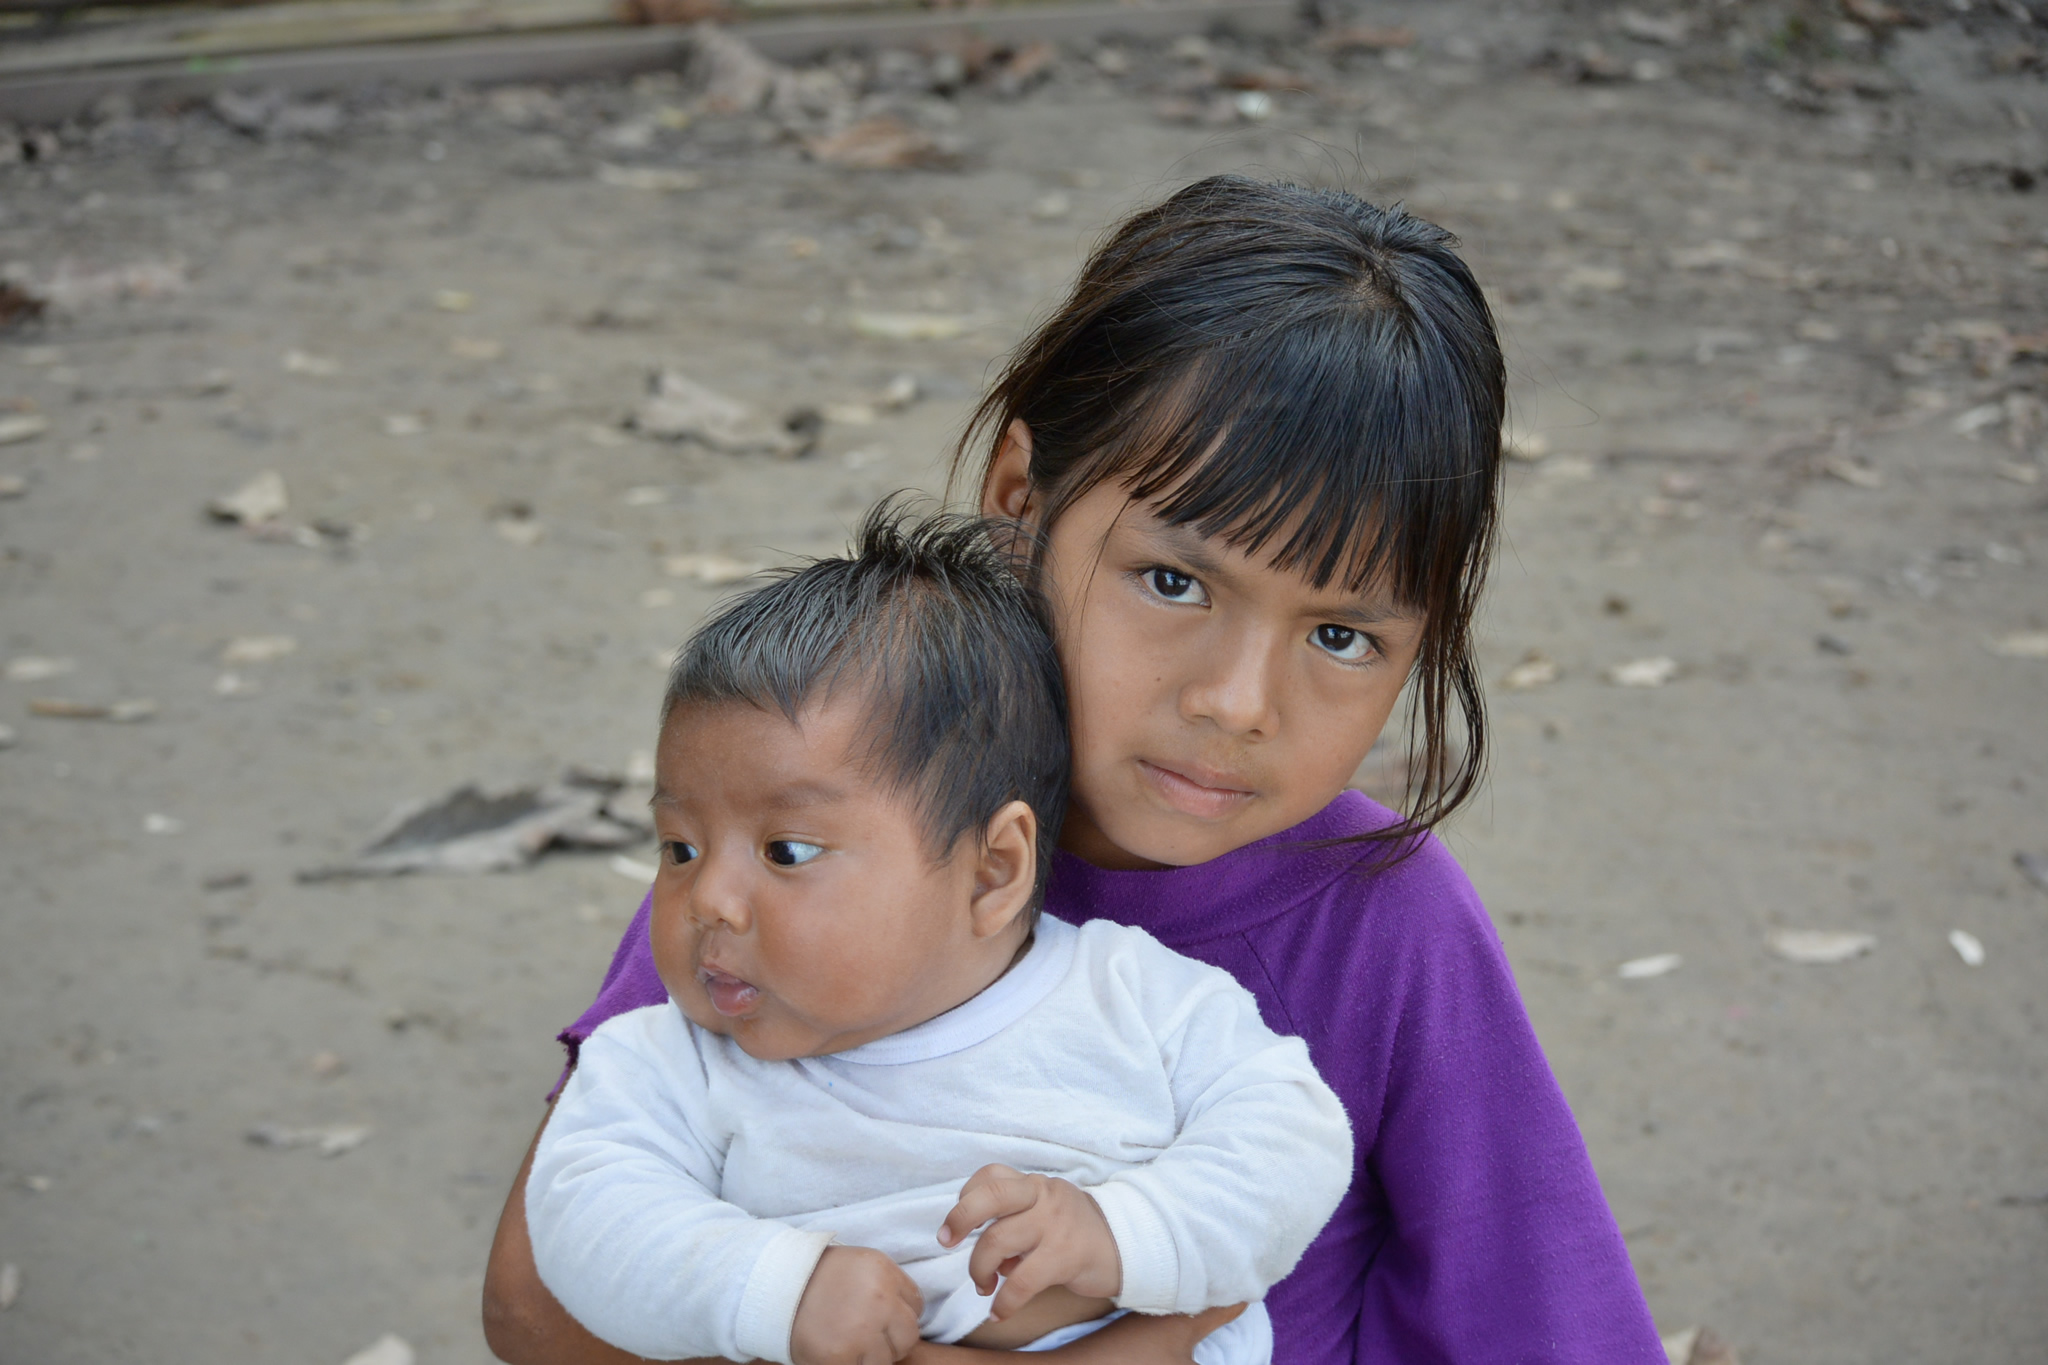
I was able to use the more manual settings as we headed to “terra firma” on the final day. This was high ground and one of the only areas that remains completely dry during the rainy season. I used the 10-30mm lens but most of my photos were limited to photos of the various animals and people. Trying to capture the scale and size of the trees in the dense rainforest would have required a wide angle lens.
Lastly, the tour company sprung for a free aerial flight in a floatplane over the Amazon confluence. This was the perfect time to shoot some video. Unlike the plane I took over the Nazca lines which was a sealed cabin with the temperature regulated, the cabin inside the tiny floatplane over the Amazon was hot. Even though the actual flight time was only 15 minutes, the camera shut down after about 10 minutes of shooting video to cool off. The chassis was literally too hot to even hold. I had read reviews that discussed the limited video shooting time (anywhere between 15-30 minutes) and the auto-shutoff feature to prevent overheating but no doubt the warm external temperature exacerbated this.
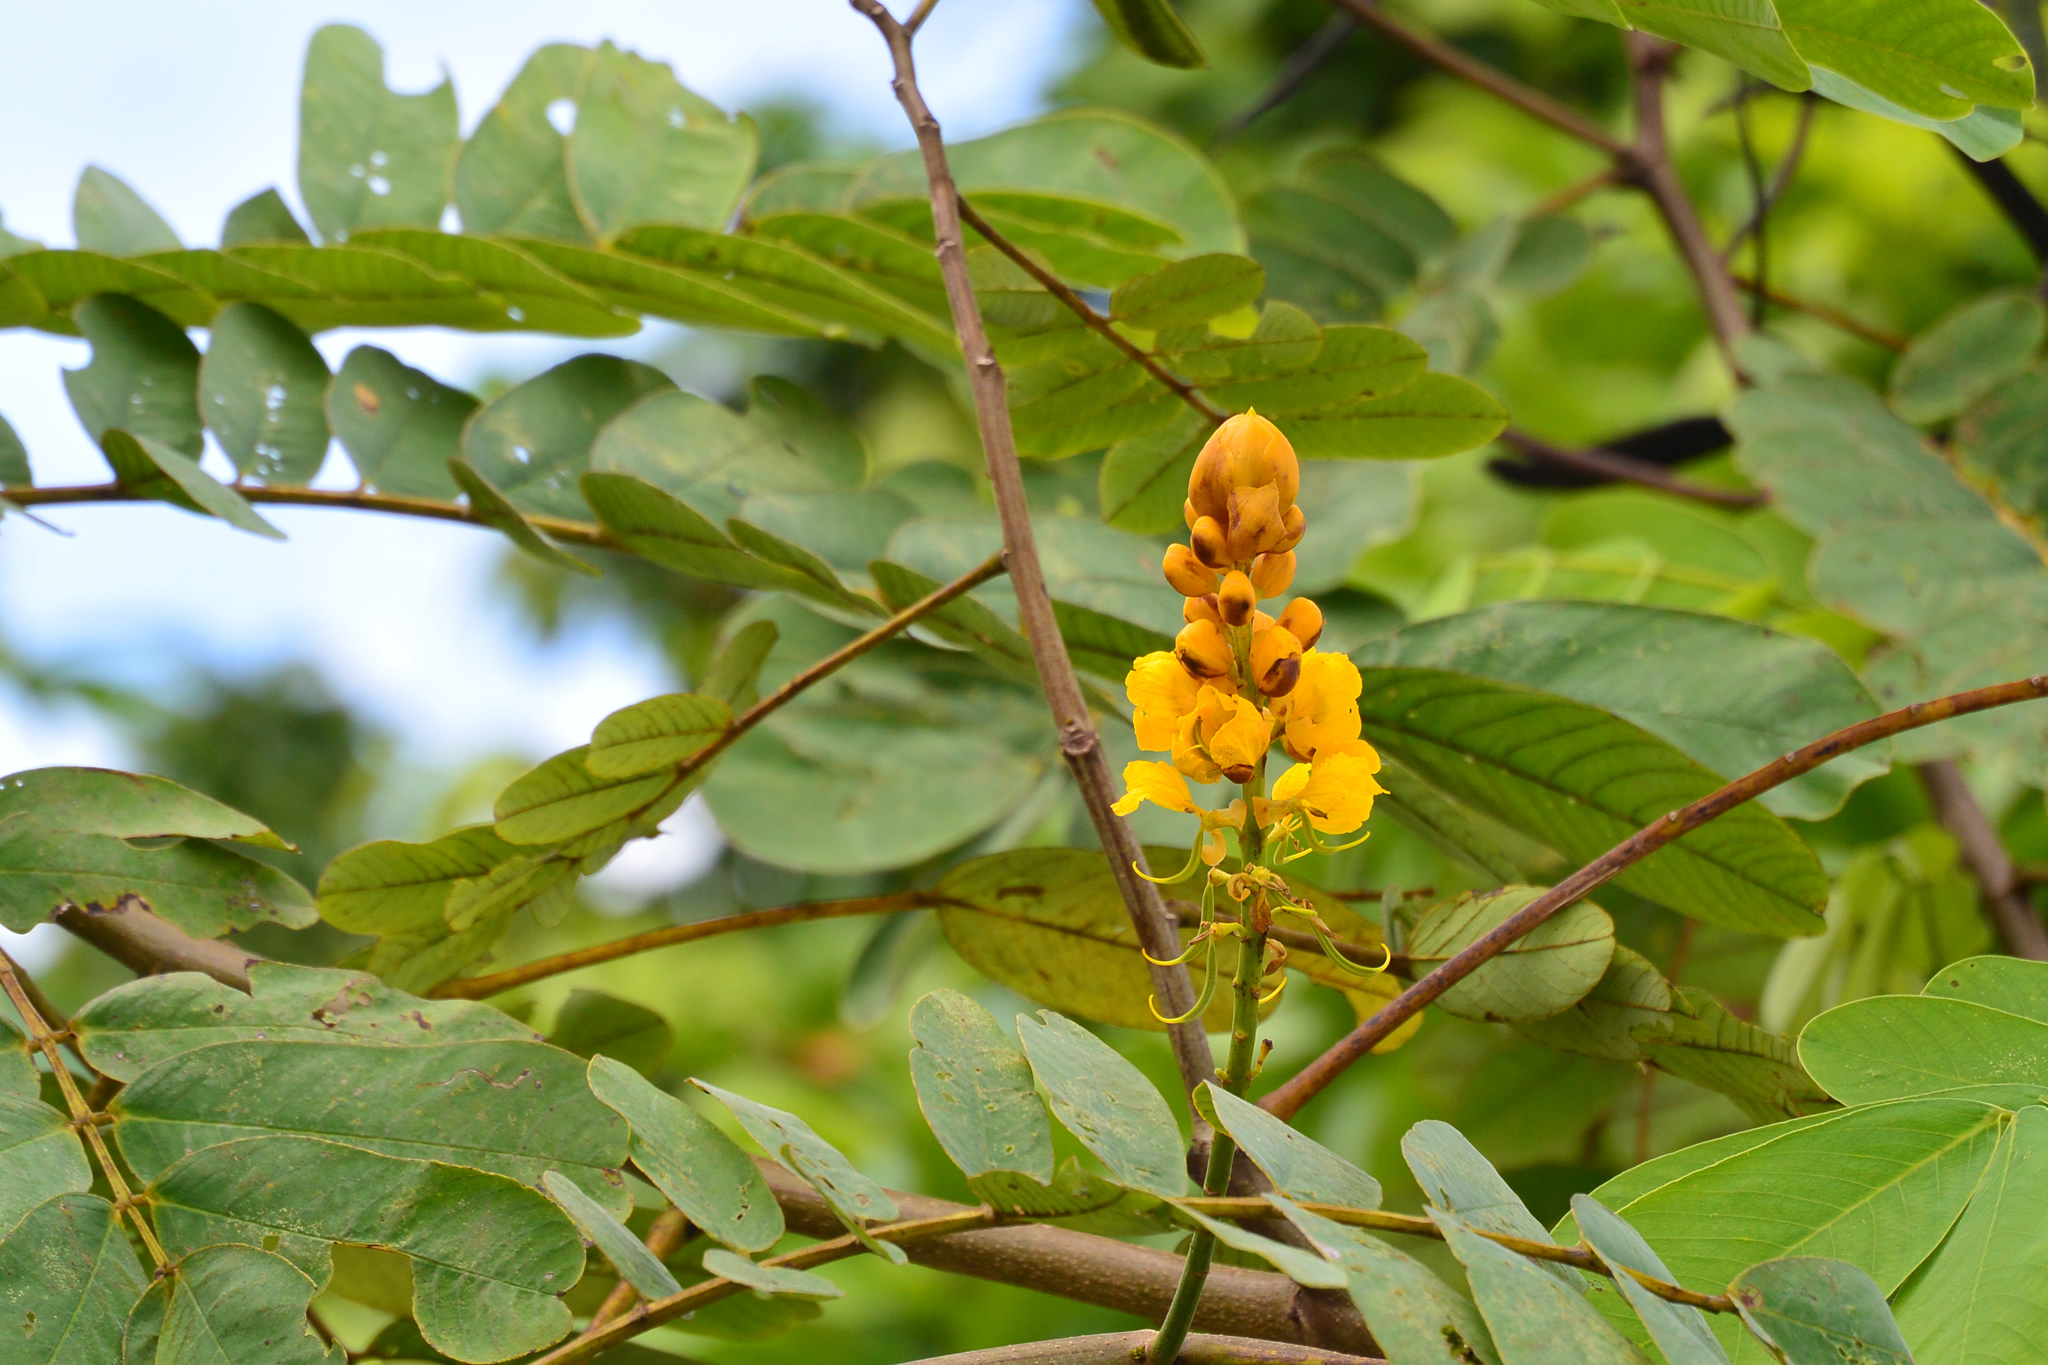
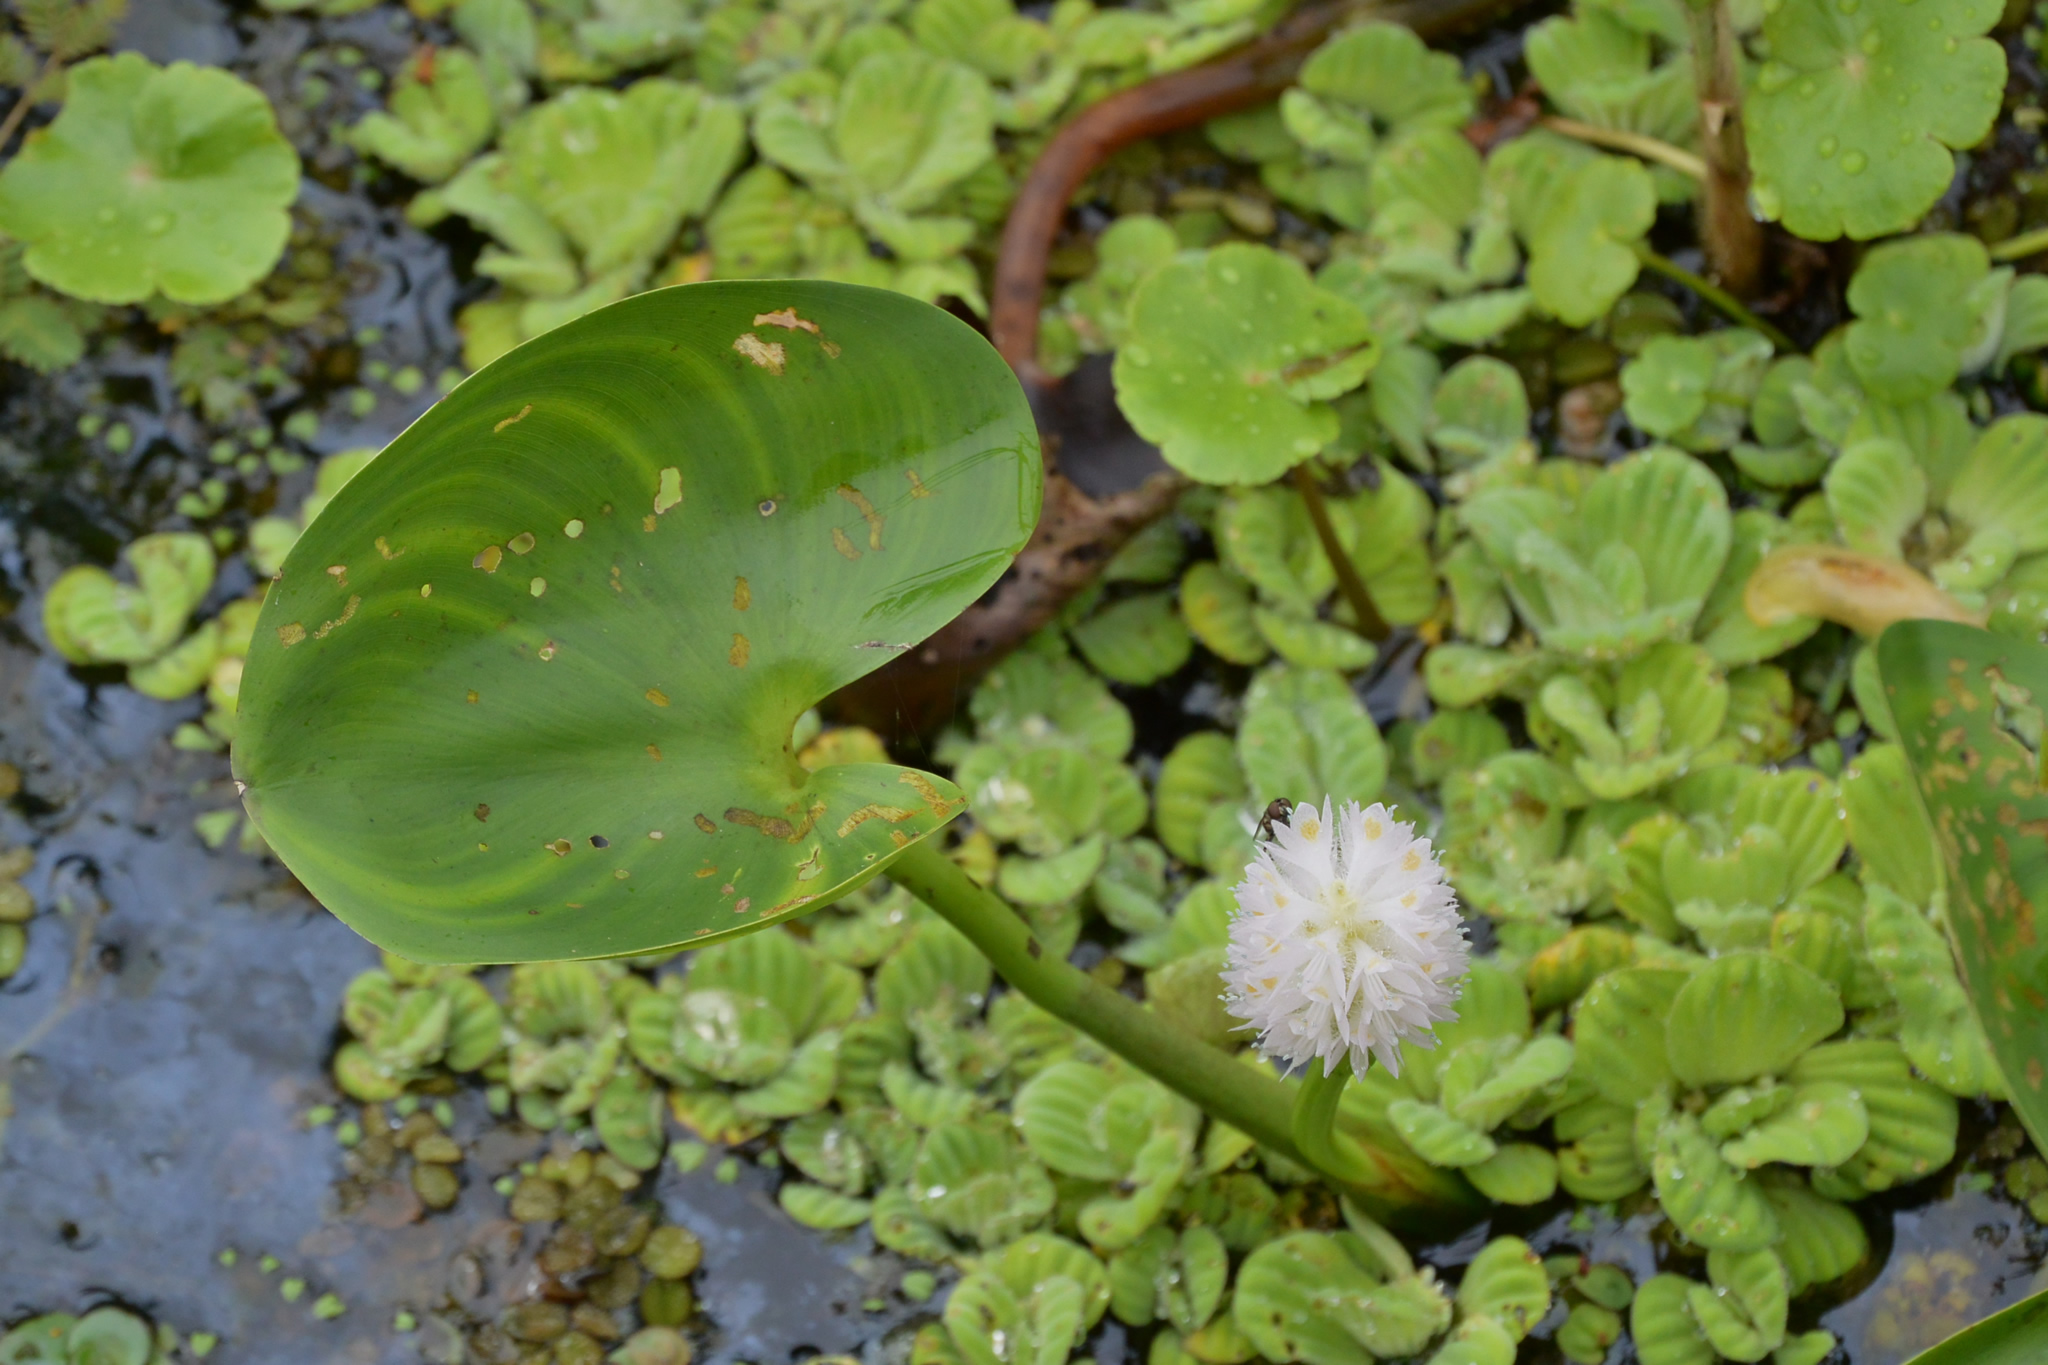
The photos below are all untouched and a selection of my top ten (or rather top twelve) Amazon photos that I used to create a calendar. As before they have been reduced in size to make them easier to view on the web.