Tools Used:
- Wacom Intuos Comic Tablet (Small)
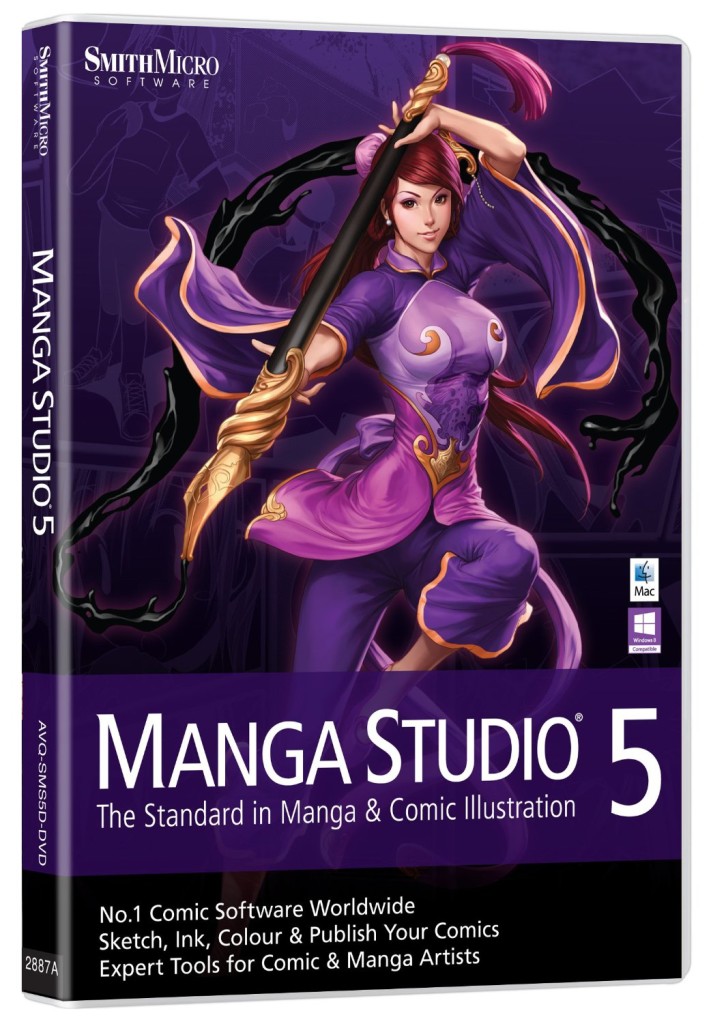
- Manga Studio 5
This post is both a Tool of the Trade and How To. I had recently received the Wacom Intous Comic Tablet for Christmas 2015 along with the software Manga Studio 5. To test out both the tablet and software I decided to re-ink and color a picture I had drawn nearly 30 years ago.
Hardware
My previous digitizer tablet was a monstrous commercial-sized 12″ x 12″ Wacom tablet purchased in 1999. After upgrading to Windows 8 in 2014 I found there were no drivers to support this 15 year old tablet. In 2015 I received the much smaller 8″ x 5″ Wacom Intuos tablet for Christmas.
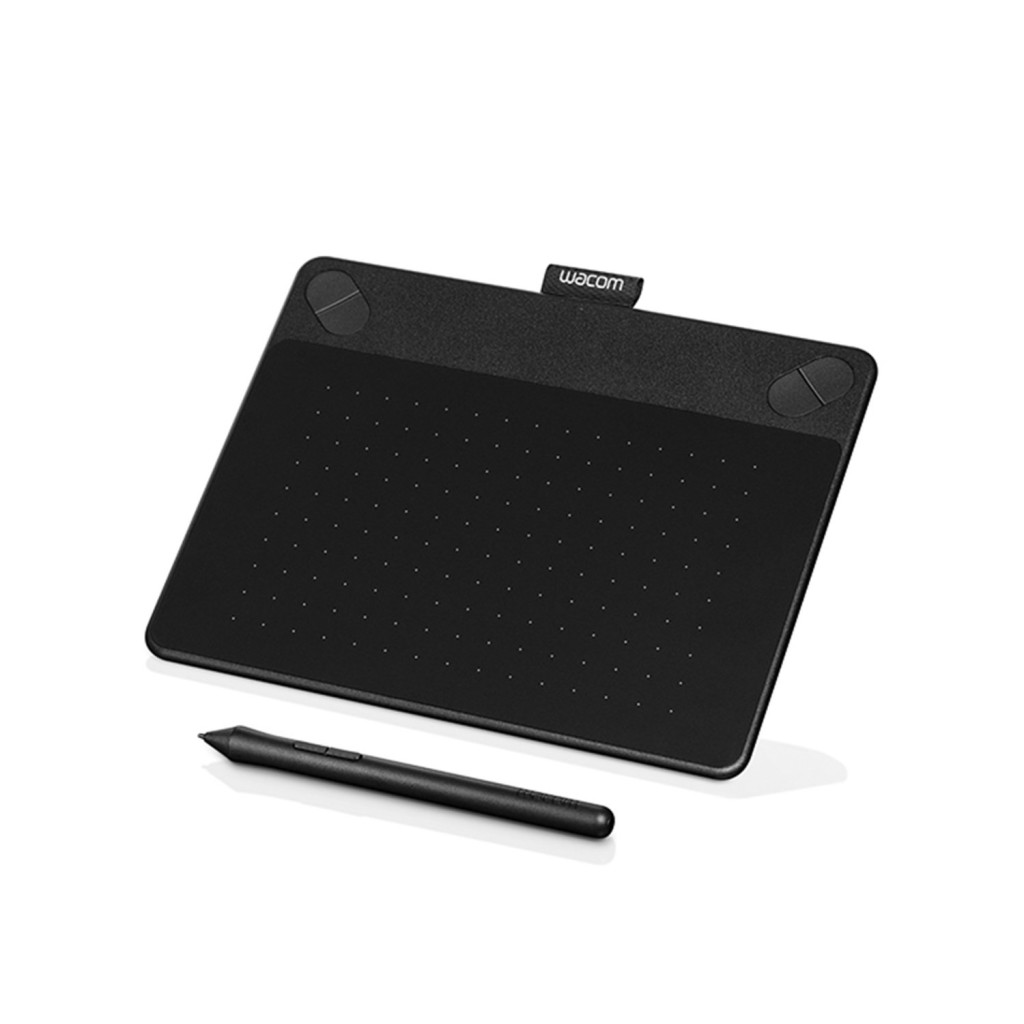
The Intuos tablet comes in a few different variations – Draw, Art, Photo, and Comic. The hardware is exactly the same however the software bundled with the tablet differs based on what you will primarily use it for. I chose Comic since most of what I would use it for would be comic-style artwork (as seen in The Art of Anime & Adobe Illustrator). The tablet can be found on Amazon for a reasonable $100.
The tablet is USB connected but a Wireless Accessory Kit can be purchased if you wish to cut the cord. As with all Wacom tablets the real technology is in the pressure sensitive pen which will respond to how hard you press on the surface of the tablet. For software that responds to this pressure it can result in a heavy line being drawn or a very light line. Replacement nibs for the pen are stored in a compartment on the bottom of the tablet. The surface of the tablet itself is also capacitively responsive and essentially a multi-touch trackpad. As a result you can use the surface as a secondary input device or mouse replacement. There are four programmable buttons at the top of the tablet which can be mapped to common functions.
Software
When purchasing the Wacom tablet Amazon recommended that many people also purchase Manga Studio so I decided to purchase this as well. Since upgrading my computer to Windows 8, I could no longer install my older version of Adobe Illustrator. I replaced it with the free software Inkscape which is a serviceable but low-end equivalent. However what I didn’t realize was that the Wacom tablet (Comic version) comes with the software Clip Studio Paint which is the North American name for Manga Studio. Fortunately Manga Studio is a reasonable $50 so I wasn’t out of pocket by too much. Manga Studio 5 is specifically designed for making comics and consists of many tools to make that process easier. Despite its price it is a worthy equivalent to Photoshop, Fireworks and Adobe Illustrator. It has the advanced vector tools of Adobe Illustrator as well as the raster tools of Photoshop and Fireworks. The comics related tools allow you to easily design a comic whether for online or print. The tools at the macro level allow you to setup a workflow of pages and panels and at the micro level expedite certain drawing functions such as adding speed lines to an image. For the most part I would only be using the software as a drawing tool.
Berkeley Crew
To test out both the hardware and software I decided to revisit a drawing I did while in high school sometime in 1987 or 1988. The image was a picture of the various teachers at Berkeley Institute inspired by the image at the back of a Cracked magazine of rappers DMC, LL Cool J and the Beastie Boys (with Sylvester P. Smythe in the front). Various teachers were placed in the roles of these rappers with the principal in the Sylvester P. Smythe position. I no longer had the original since giving it to the Yearbook Committee to include in the yearbook but fortunately I took a photocopy of it first before handing it over. To start I took a high-res scan of the small photocopy which was drawn on a piece of paper only 7″ x 8.5″ large. Once scanned in I adjusted the tint of the black line art to make it more blueish to allow me to more easily ink over the original ink work (a technique learned from my time at Disney Institute). Following this I imported the adjusted image into Manga Studio 5 at a fairly high resolution of 1649 x 2048. Like most drawing software Manga Studio allows you to create layers and when doing this project it was important to correctly segregate certain work onto the correct layer. Although I messed up quite a bit initially with my layer placement Manga Studio is pretty forgiving and easily allows you to move artwork onto the correct layer. The project was divided into the following layers from top to bottom:
- Text – The topmost layer which includes the banner, character labels and my signature
- Inks – The black line art and outline of the characters
- Ink Fills – These are fills for large areas of black line art like hair or the black jackets. Initially I placed this on the Color Fills layer which was a mistake since the black should always be above the color fills not on the same level.
- Highlights – Shadows and color highights to create a more 3D look
- Color Fills – The base colors of objects
- Rendered Background – The import of rendered textured images for the brick wall and the asphalt ground in the background
- Original Image – The original scanned image is placed at the bottom most layer
The order by which I drew was to start with the simple Text layer to test out the pens. I then moved on to the Inks layer followed by Ink Fills, Color Fills, Rendered Backgrounds and ended on the Highlights layer.
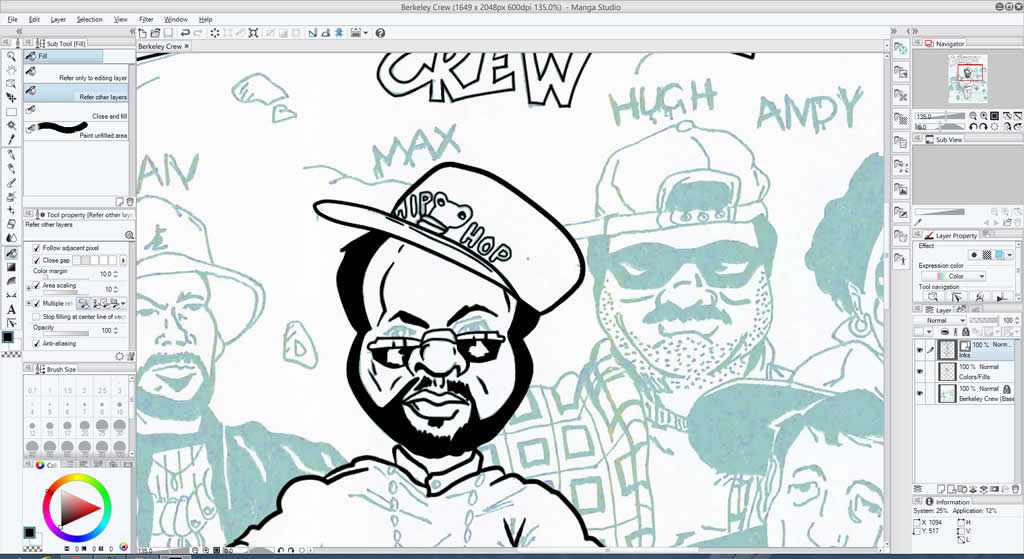
Inks
The Inks layer was a vector layer. Some tools are only applicable to either vector layers or raster layers so creating the correct type of layer is also important. For example the Fill tool will not work on a vector layer. To create the outline of the characters I used the Pen – For effect line. This particular brush allowed me to change on the fly the start and/or end tips of the line whether it was rounded or pointed. In Adobe Illustrator I needed to create separate brushes for each type of line at the start of each project.
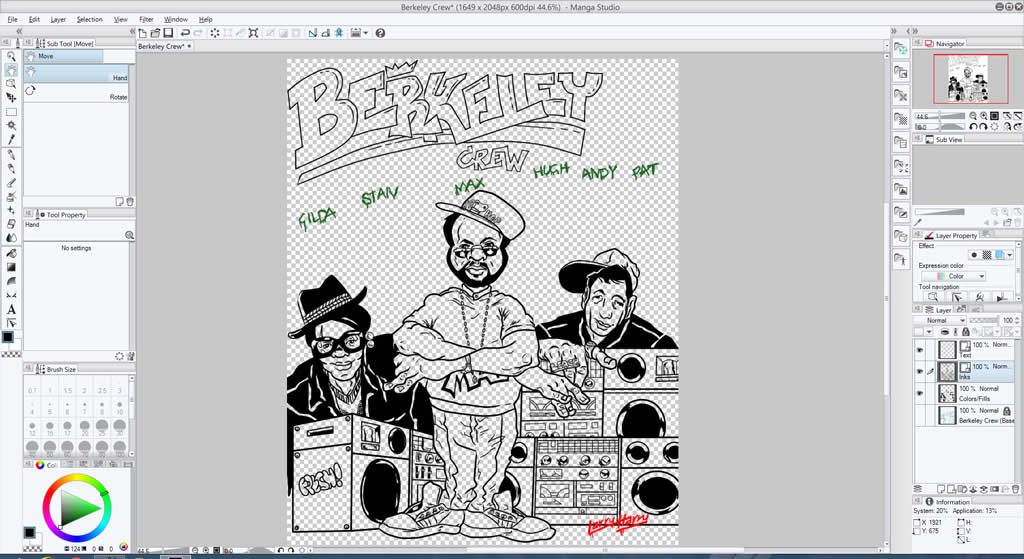
Color Fills
The Color Fills layer was a raster layer. Manga Studio allows you a number of different ways to select your color from the Color Wheel with Hue, Saturation and Luminance values, a Color Bar with RGB, HSL or CMYK values, to a Color Palette. I used the Color Wheel. The Fill (paint bucket) tool allows you the option to refer the fill to other layers. This was good as I could use this to fill only the area outlined by the inks on the Inks layer. In Adobe Illustrator I would have to use the pen in the fill color to draw a lasso under the inks layer and then fill this area on the same layer somewhat doubling my work.
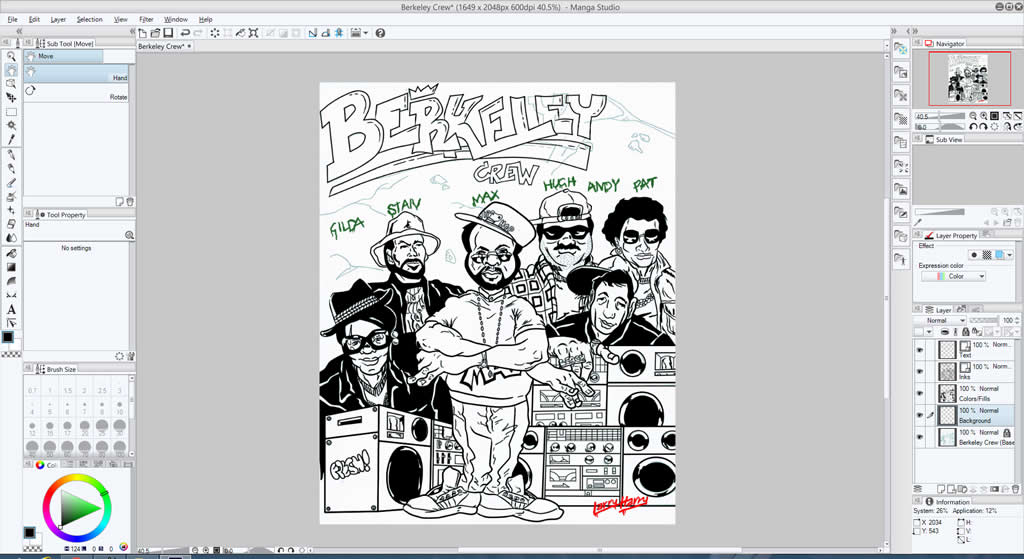
Rendered Backgrounds
For the background I wanted to create a more realistic background so found some texture maps of a brick wall and asphalt. The texture image was imported as a layer. For the asphalt I skewed the image to match the orientation of the ground and then imported it as a layer.
Highlights
In the The Art of Anime & Adobe Illustrator I used hard shadows to simulate the effect used in anime and cartoons. For this drawing I decided to use a more textured shadow and thus decided to use the Gradient tool and the Airbrush (spray-can) tool. Here is where the Auto Select (magic wand) tool came in handy as it allows you to select a specific area to work on. Anything outside the selected area is unaffected (the equivalent of forcing you to color within the line). By also selecting the option “Refer other layers to select” I could select areas on the Color Fills layer to work on and apply the highlights.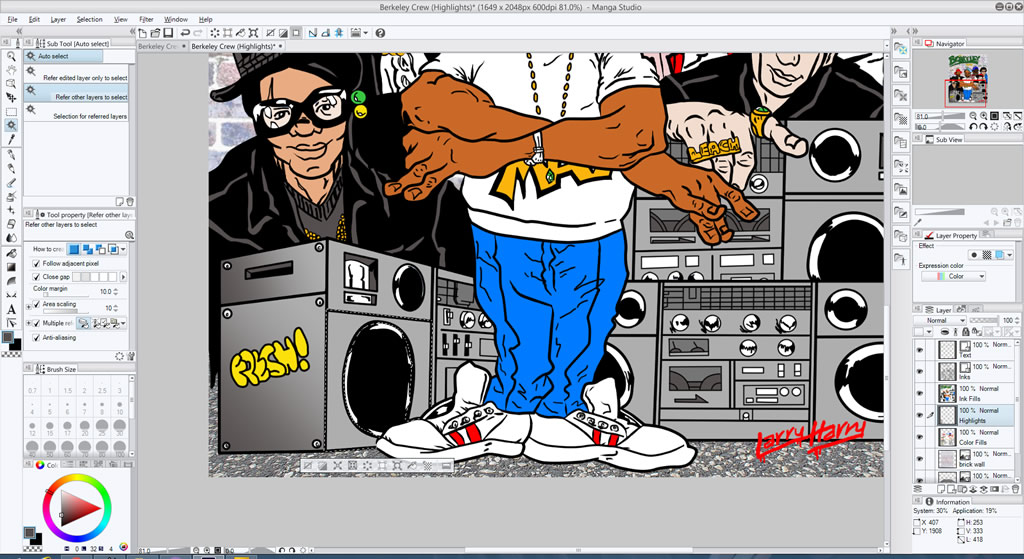 For the boom boxes I used the Gradient tool to create fixed shaped shadowing. Depending on if it was the flat surfaces I would use a straight line gradient and an elliptical gradient for the speakers. To represent the plexiglass that covers the radio tuner and the cassette bays I used a white gradient.
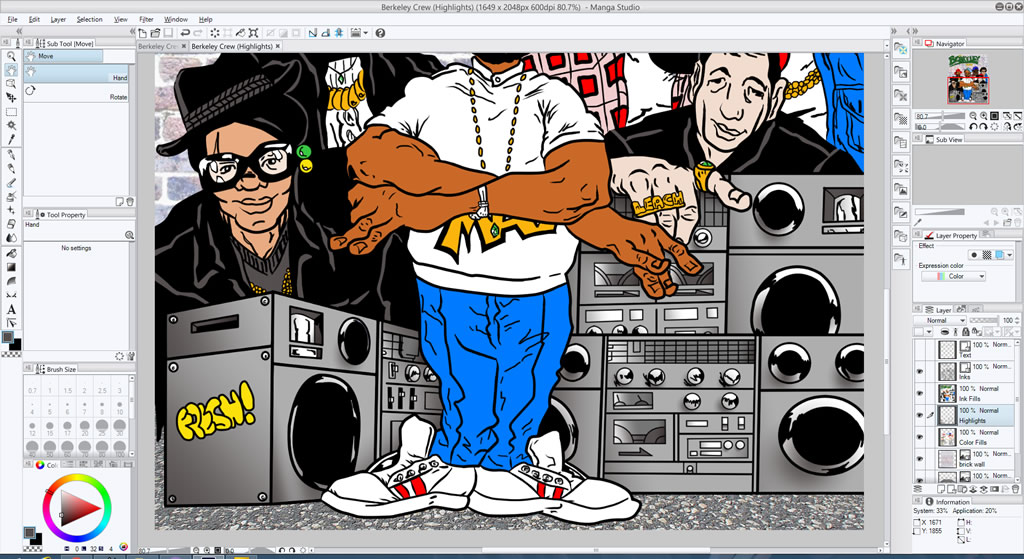 I also used the Gradient tool for the shadowing on the hats. For the remaining highlights on the characters and banner I used the Airbrush tool. This is where the pressure sensitivity of the tablet came in handy as it detected how much “spray” to release based on how hard I pressed on the tablet surface. With the highlights complete the redux of this classic image was done. Manga Studio allows you to export in JPEG, PNG as well as TIFF, BMP or PSD.
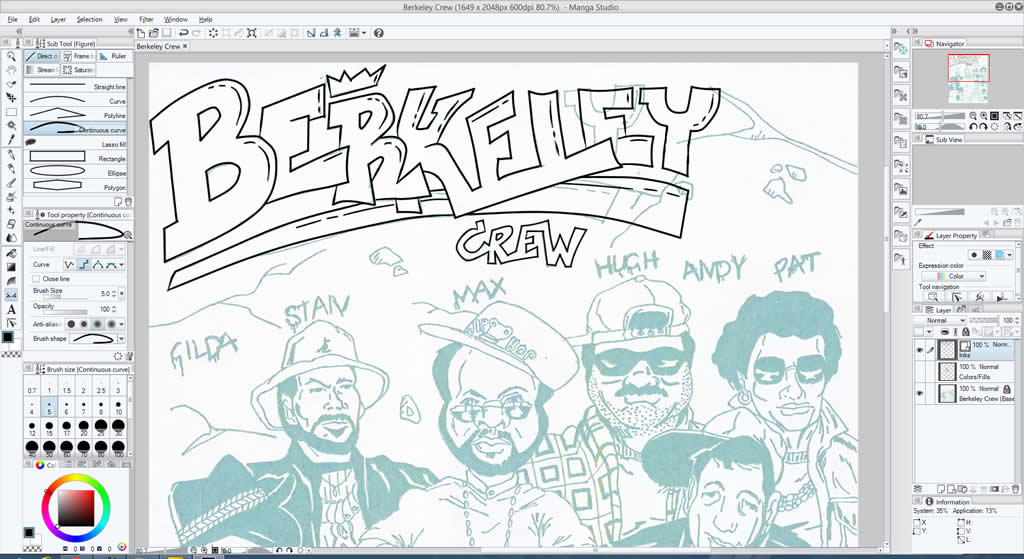
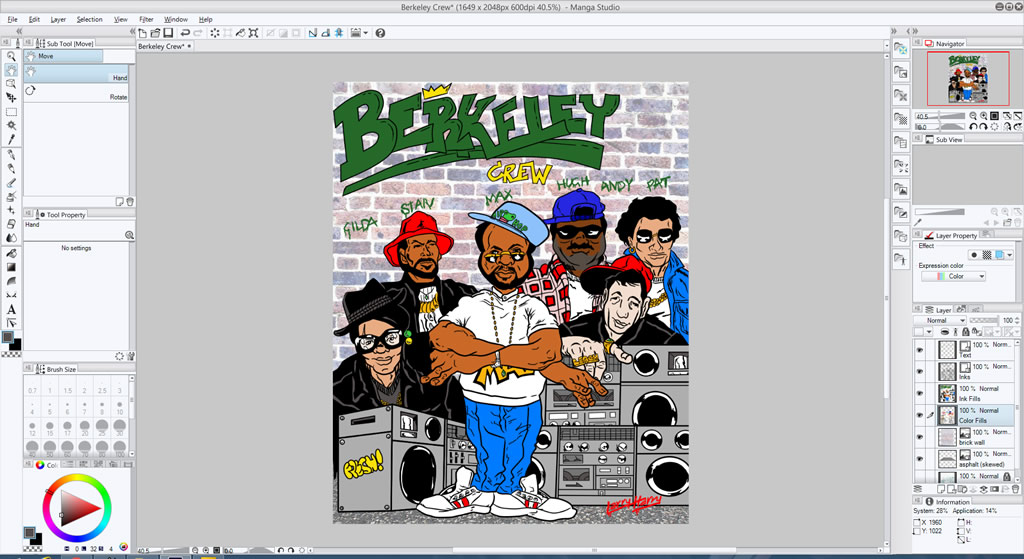
Manga Studio 01
Corrected the mis-spelled title
Manga Studio 02
Testing the pens
Manga Studio 03
Foreground objects completed and text
Manga Studio 04
Completed inks

Manga Studio 05
Completed color fills
Manga Studio 06
Added rendered backgrounds
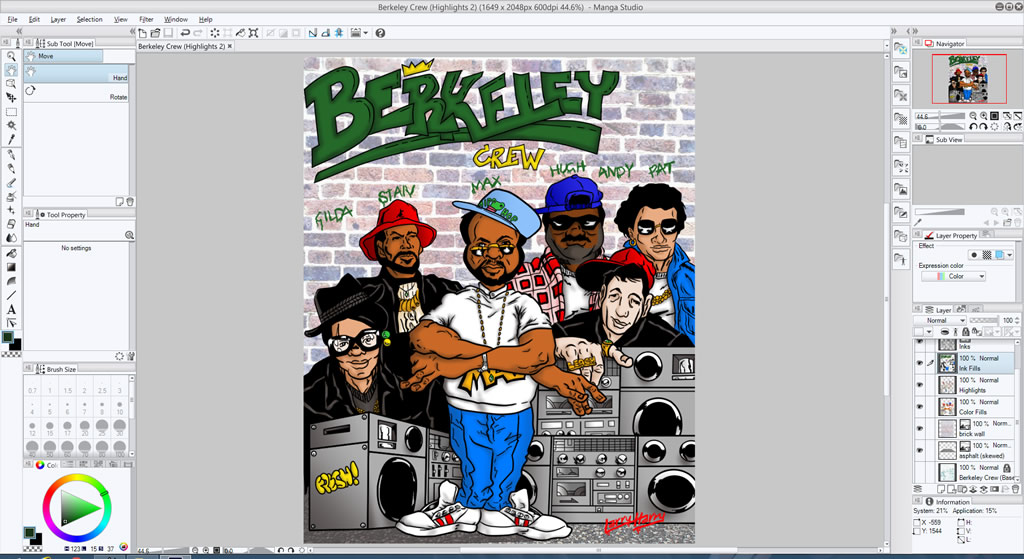
Manga Studio 09
Completed highlights
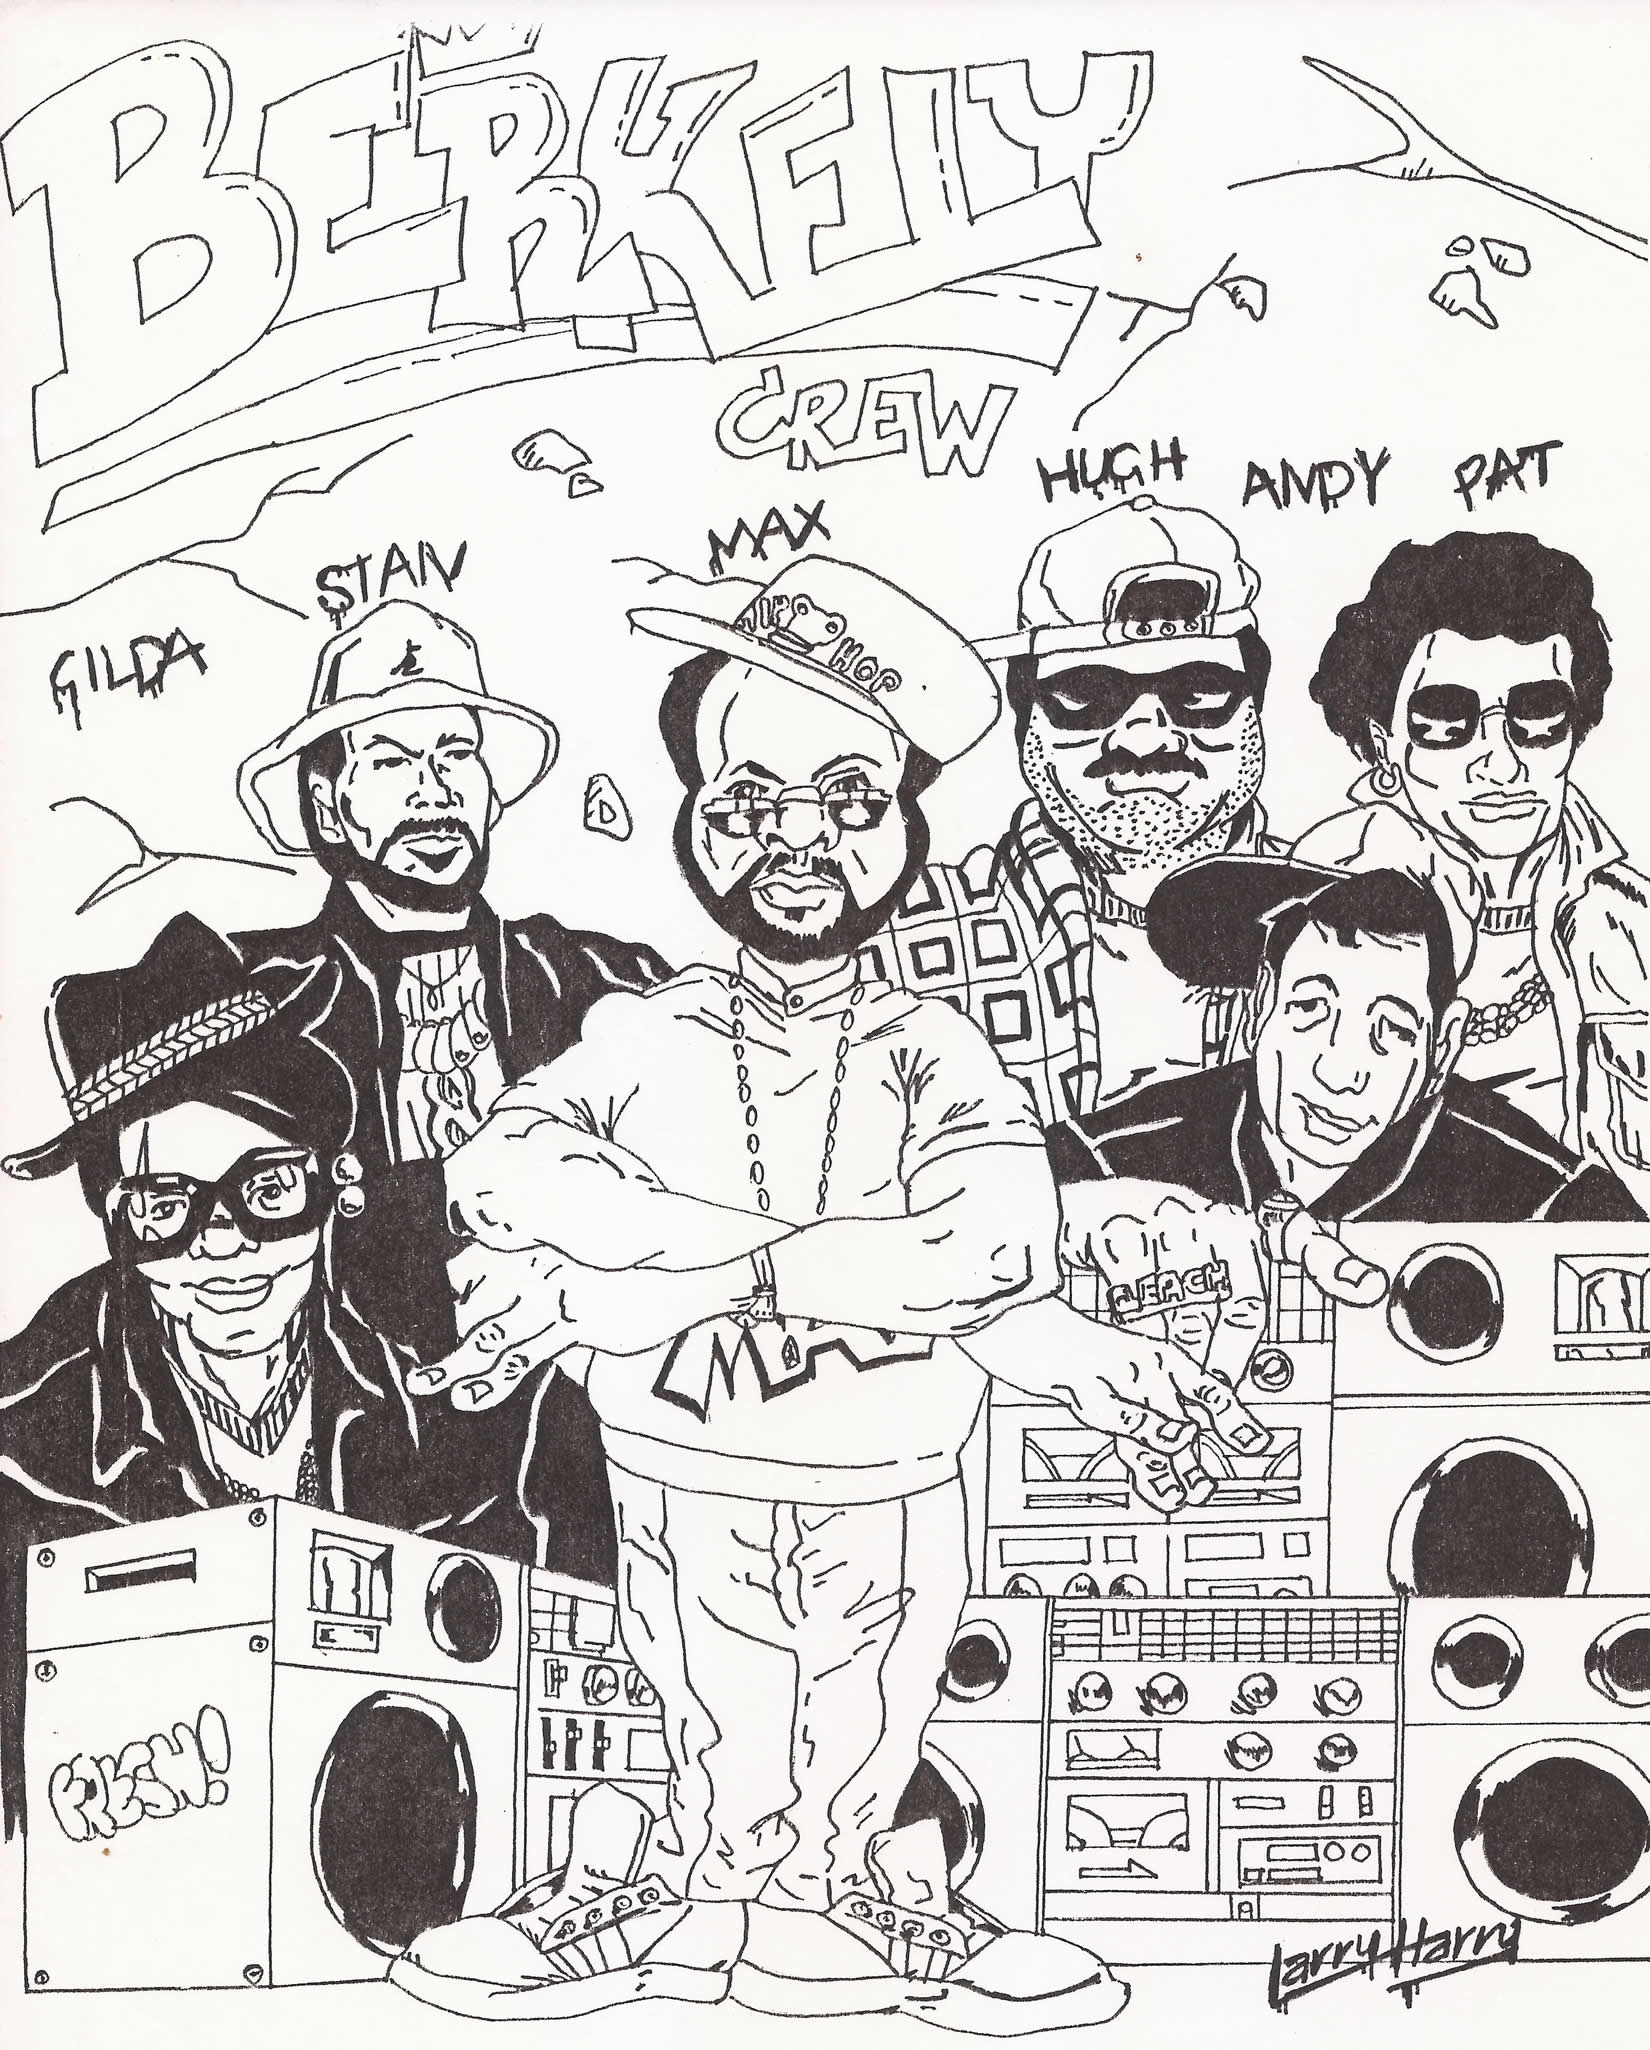
Berkeley Crew Original (JPG)
Original
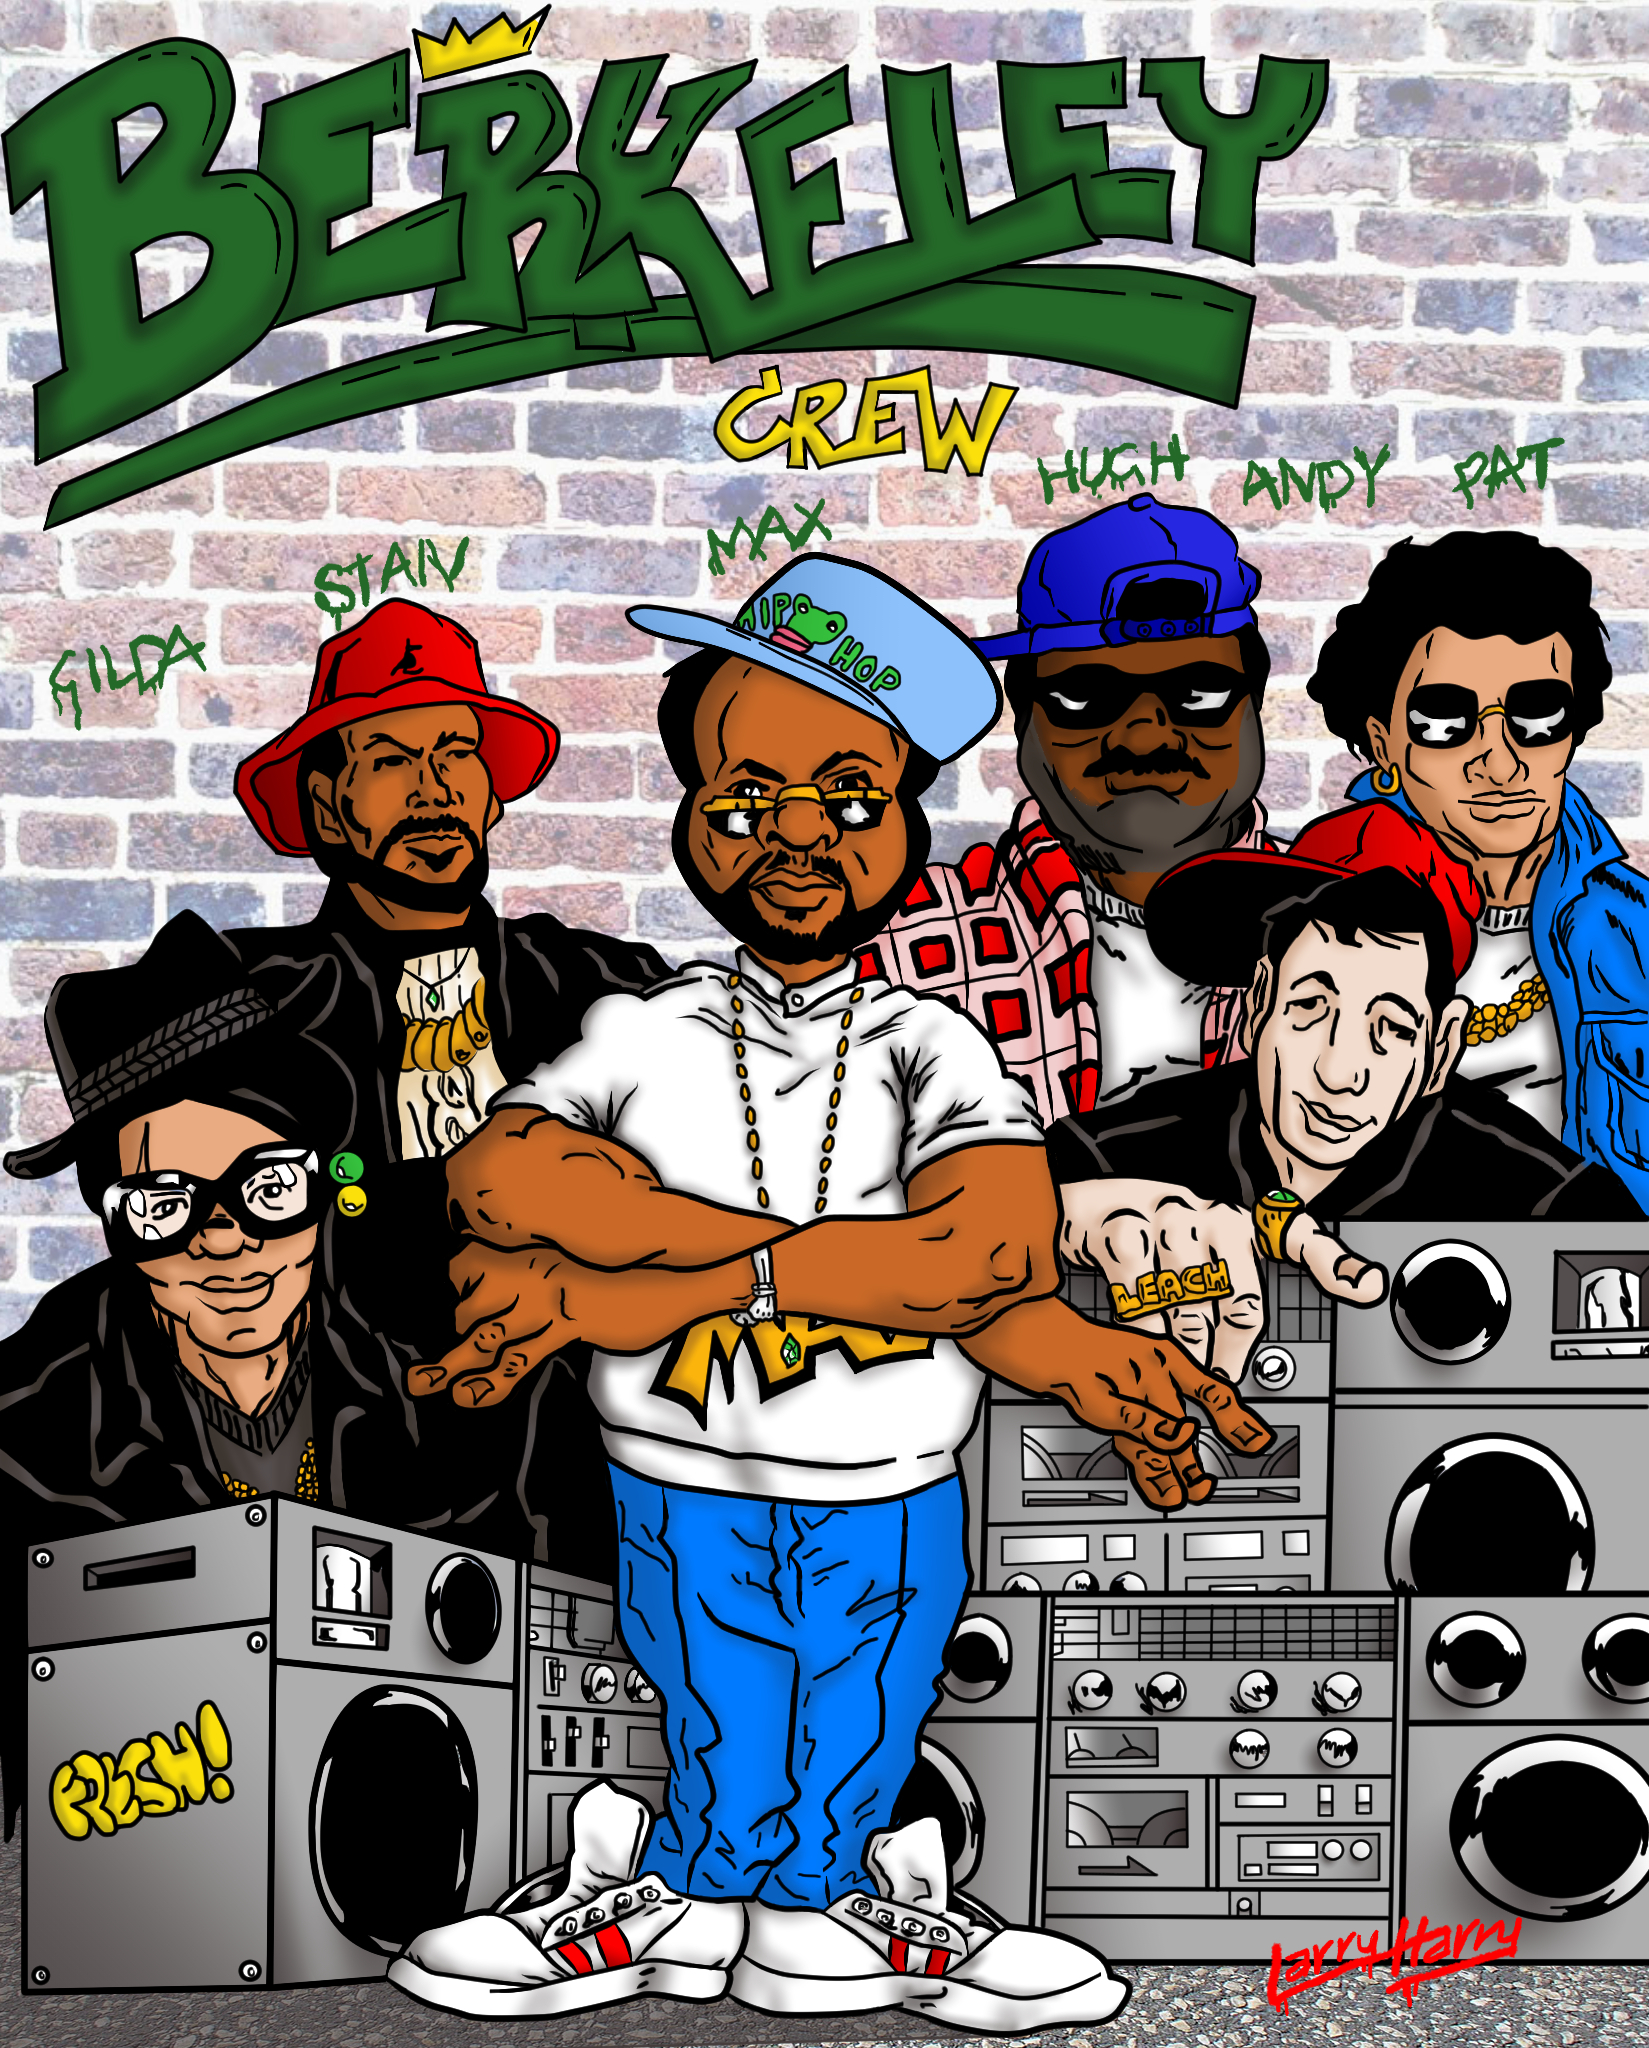
Berkeley Crew (JPG)
Redux
Verdict
The Wacom tablet worked flawlessly and was essentially Plug-and-Play. Since the surface is also responsive I had to be careful not to activate some of the touch functions while drawing on the surface with the pen with my hand. While it ignores the bulk of your hand resting on the surface it can pickup your finger contacts. So I guess it ignores larger areas of contact and only responds to small areas of contact such as from your fingertips. Overall it handled this well with only a few occasions of the mouse jumping due to a finger grazing the surface while drawing with the pen. The pressure sensitivity was used with great effect while using the Airbrush tool. I also wasn’t hindered by the smaller drawing area of the tablet from what I was previously used to.
Manga Studio was similarly effortless to use if you are used to using art software. I only referred to the documentation once to find out more about the Auto Select tool. For the most part the tools were in the same places and work similar to how they do in Adobe Illustrator or Photoshop. As stated above despite its low price this software works as effectively as the more expensive Adobe Illustrator. In addition if you draw online or print comics this software is a must have.