Tools Used:
- Adobe Illustrator
- Swift3D
- Wacom Digitizer Tablet
Website References:
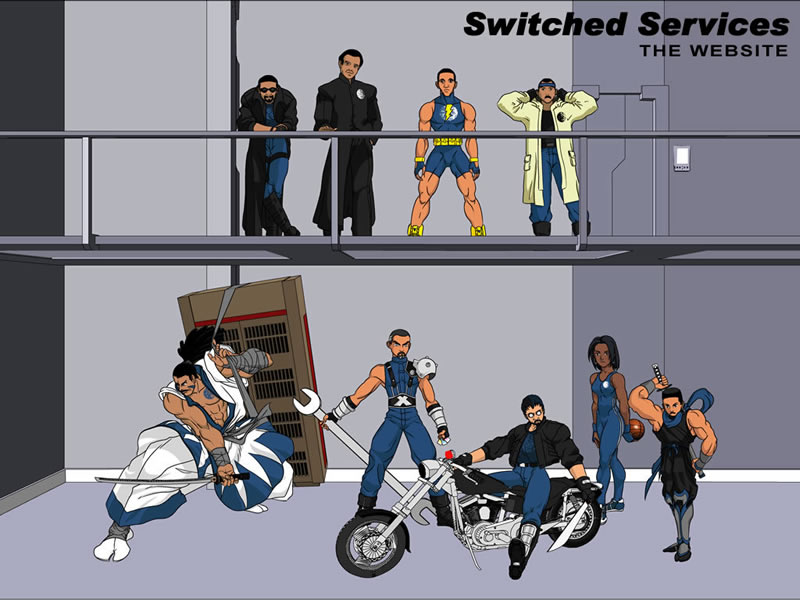
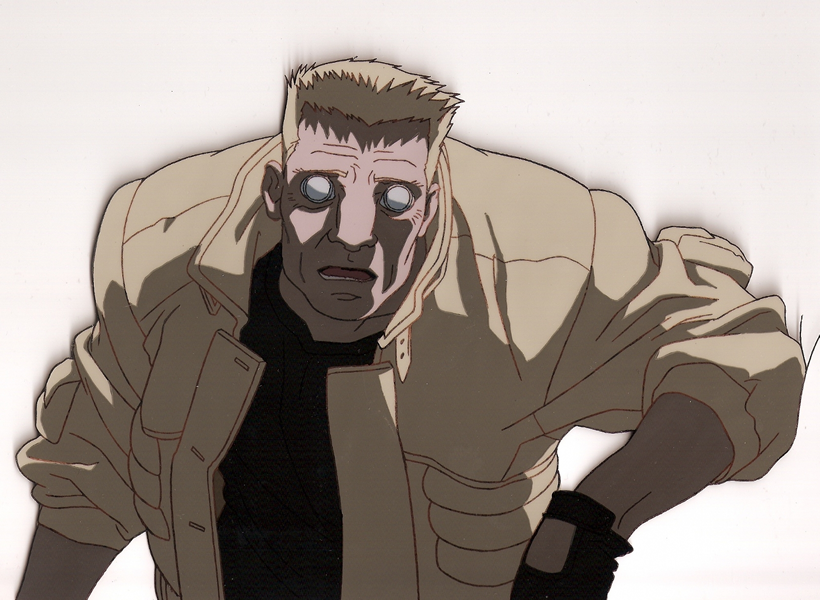
In 2004 I went about redesigning my testbed website Switched Services. I sort of keep this website up-to-date with the latest Company website on which it is based and also to try out some new programming and design techniques. I had just seen the movie “Ghost in the Shell: Innocence” and had also been following the latest TV series “Ghost in the Shell: Stand Alone Complex”. Add to that I had purchased the original Japanese “Ghost in the Shell” movie sketchbook and I wanted this redesign to have a distinct anime feel to it.
Learning New Tricks
I starting by sketching out slight alterations to the existing designs of the characters on the website to give them a more anime look. The next step was to actually learn how to draw in the anime/manga style. Bako Neko and Manga University (see links above) had some excellent tutorials and I set about spending some time learning these techniques. As pointed out on the Bako Neko website there is no difference between learning to draw and learning to draw anime i.e. you are still using the same fundamentals. The ultimate style I intended to use was that from the “GitS: SAC” TV series which is a more subtle anime style.
Using the Right Tools for the Job
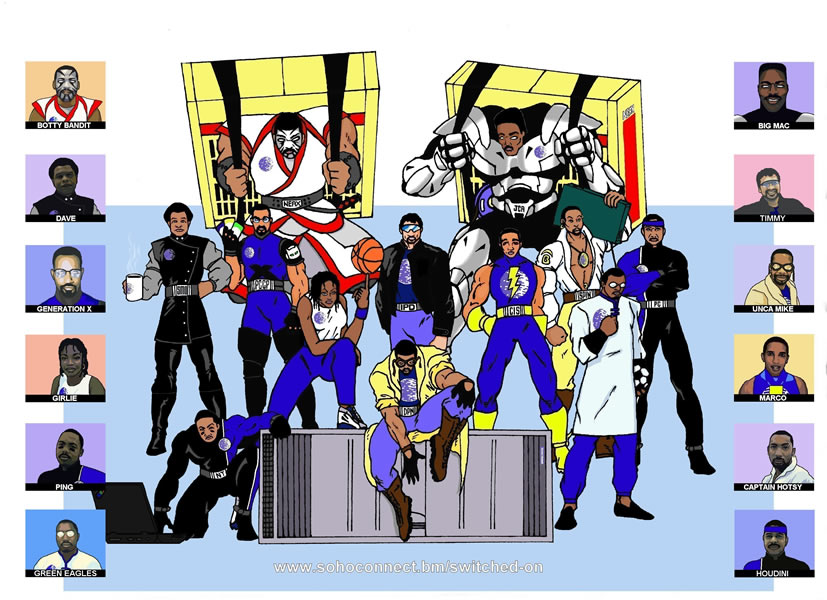
When I did the original Switched Services website, I drew and inked the entire group character scene on paper and then scanned it into my computer. I then did all the color additions using Paint Shop Pro. Since the paper I drew on was only so big the resolution and line art detail was limited even scanning it at high resolution as a TIFF file. The result is that it was still a raster image which doesn’t scale well. This time I had been messing around with vector artwork and tools such as Adobe Illustrator. At the time I had been following the work of Mohammad Haque and stumbled on his Adobe Illustrator tutorial (see link above). This provided me with a good idea of how to draw the character and then scan the pencil work into my computer and then do the inking and coloring within Adobe Illustrator. The result would be a final vector image that scales well and can be saved as a raster image if really necessary.
To increase the resolution of the final image I also decided to draw each character separately on a large sheet of paper (I had some leftover animation paper from my time at the Disney Institute). I used the Wacom digitizer tablet to trace over the scanned pencil artwork and also to add the color and shadow. After inking and coloring each character I would have more flexibility in arranging the characters within the scene. I could also add new characters or remove old ones if the need arose. I also wanted to employ the effect used in “GitS: Innocence” where the characters were hand drawn cels but the objects and backgrounds were done in 3D. For this I would use Swift3D.
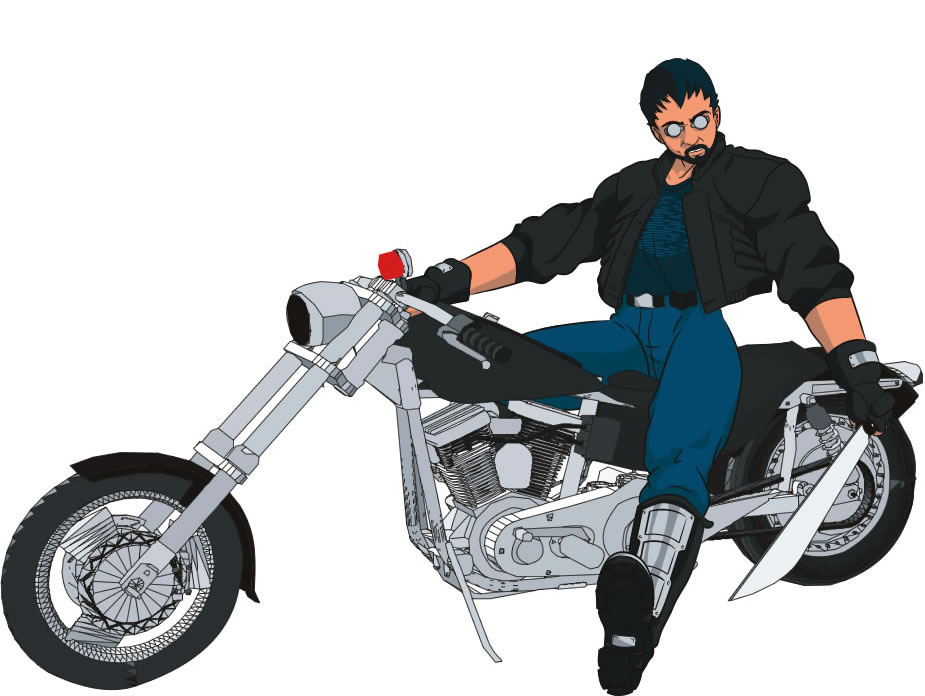
Everybody wants to ride a Honda
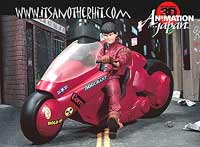
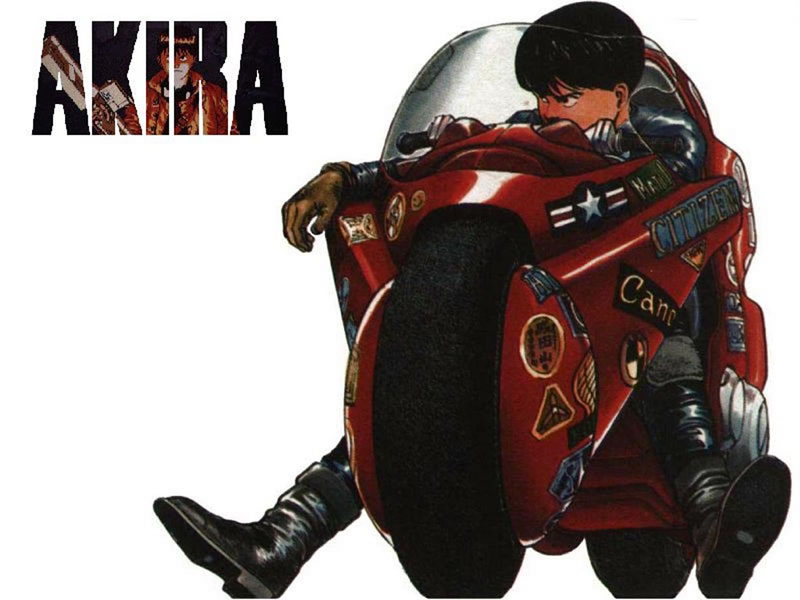
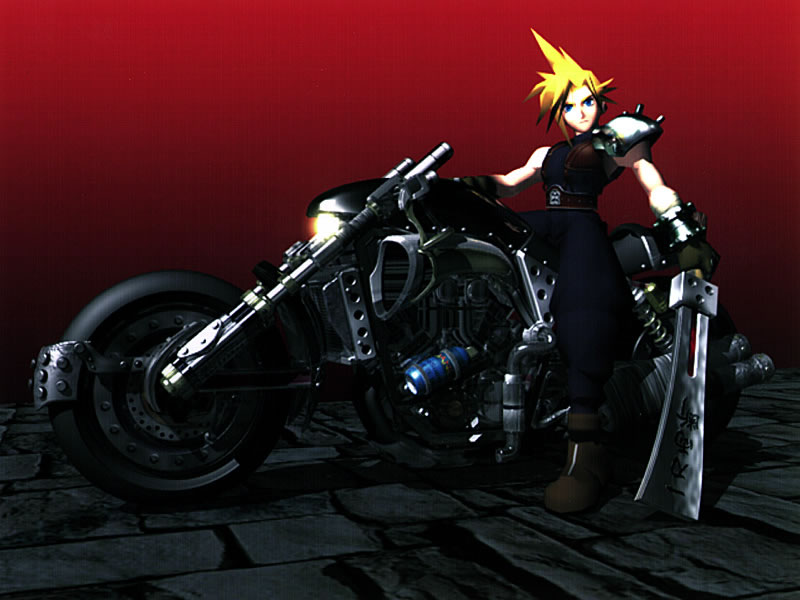
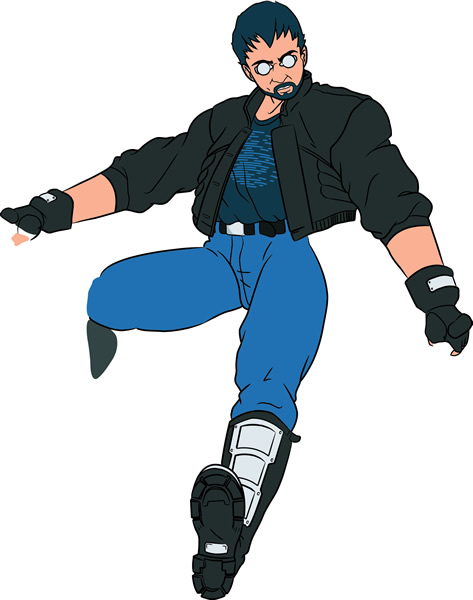
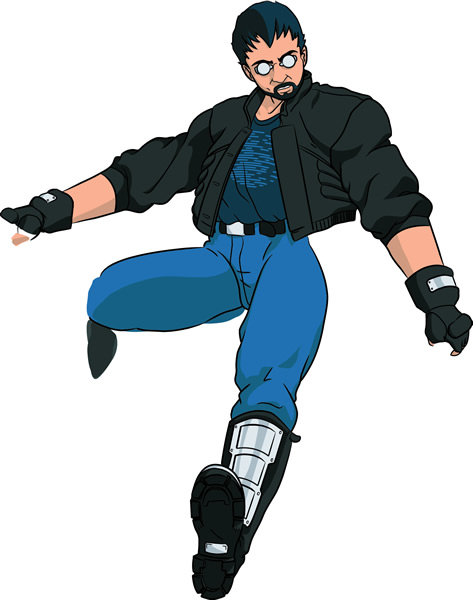
The following is the start to finish conception of putting together the Timmy character in the main group picture. Timmy’s costume didn’t change too much from the original group picture I did. The main difference is that this time I modelled his leather jacket and eyewear after Batou from GitS. Since Timmy was a motorcycle enthusiast I decided to have him sitting on a bike this time. Some of the inspiration for the final pose I used came from Kaneda from the movie Akira and Cloud from the RPG Final Fantasy VII.
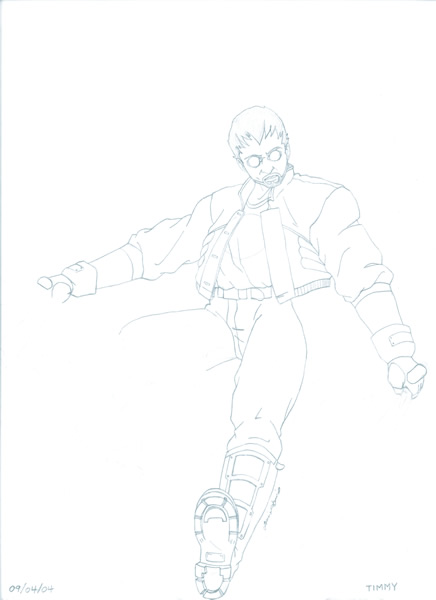
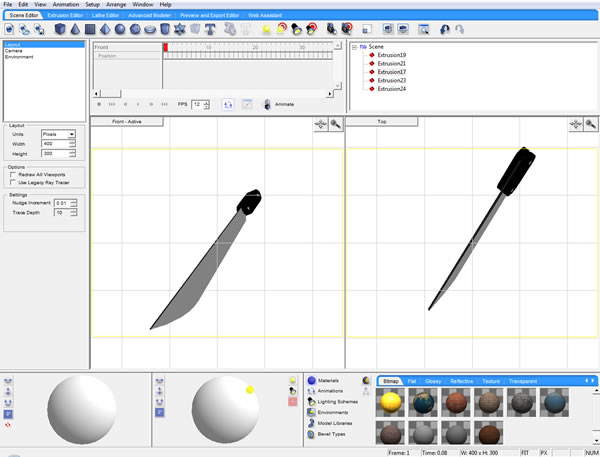
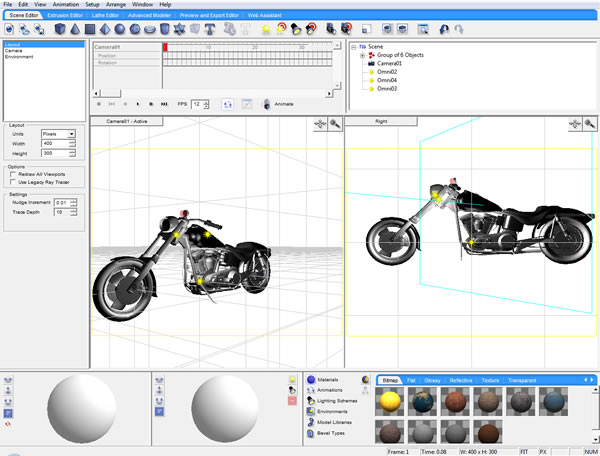
While Timmy would be hand drawn, his motorcycle and machete would be rendered in 3D. I located a free 3D motorcycle render online and used Swift3D to create the fairly simple machete. First I imported the motorcycle into Swift3D and arranged the camera at the correct angle and did a simple line-art render. I then printed this render on as large a piece of paper as I could find. I then placed this printout of the motorcycle behind the paper I was drawing Timmy on so that I could draw him correctly and to scale in a motorcycle sitting position. I also had to do this since I had to be careful to leave gaps for the complicated layering of the 2D Timmy drawing straddling the 3D render of the motorcycle.
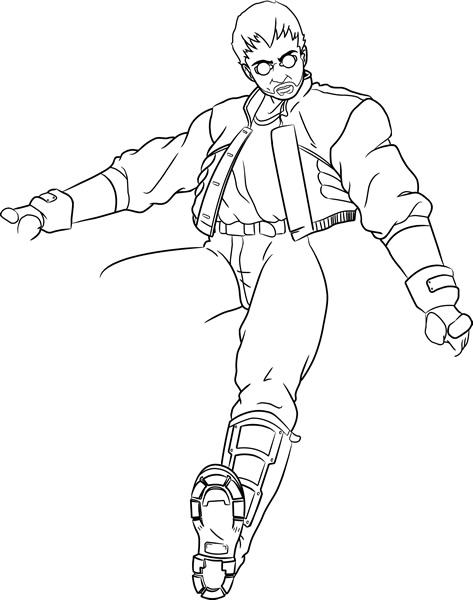
Once the pencil line art was complete, it was scanned into my computer and inked and colored using Adobe Illustrator. The motorcycle and machete were then rendered in color in Swift3D and layered into the Illustrator drawing. From there I could layer the complete shot of Timmy sitting on a motorcycle into the main group picture.
Still More Work to be Done
Although I haven’t touched this picture in years I still need to add some final touches. I developed a method using Adobe Fireworks to get a silhouette of the character’s image. I could then skew these images and import them into an Adobe Ilustrator layer for use as the shadow on the floor. The final group picture was also meant to be used in the Virtual Switch Flash movie which is another project I started but haven’t finished. You can see more of these images in use on the Switched Services website.