Prior to my trip to Namibia my photographic work colleagues convinced me to invest in some additional equipment that would assist me in my photo taking. My camera equipment at the time consisted of the Nikon 1 J3, 10-30mm and 30-110mm lenses and a mini tripod. The minimum recommended interchangeable lens suggested by the tour company was a 70-200mm lens so my largest lens was at the low end of the recommendation. Nikon does make a 70-300mm lens for the Nikon 1 series of cameras but they cost $1000, nearly twice the price of my camera and two lenses combined! As an amateur I was unwilling to spend that kind of money on a single lens. There was an alternative however as Nikon makes a DX-to-CX lens adapter for around $235. Now I could have purchased a simple off-brand lens adapter for $25 however the Nikon FT-1 F-Mount Adapter allows electrical pass-through which means I could take advantage of auto-focus, continuous shooting and vibration reduction features of my camera with the appropriate lens.
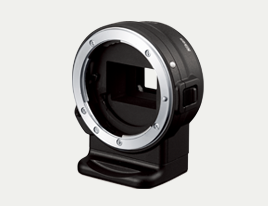
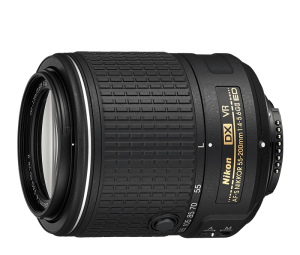
With the adapter I could now purchase a regular SLR-type DX lens which since they have been around for much longer in greater numbers are much cheaper than CX lenses. I chose a refurbished Nikon AF-S DX NIKKOR 55-200mm f/4-5.6G ED Vibration Reduction II lens for just under $100. The CX sensor on the Nikon 1 cameras is much smaller than the sensor on full size SLRs. What this means is that a DX lens attached to a Nikon 1 has an angle of view 2.7 times that of the lens’ focal length. In layman’s terms my 55-200mm lens becomes a 150-540mm lens when attached to my Nikon 1 J3. The down side is that there is also a corresponding 2.7 times crop factor. Again in layman’s terms the boundaries of what I can see when I frame my photos in the viewfinder (field of view) is much smaller – so no wide angle shots when zoomed in. The lens has an internal motor so that my camera can use it to auto-focus the lens. The limitation of the adapter limits the lens to only center point focus. I can only auto-focus the camera in the center of the frame – no multiple focus points like with the CX lenses attached. From a switch on the lens itself I can change to manual mode and manually focus the lens if I have issues with the auto-focus.
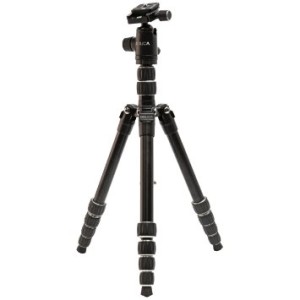
One thing about using telephoto lenses is that you cannot handhold them when fully zoomed and expect to get a steady shot even with vibration reduction. That meant I had to invest in a tripod as well. I like to travel with as little luggage as possible (only carry-on if possible) so I wanted to choose the smallest tripod possible. The cheapest and smallest decent tripod I could find was the Dolica TX570B150SL Ultra Compact Tripod for $70. This travel tripod can fold up to an amazingly small 12.5 inches and weighs only 2.5 lbs. It has an operating range from 18-57 inches so it is still pretty much a full sized tripod.
The 55-200mm lens is nearly 5 inches closed and extends up to 6.5 inches when fully zoomed so it is ridiculously large when attached to the tiny Nikon 1 J3. The FT-1 adapter can support a lens weight up to 0.83 lbs. Anything over this, you will need to support the camera by holding onto the lens, not the camera or risk damaging the camera body (so no letting it dangle from the camera strap). The 55-200mm lens is only 0.66 lbs so it should be okay but I still tend to hold the camera by the lens as a precaution. The FT-1 mount has a tripod mount point so it is recommended to attach the tripod to this point rather than the one on the camera body. So for around $400 I had upgraded my camera to a pretty good telephoto setup.
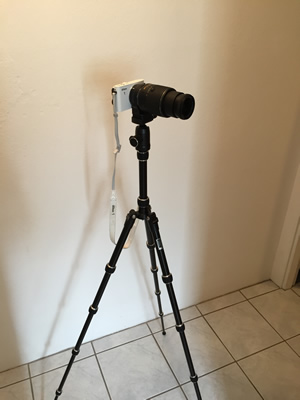
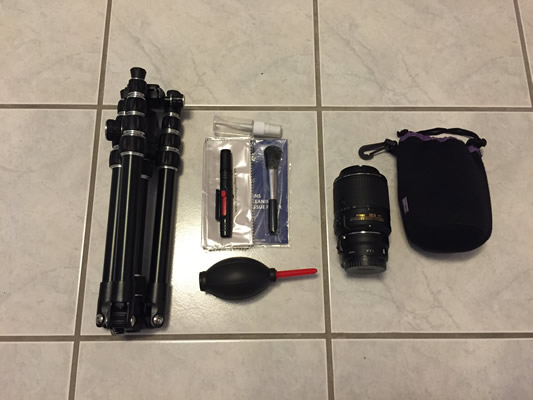
Namibia is nearly all desert so sand can be a bit of a problem and can get everywhere. I would need some protection for not only the new lens but my camera as well. For the lens I purchased the Altura Photo Medium Neoprene Pouch Bag. The pouch is large enough to fit my 55-200mm lens with the FT-1 mount attached (it’s my only DX lens so it will probably be there permanently). The pouch is neoprene on the outside and a soft non-shedding velvety material on the inside. The padding is not that thick but it’s mostly meant to protect the lens from scratches and the elements. For general cleaning I purchased the Altura Photo Professional Cleaning Kit. Specifically I needed brushes and an air blower. You can see the complete setup and accessories below. The accessories are shown against 12 inch floor tiles to give you an idea of the size of the tripod when folded up.
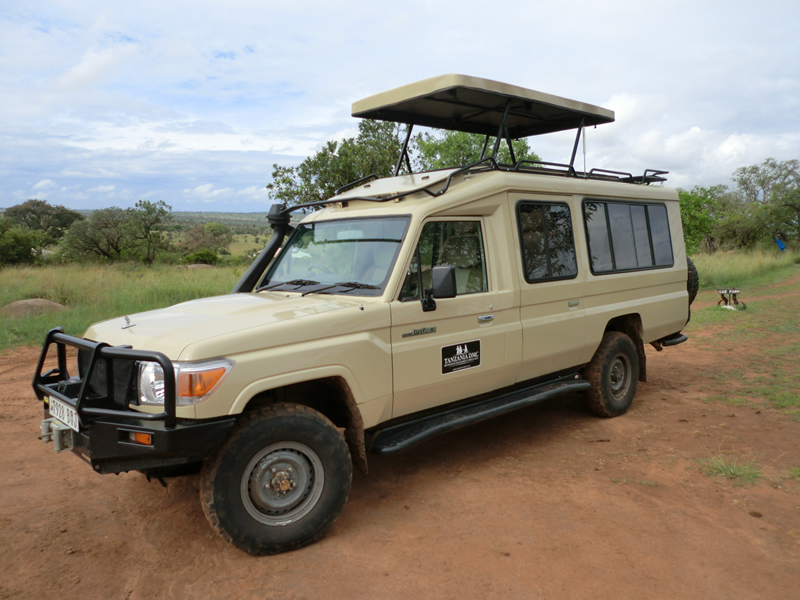
While researching for my trip I discovered that you aren’t allowed to leave the vehicles while on game drives for obvious safety reasons (seems obvious now that I think about it). Most pictures can be taken from the lift up roof of the custom safari vehicles (see below). It appears most professional photographers use a beanbag to steady their telephoto lenses. I began to rethink my purchase of a tripod at this point. However I found by only extending one leg I could use my tripod as a monopod so I hadn’t wasted my money.
Field Test
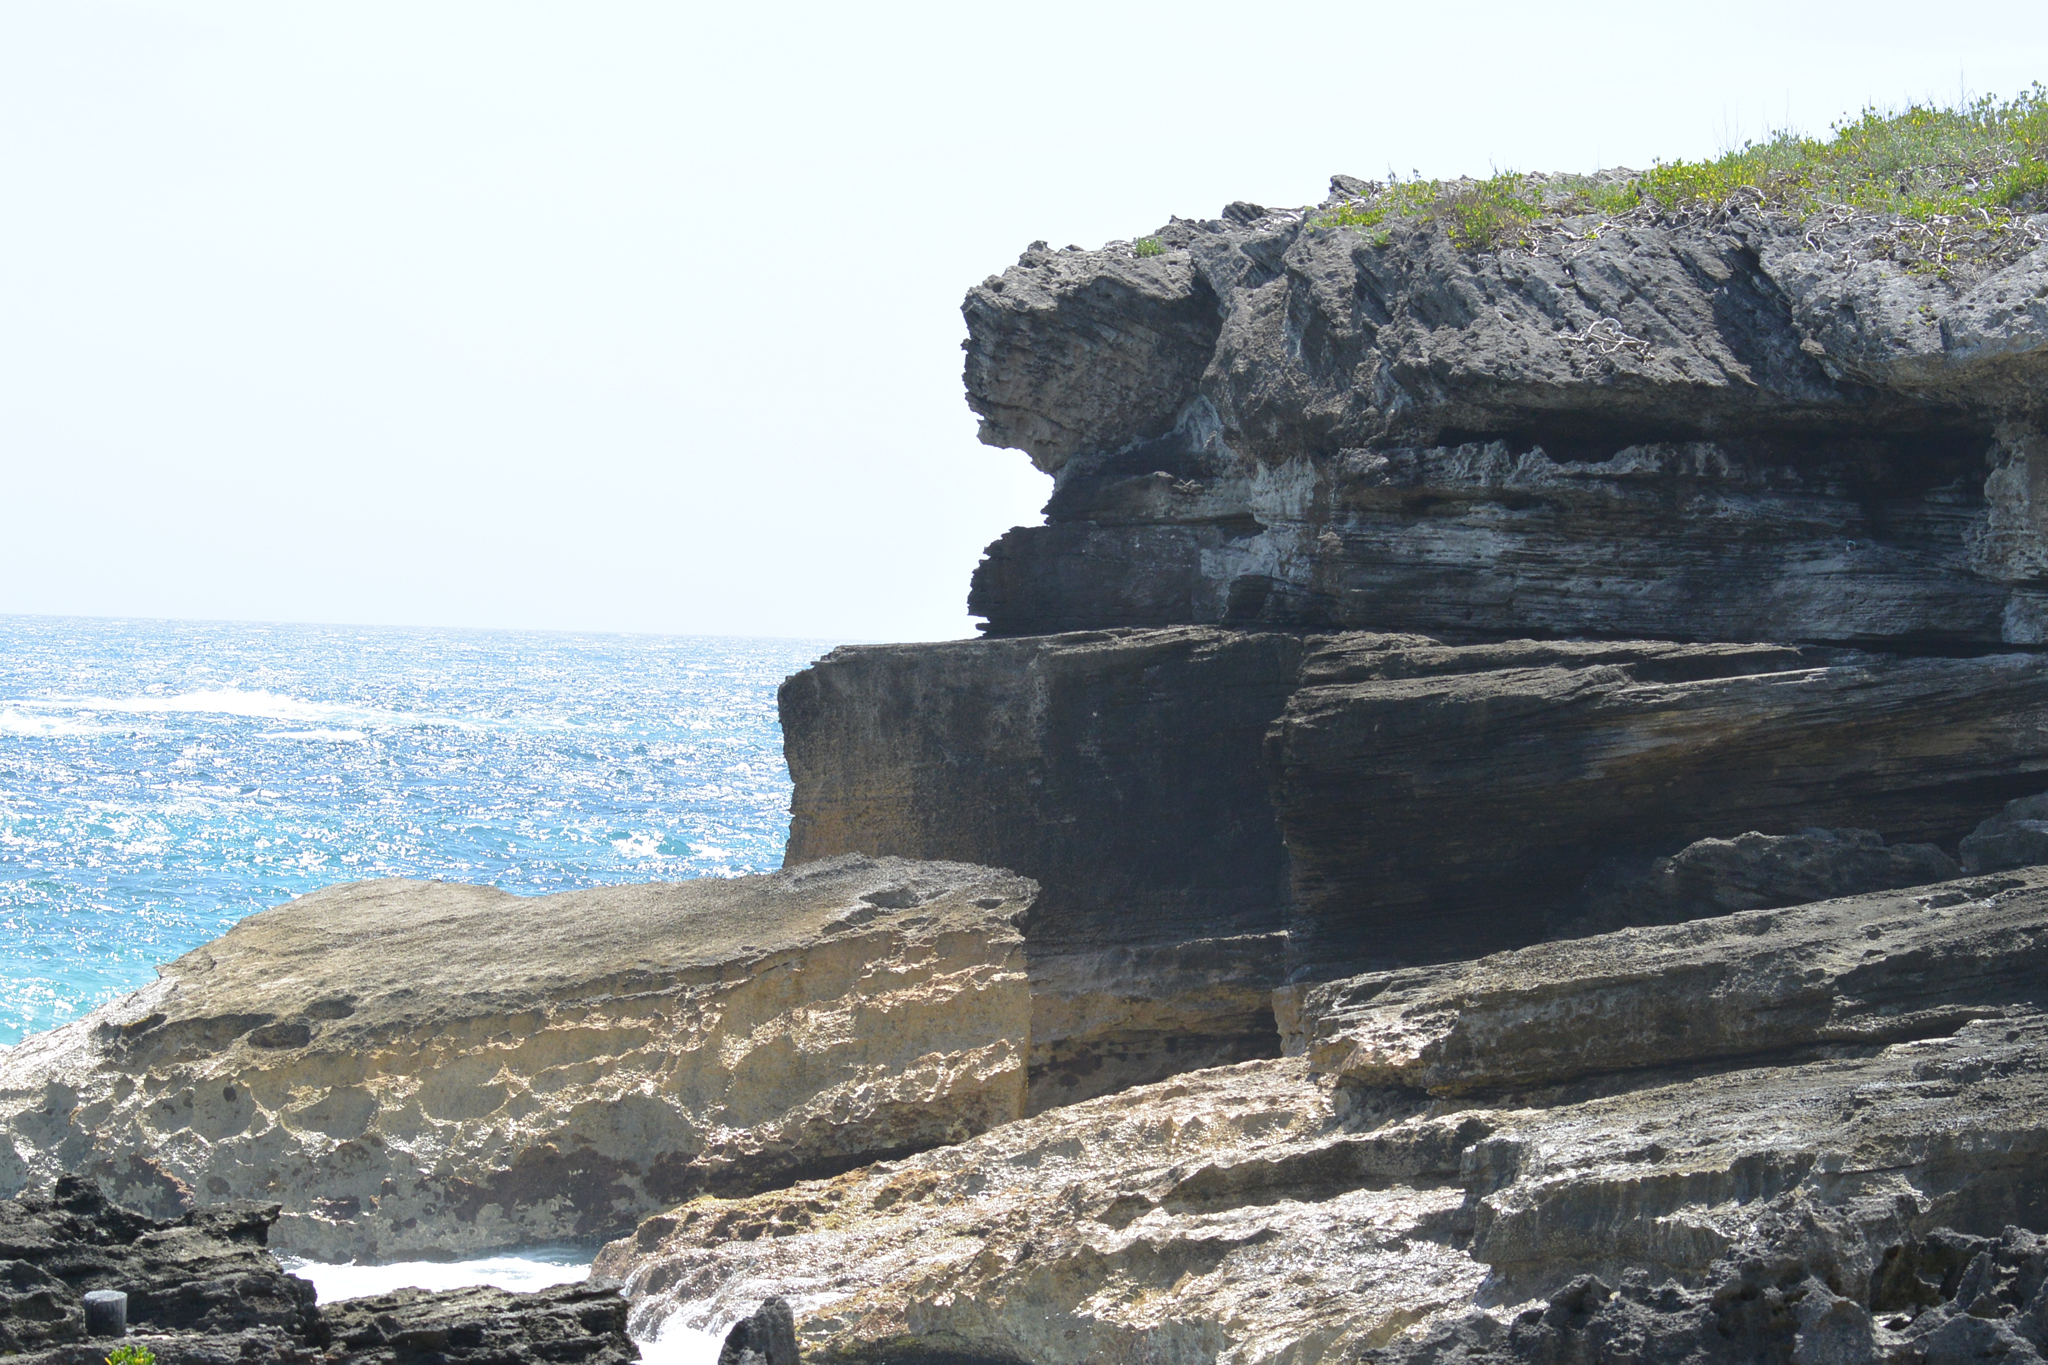
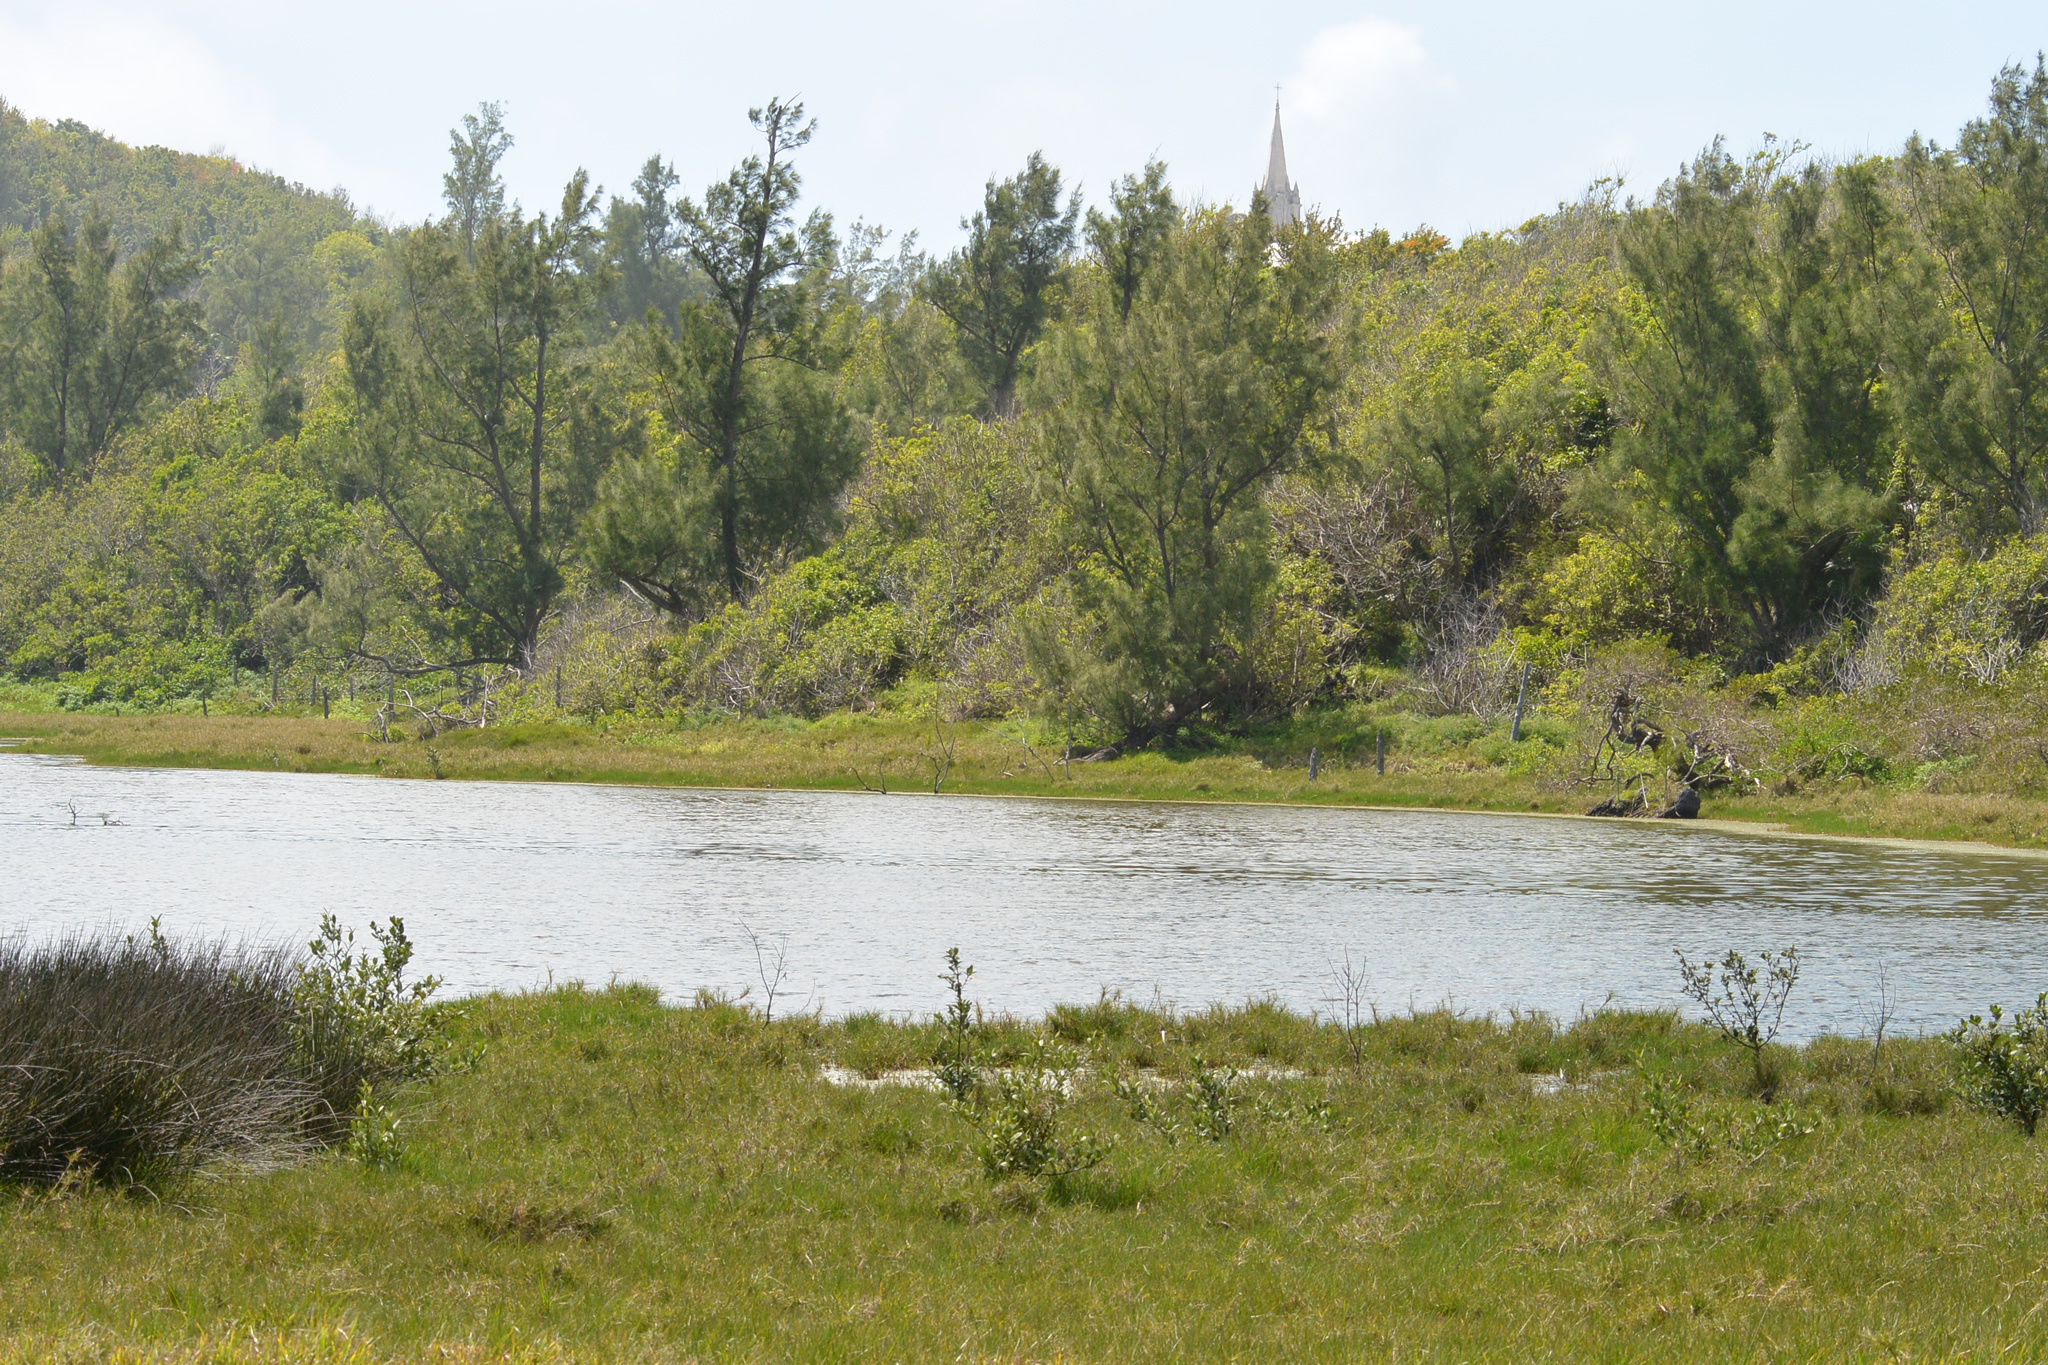
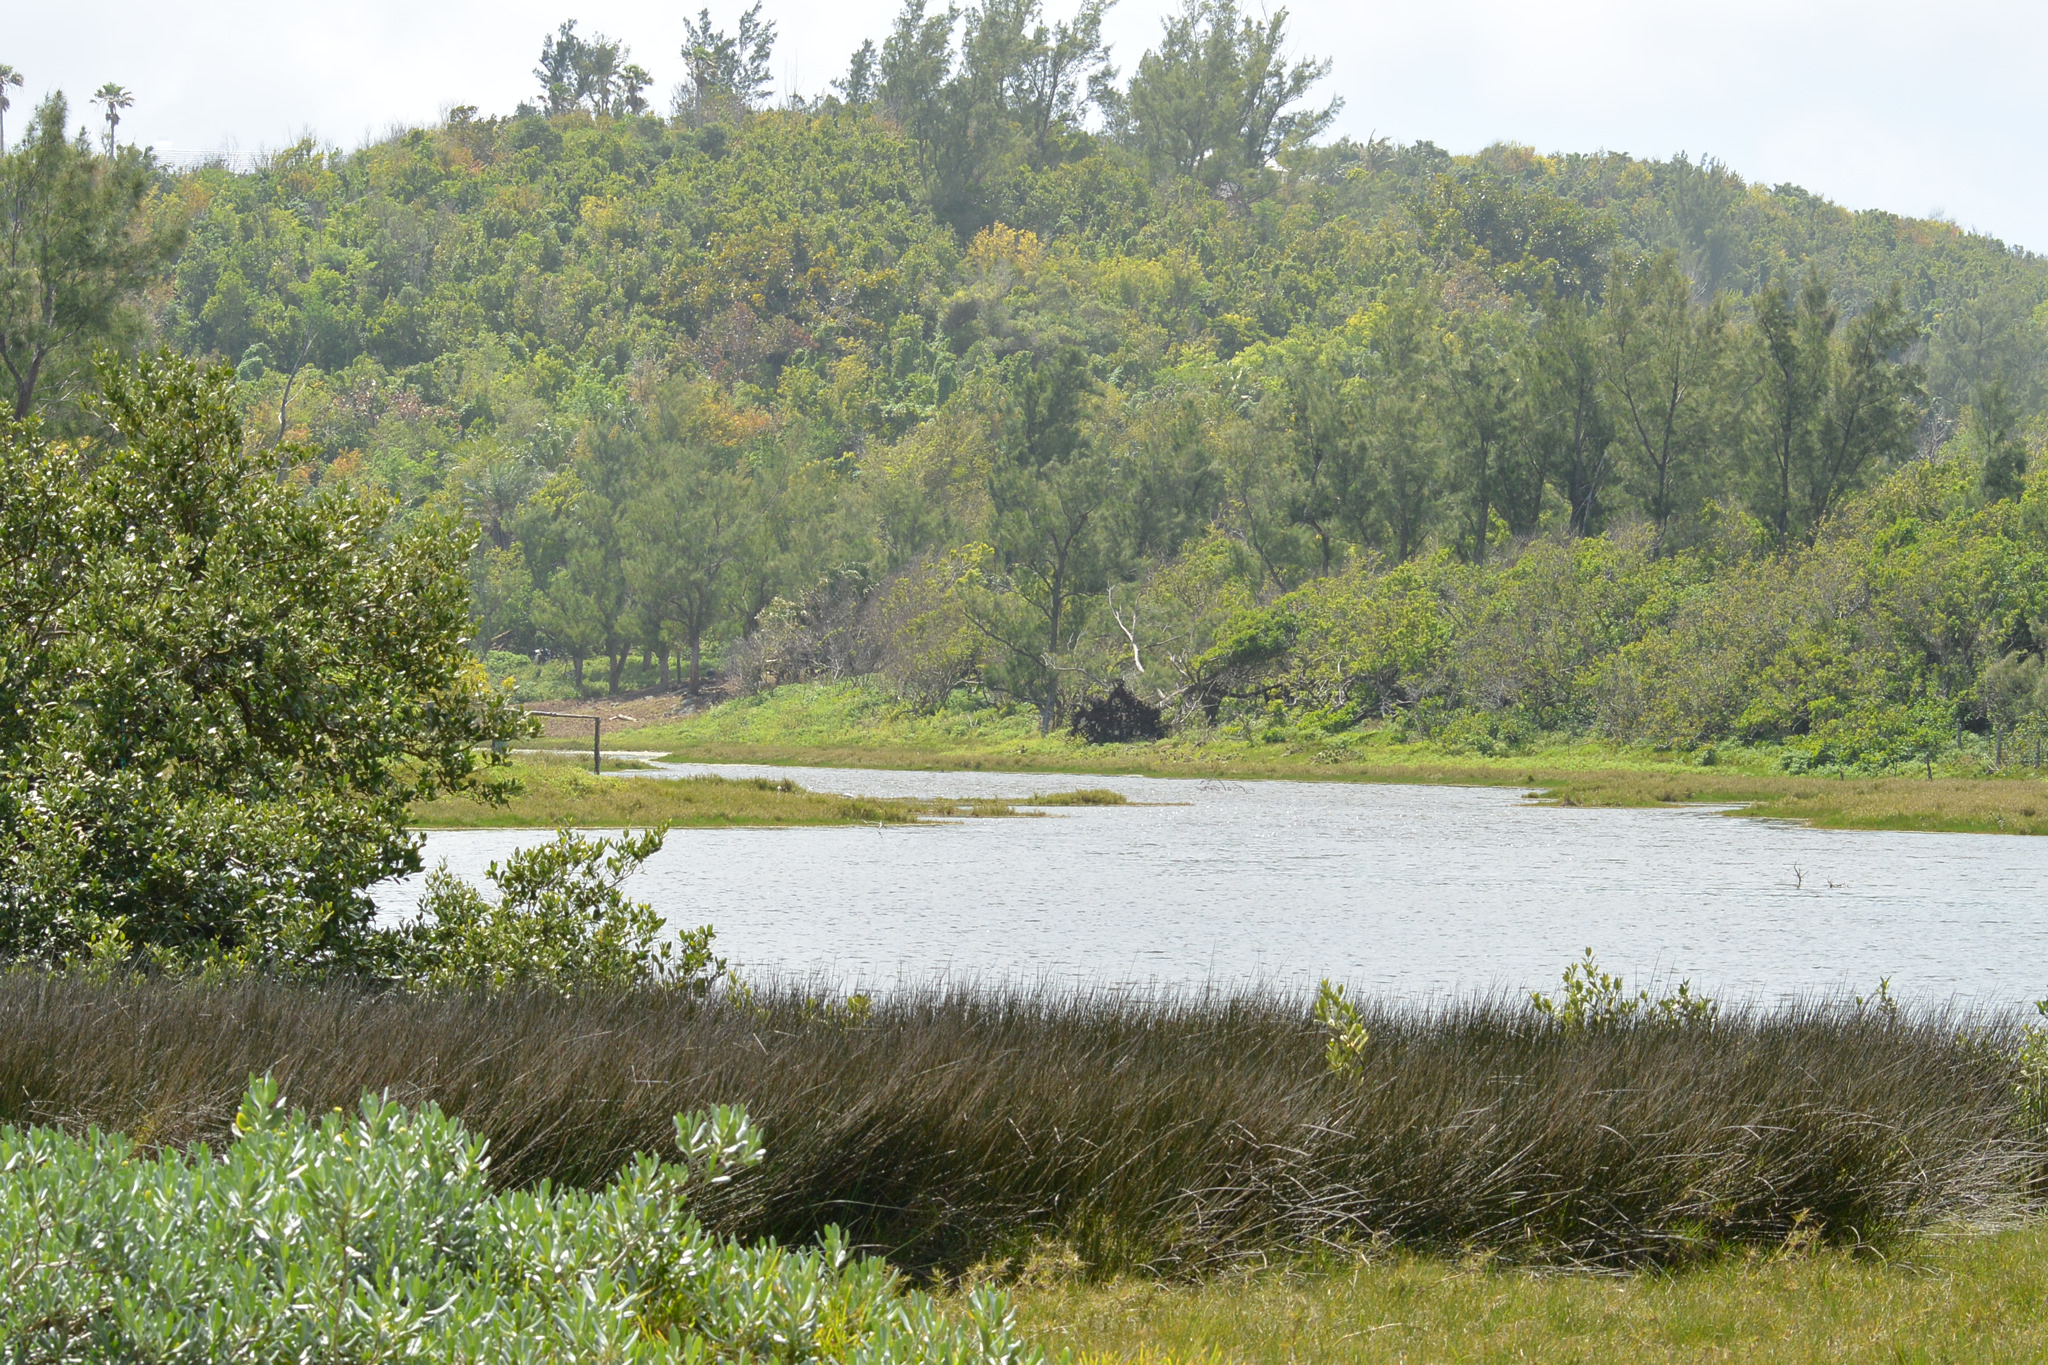
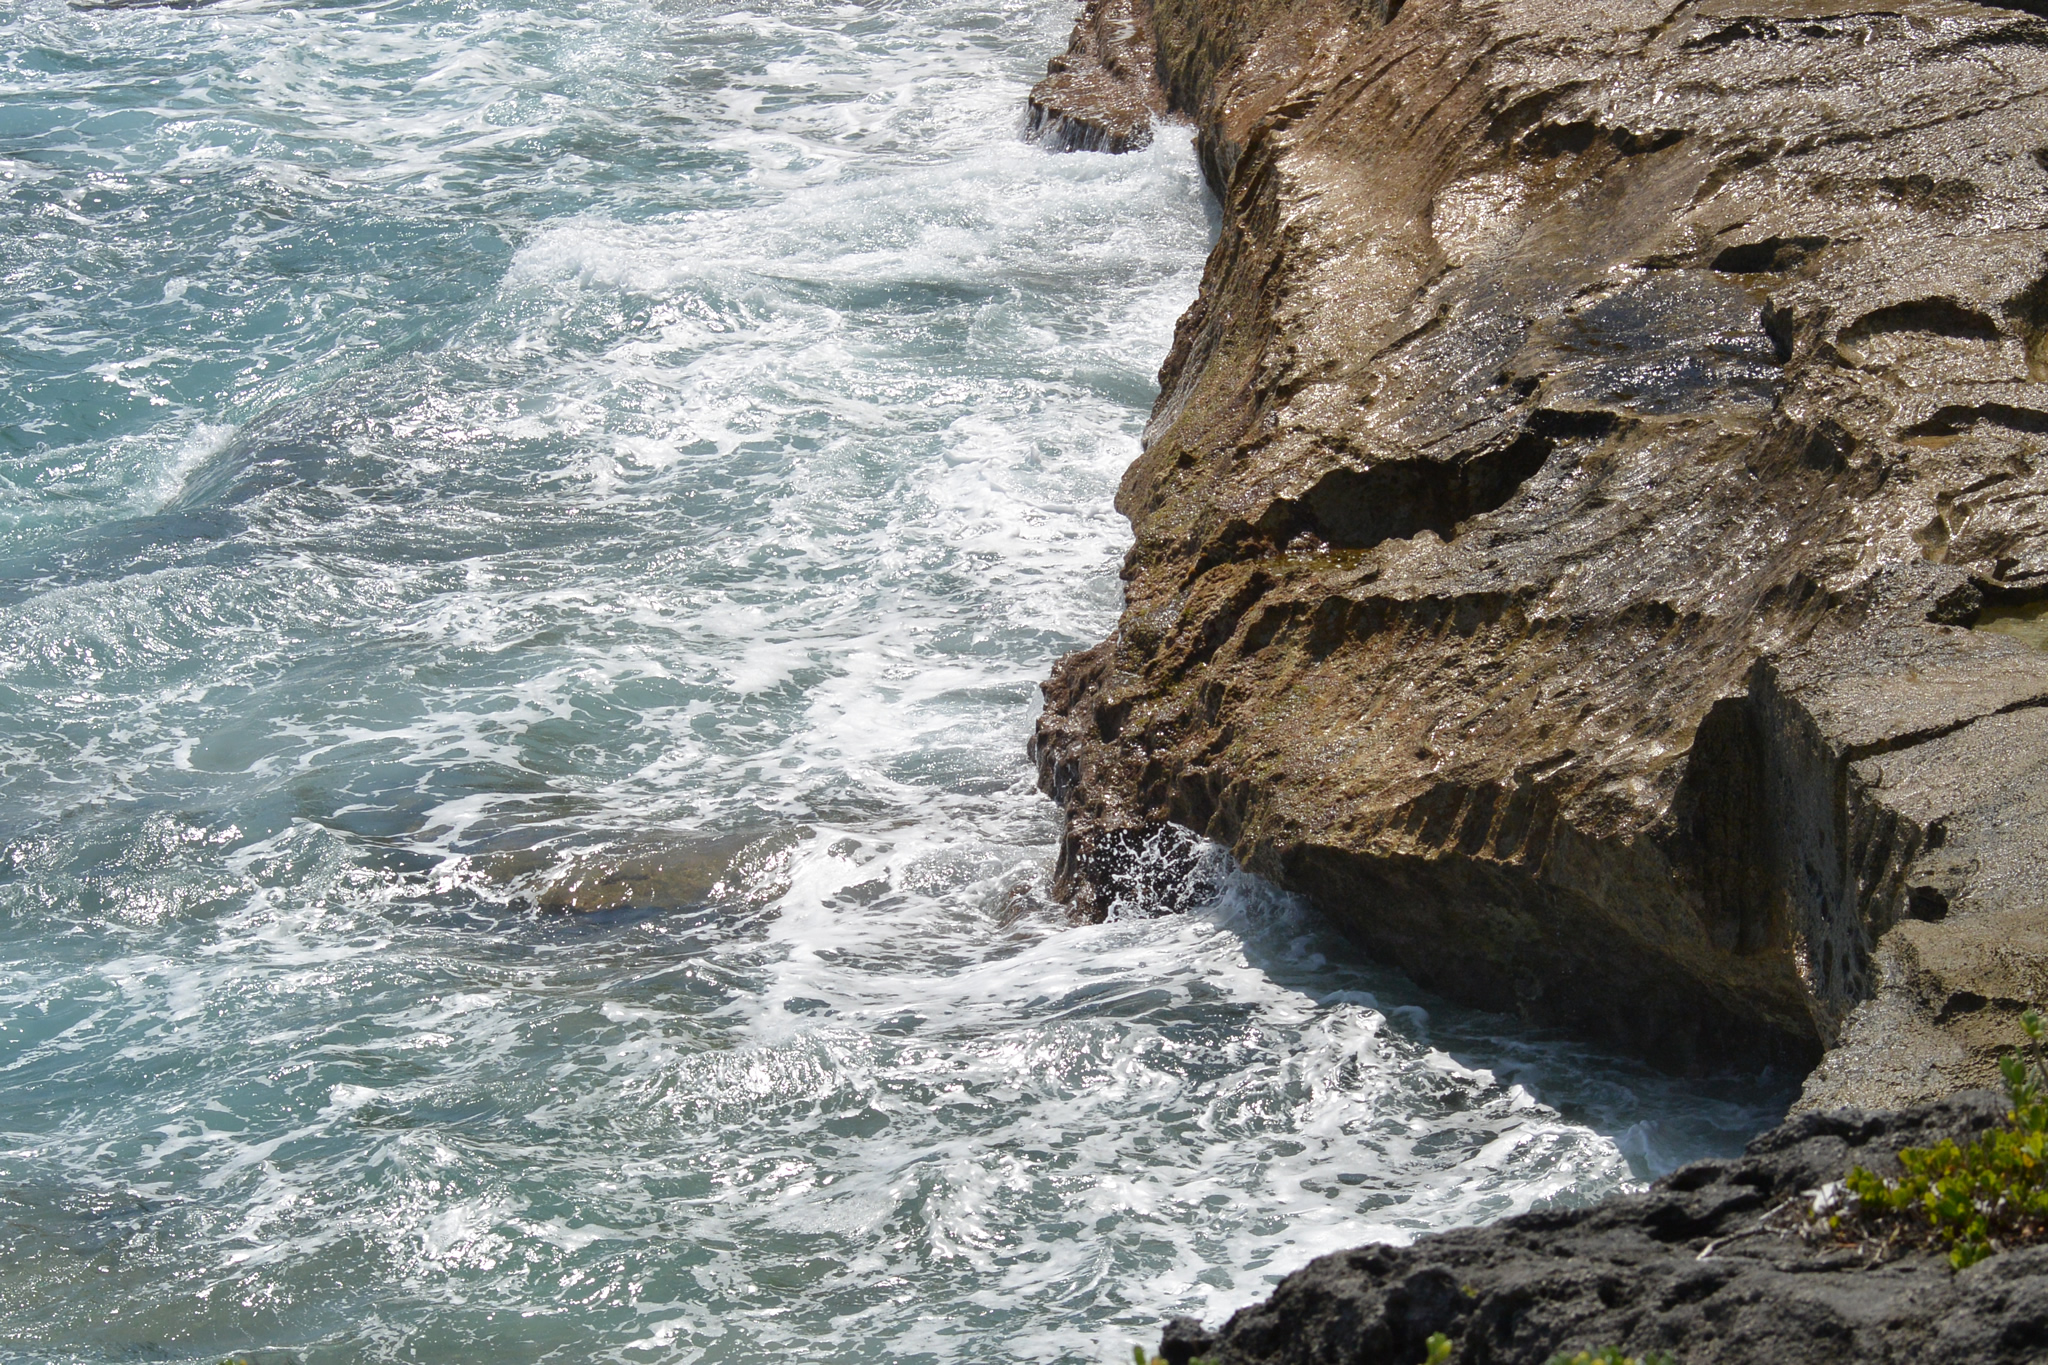
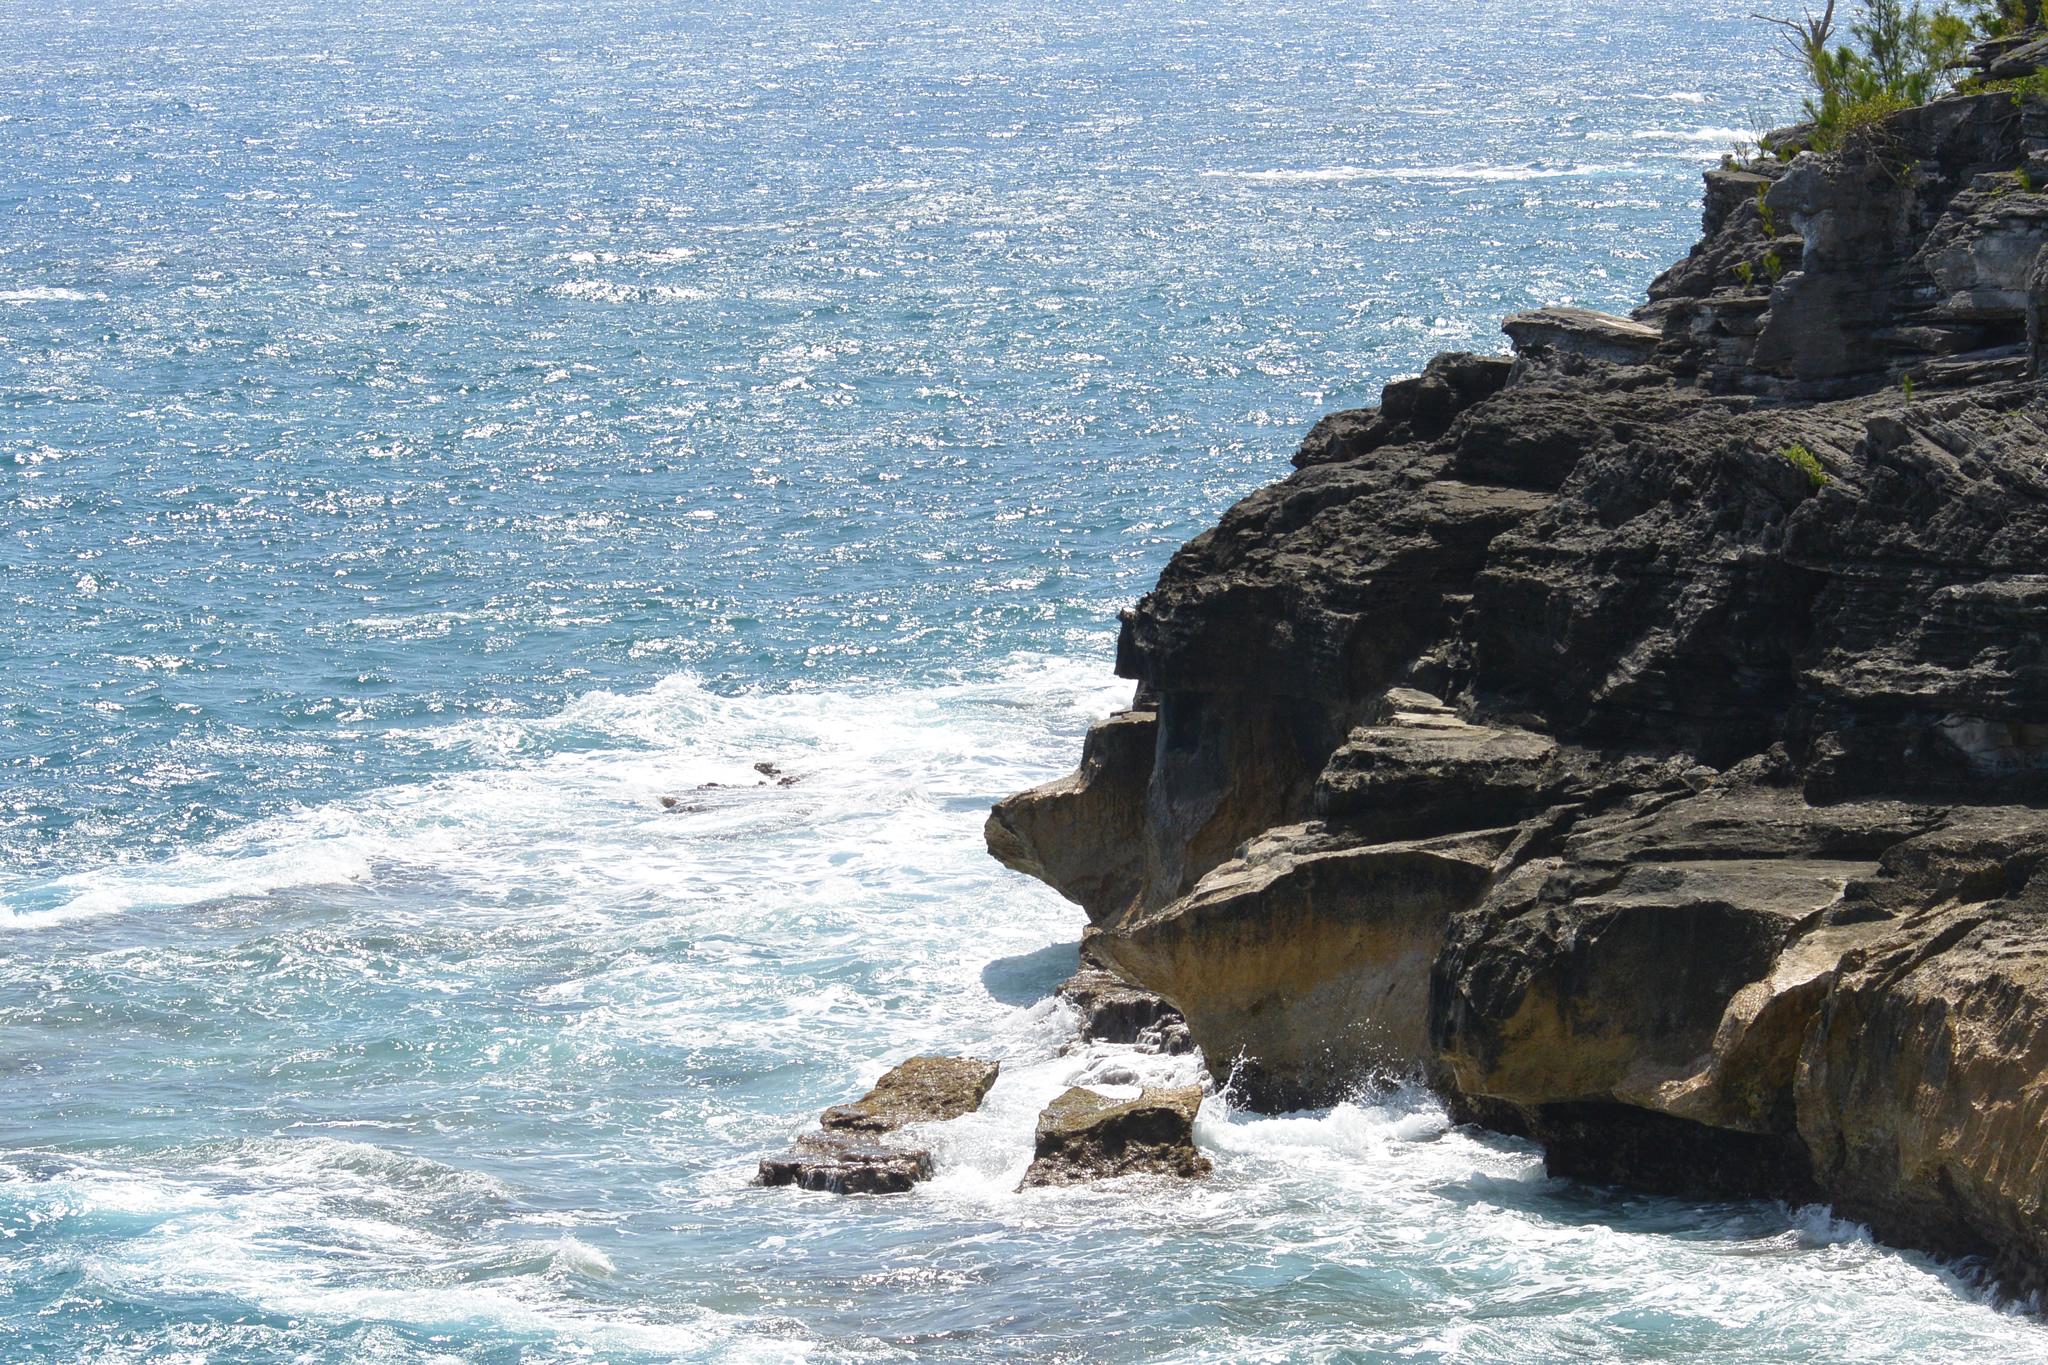
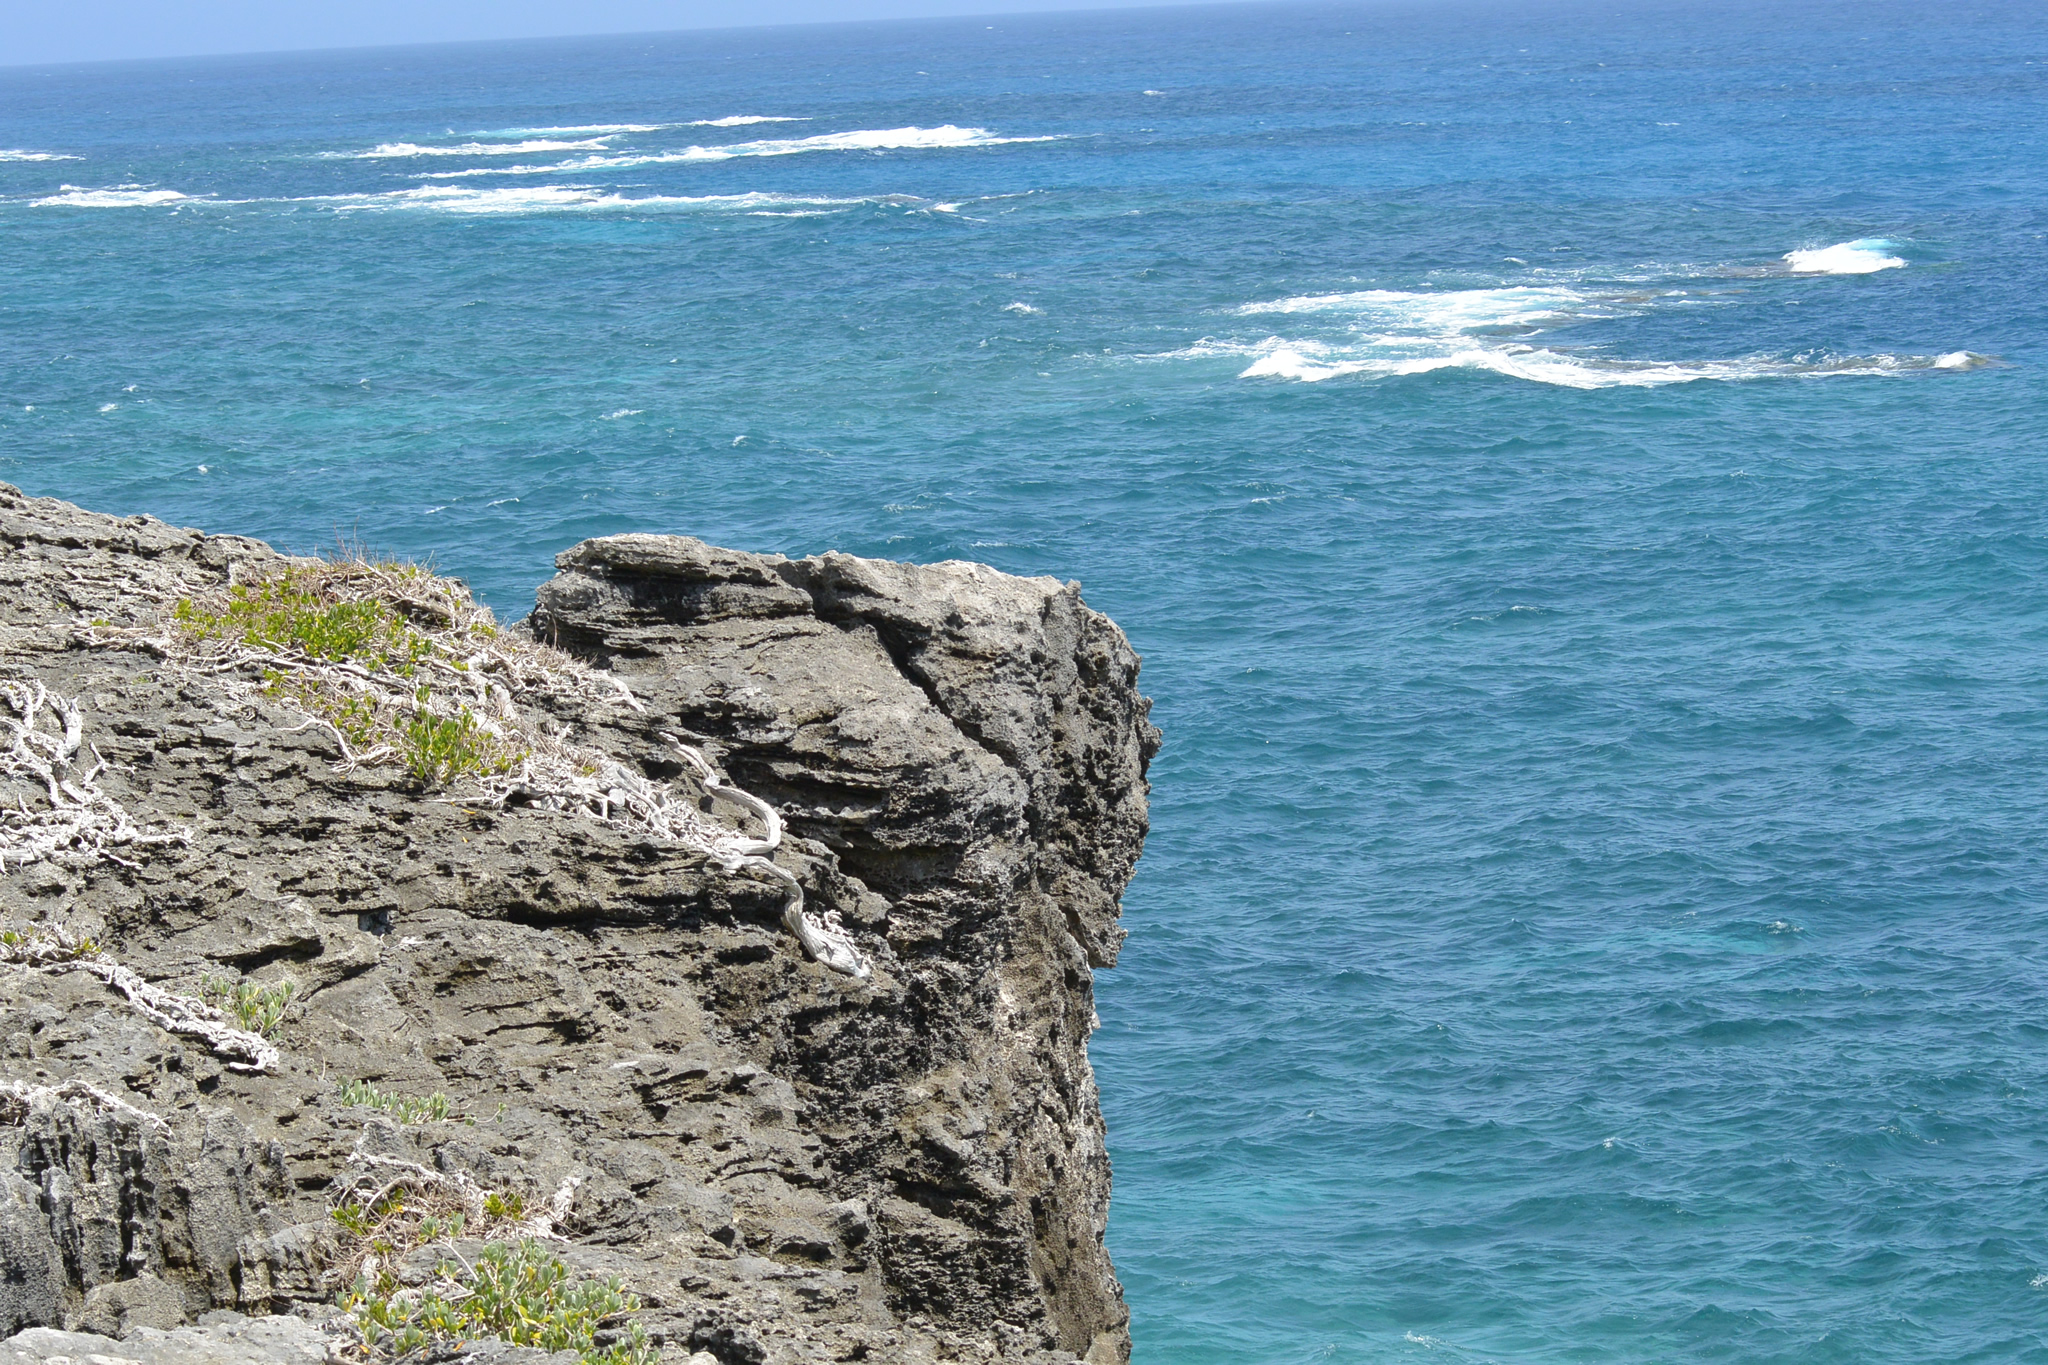
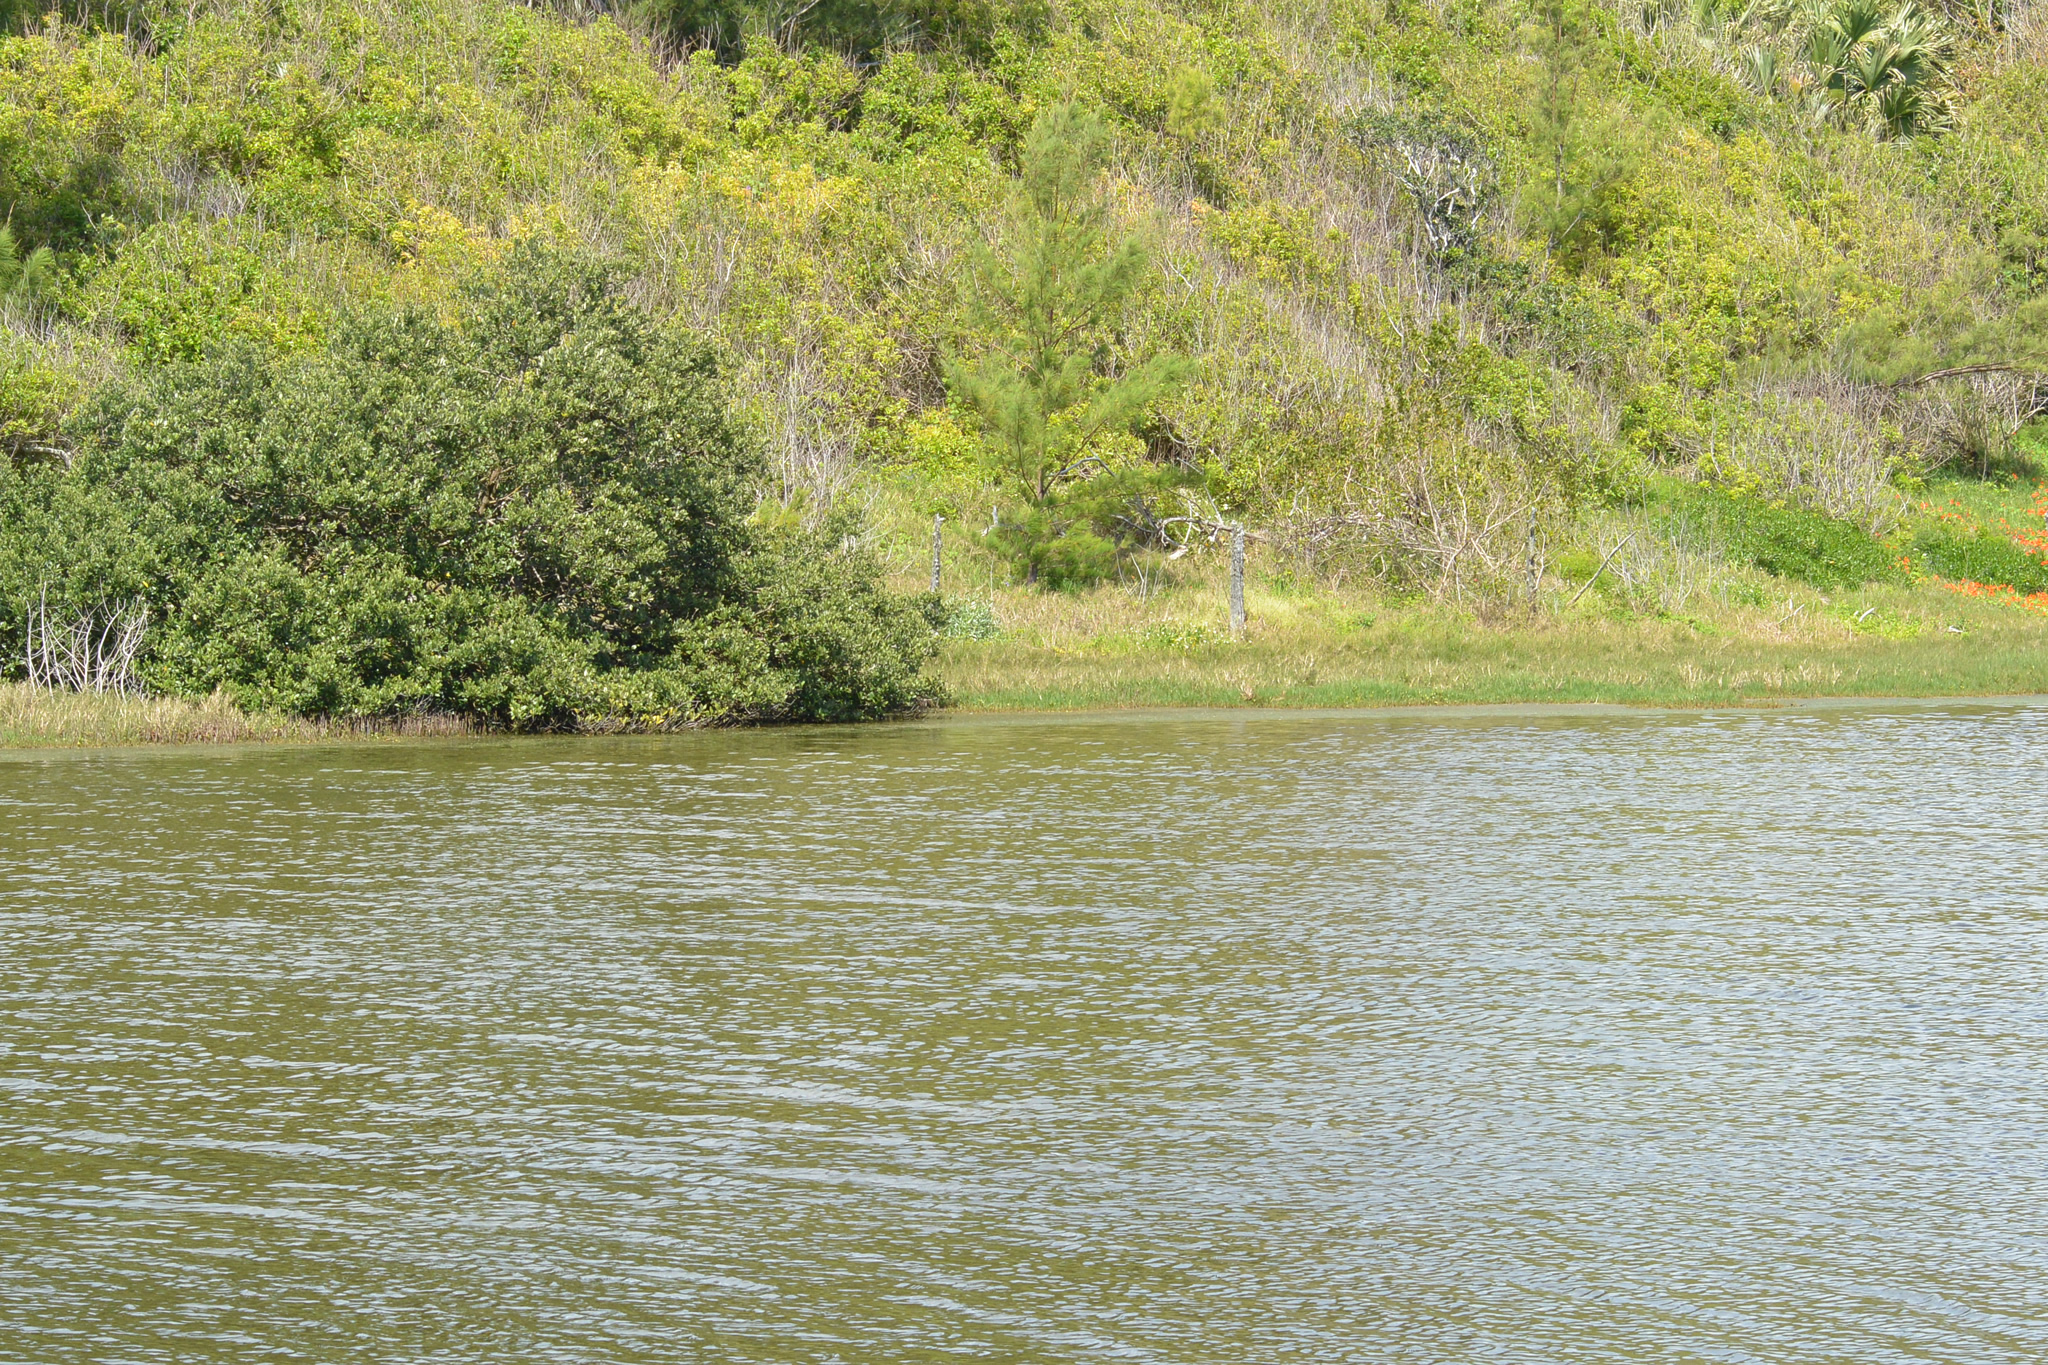
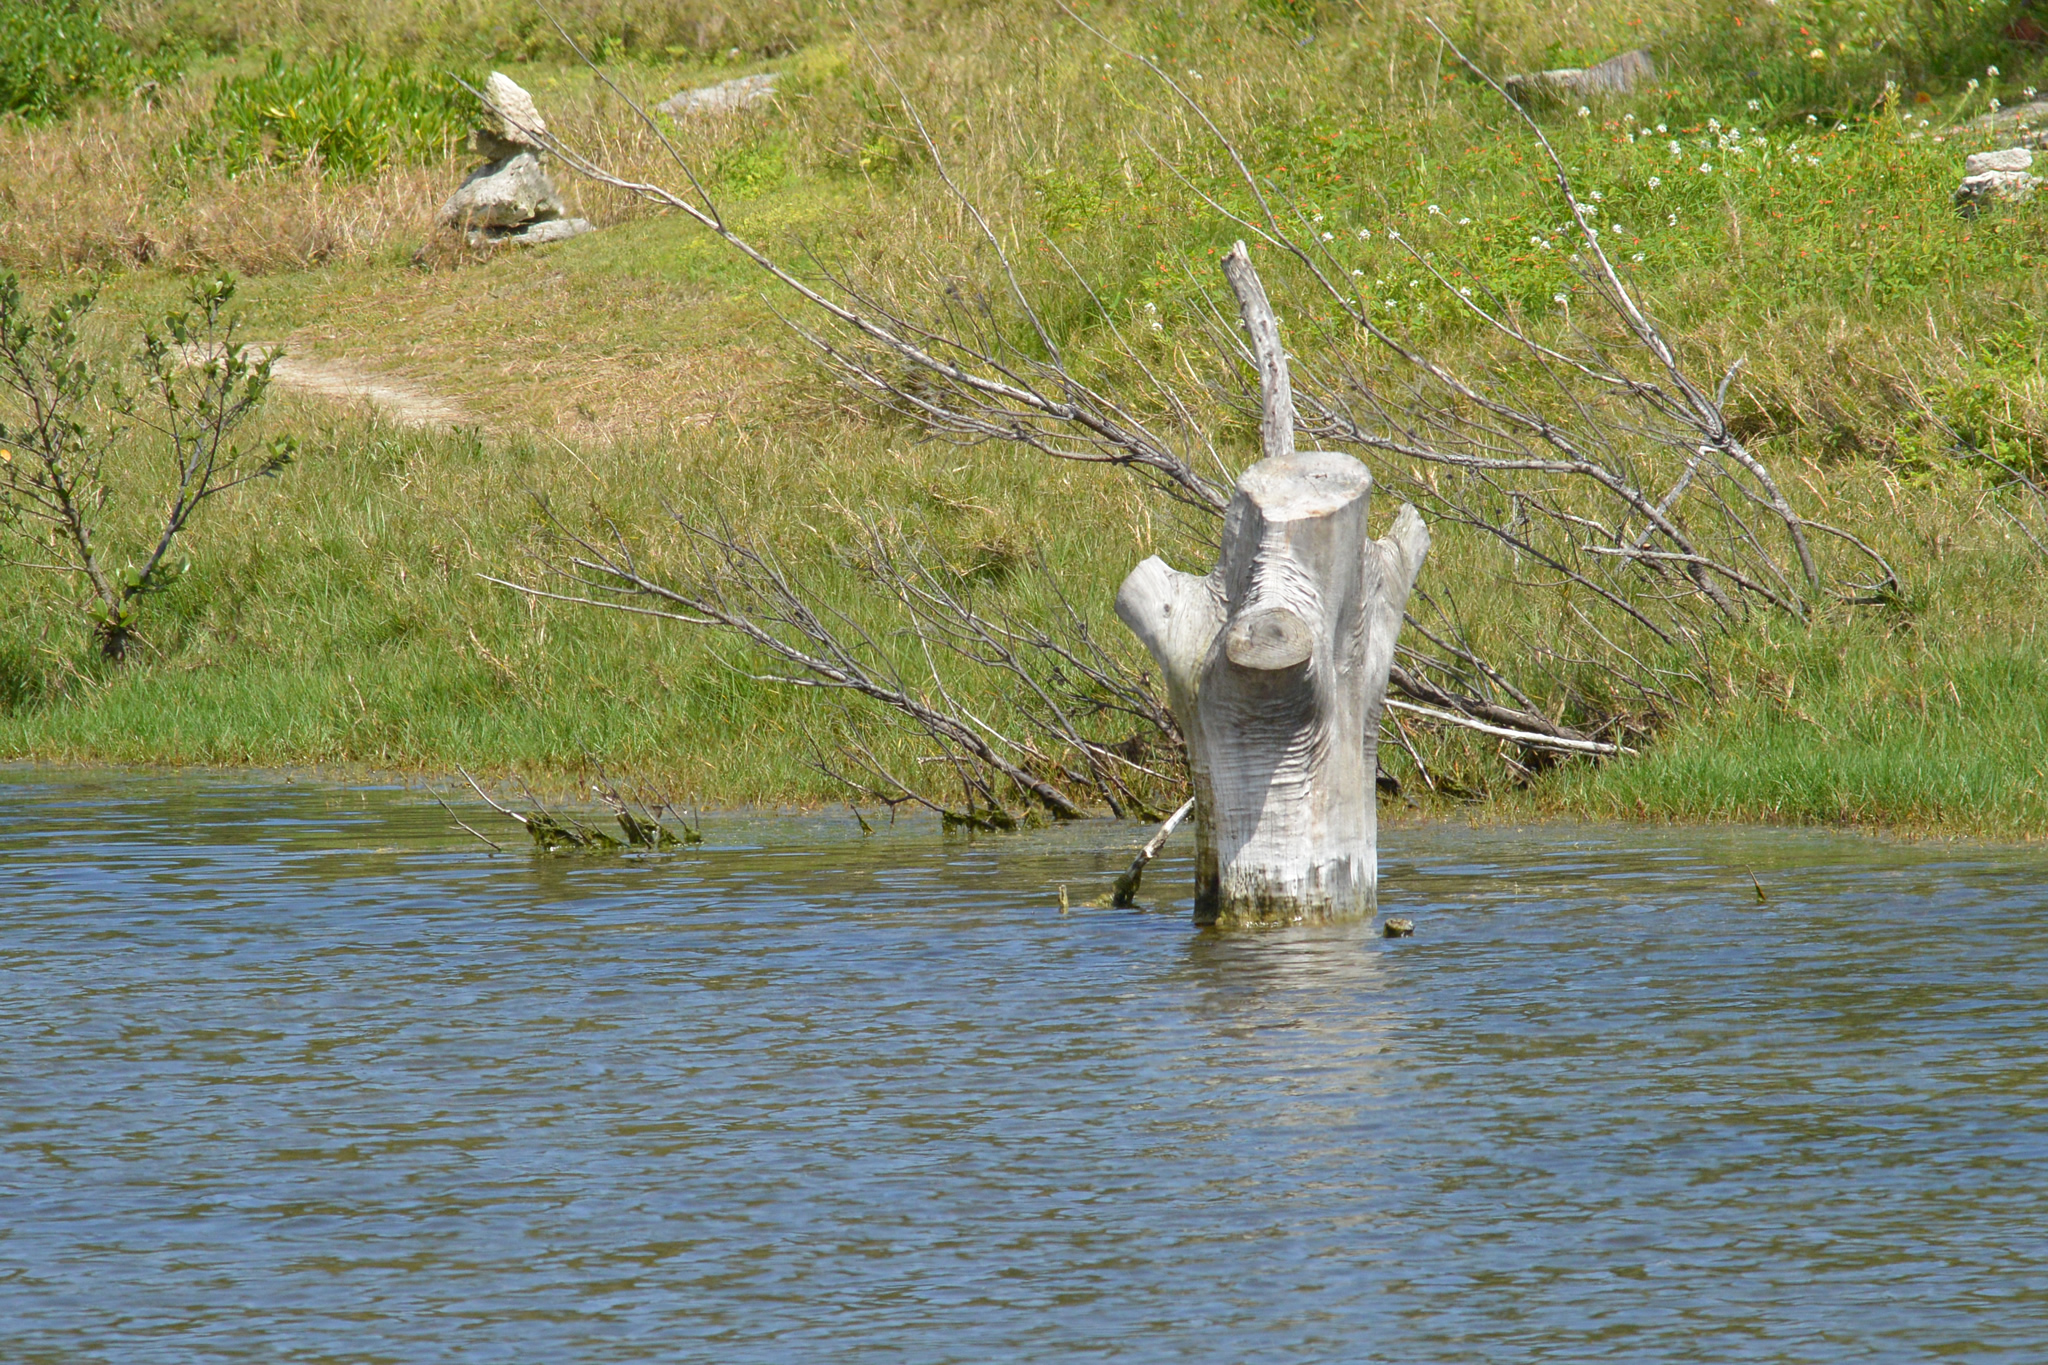
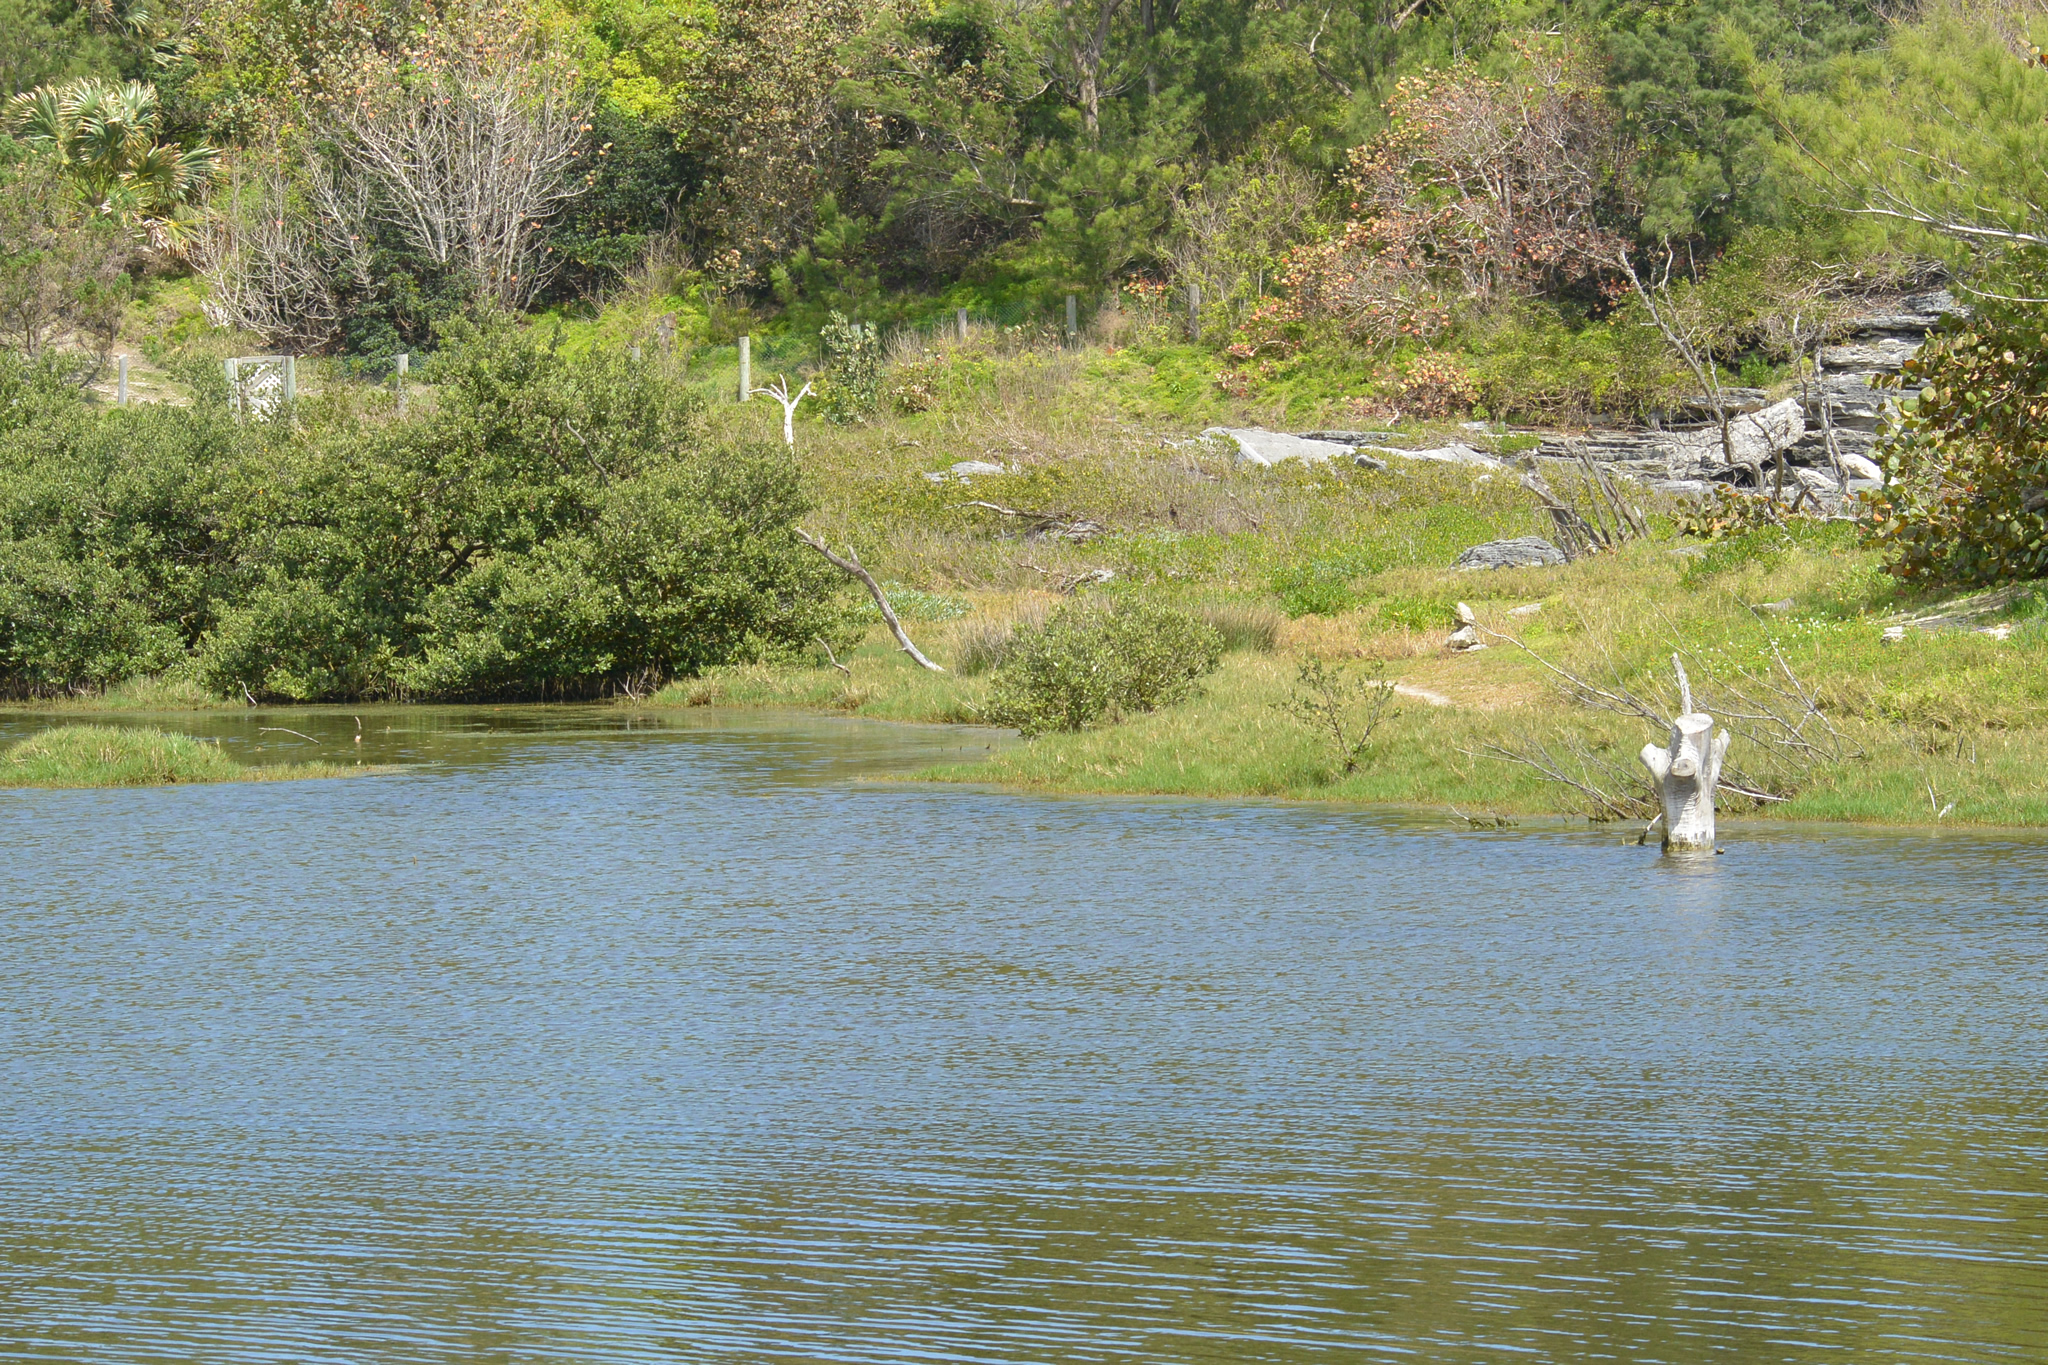
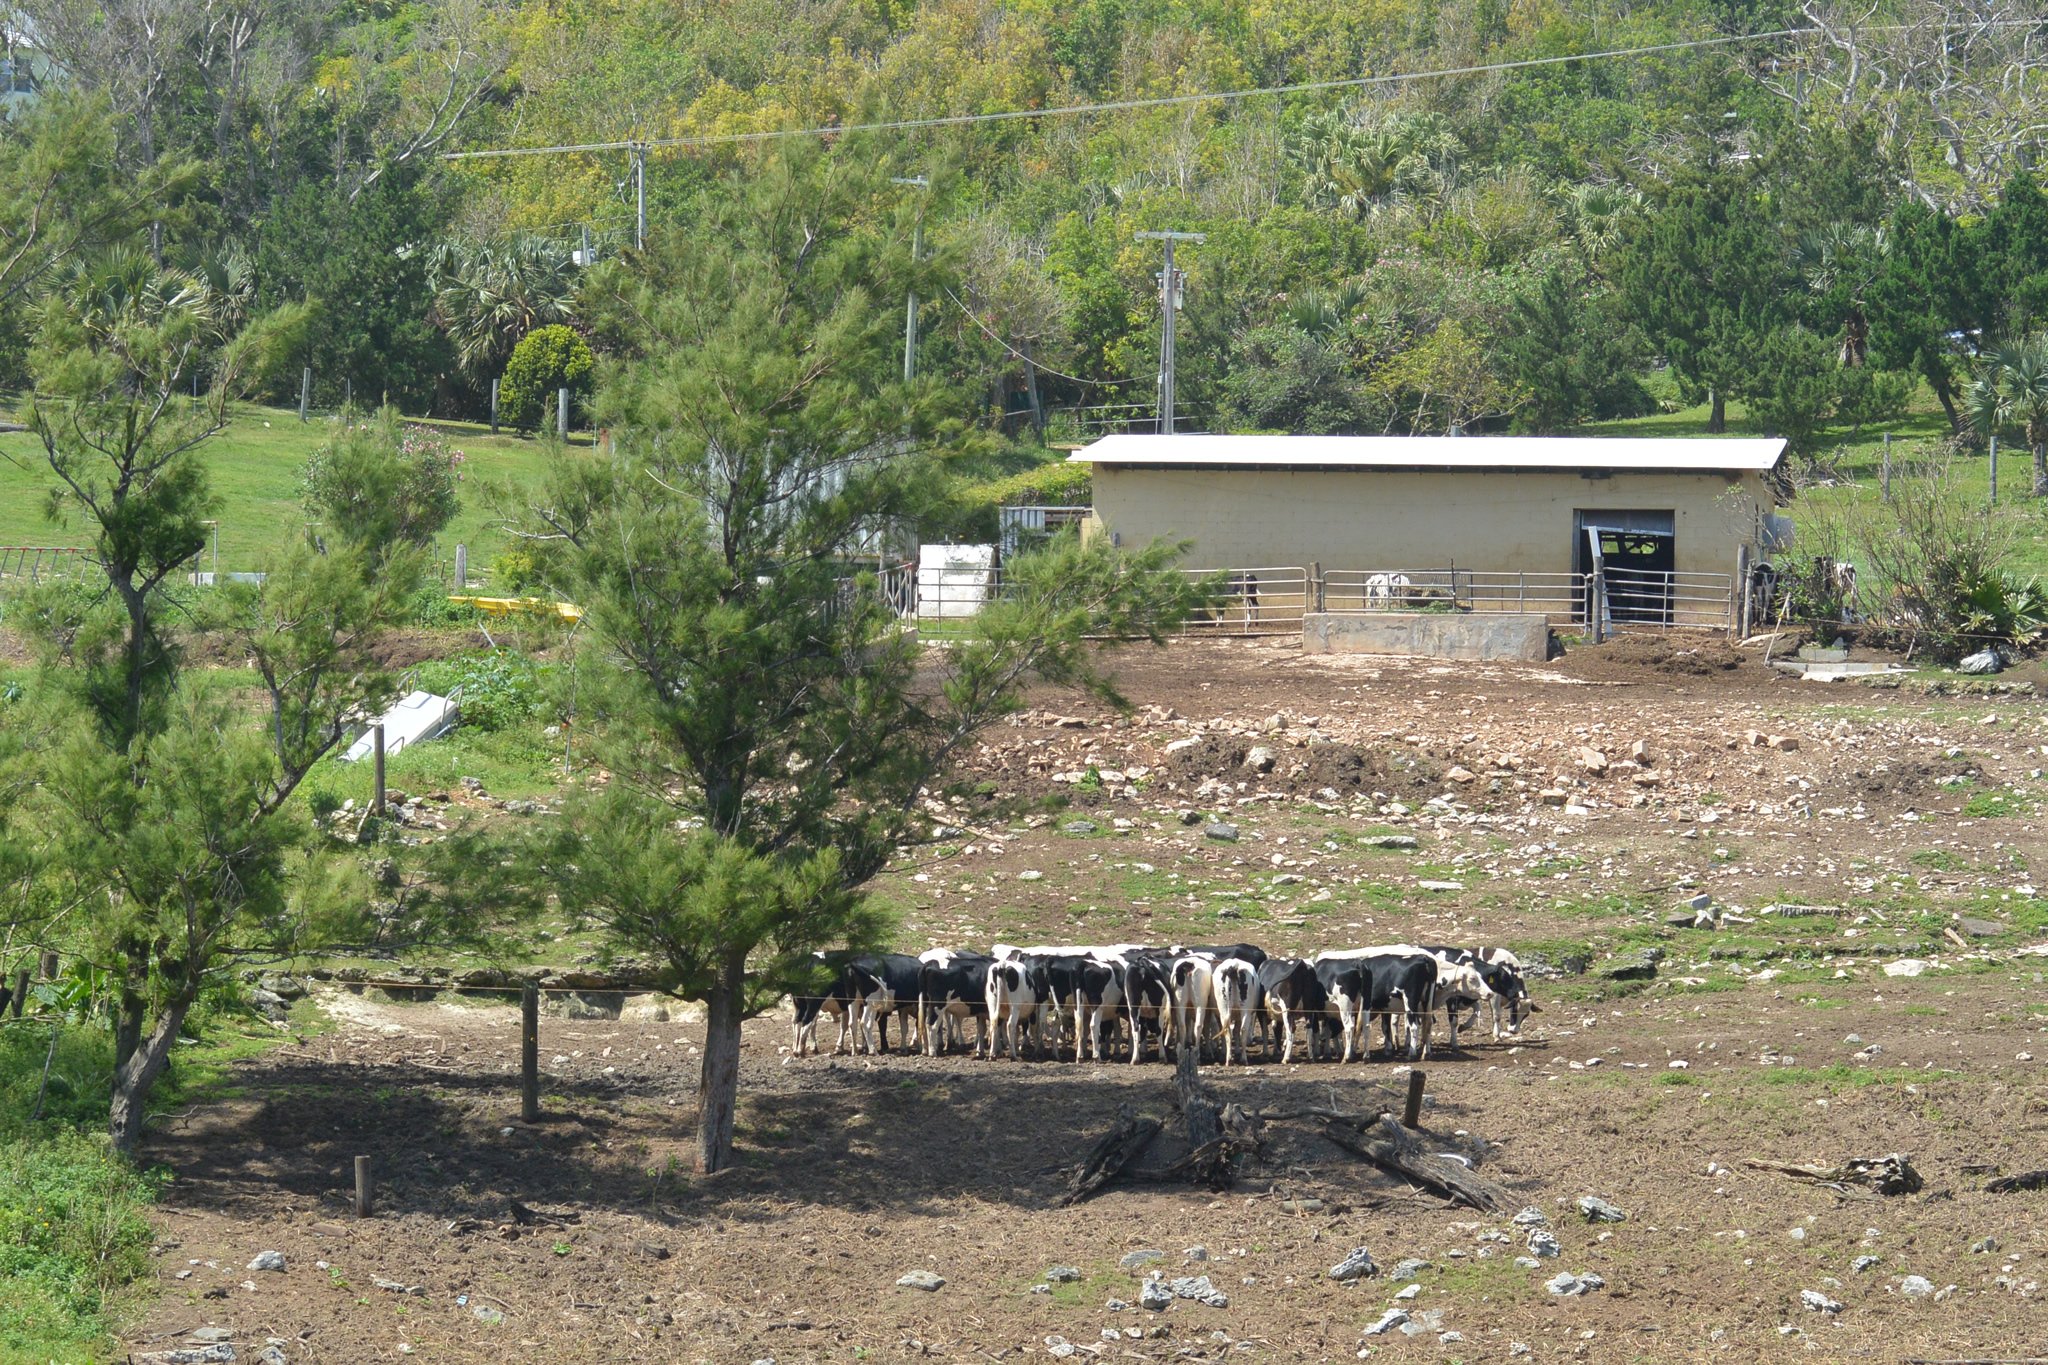
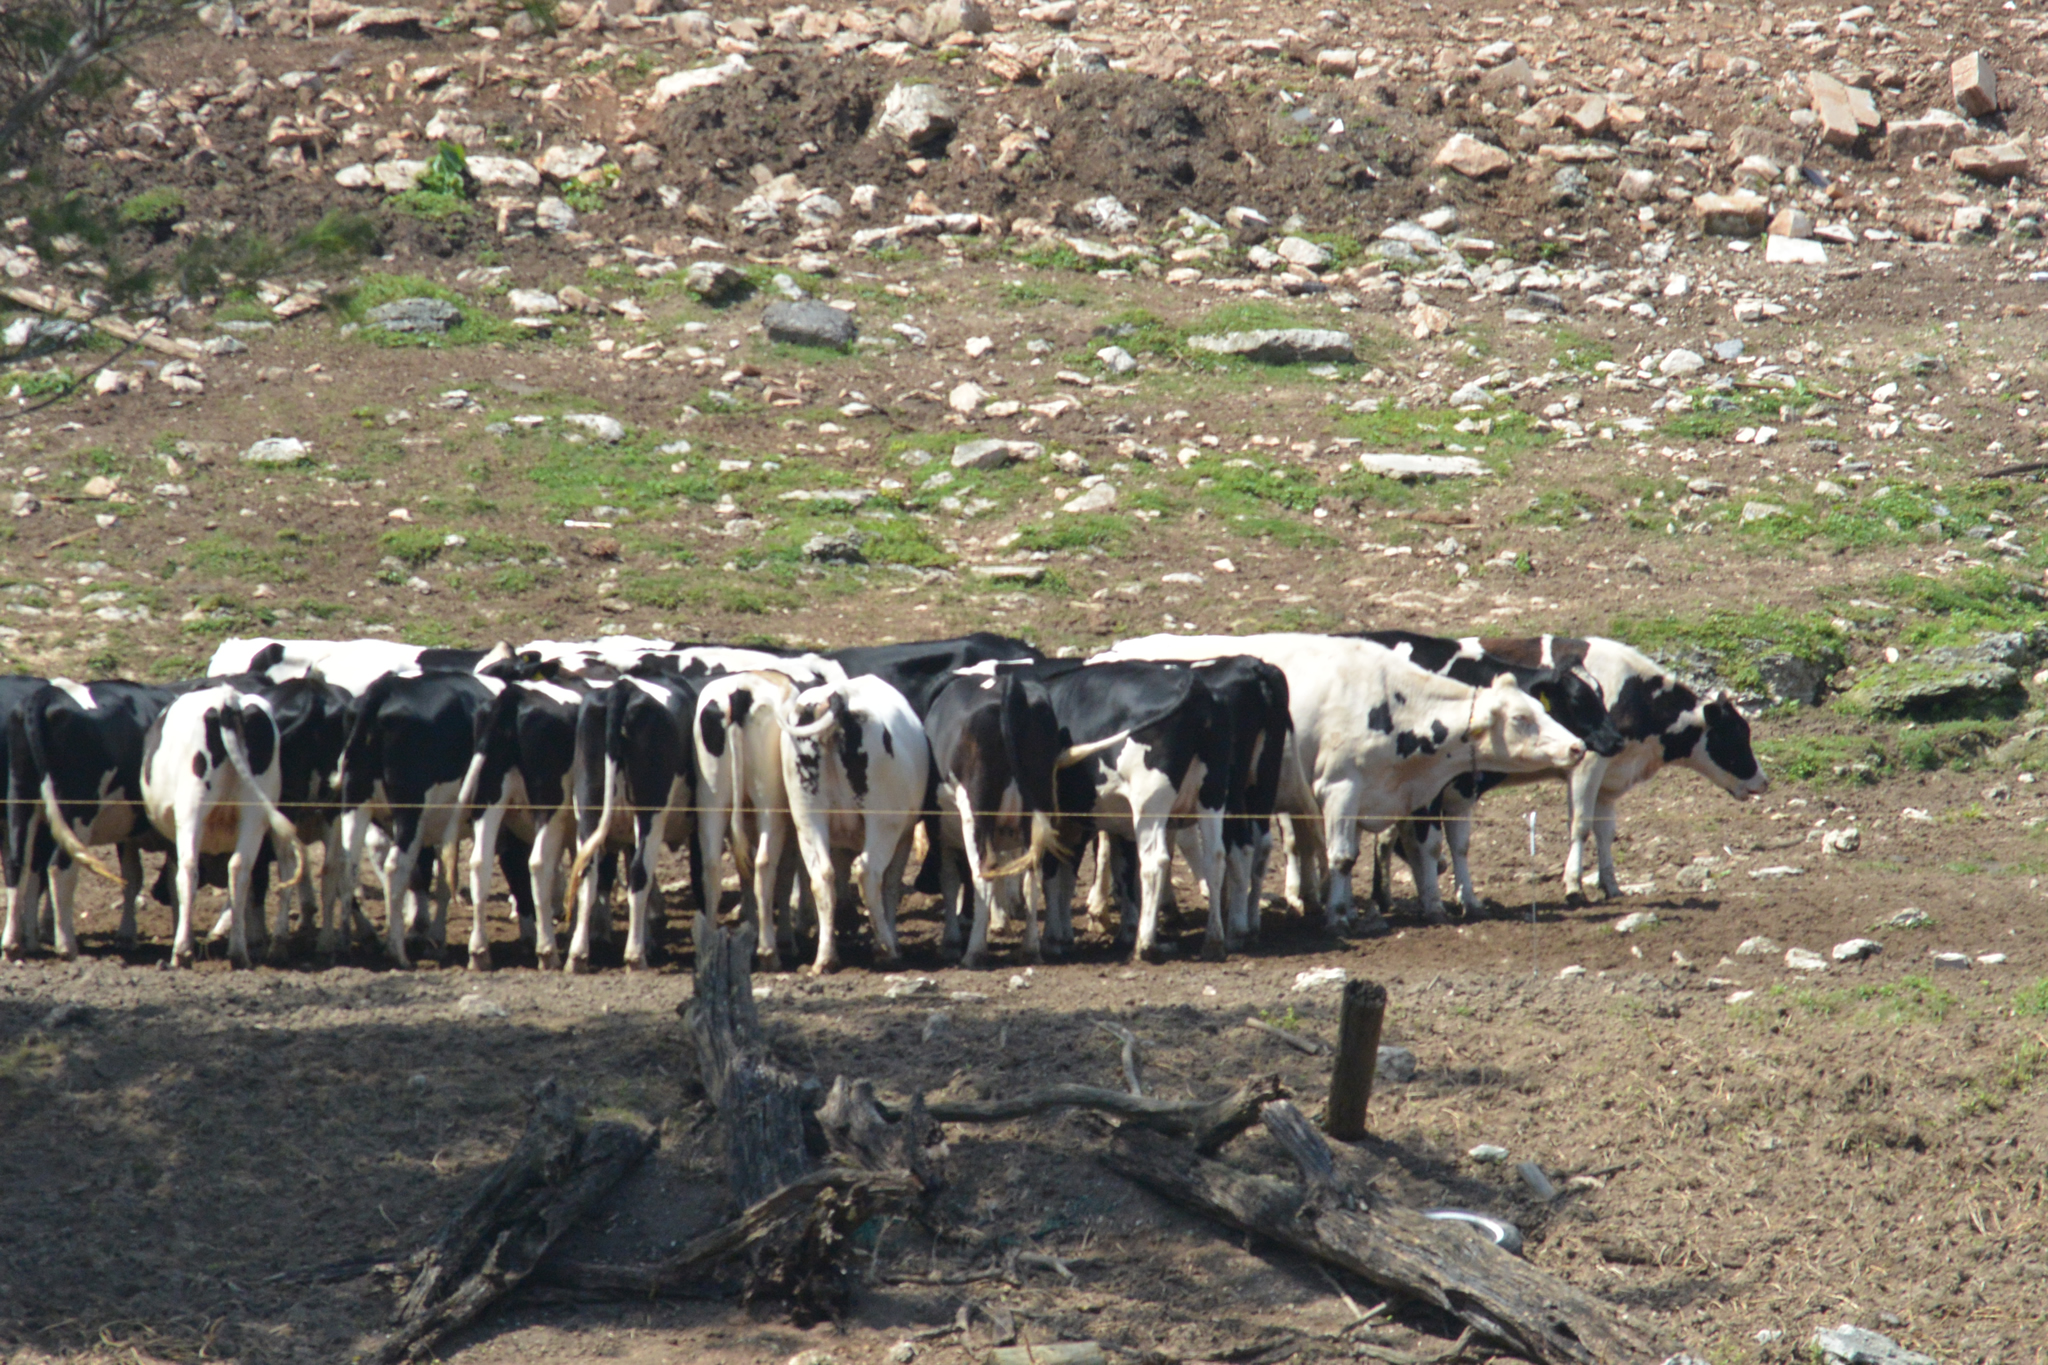
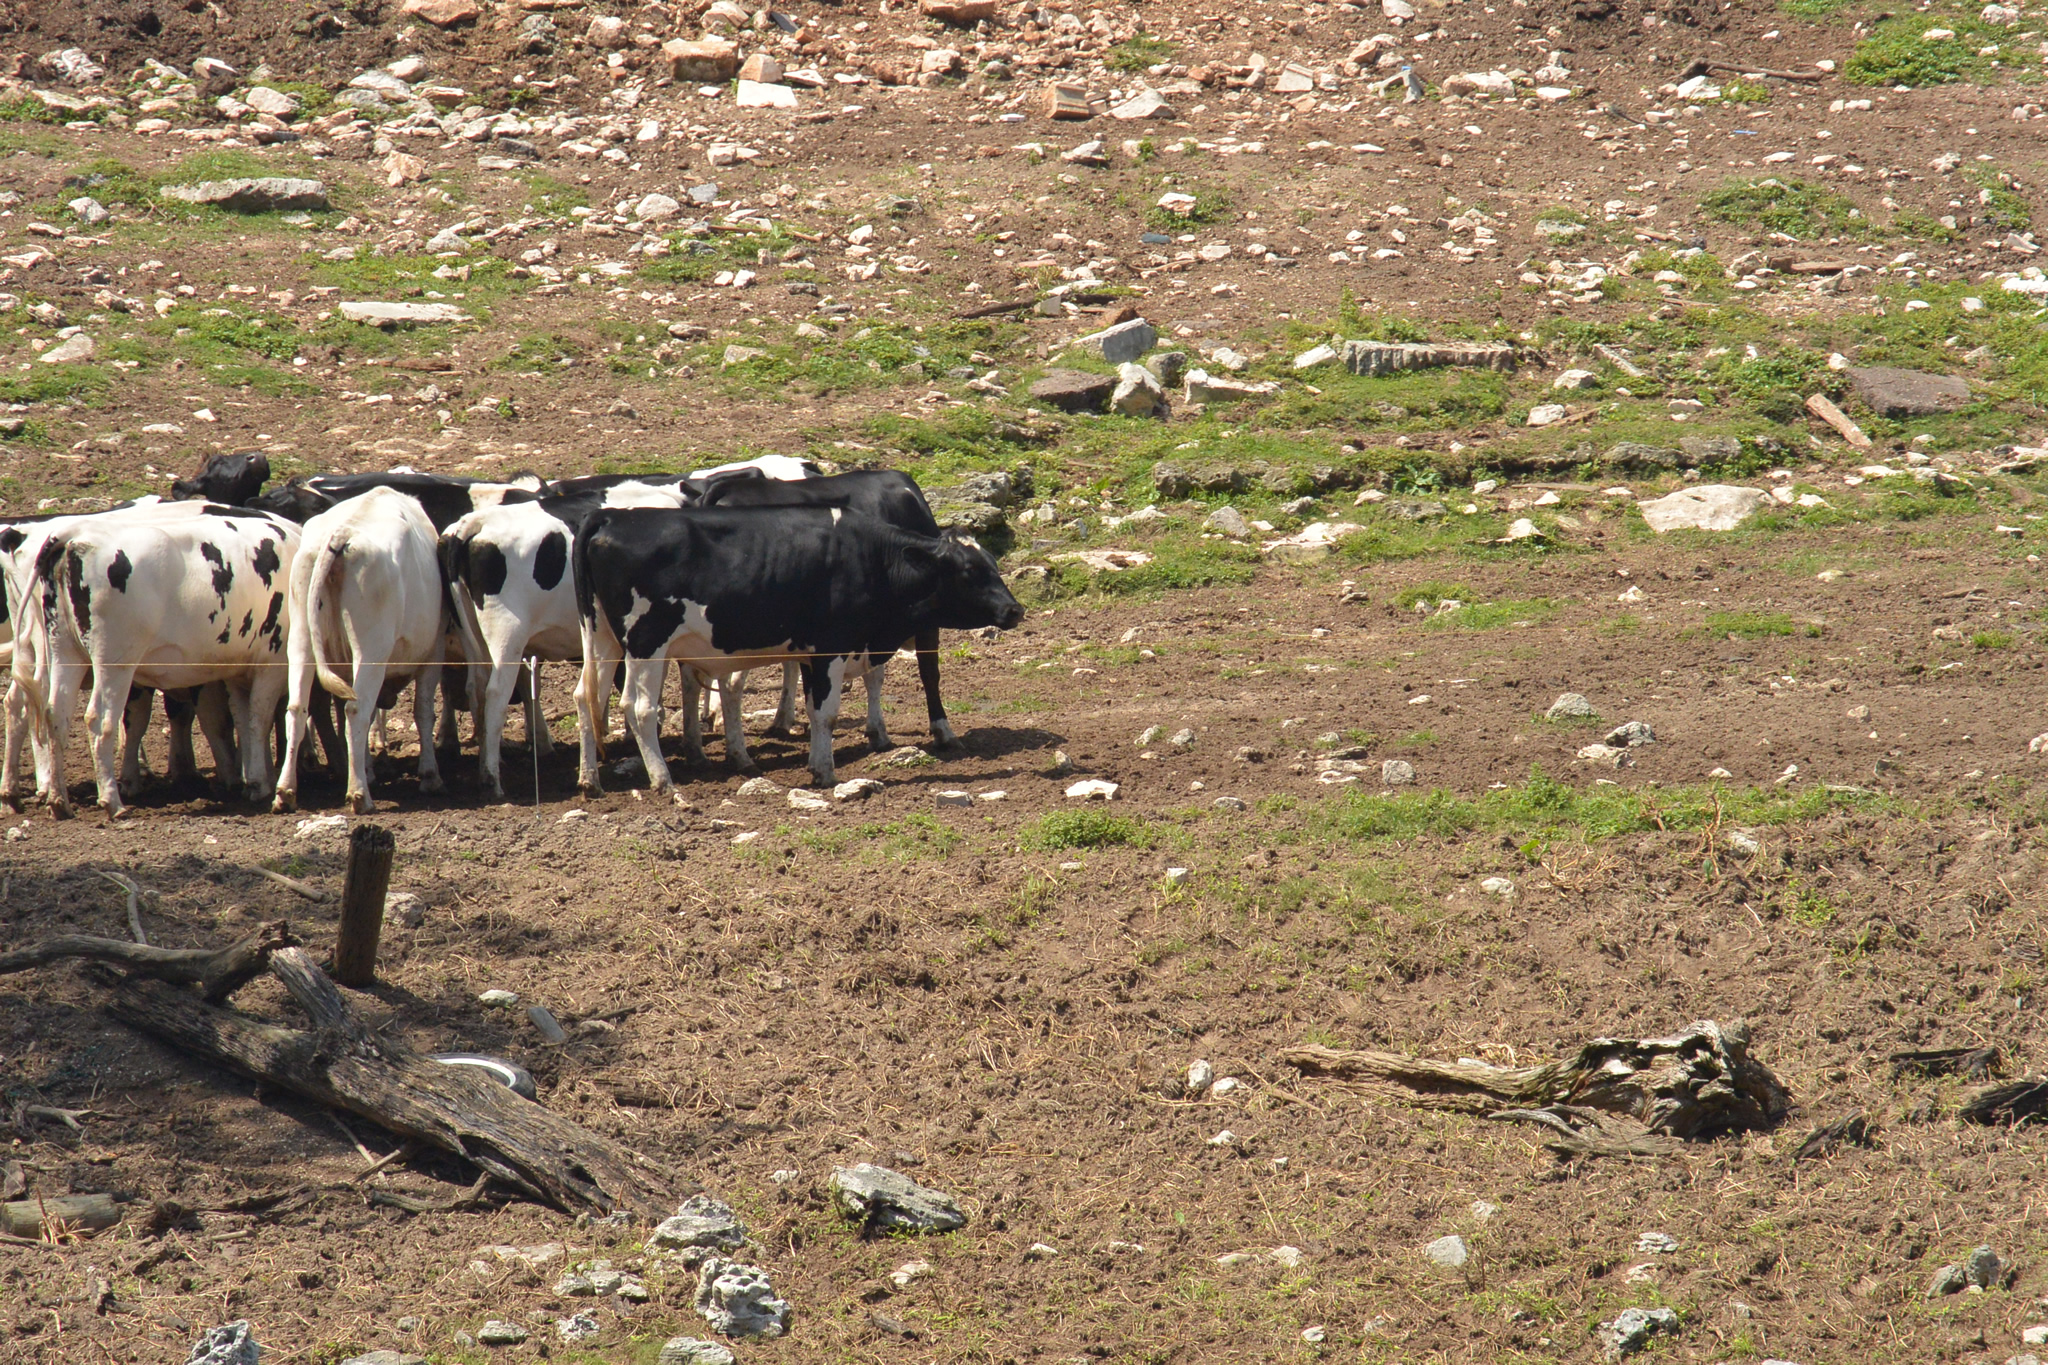
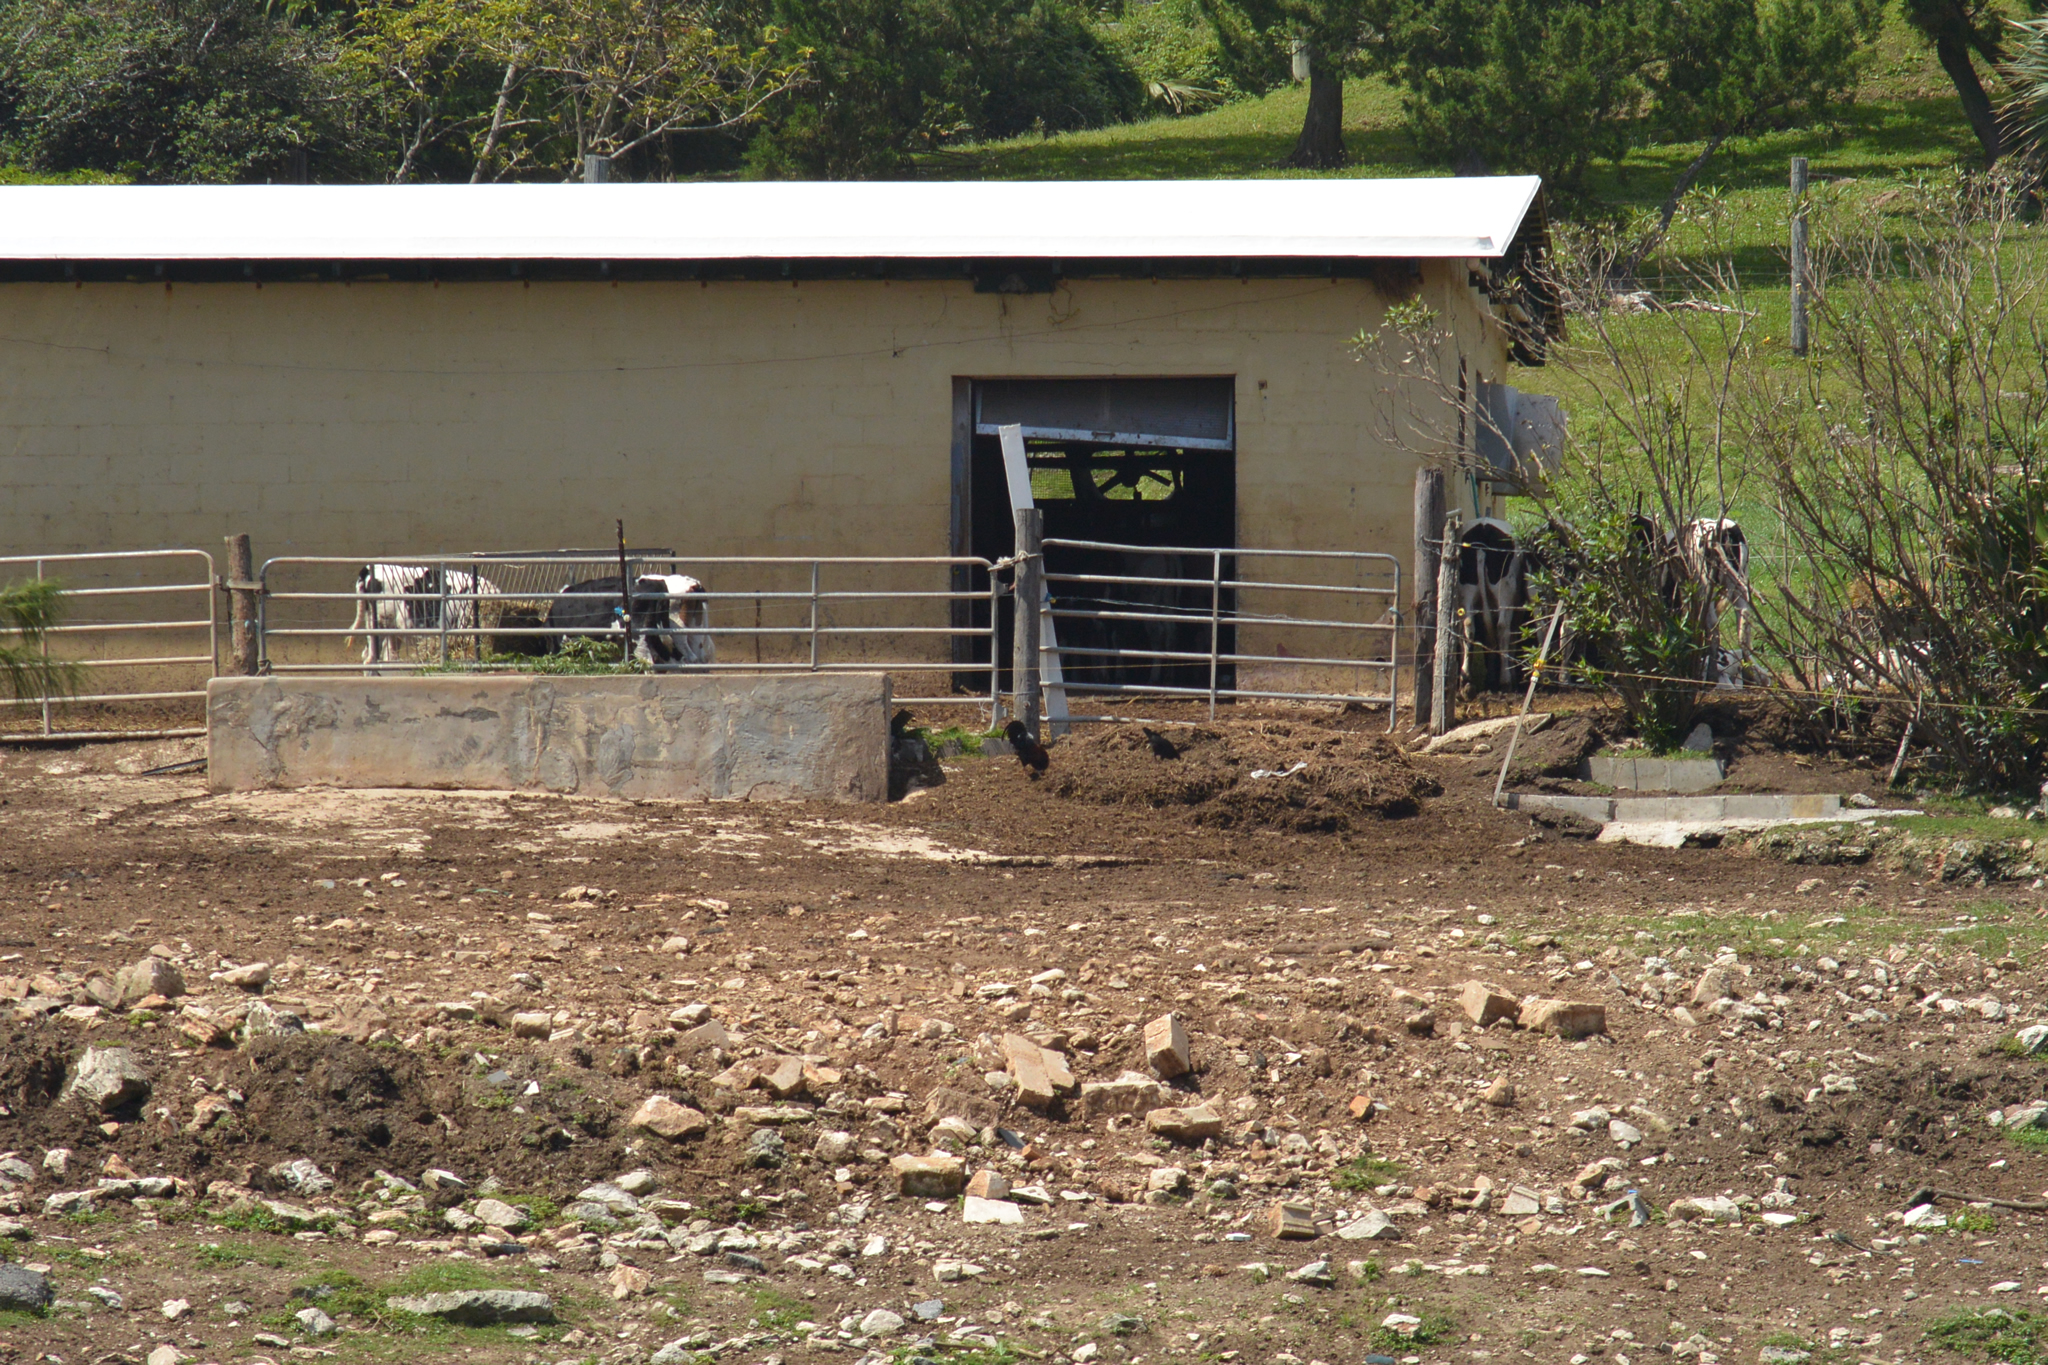
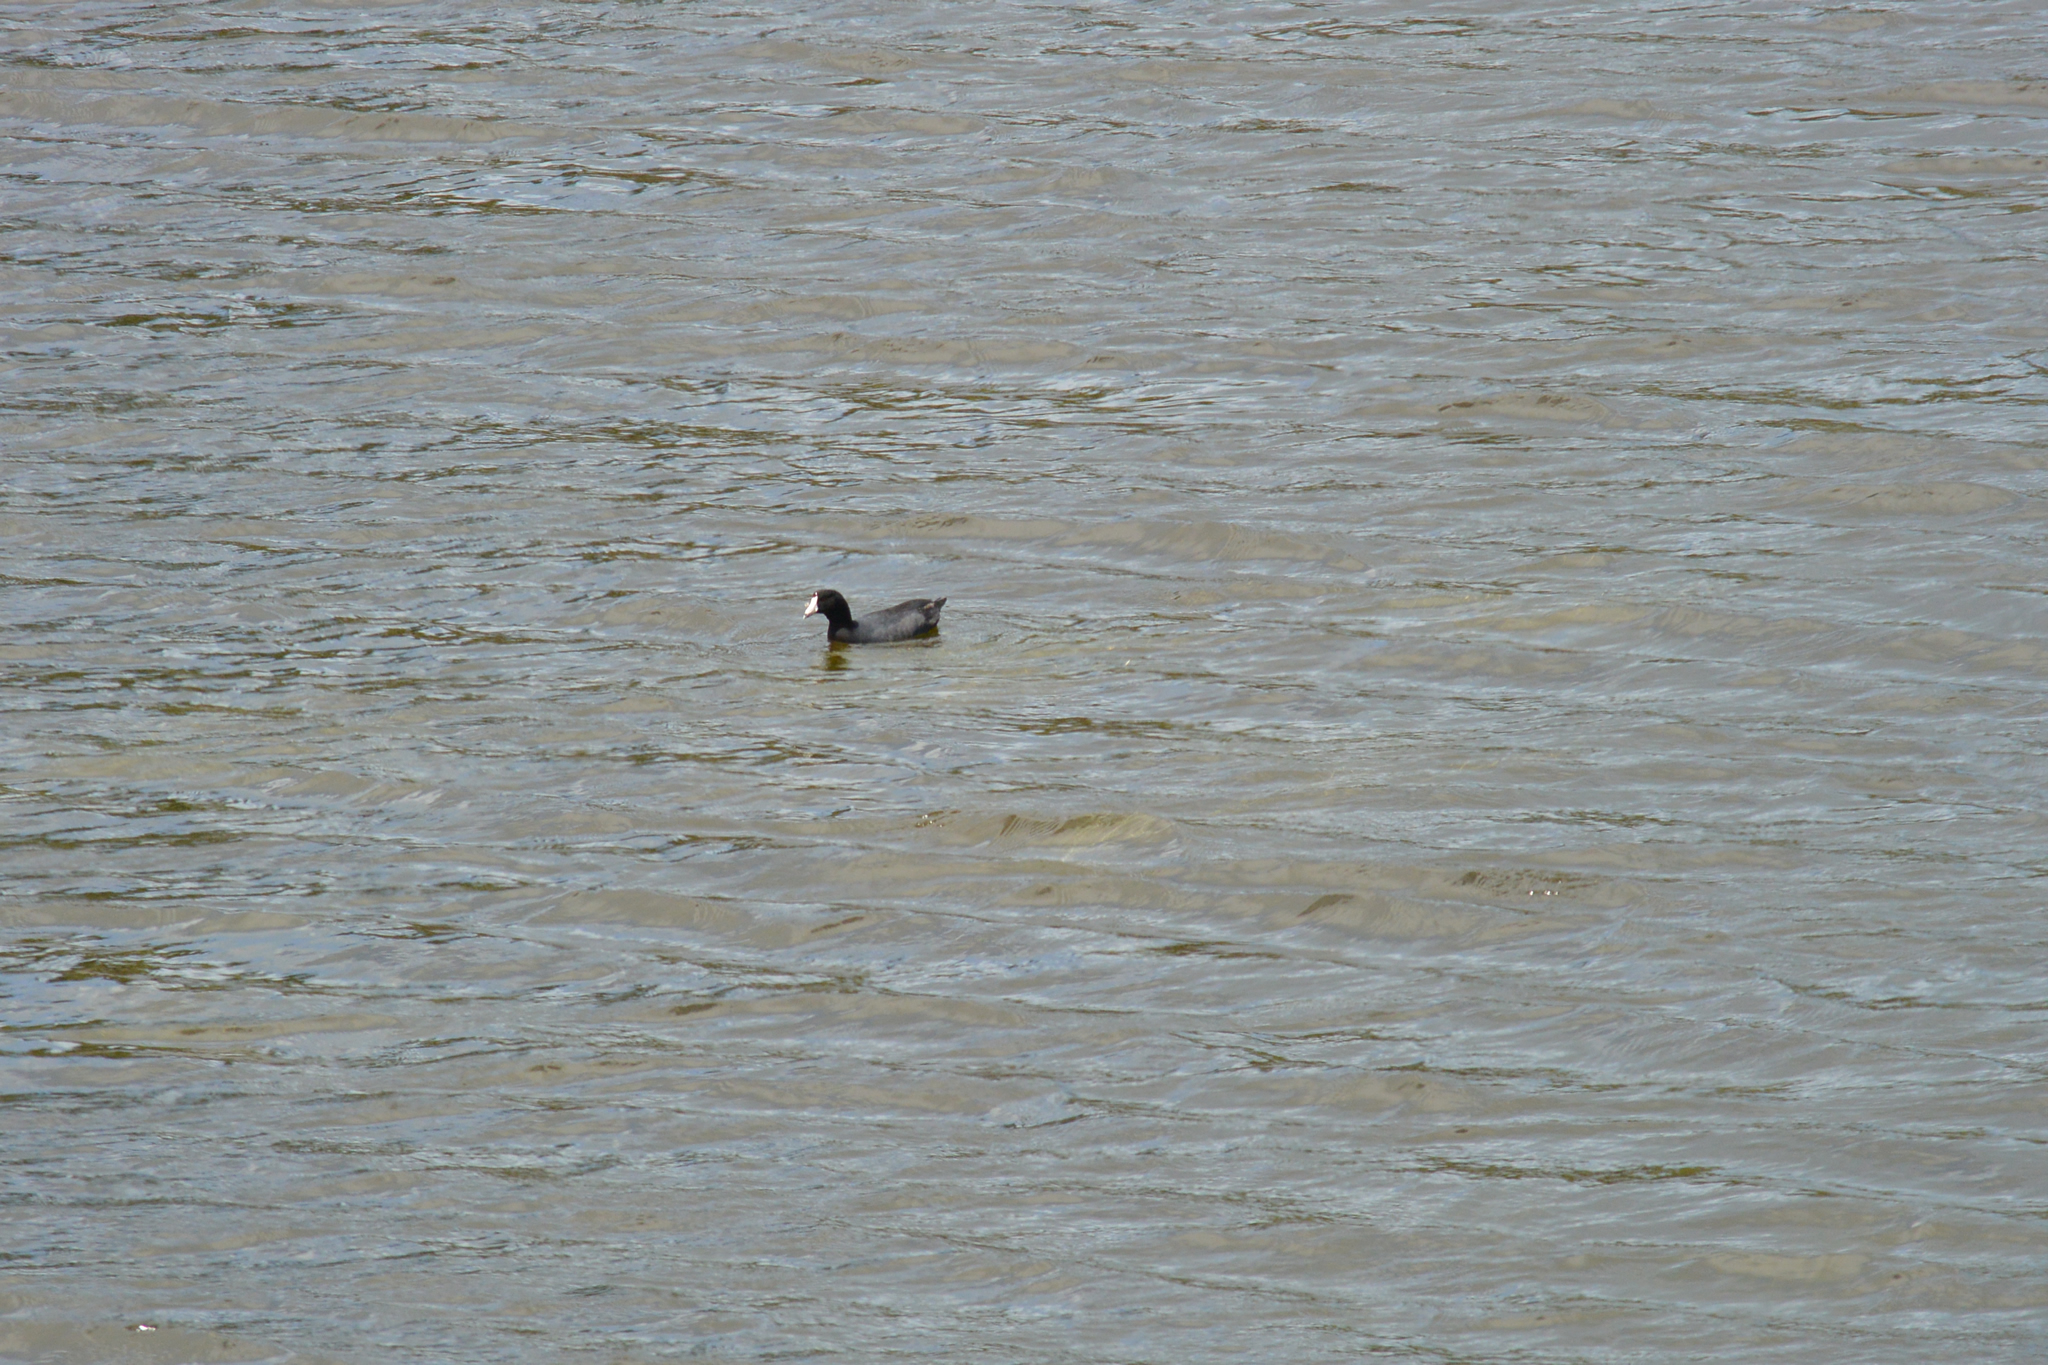
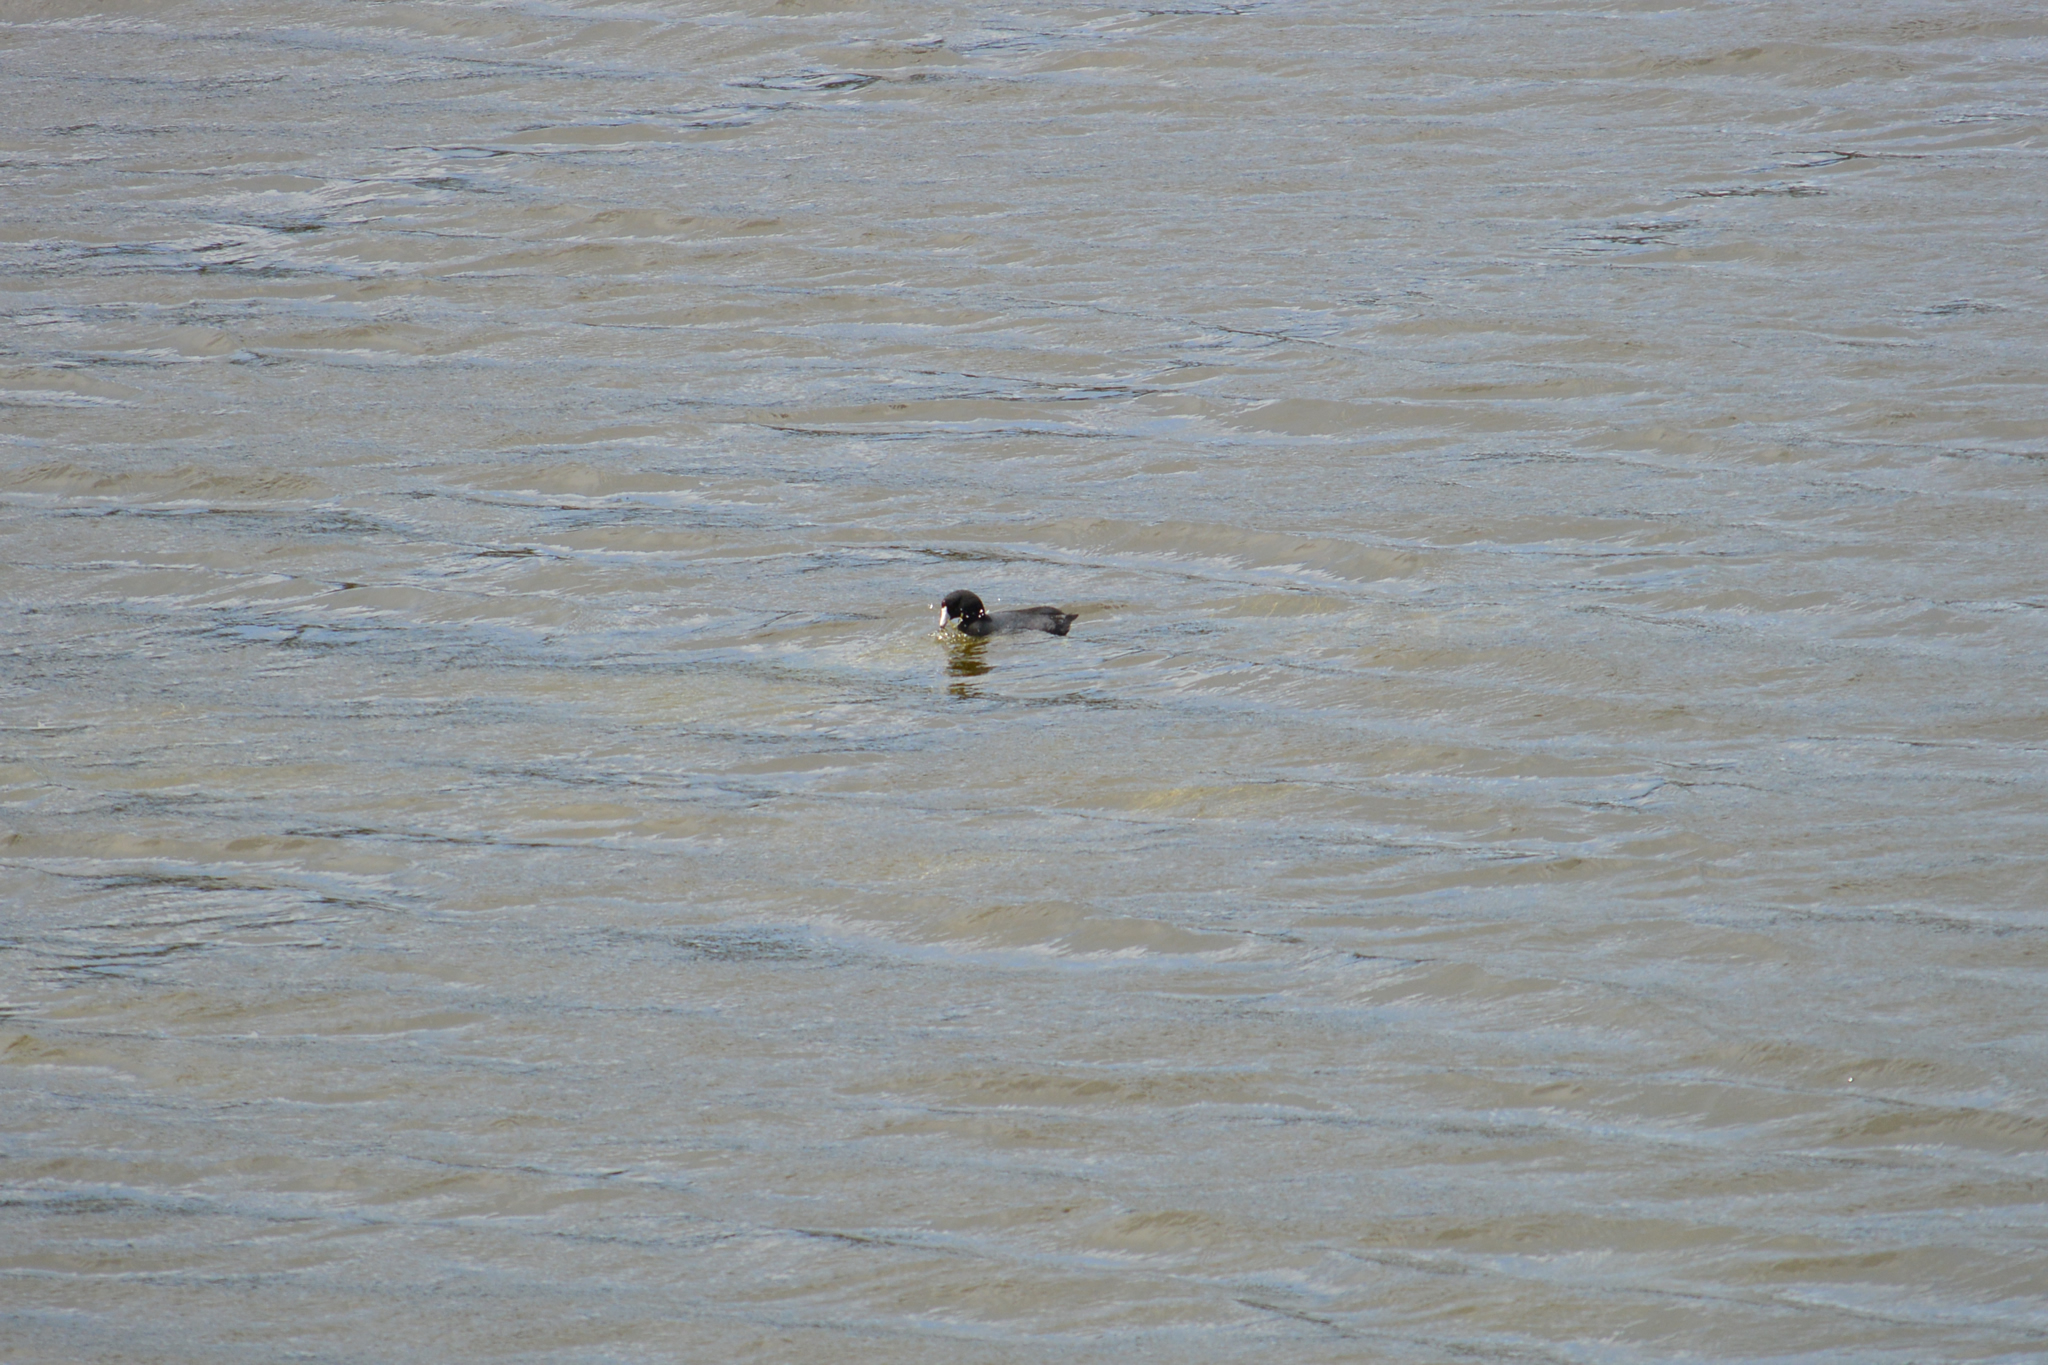
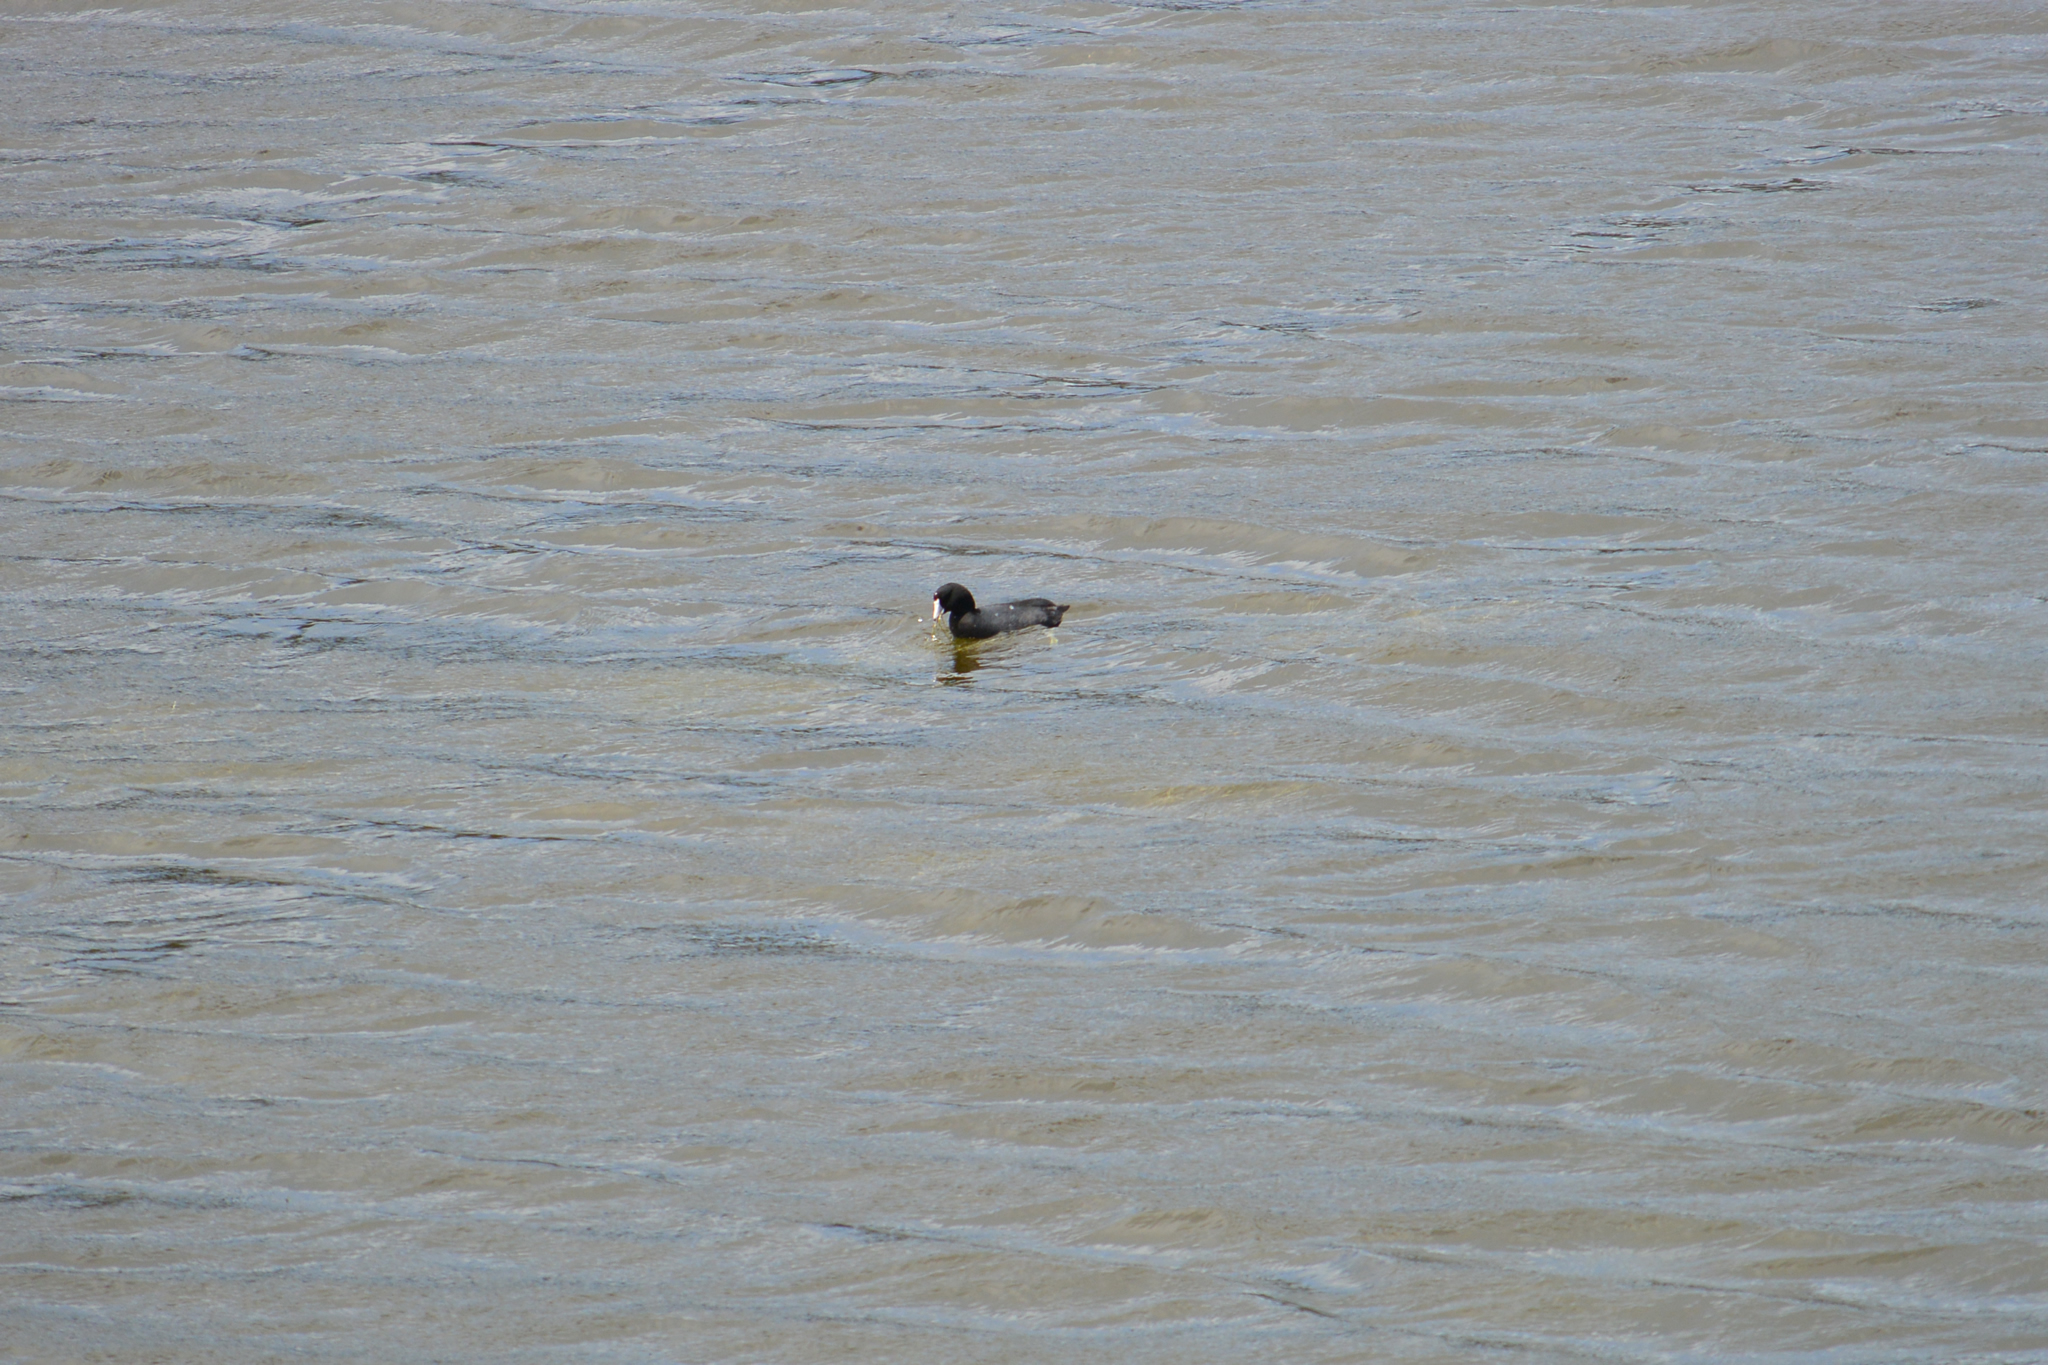
To test out the lens and tripod I headed to Spittal Pond Nature Reserve. I first tested using the lens at 55mm (really 150mm) handheld in a few locations primarily of static scenery. I next tested using the tripod again for static scenery at the minimum and maximum range of the lens. The final test was to use the tripod as a monopod on some moving animals. Fortunately I found some distant cows and ducks for this purpose. The cows were about 150m away (cow shed 200m) while the ducks were about 100m away. *NOTE: These are not the full resolution photos and have been reduced to less than half the original size to make them easier to view on the web.
Handheld 1
Handheld 2
Handheld 3
Handheld 4
Handheld 5
Handheld 6
Handheld 7
Handheld 8
Tripod 1
Tripod 2
Tripod 3
Monopod 1
Monopod 2
Monopod 3
Monopod 4
Monopod 5
Monopod 6
Monopod 7
Verdict
Using the lens at its minimum zoom yielded good results when handheld. I did have the lens’ VR and auto-focus enabled which probably helped. When using the lens on a monopod it is advisable to use a pretty fast shutter speed when zoomed in to the maximum. I had the camera set to 1/500 second for most of the photos shot at a focal length of 200mm (actual 540mm). For the ducks which were drifting around and moving more than the cows, I had the shutter set to take 15fps in order to capture their actions. I did notice the lens’ limitation to only center point focus in some of the photos. If I zoom into some of the photos you can see some blurring near the outer edges. Overall I would say that despite the limitations the photo results are good and good value for what I paid for this rig.
Shooting the Stars
Due to its low population density and barren open spaces Namibia is one of the top locations in the world for stargazing due to its non-existent light pollution. The Milky Way can easily be seen in the night sky. Because of this I began researching star photography techniques and how to apply them to my Nikon 1 J3. I found a list of general rules for star photography, specifically on how to capture photos of the Milky Way.The keys to star photography are that you want your lens to be set to the largest aperture (you want it to open as wide as possible – a small f-stop number) to pull in the most amount of light from distant stars. You also want to leave the shutter open as long as possible to again absorb the most amount of light so using a slow shutter speed measured in many seconds. The slow shutter speed means you really need to keep the camera perfectly steady so a tripod is a necessity. You also want to use a higher ISO setting. The ISO setting determines how sensitive the camera is to incoming light so a higher ISO is better (but not too high to avoid too much noise). Similarly to reduce extraneous light sources it is best if the moon is not around. The best time to photograph stars is four days after the new moon. The MIlky Way is visible in the Southern Hemisphere between February and October. Some other things to consider are:
- The Rule of 500 – when you have the shutter open for more than 30 seconds the stars will move due to the rotation of the Earth leaving star trails. This rule helps you to calculate the shutter speed required to prevent star trails. It basically comes down to 500 divided by the focal length of the lens in millimeters and then divide this by the crop factor (2.7 for my Nikon).
- Best ISO – start at 1600 and maybe move up to 3200 (test at 6400 and see if the noise is too high)
- Shoot in RAW format
- Disable auto-focus and set the lens to focus on infinity (or a very distant object) before shooting
- Use Star Walk iPhone App to determine phases of the moon and also to locate in real time the position of the Milky Way
There is really no good place to test star photography in Bermuda. While the light pollution is not high it is also not ideal since there is always a nearby street light or lights from a nearby home. As a result I did some basic functionality tests using a darkened room with the LED lights from my cable box and TV as the only light source. I ran tests at ISOs of 1600, 3200 and 6400. *NOTE: These are not the full resolution photos and have been reduced to less than half the original size to make them easier to view on the web. Also these are the JPEG versions not the RAW versions displayed.
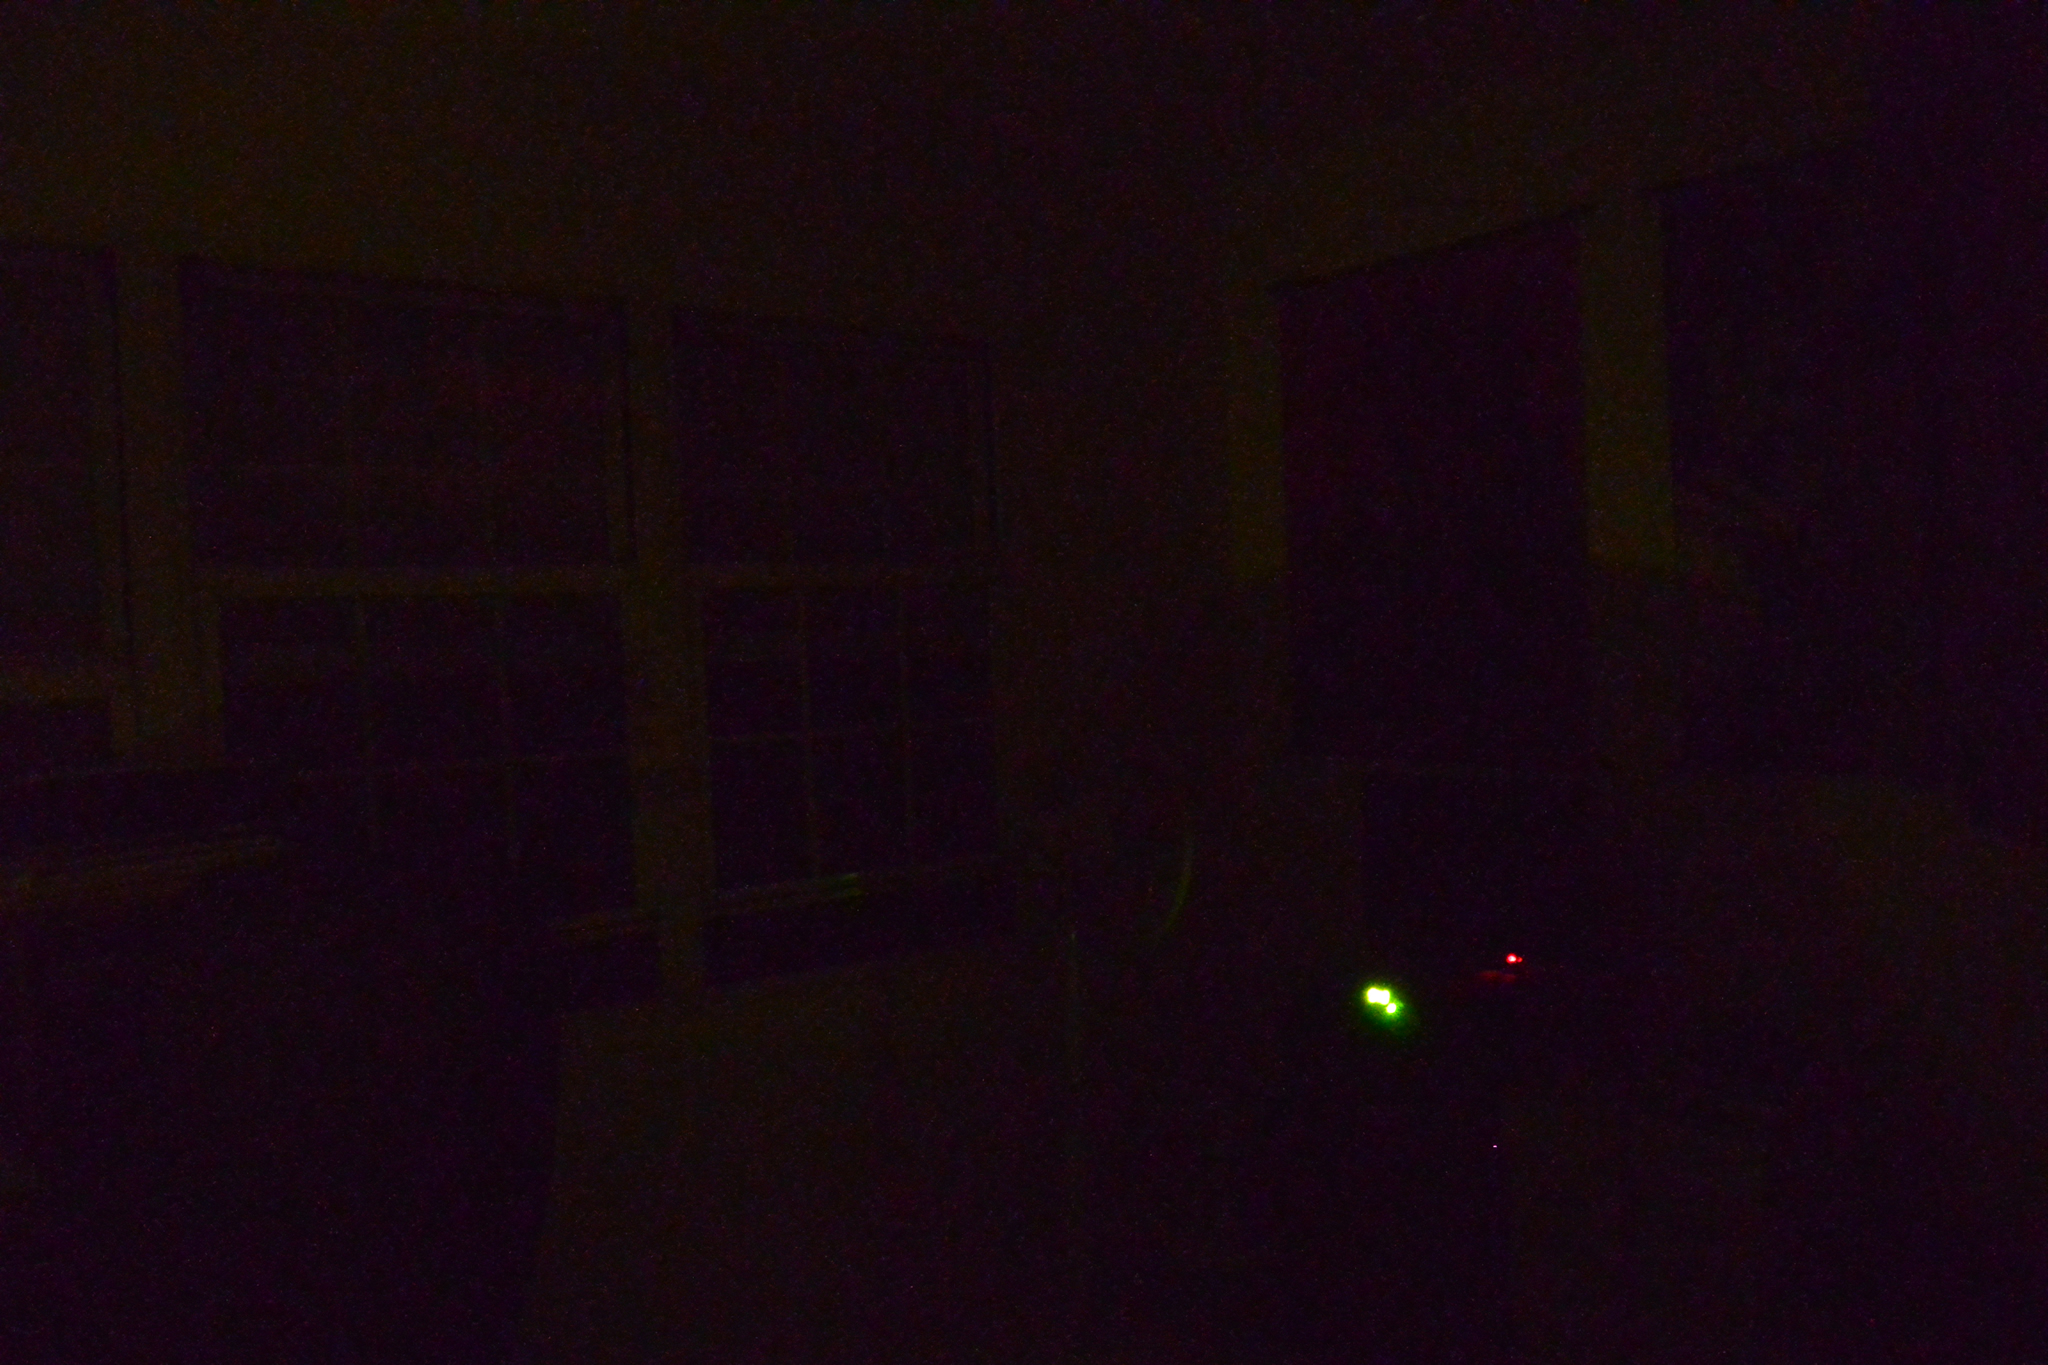
ISO 1600
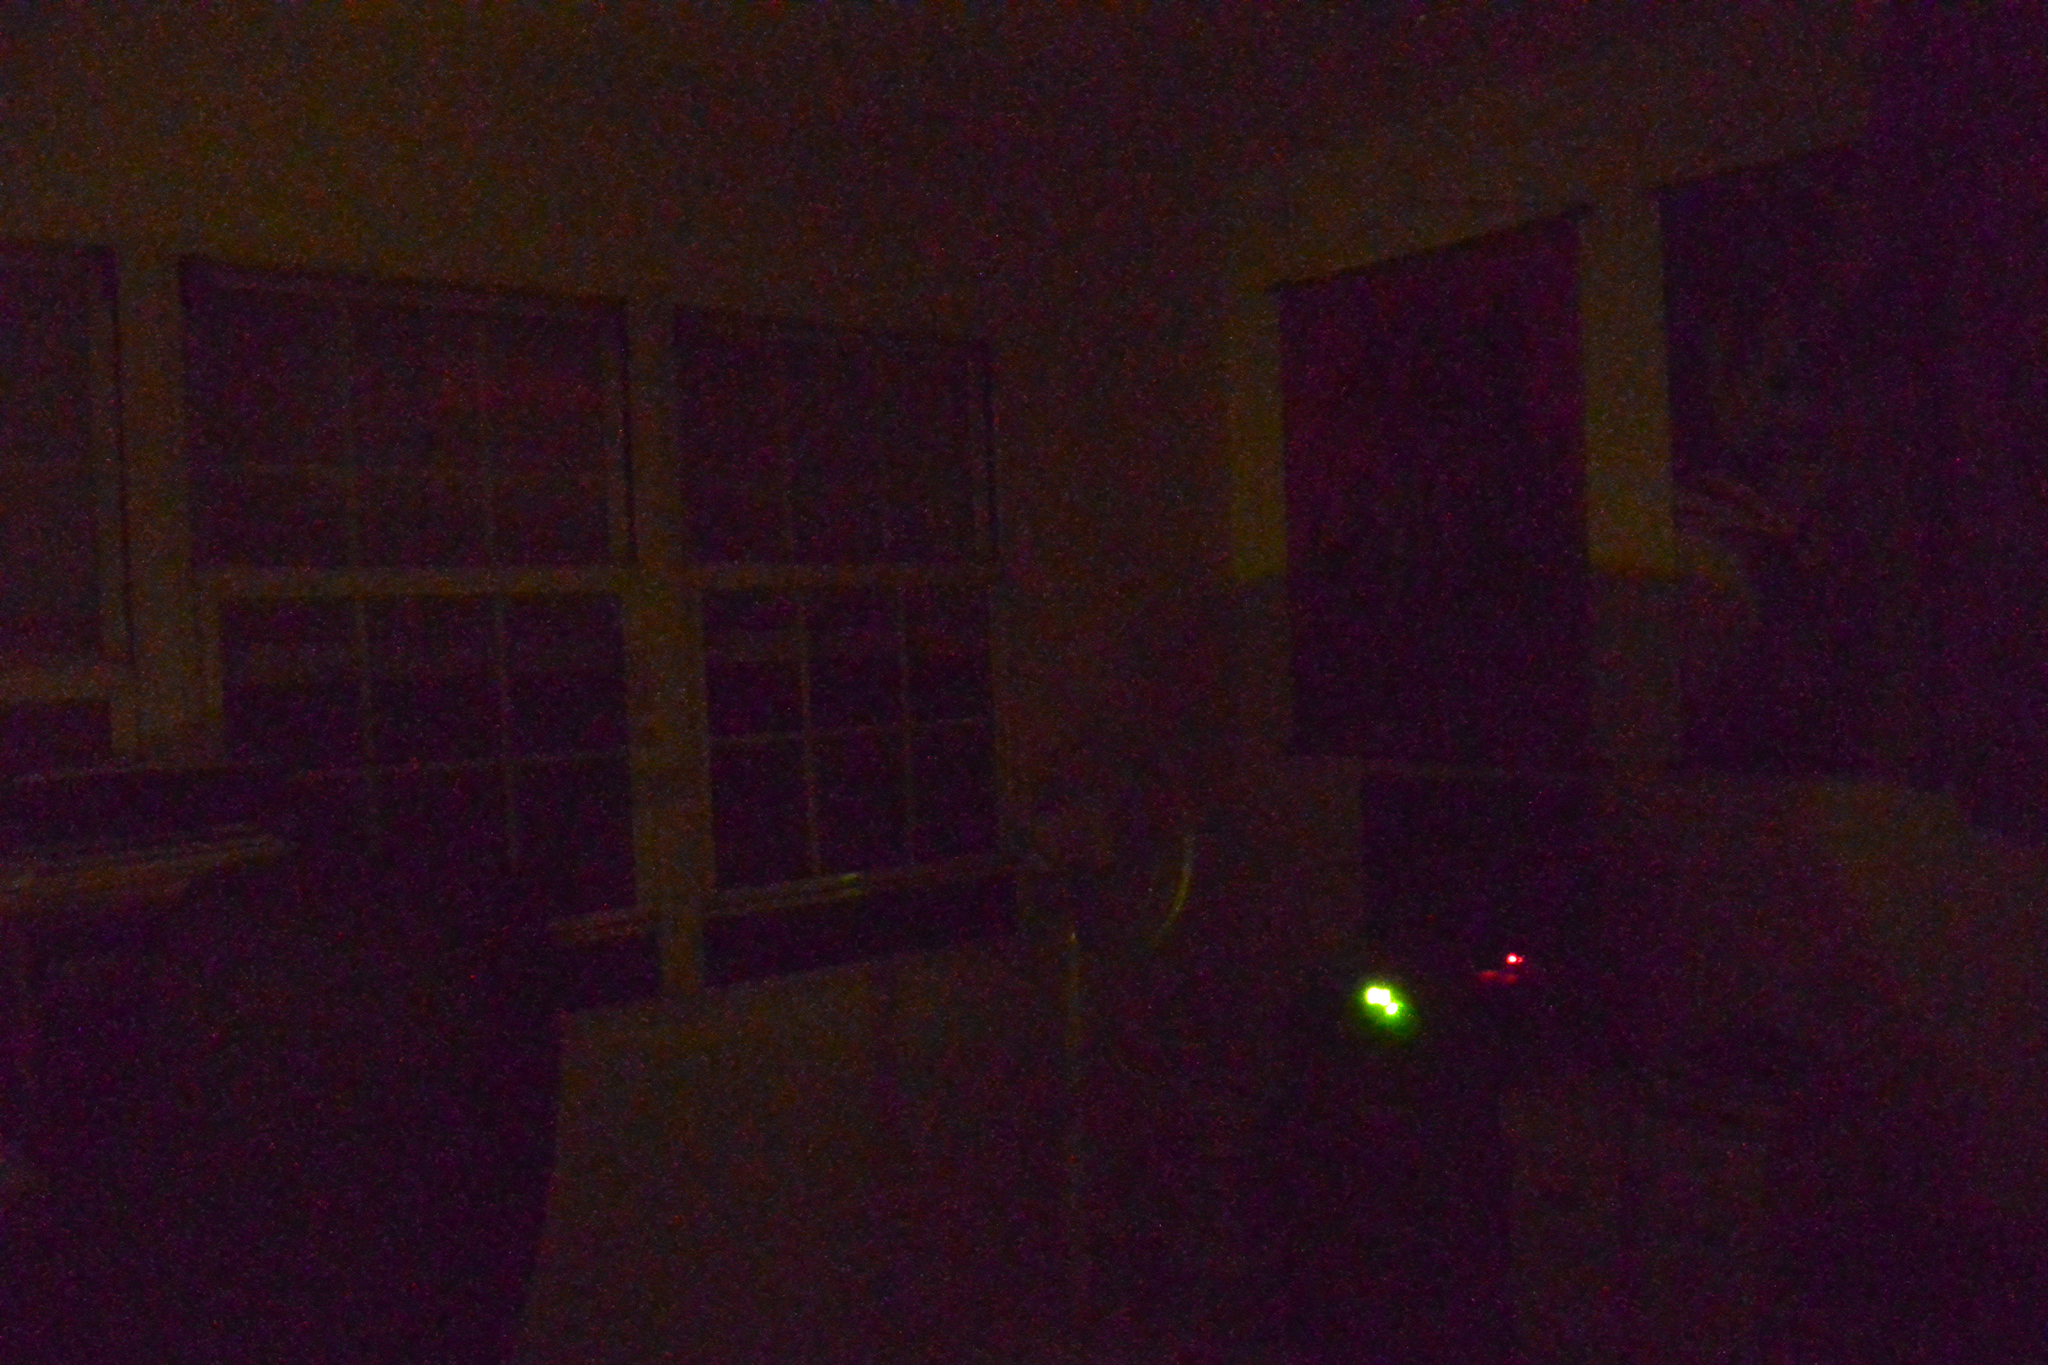
ISO 3200
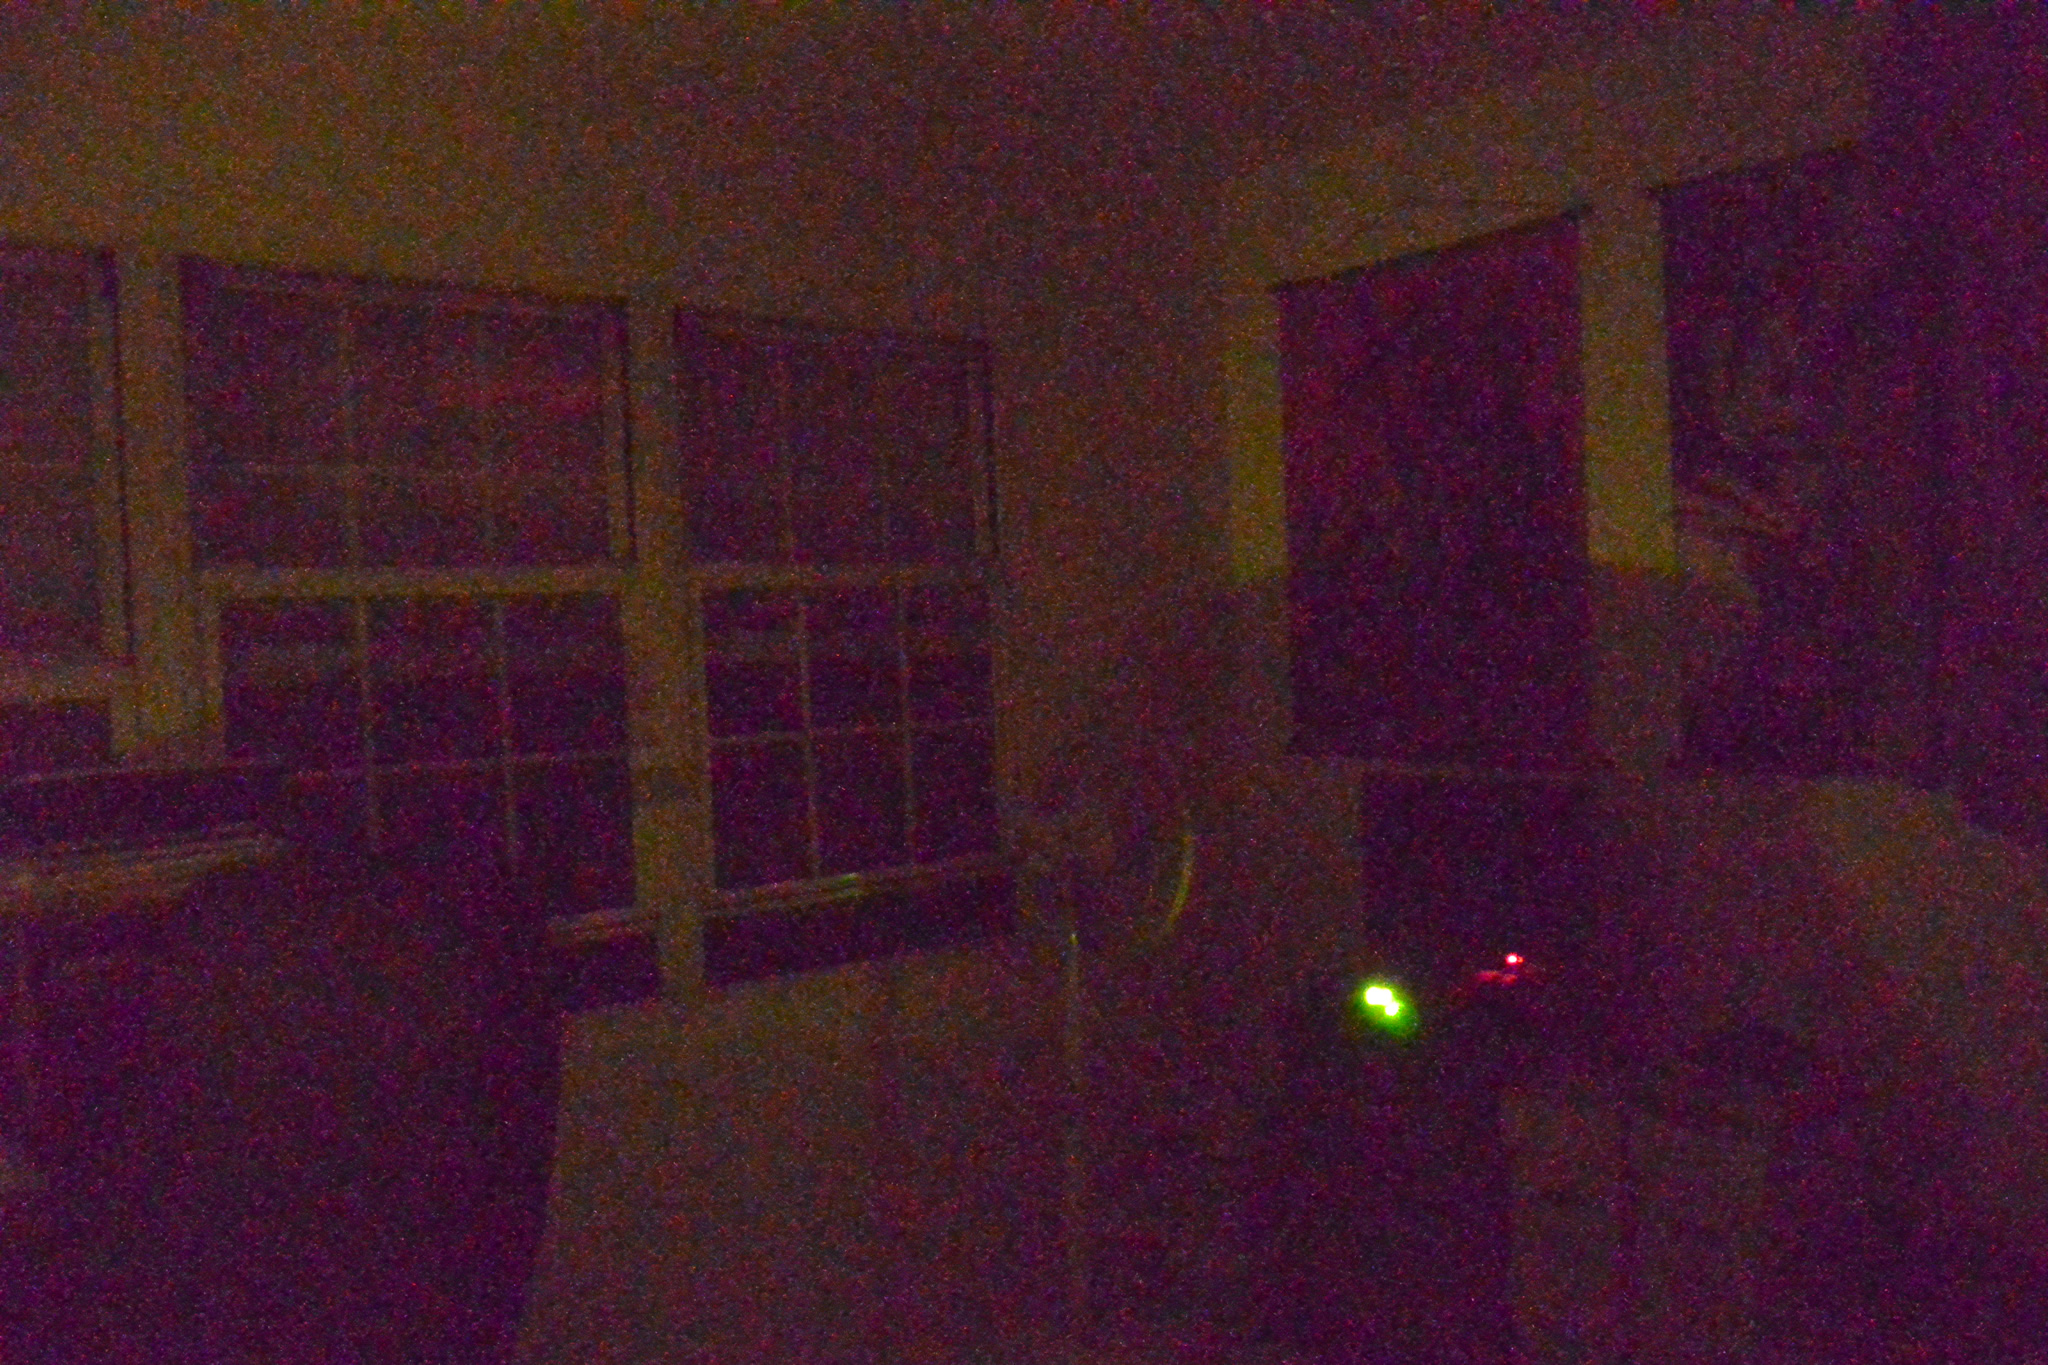
ISO 6400
From all of the above I would use the following settings when taking photos of stars:
- My 10-30mm lens preferably at the 10mm focal length
- Use the maximum aperture of this lens which is f3.5
- Shutter speed of 15 seconds
- Shoot at ISO 1600
- New Moon: May 7 | Best Date: May 11
- Actual Date: May 8 & 9 (possibly May 12)
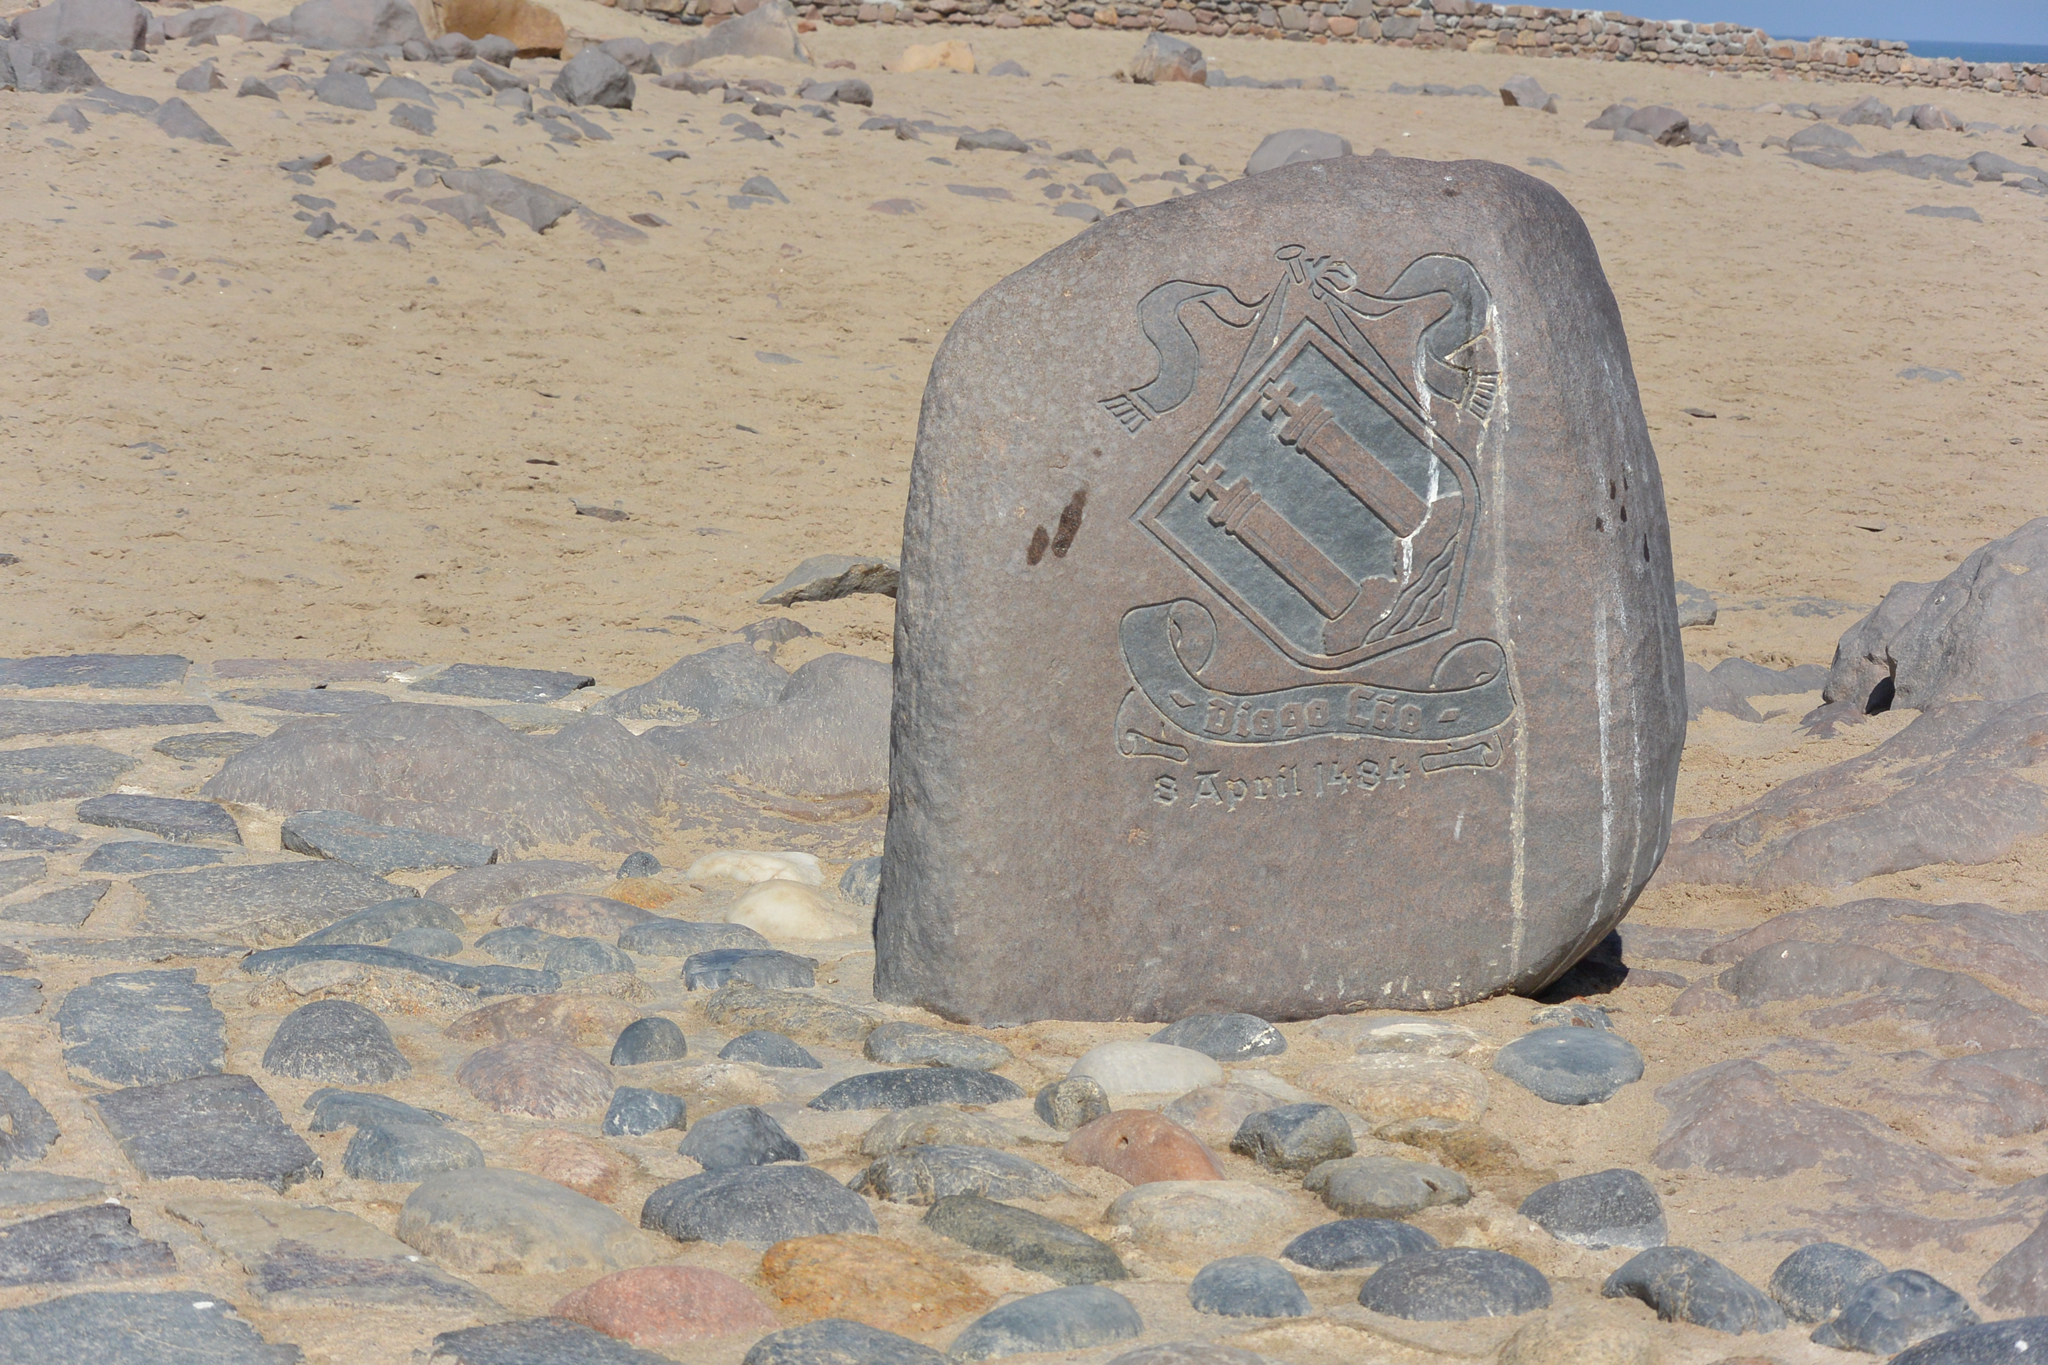
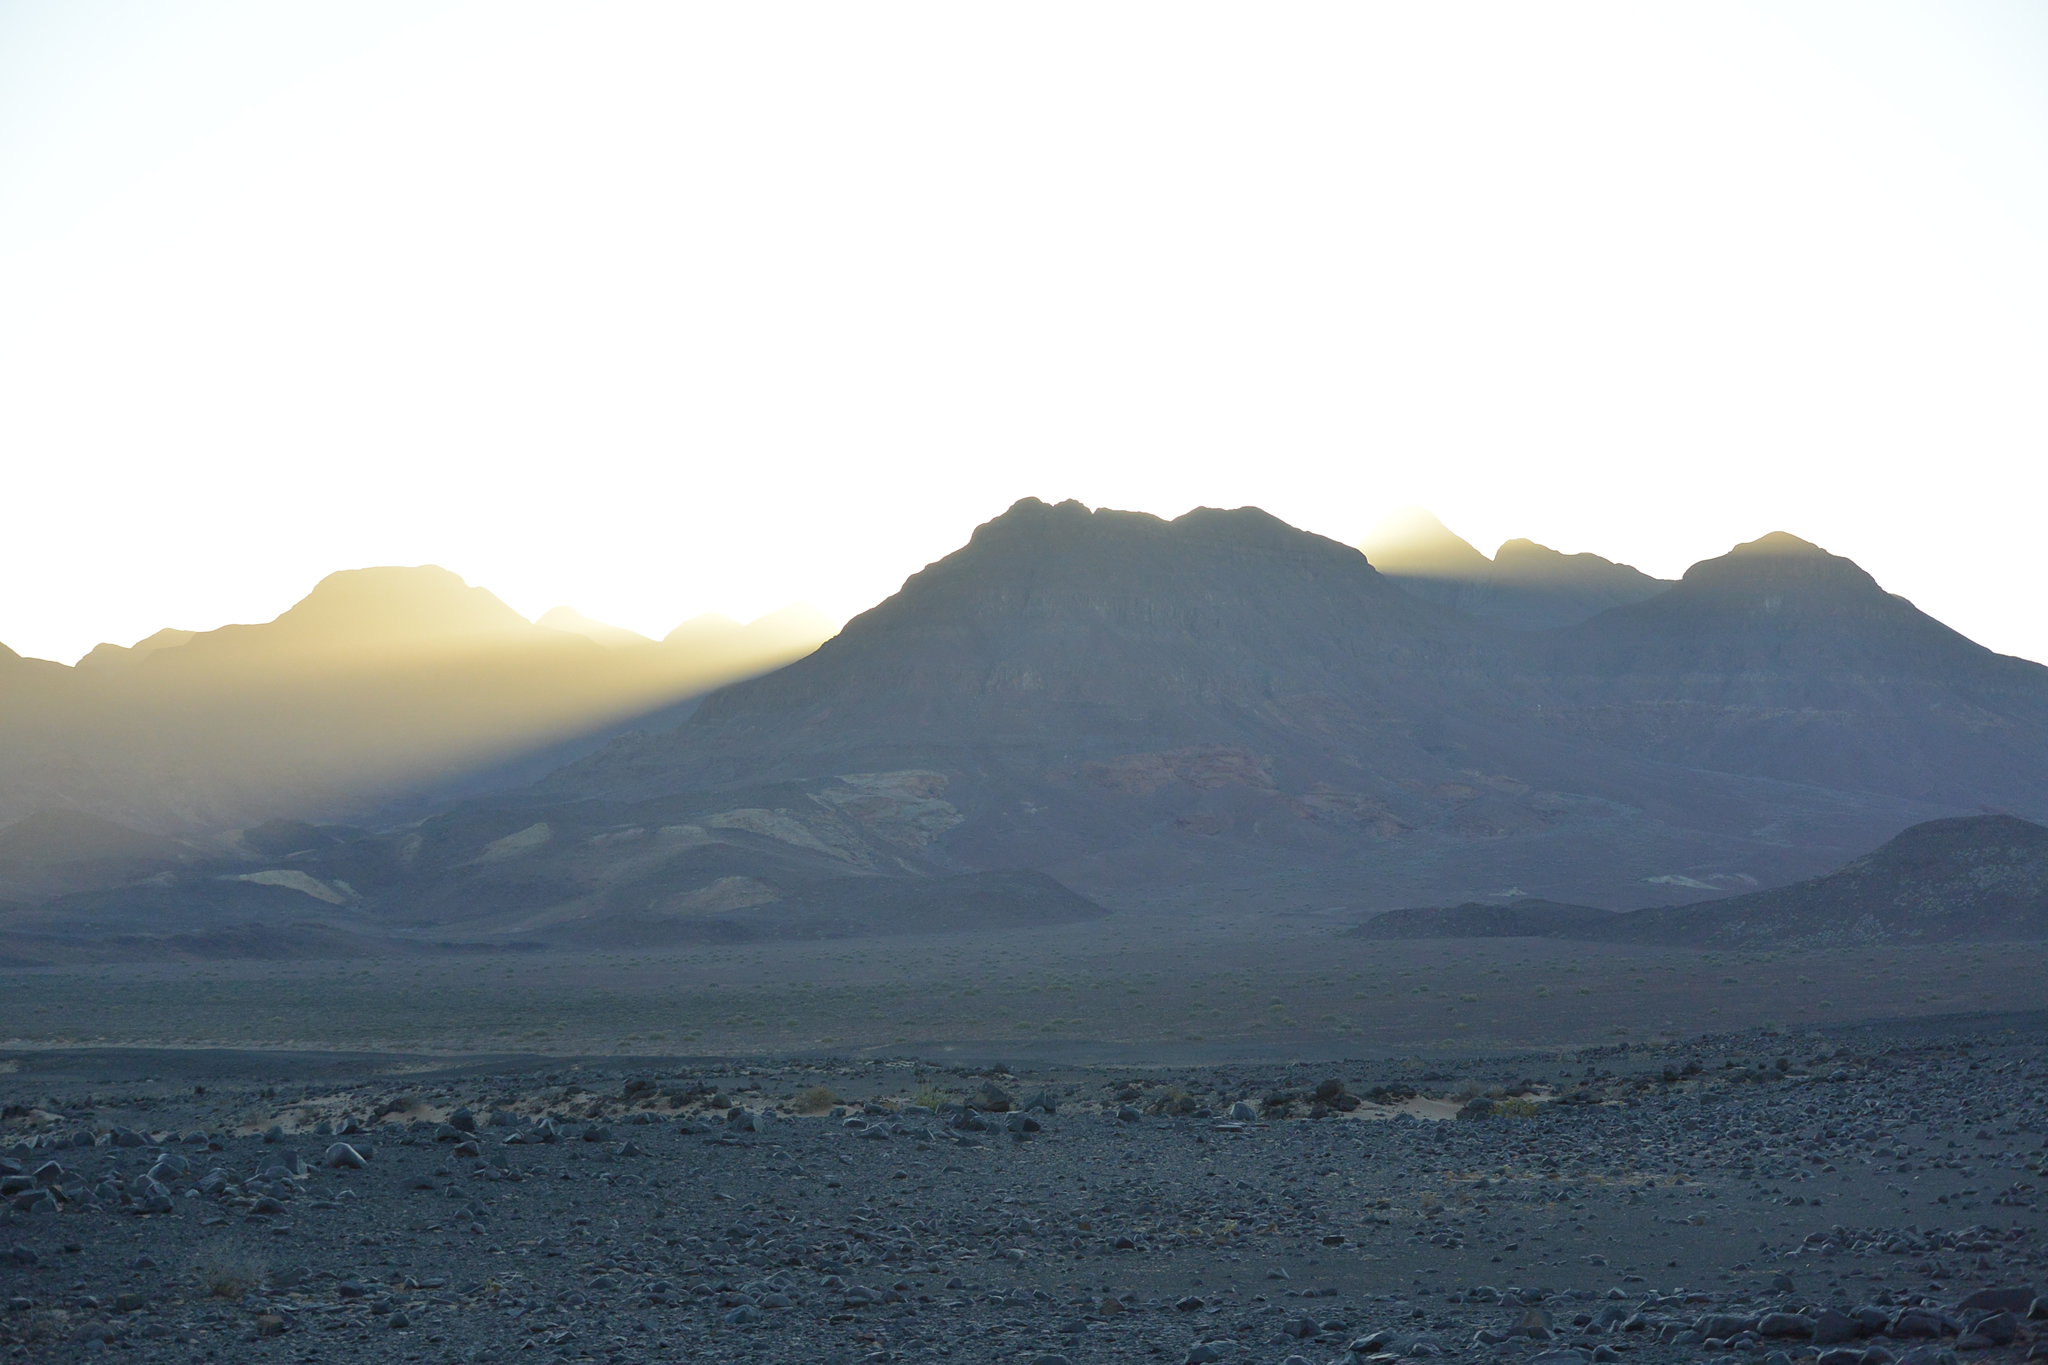
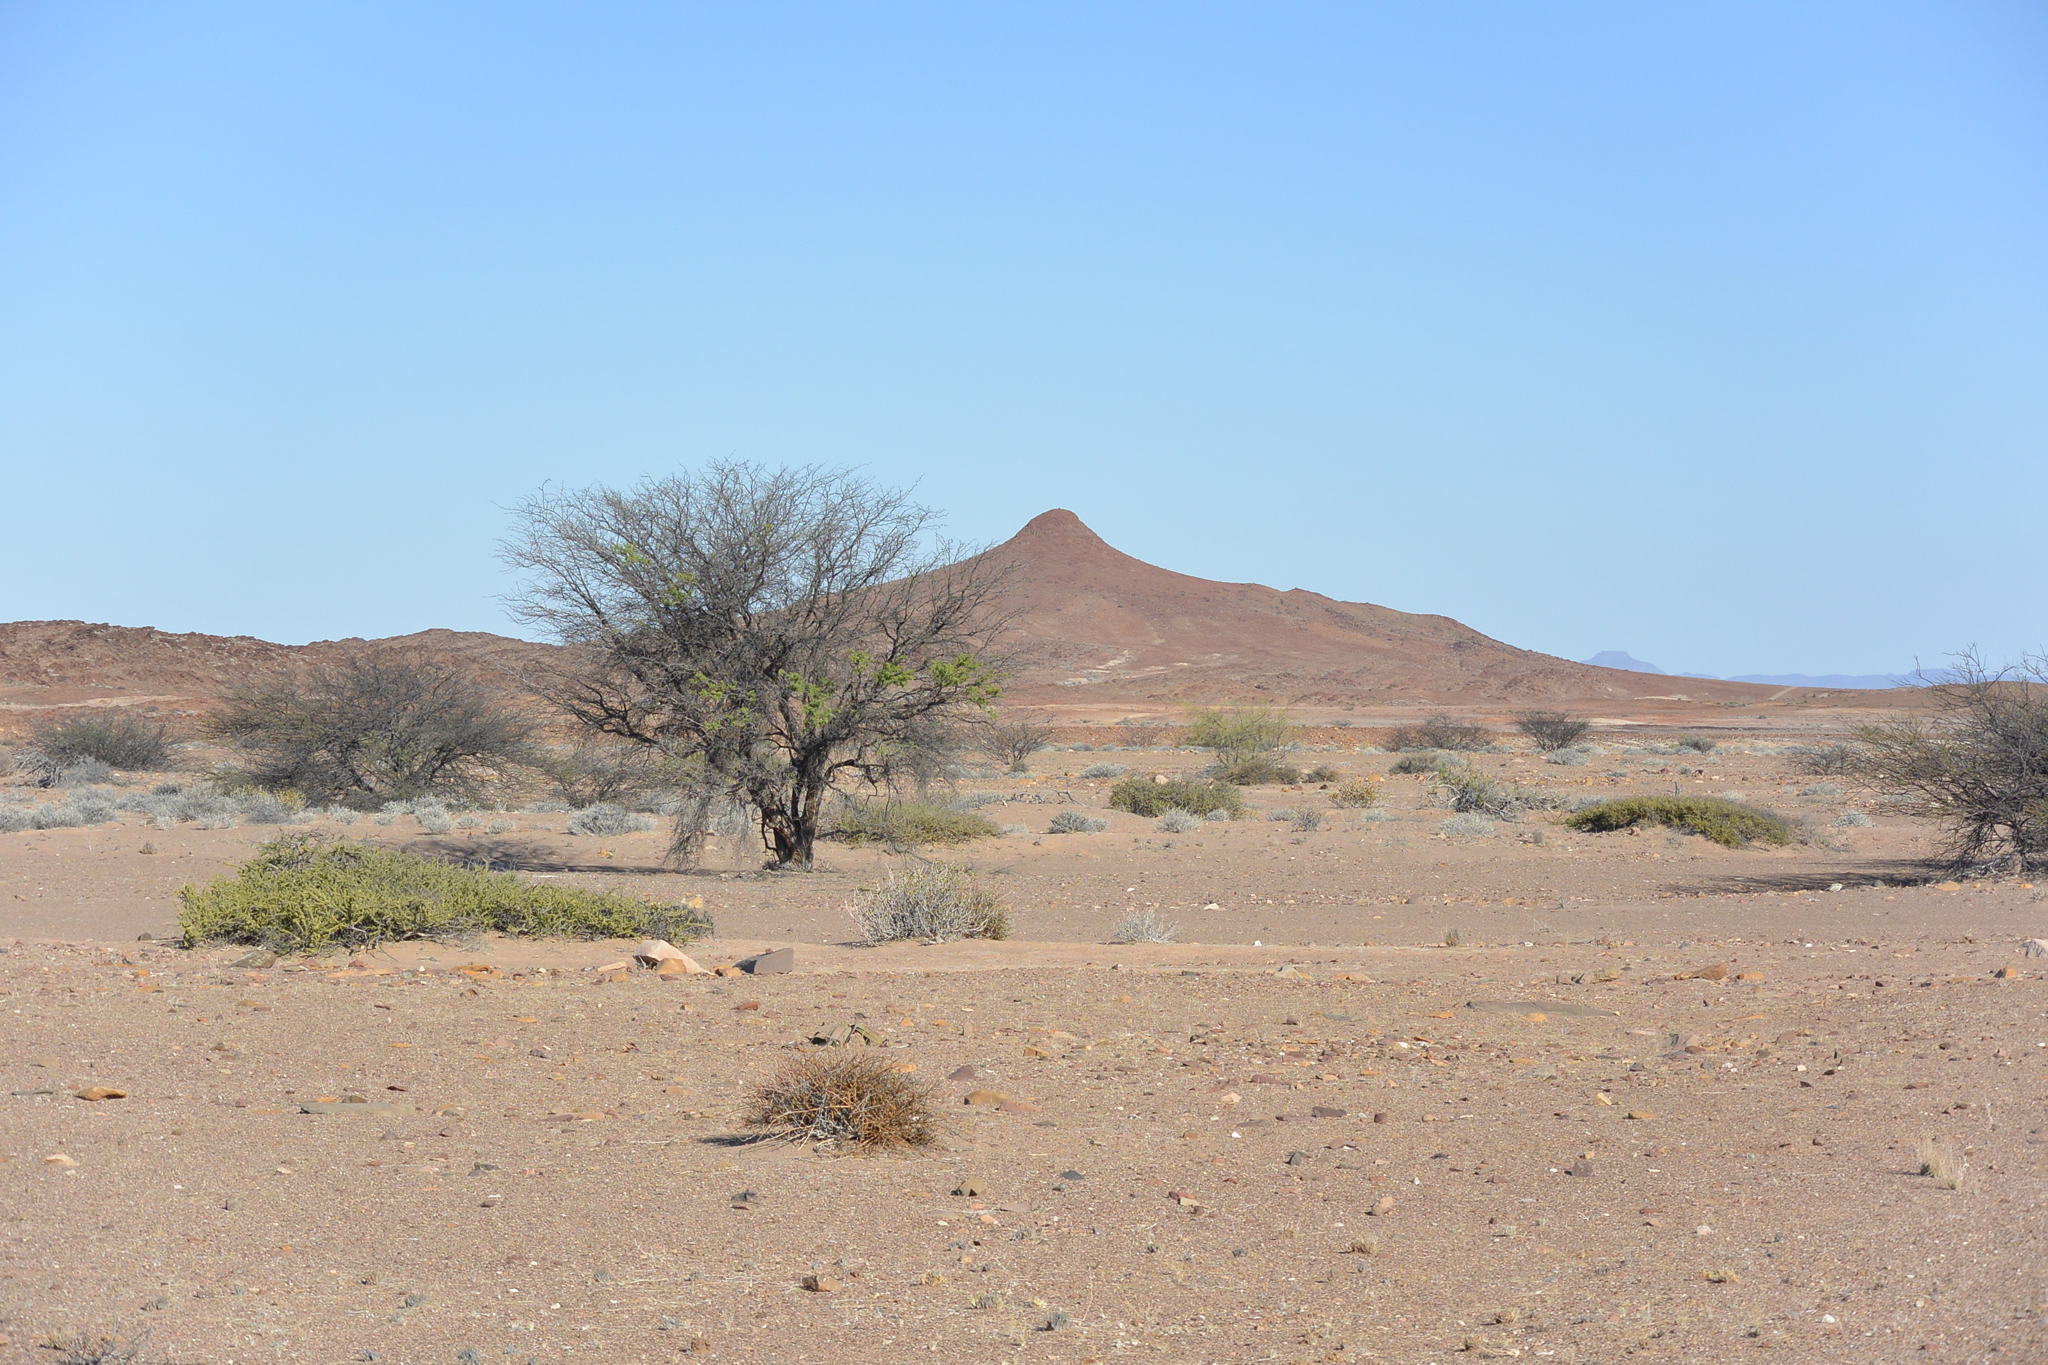
I will have three possible times for star photography. On May 8 & 9 I will be in the southern Namib desert in the Sossusvlei region. On May 10 & 11 I will be in Swakopmund, a coastal city so unsuitable for taking photos. On May 12 I will be in Damaraland in the northern Namib desert. Beyond this the waxing moon may be too bright.
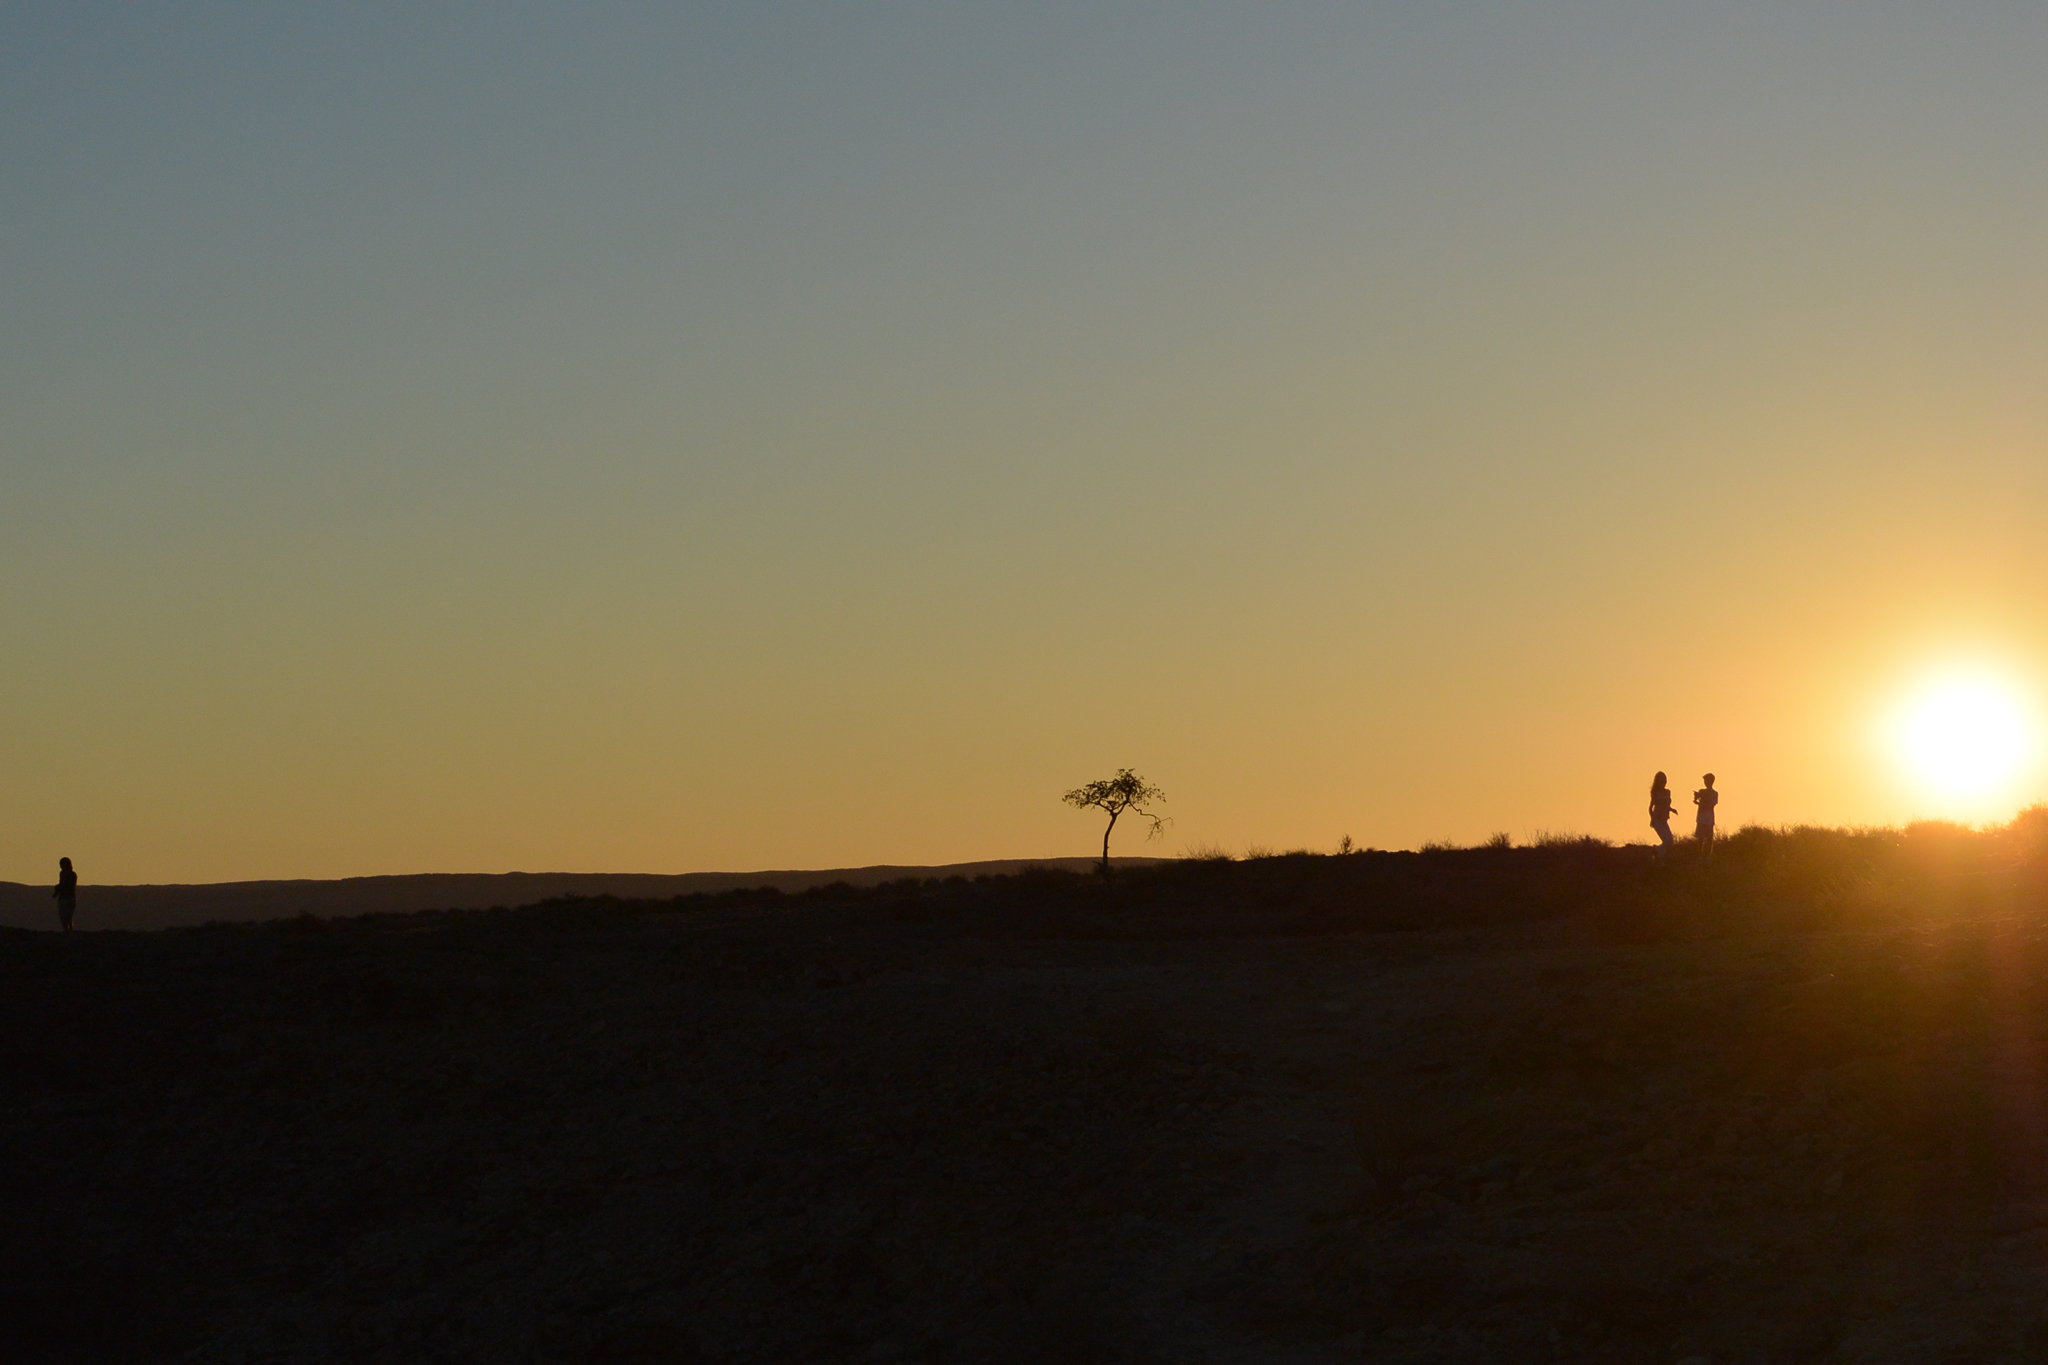
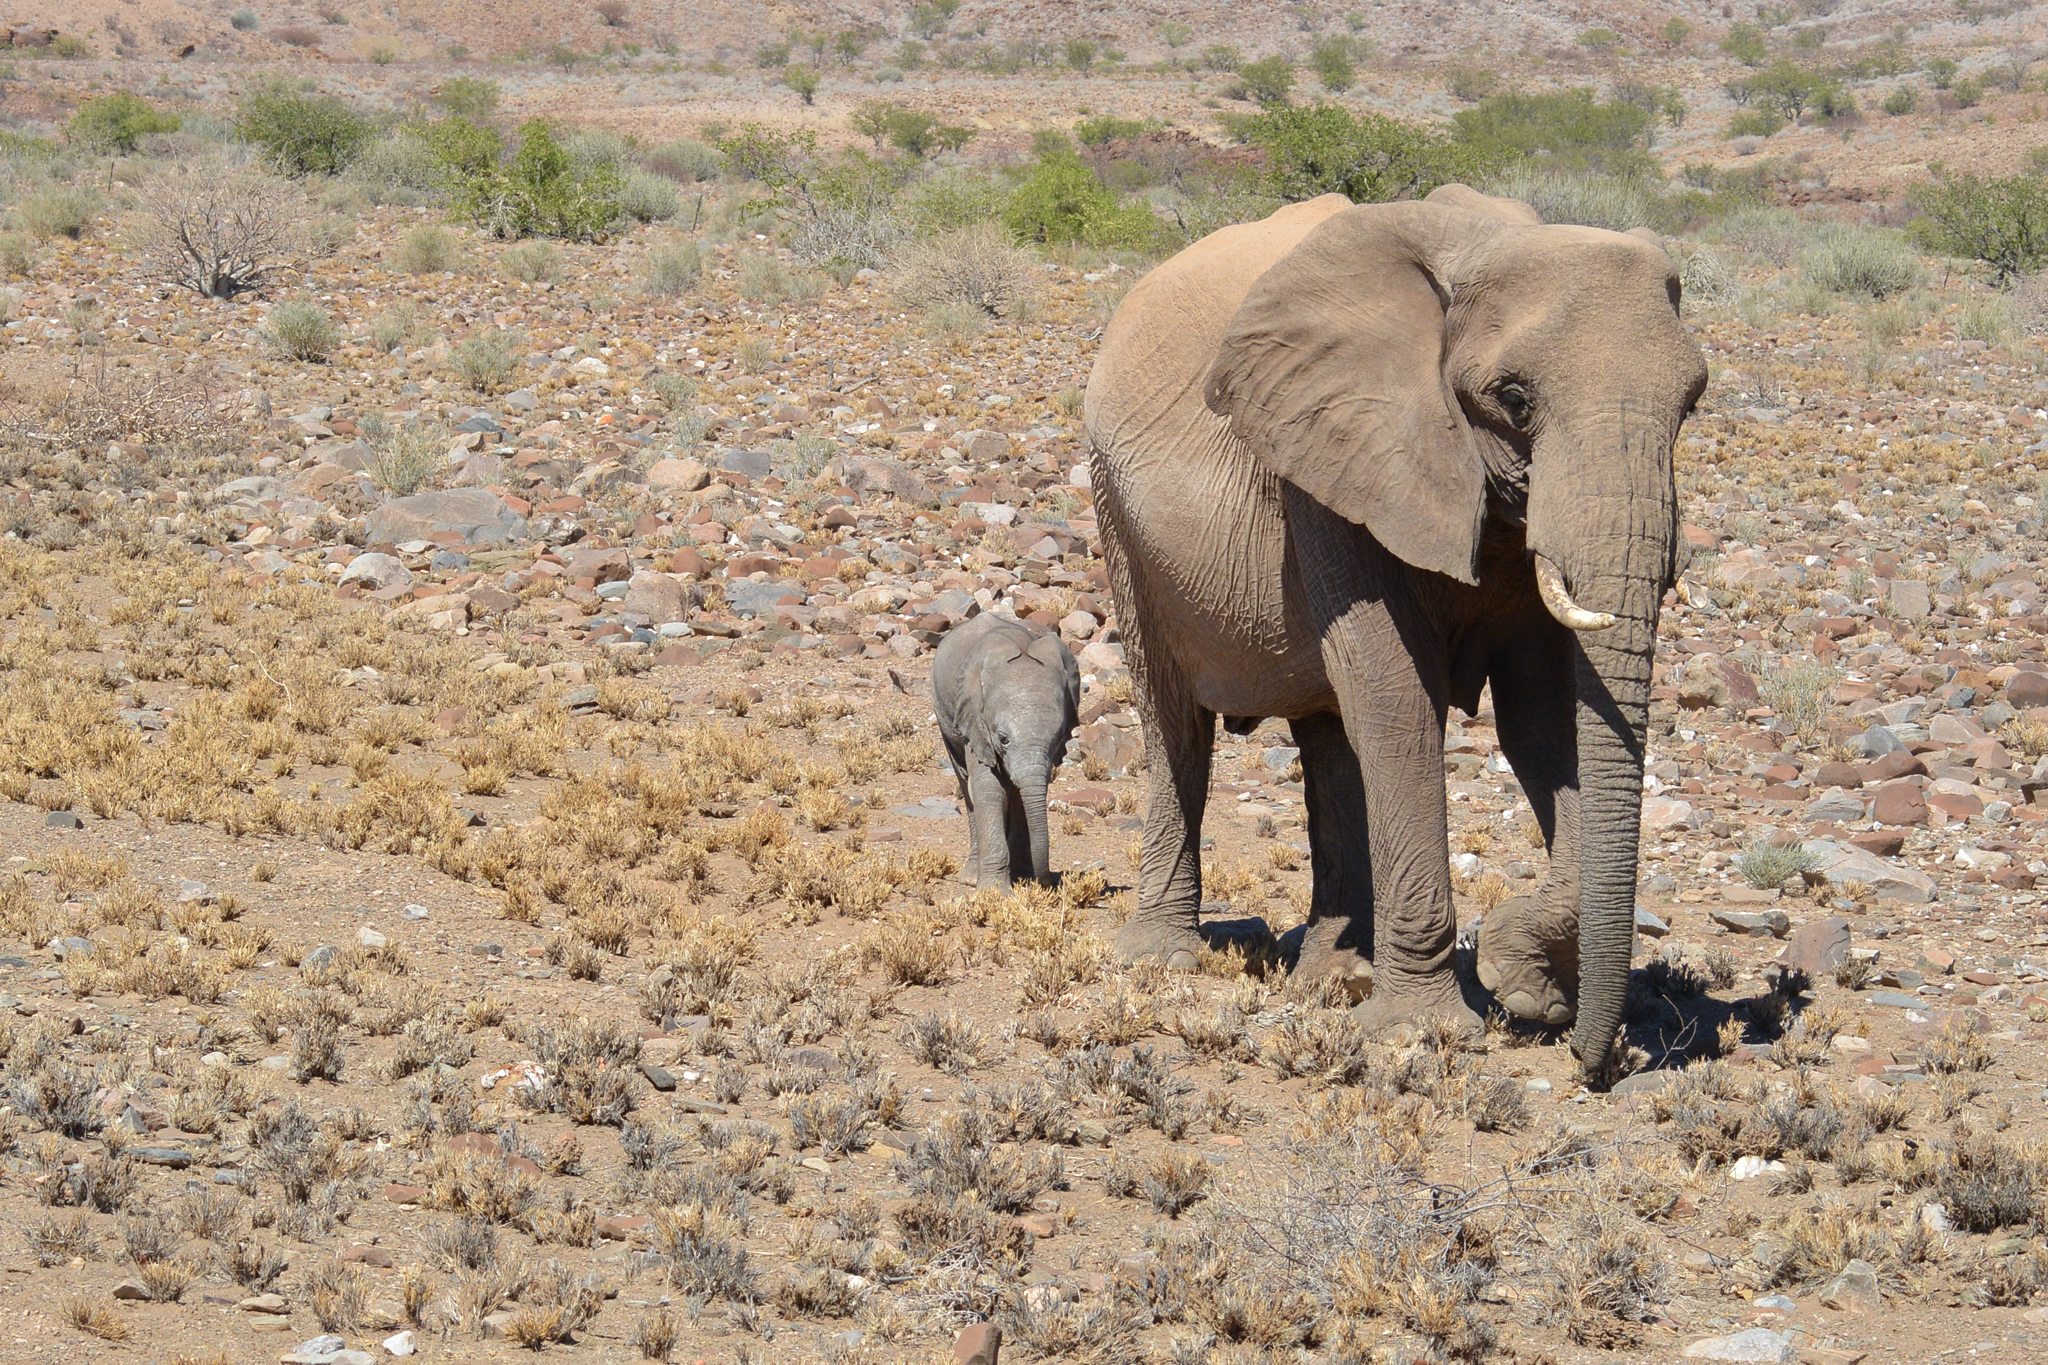
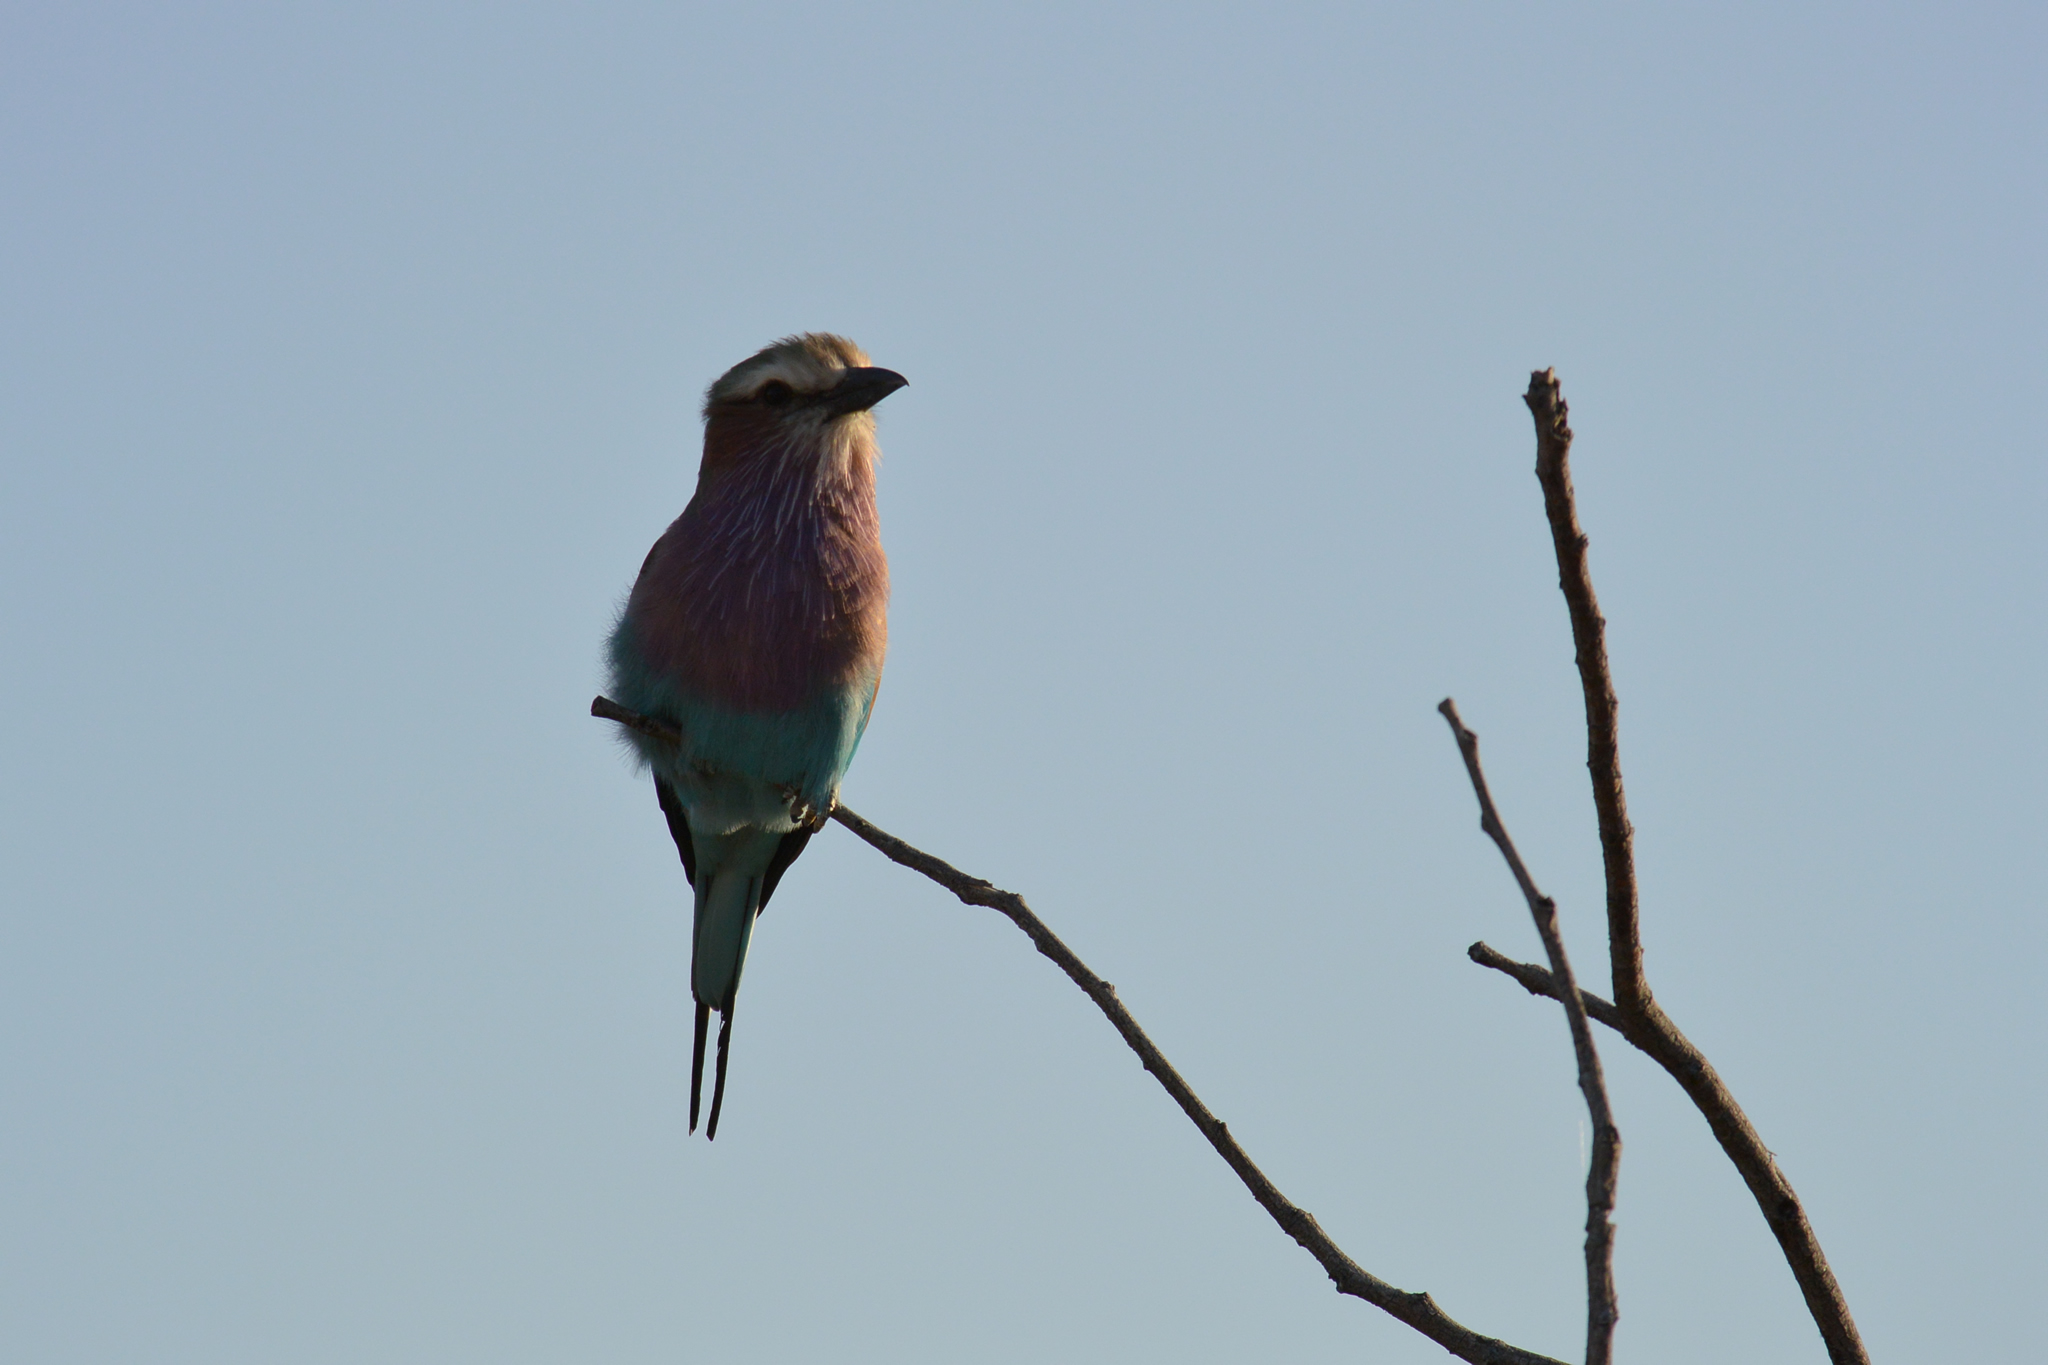
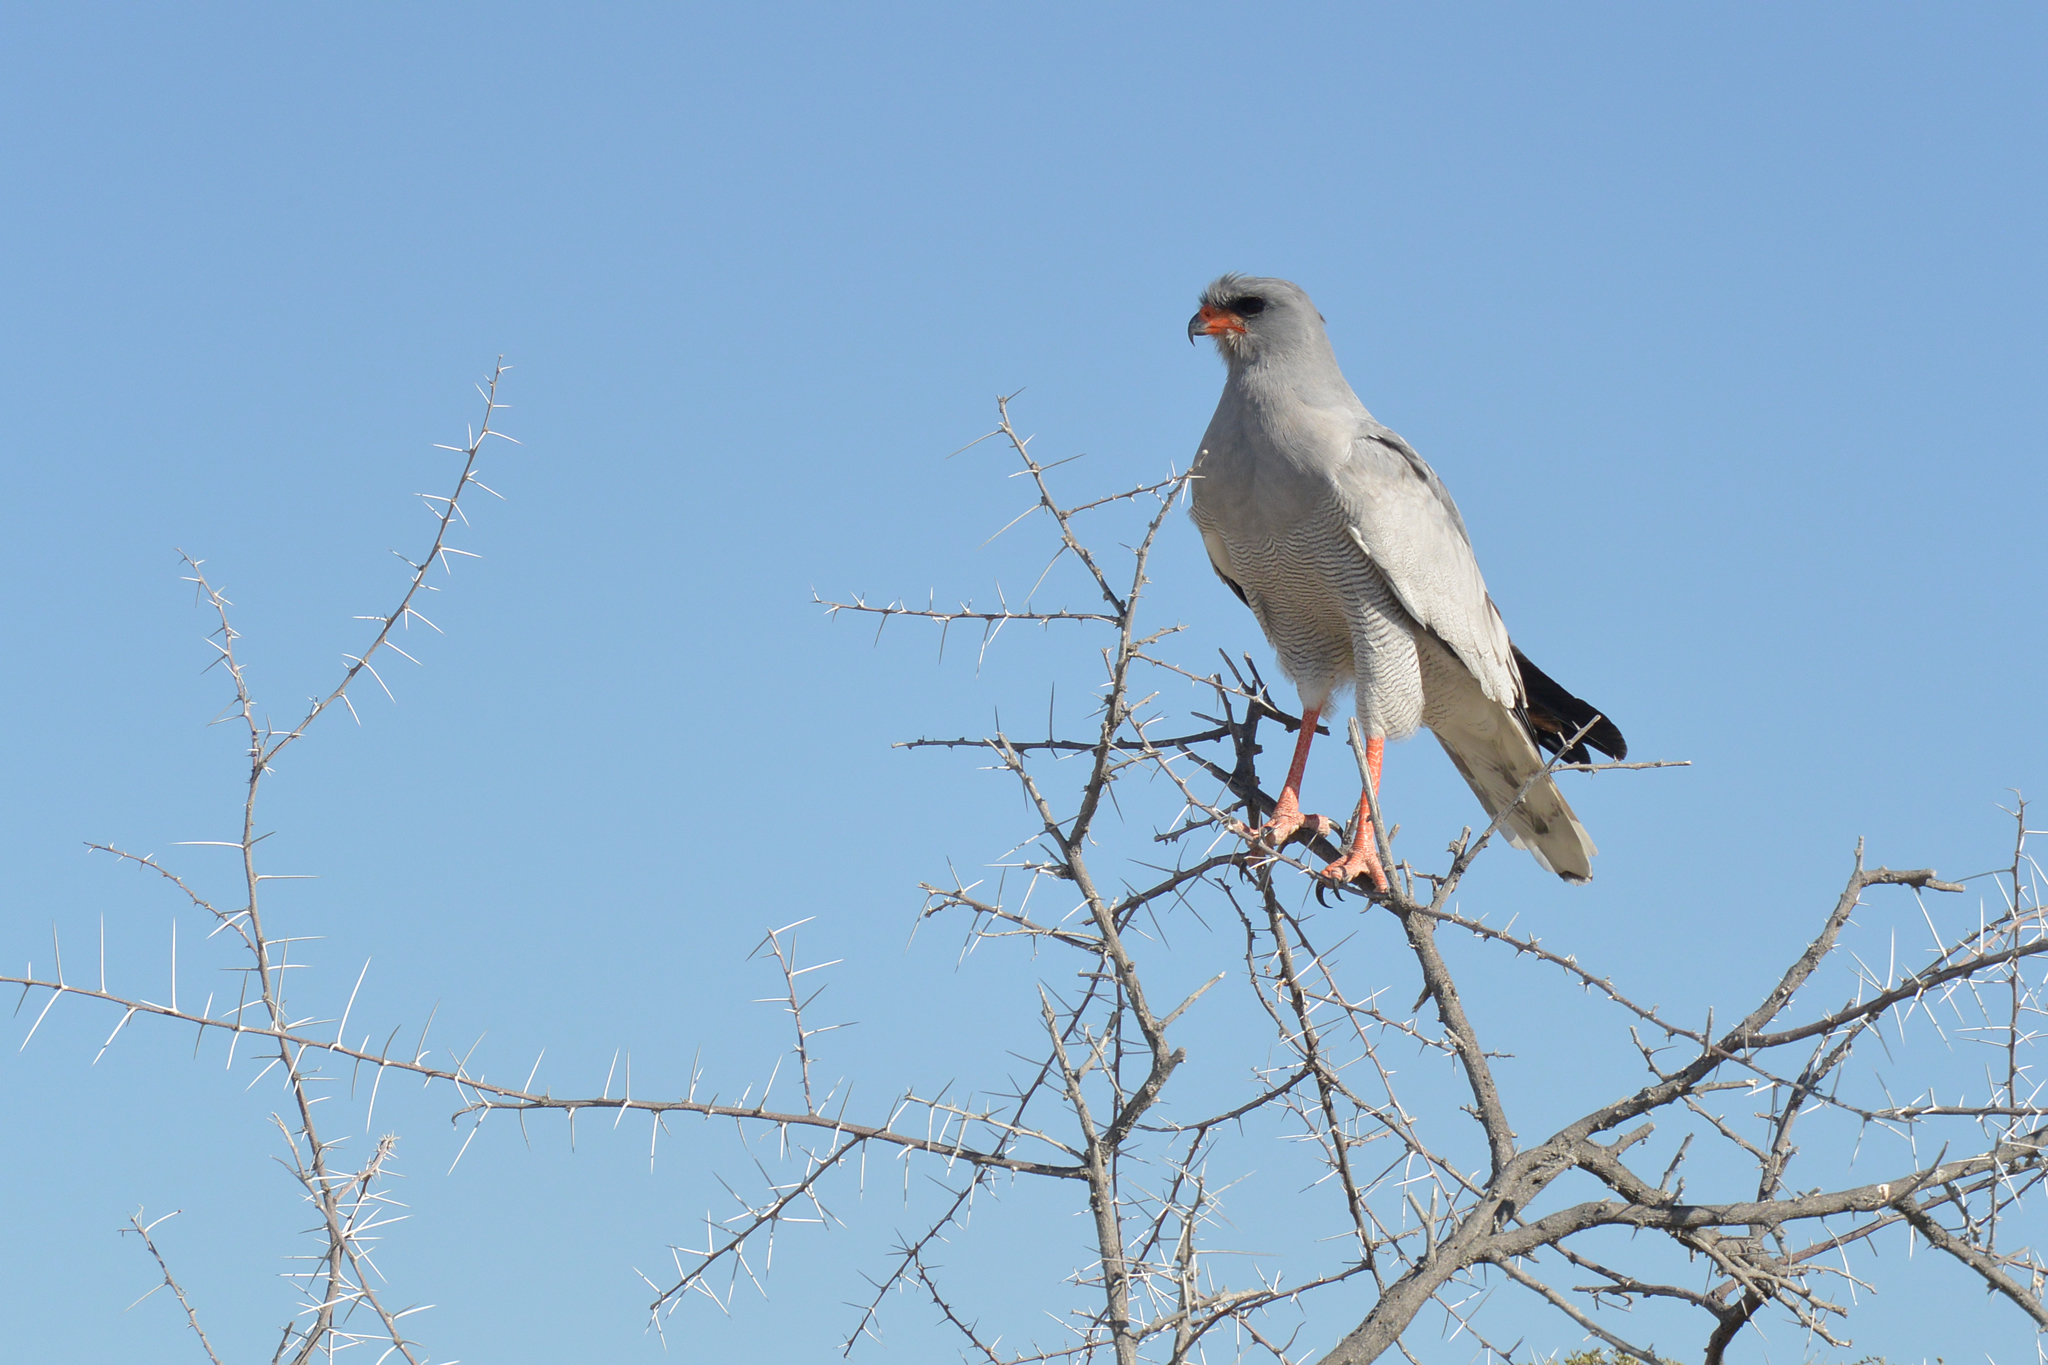
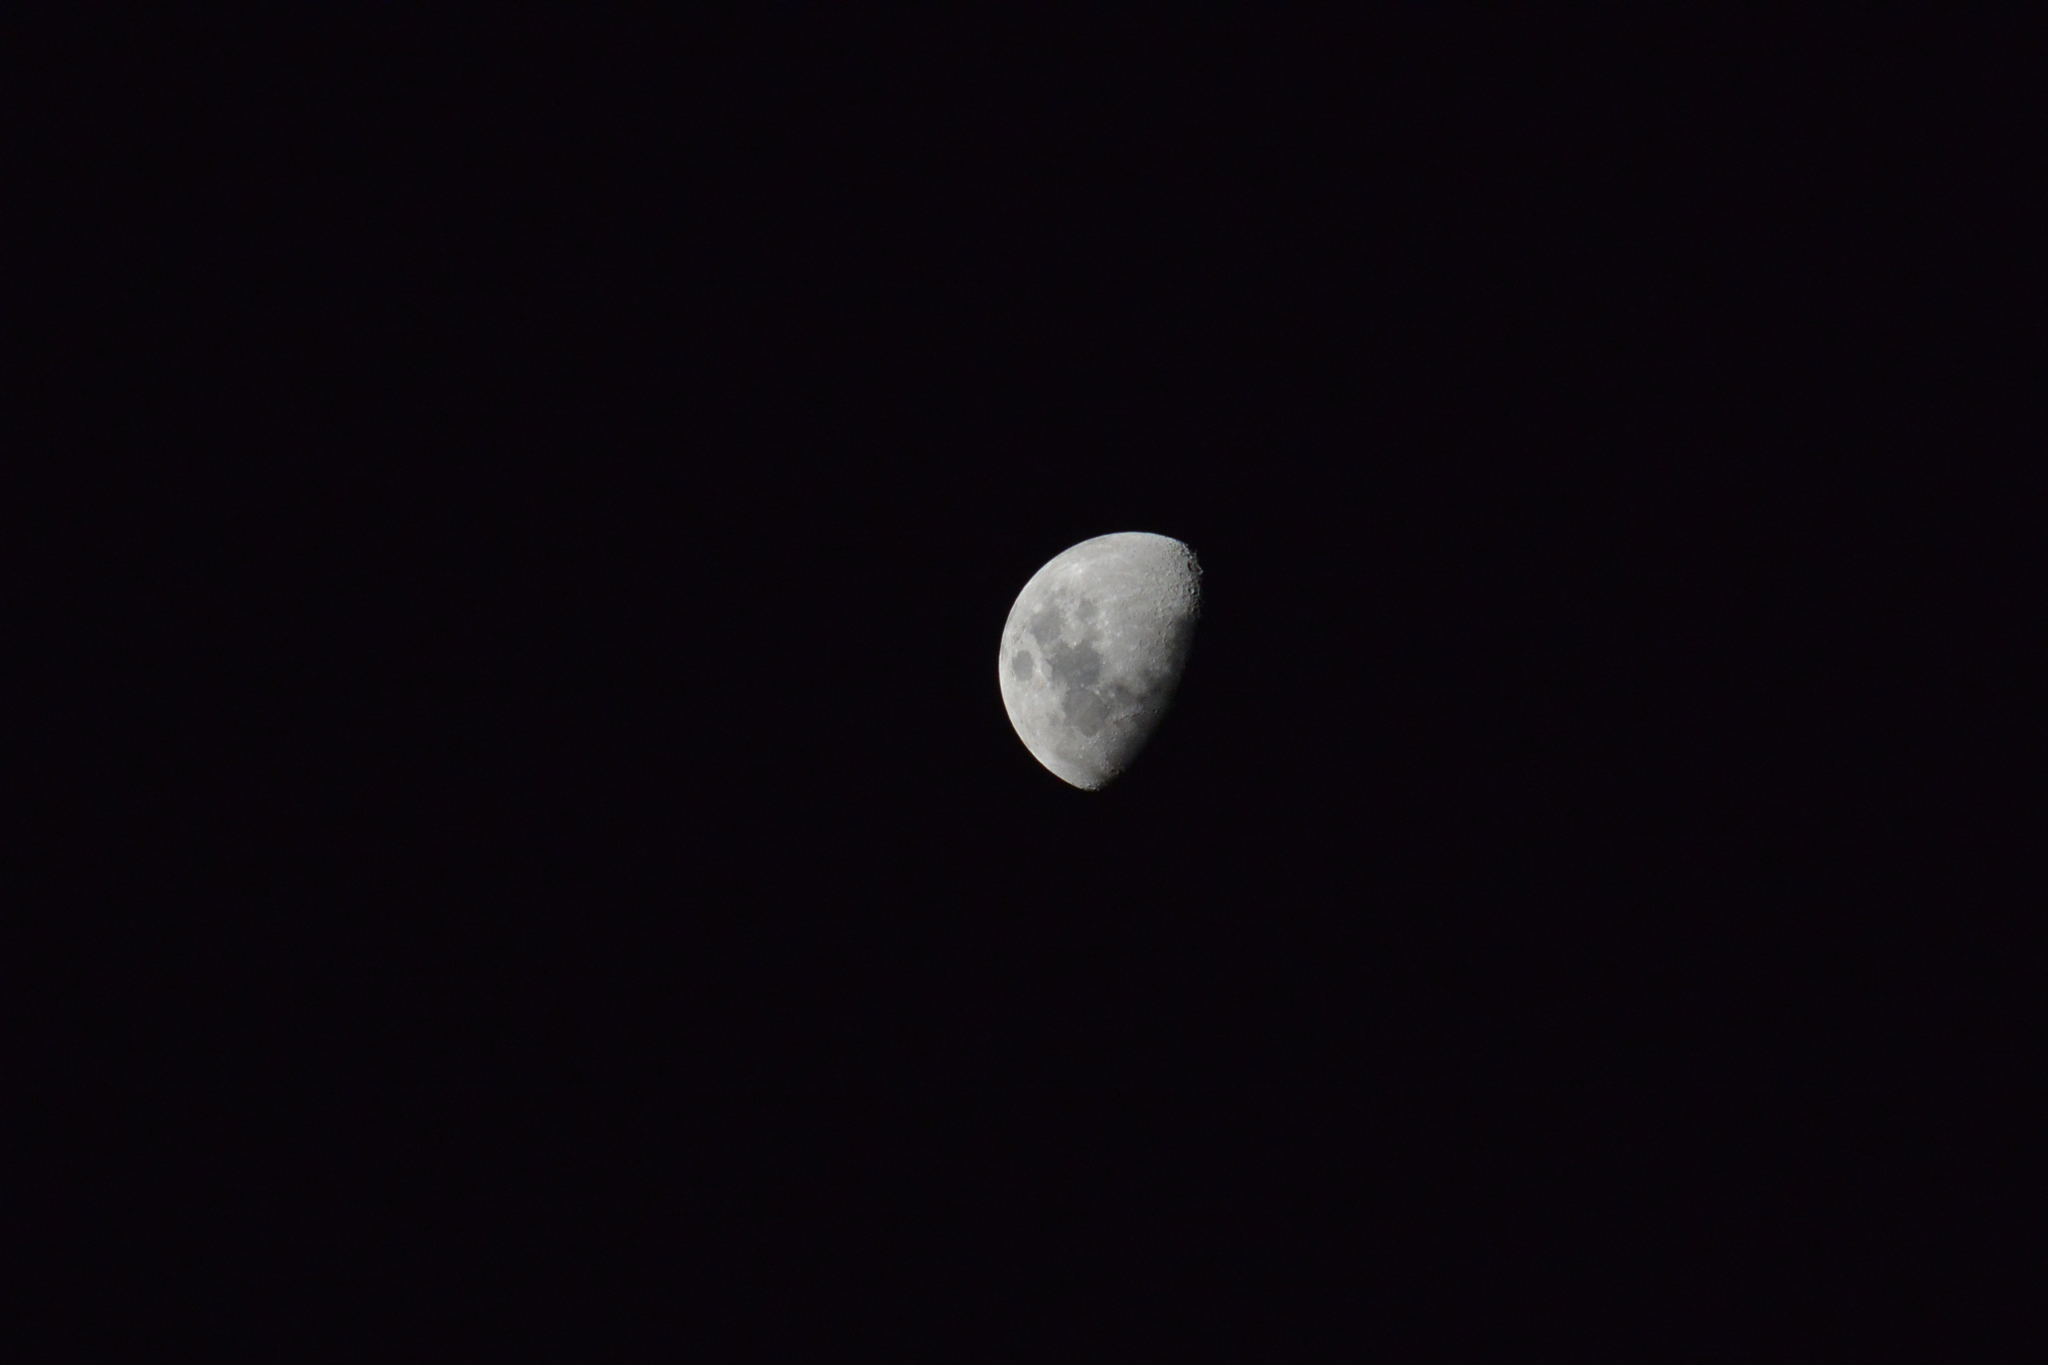
Update: Namibia
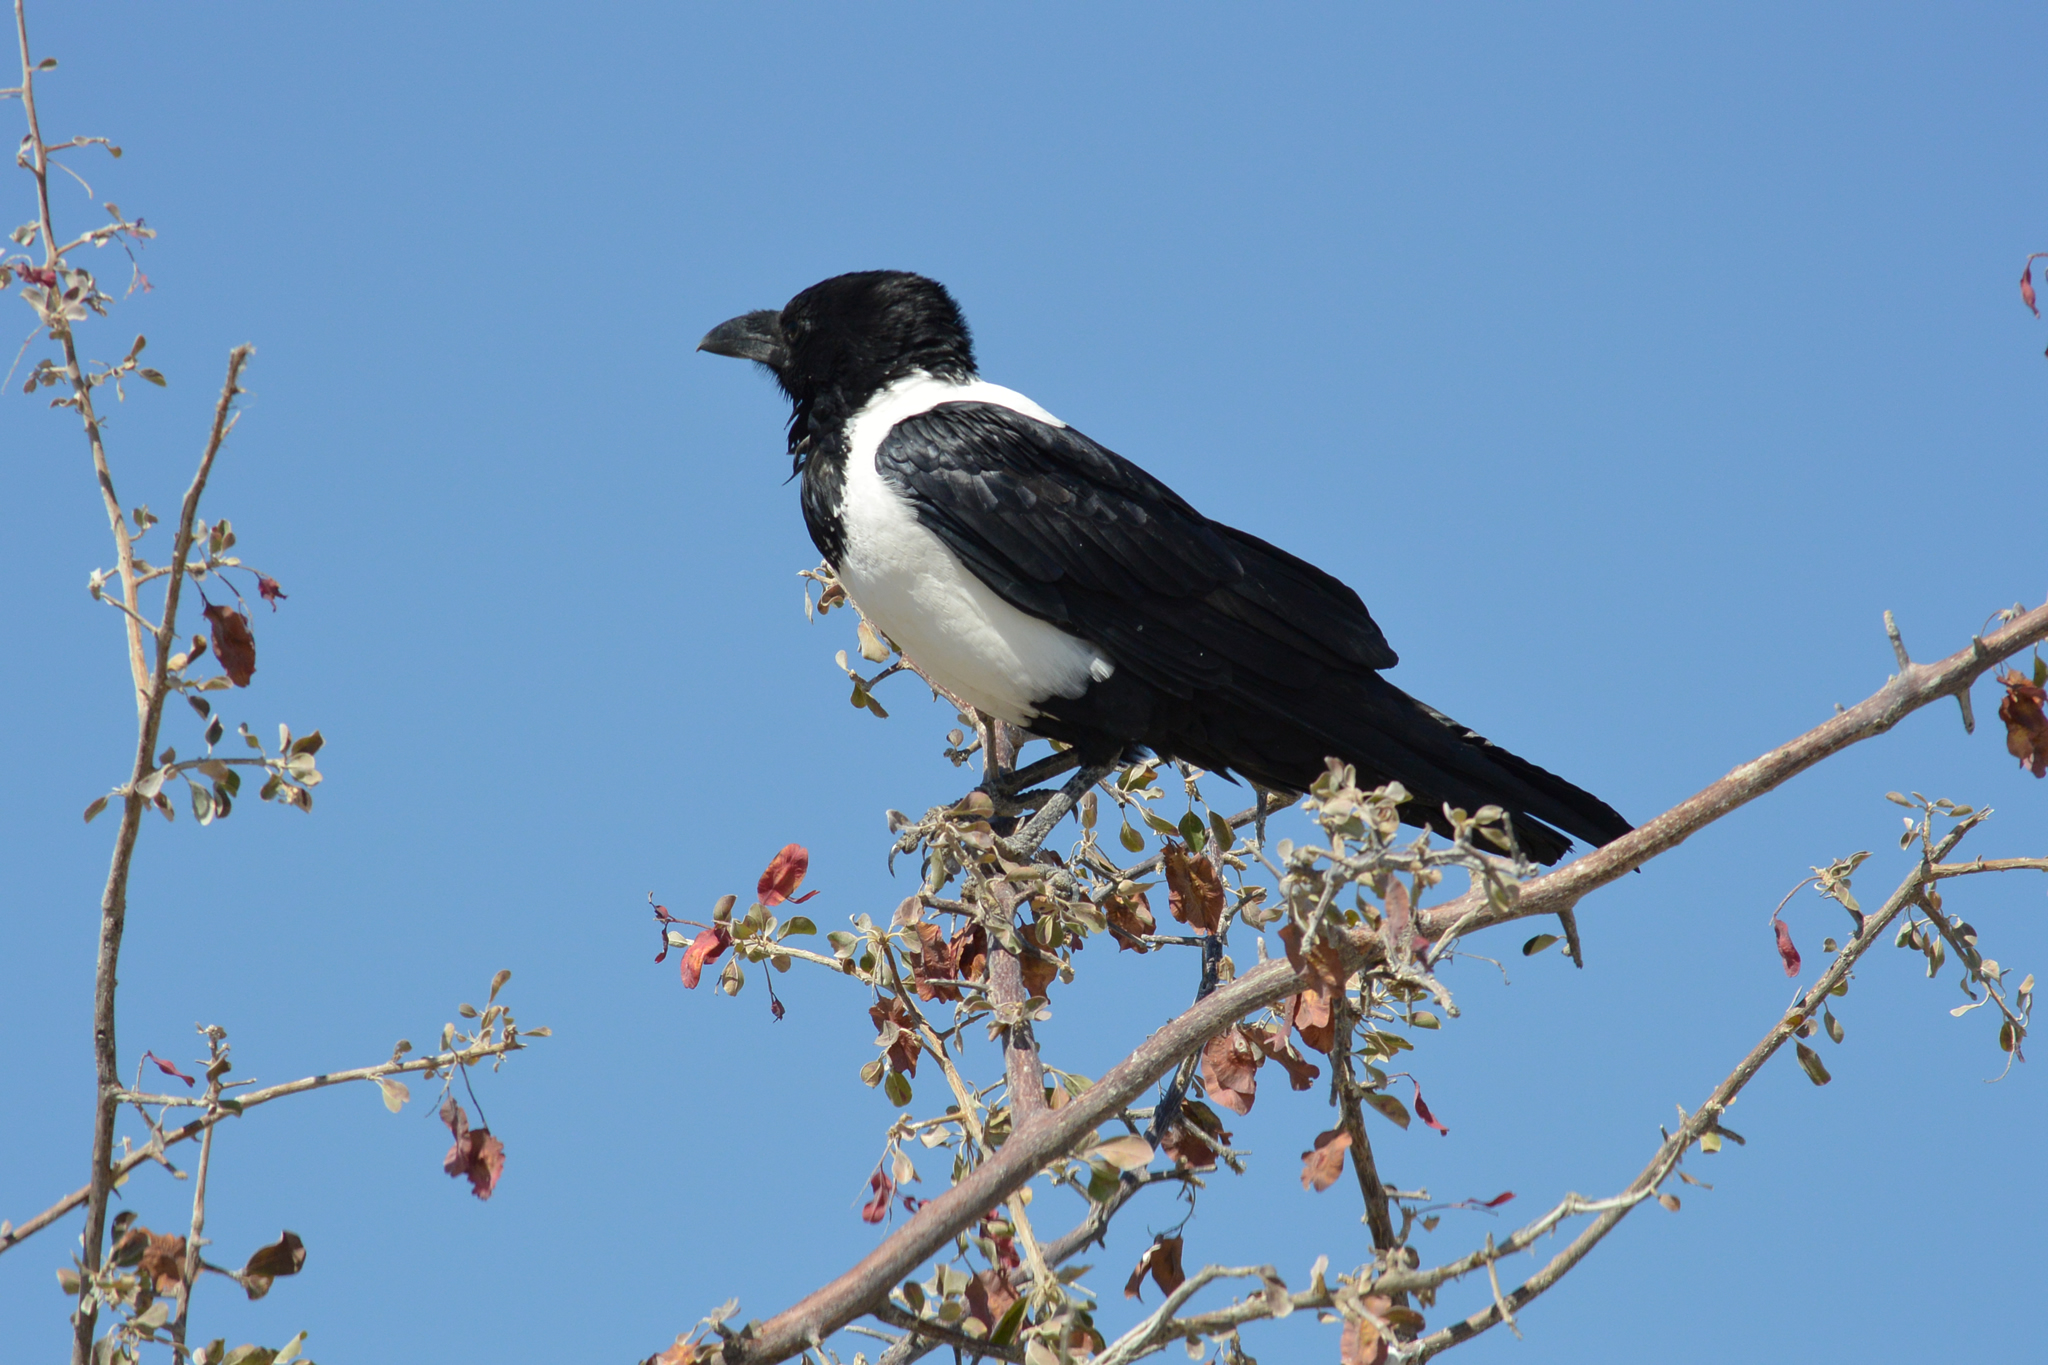
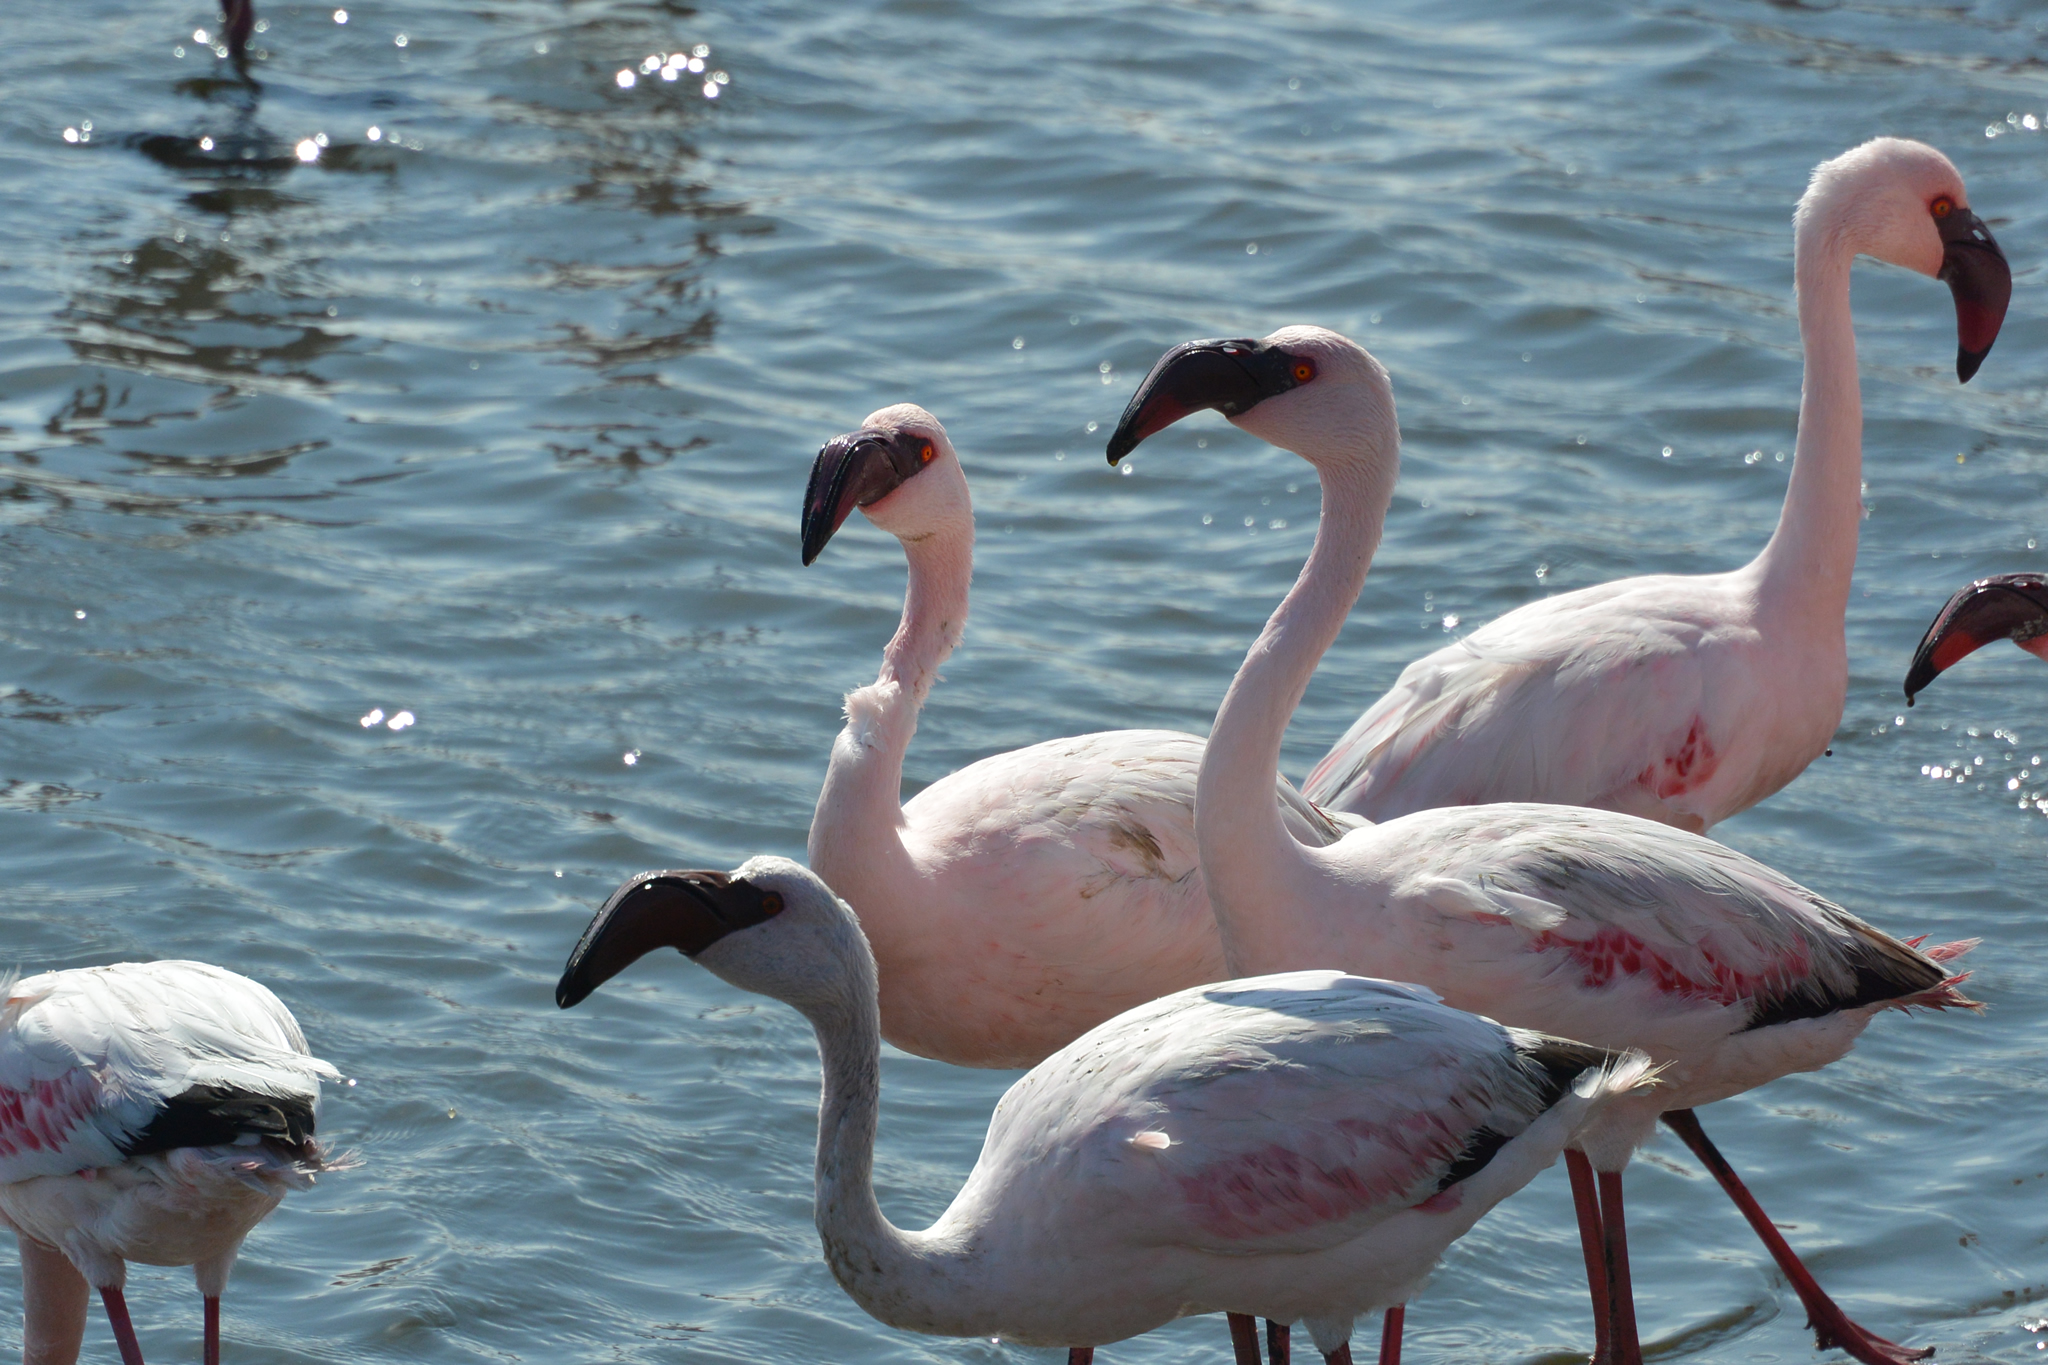
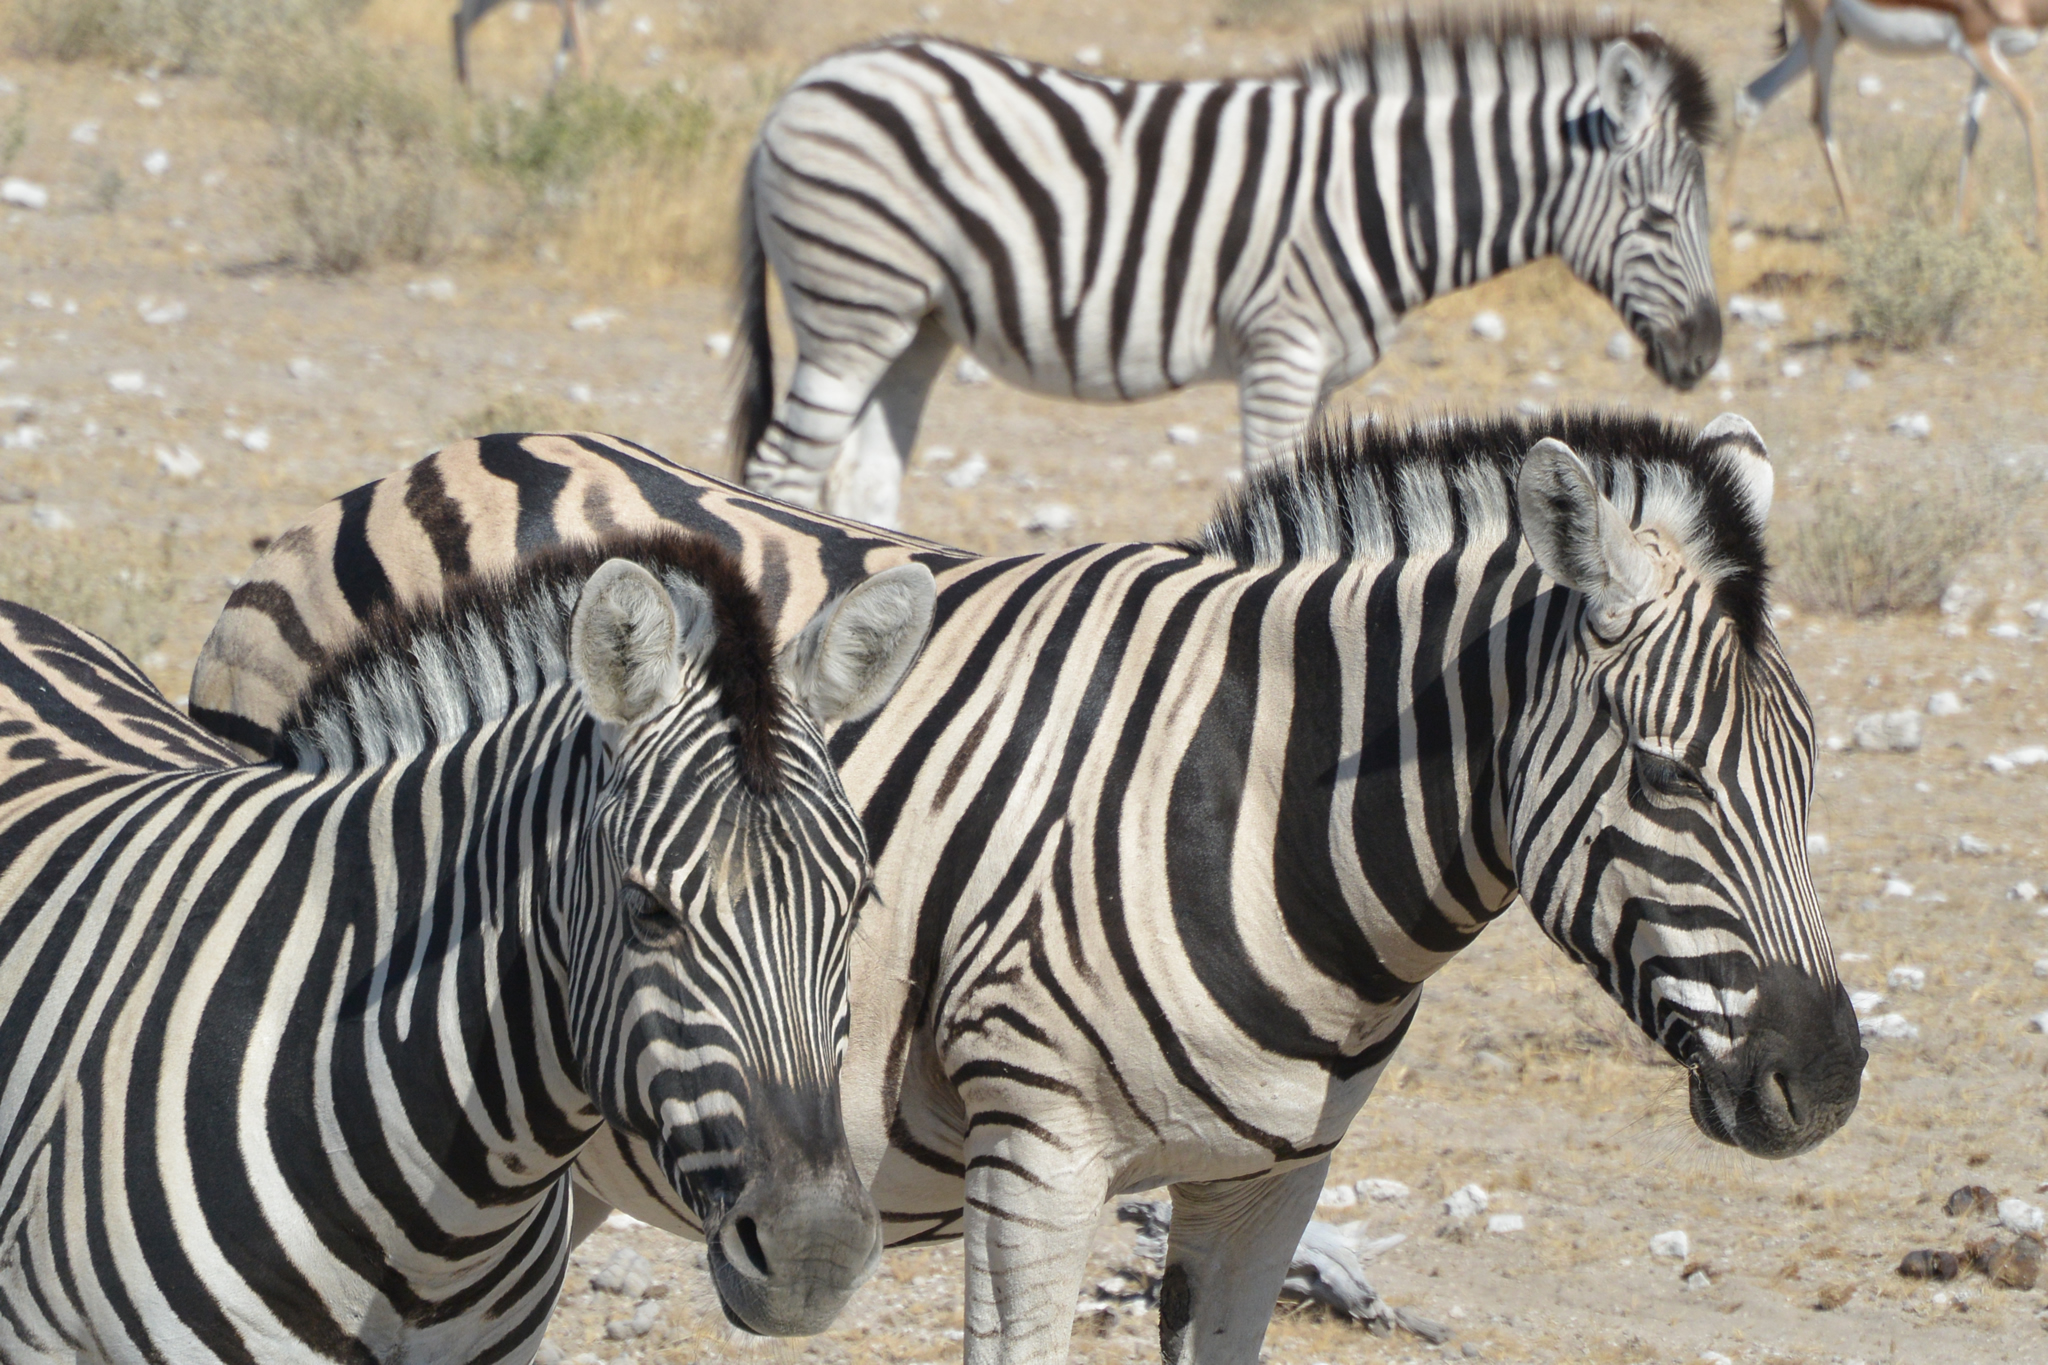
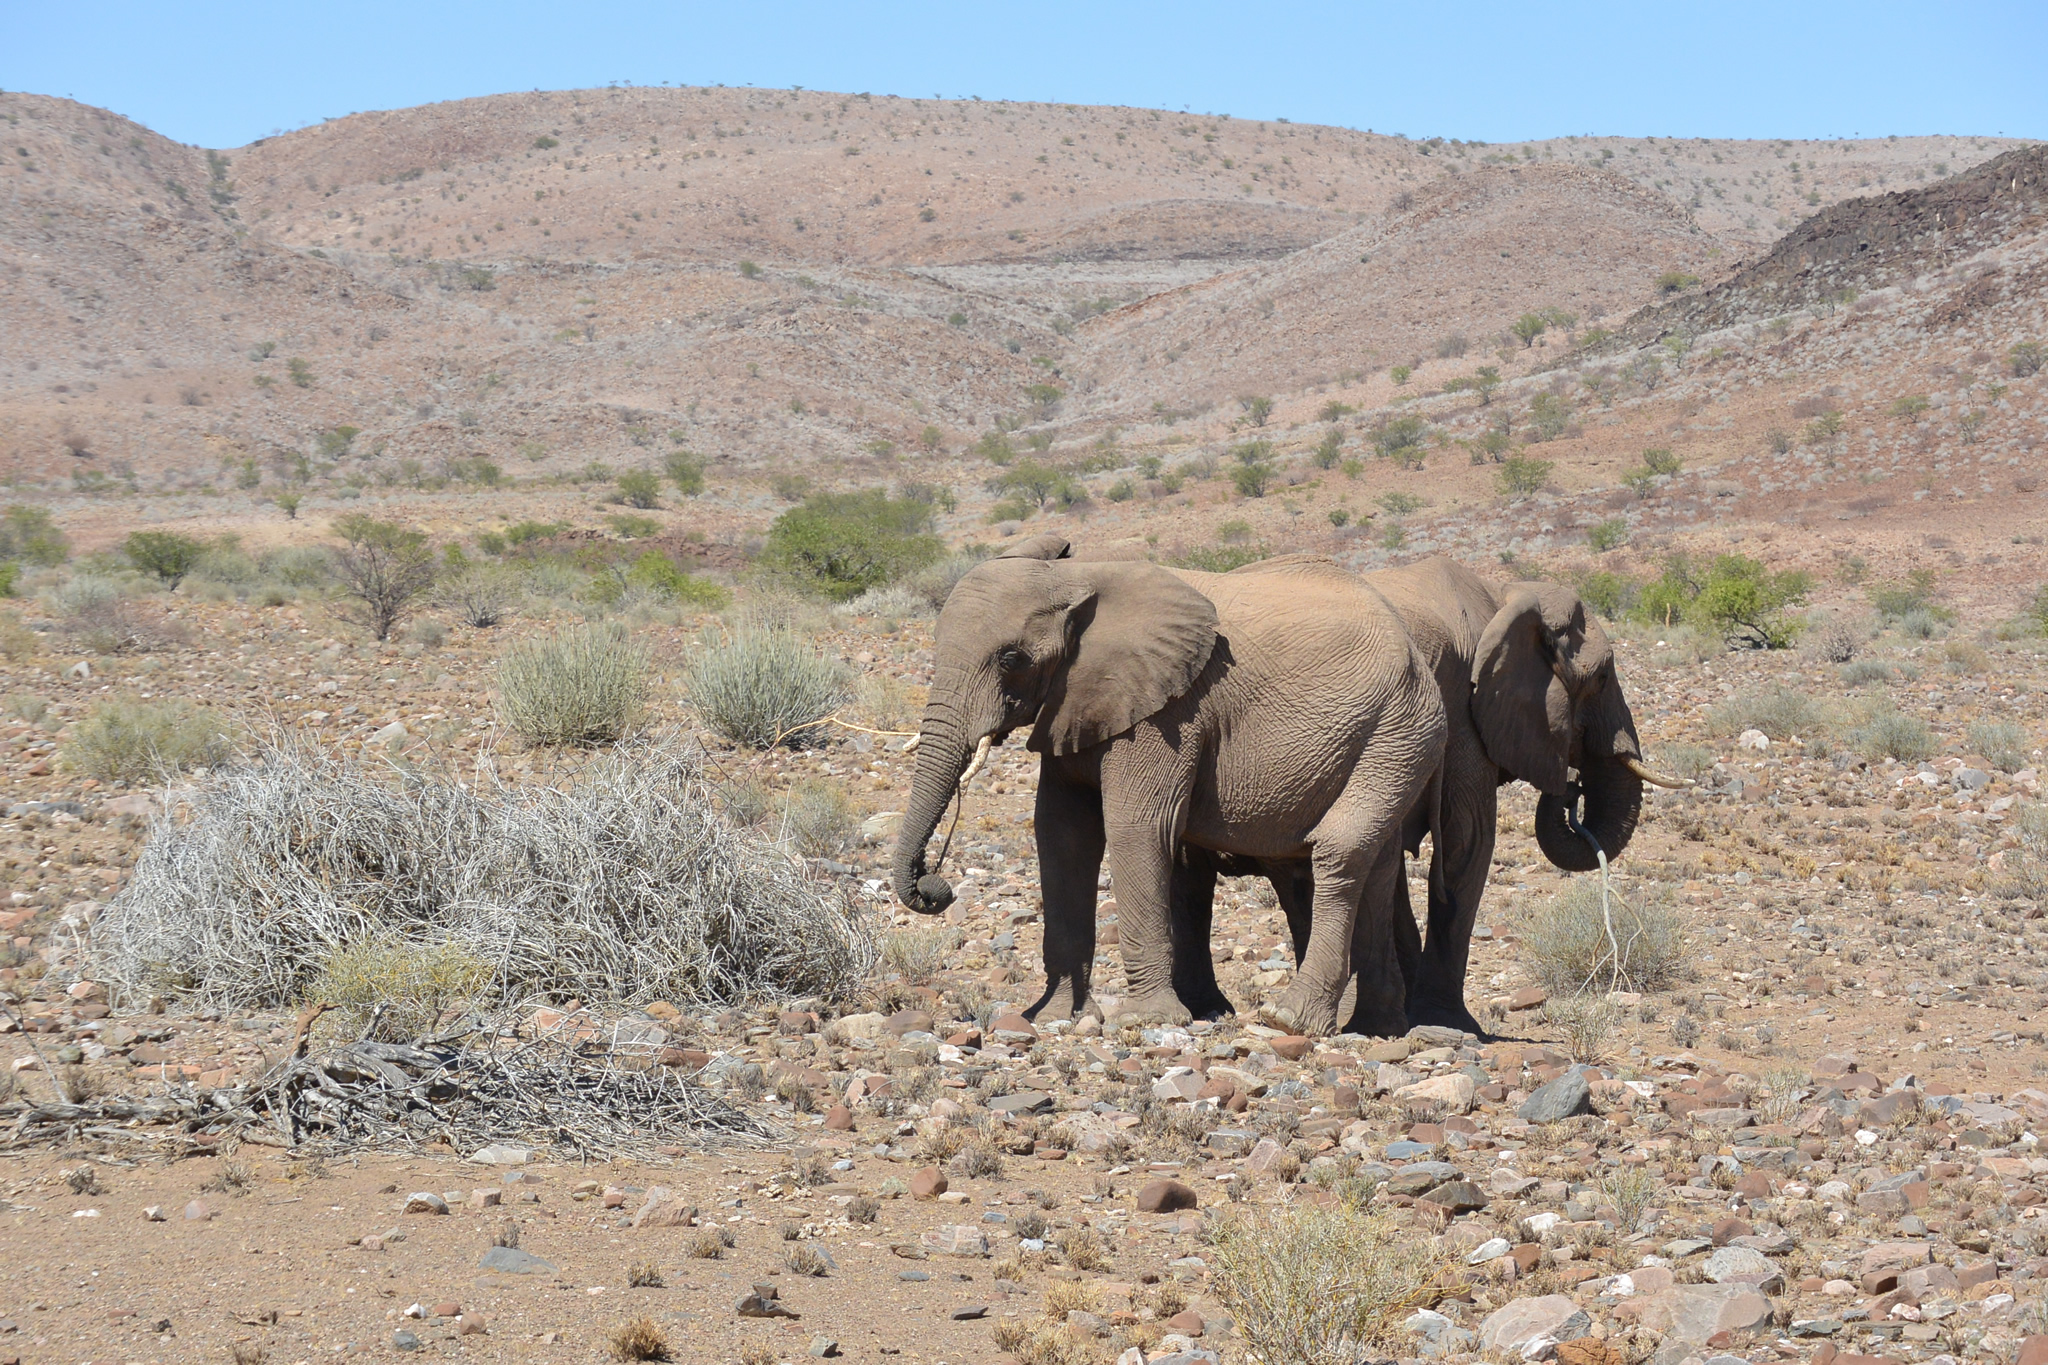
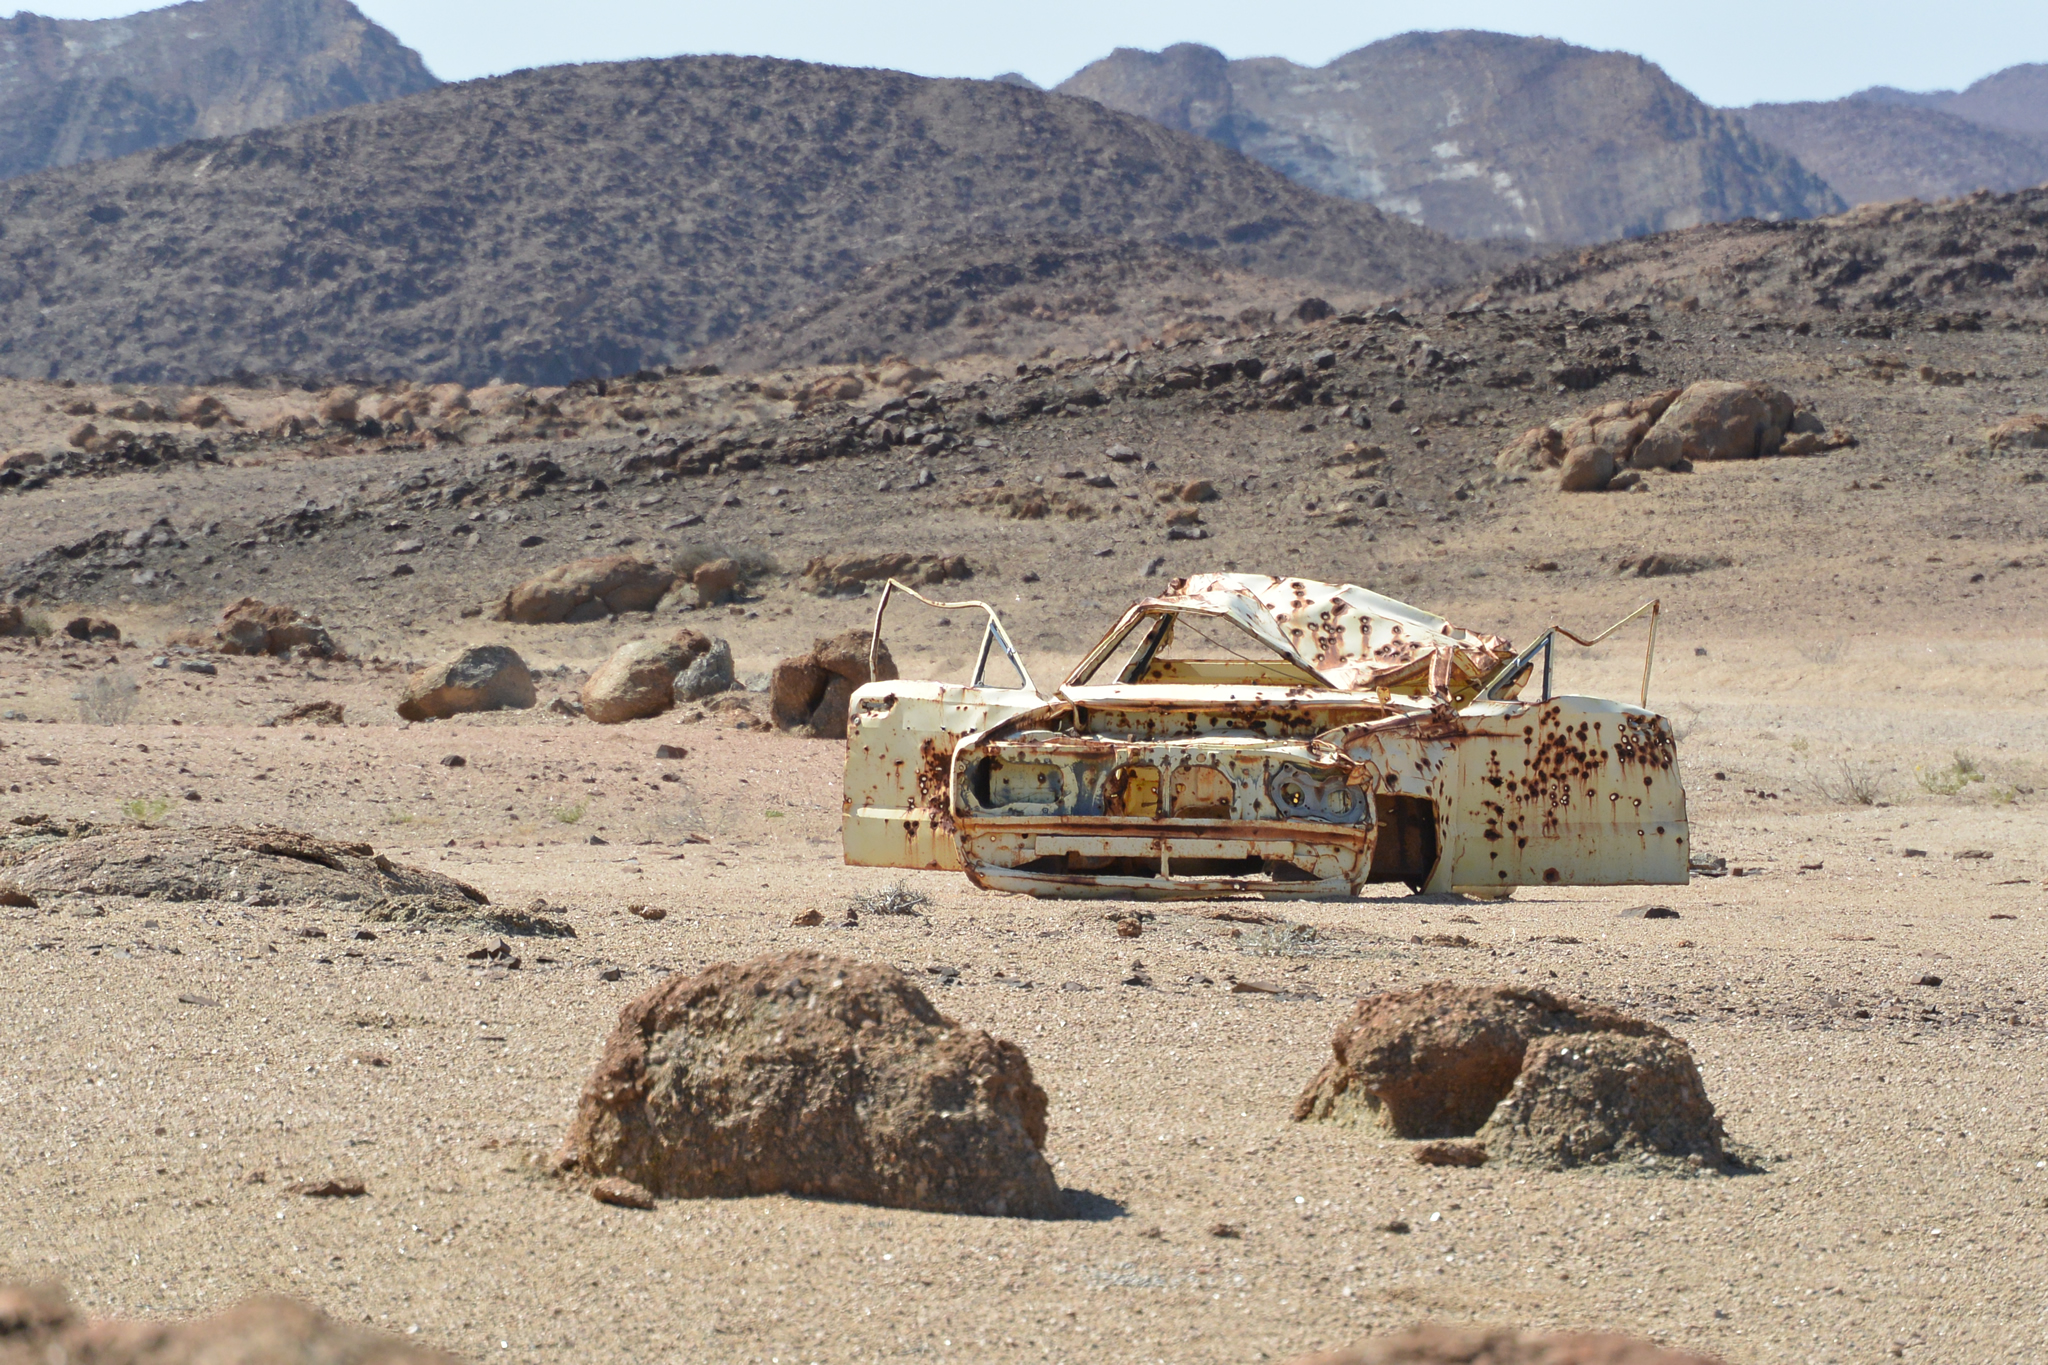
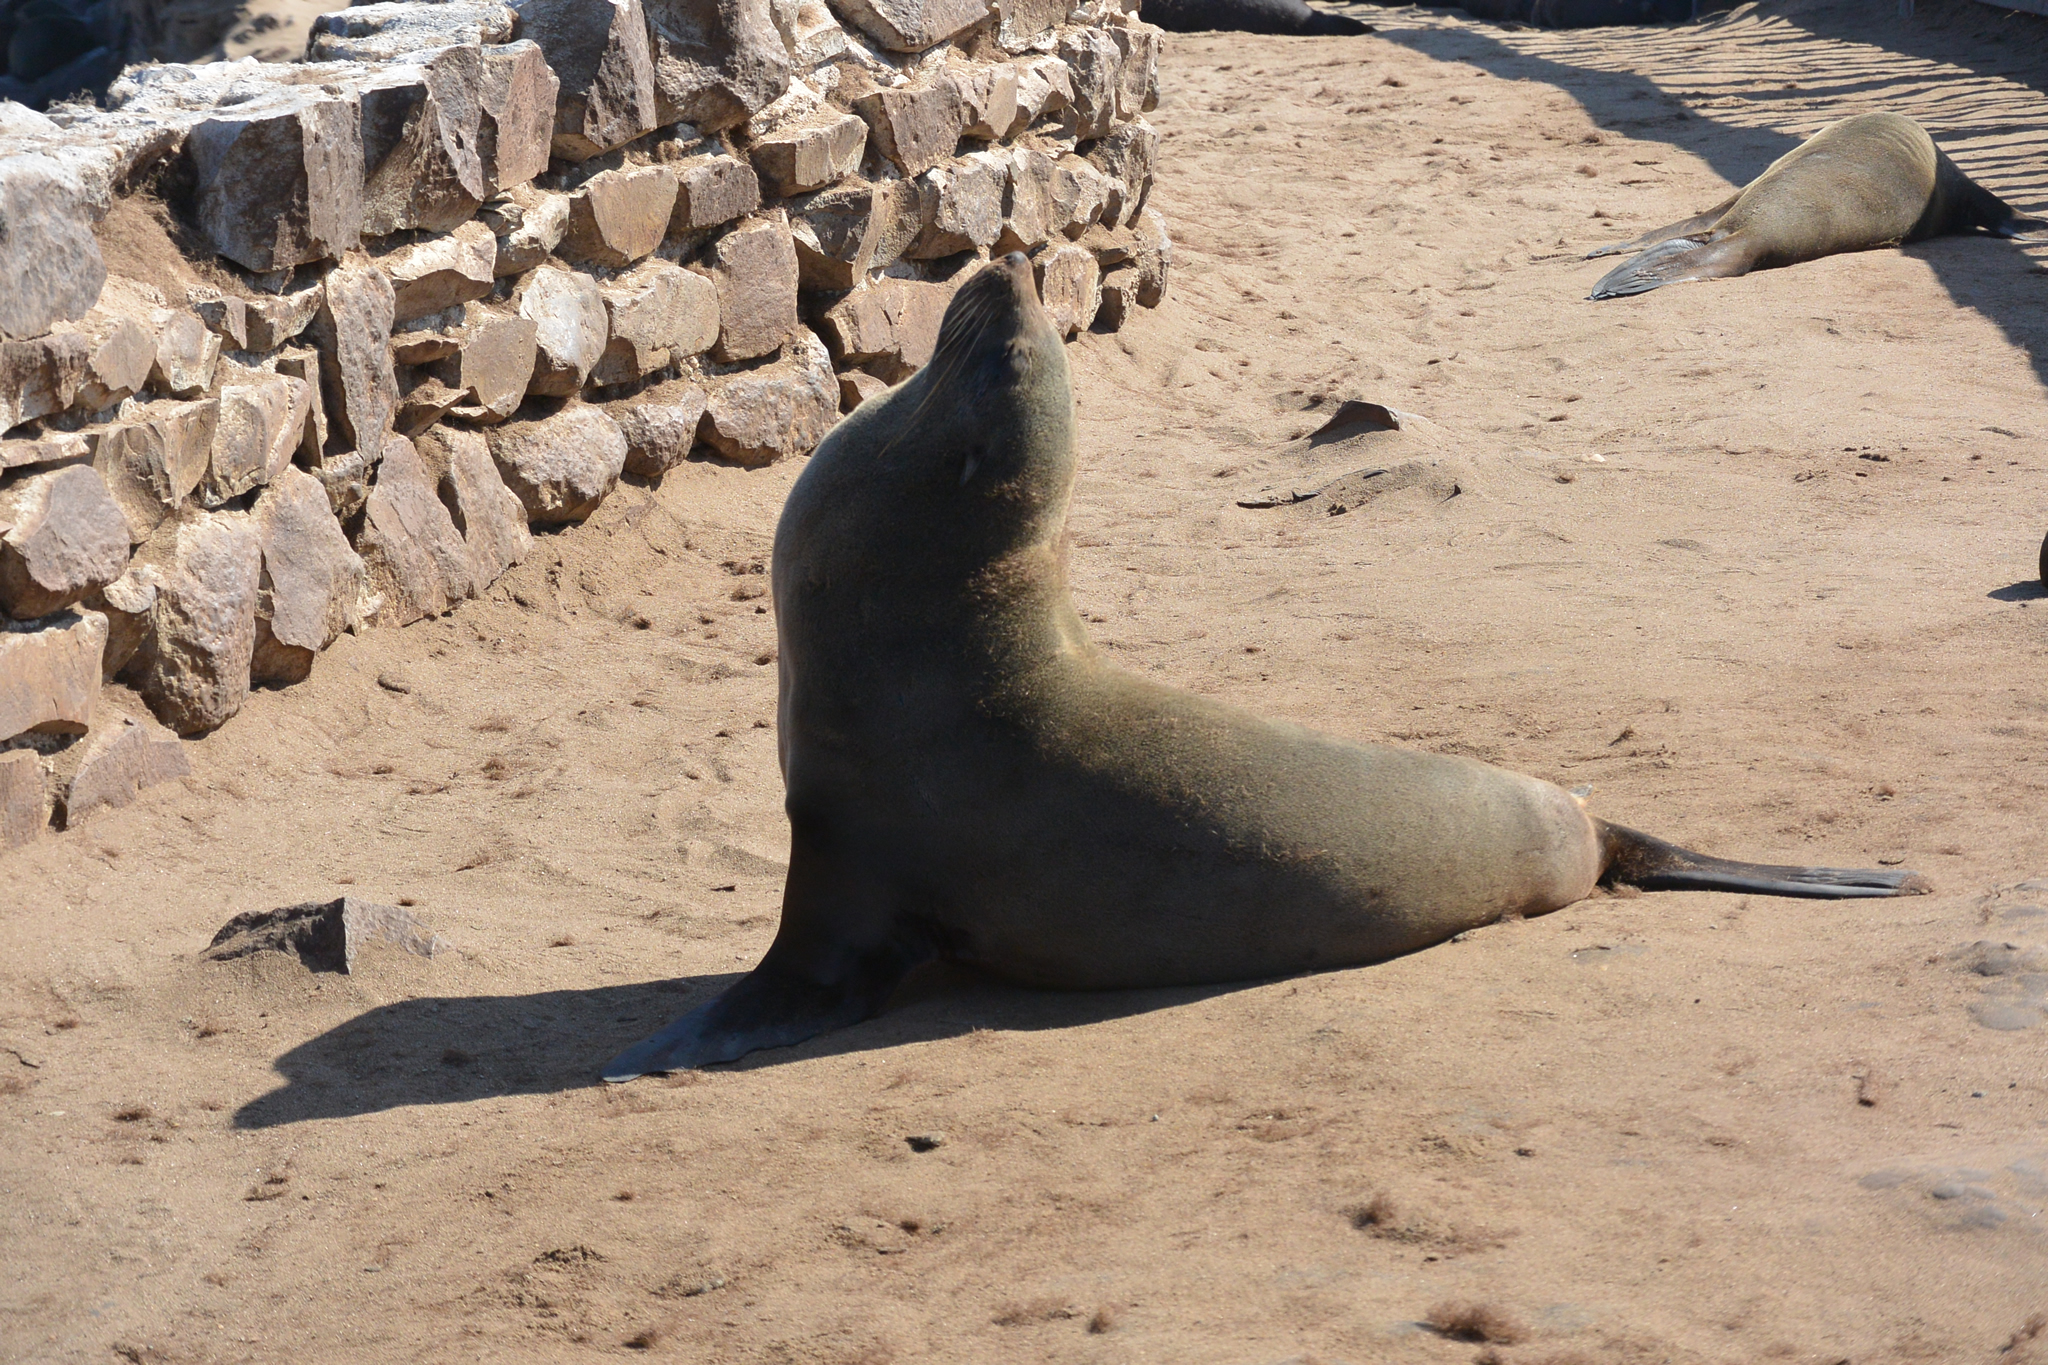
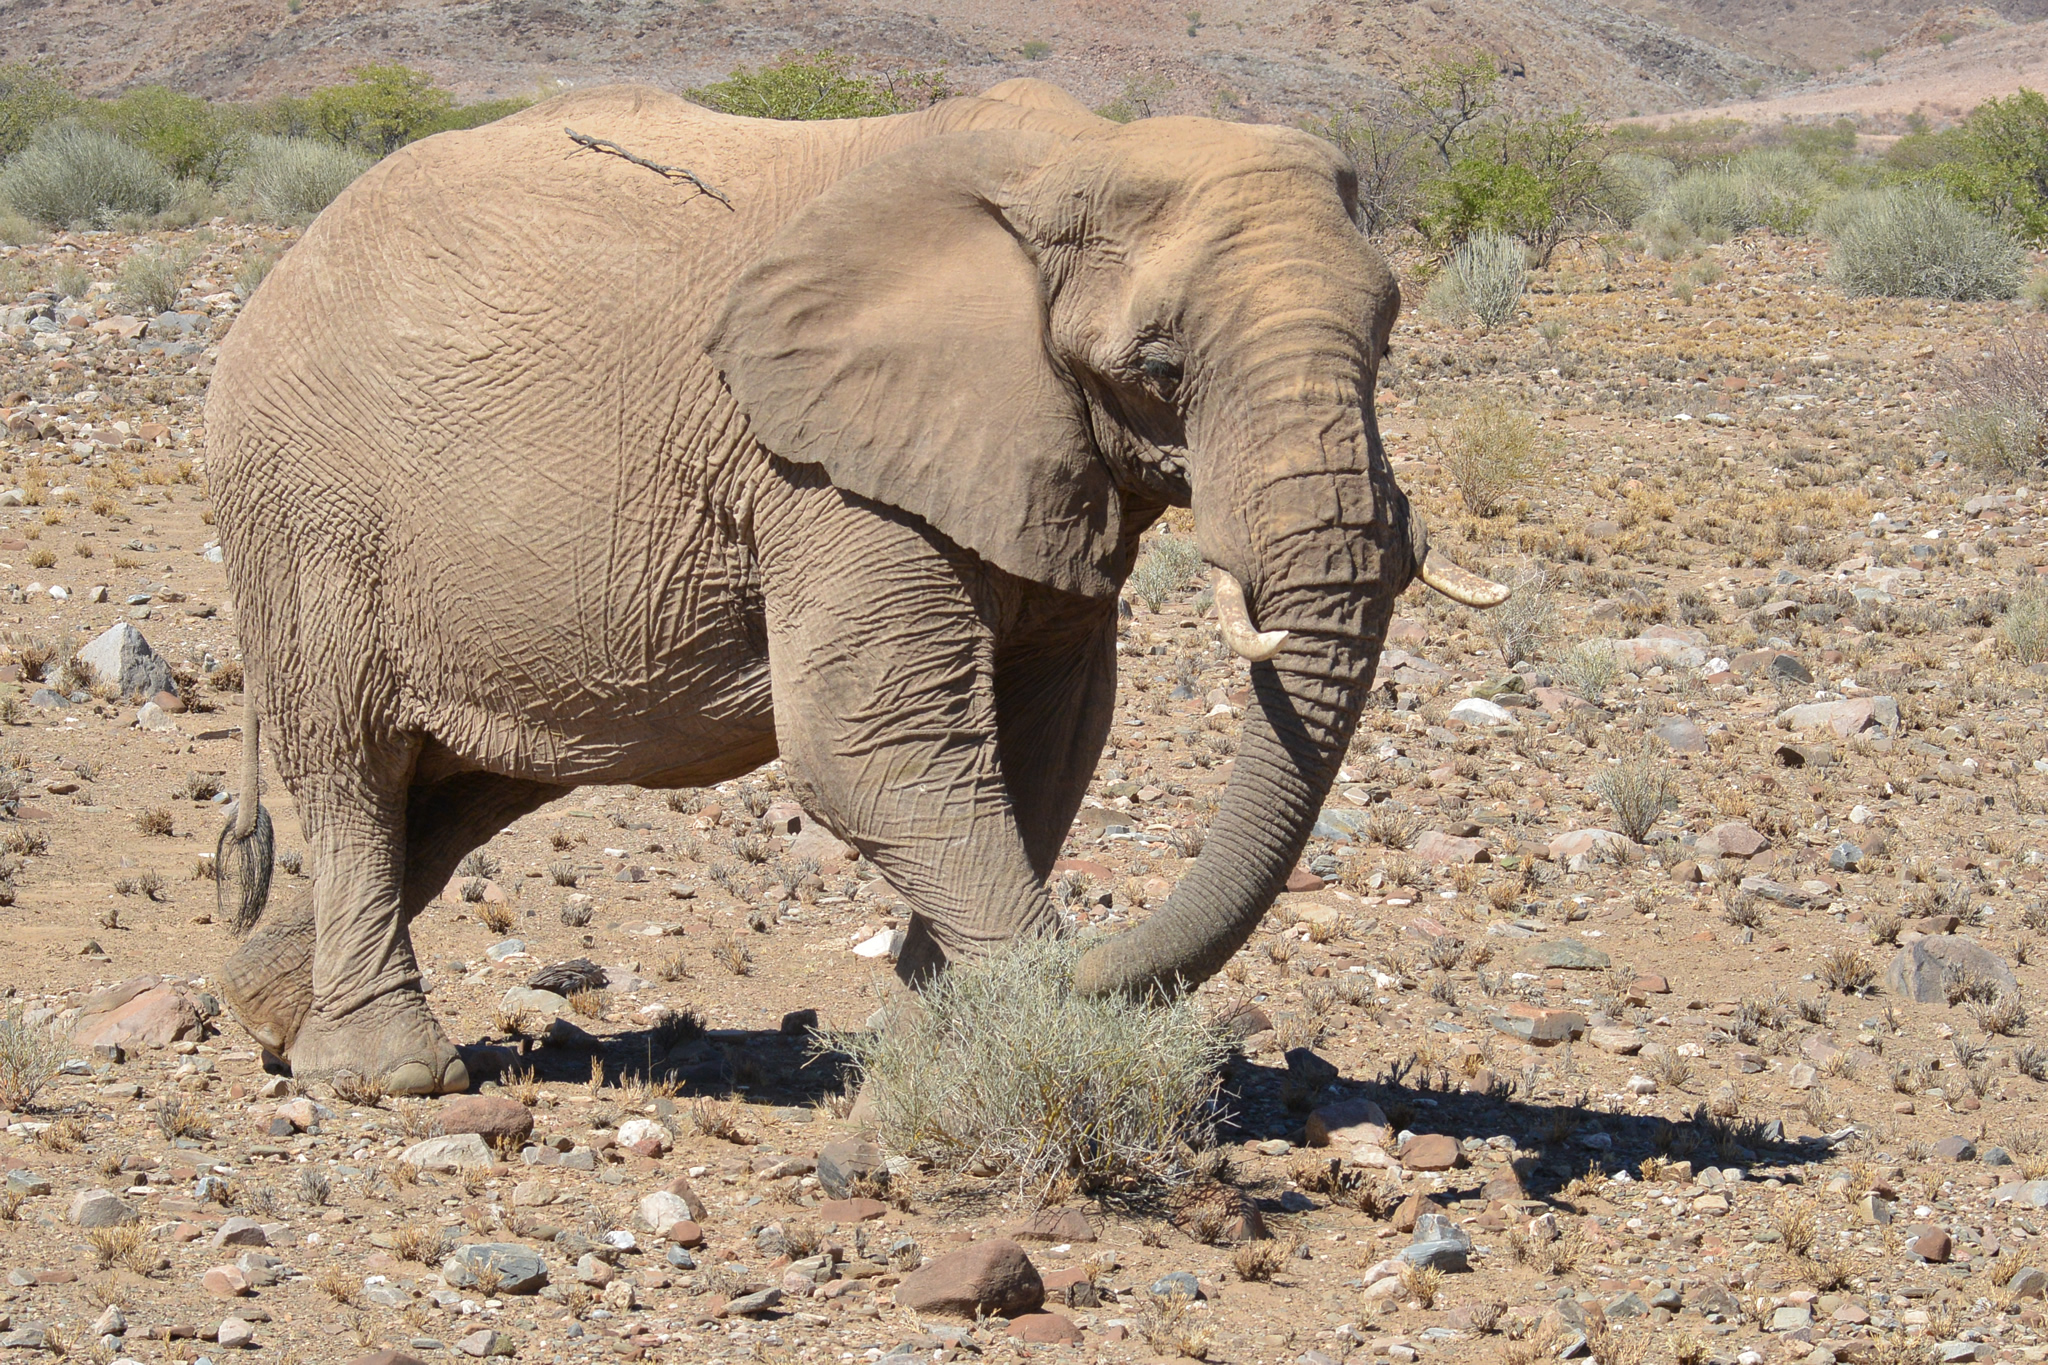
Firstly I wasn’t able to get any good star photos showing the Milky Way. Although it was very visible on May 8th & 9th my settings may have been off, possibly the focus or the contrast probably needed adjusting. On the 12th the moon was too bright to see the Milky Way clearly. I did make up for this with an excellent moon photo taken by dropping the contrast to -3 to reveal the craters on the moon’s surface. The NIKKOR 55-200mm lens worked perfectly for the wildlife shots in the parks. I didn’t have to use the tripod at all and would use the top of the vehicle to steady the zoomed in shots (although I think my shutter speed was sufficient that I could handhold shots even at 540mm). I used the 5fps setting and would focus using the centerpoint zoom on the subject and then frame it before clicking the shutter button. Due to the excellent lighting I was able to take some very good photos. For the night shots I used the tripod, high ISO and delayed timer but most came out slightly blurry once the animal moved. *NOTE: These are not the full resolution photos and have been reduced to less than half the original size to make them easier to view on the web.